Before installing TCCLI, make sure that your system has the Python environment installed. For details, see prerequisites instructed in Installing TCCLI.
Step 1: Installing TCCLI
Installing TCCLI
Run commands based on the actual situation.
TCCLI not installed
Run the following command to quickly install TCCLI via pip. For details, please see Installing TCCLI.
$ sudo pip install tccli
TCCLI installed
Run the following command to quickly upgrade TCCLI through pip:
$ sudo pip install --upgrade tccli
Verifying installation
Run the following command to check whether TCCLI is successfully installed and has Batch-related capabilities:
tccli batch help
The returned result is as follows, indicating that TCCLI is successfully installed:
NAME
batch
DESCRIPTION
batch-2017-03-12
USEAGE
tccli batch <action>[--param...]
OPTIONS
help
show the tccli batch help info
--version
specify a batch api version
AVAILABLE ACTION
DescribeComputeEnv
Used to query details of the computing environment
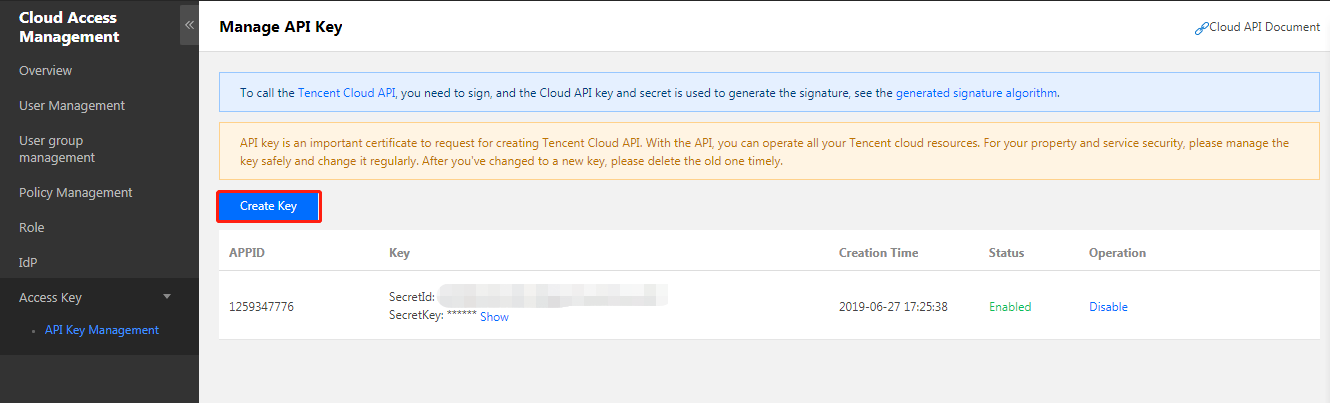
2. Click Create Key or use an available key to record SecretID and SecretKey. See the figure below:
3. Run the command tccli configure and enter the TCCLI configuration information. For details, please see Configuring TCCLI.
$ tccli configure
TencentCloud API secretId[None]:
TencentCloud API secretKey[None]:
region[None]:
output[json]:
Step 3: Preparing the COS Directory
Creating a bucket and sub-folders
1. Log in to the COS console and choose Bucket List in the left sidebar.
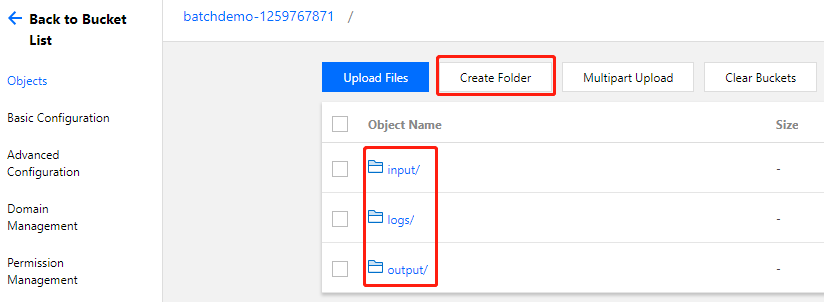
2. Create a bucket and create 3 folders in the bucket. See the figure below:
Acquiring COS-related endpoints
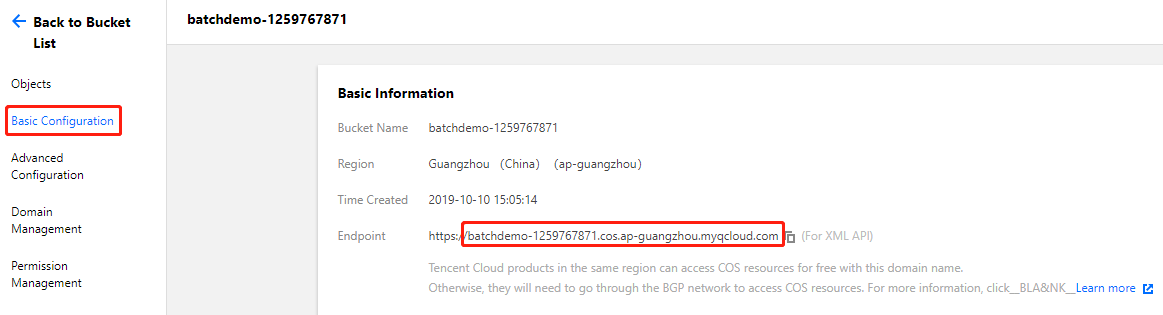
1. Click Basic Configuration on the left to view the endpoint in Basic Information. See the figure below:
2. Acquire the endpoints of subfolders in the COS bucket.
Note:
Acquire COS-related endpoints based on the actual situation.
The acquired COS bucket endpoint is https://batchdemo-xxxxxxxxx.cos.ap-guangzhou.myqcloud.com. The endpoints of the three folders created in Creating a Bucket and Sub-folders can be acquired by combining domain and sub-folder names as follows:
Access the Batch demo, download the test package, and decompress it.
Note:
The demo is provided in the format of the Python+Batch CLI. Since BatchCompute has many capabilities and configuration items, you can work with it more conveniently by using Python scripts.
Step 5: Modifying Demo Custom Information
Note:
Change the general part of the custom information about the Batch demo. Modify all files in Demo as follows:
Use the following custom information in 1_SimpleStart.py as an example:
The demo specifies Guangzhou Zone 2 for resource application. You can select the corresponding availability zone to apply for resources based on the default region configured in TCCLI.
For more information about regions and availability zones, see Regions and AZs.
Step 6: Testing
Experience the Batch usage methods and computing capability in the following sequence according to the reference course.

 Yes
Yes
 No
No
Was this page helpful?