开发 JAR 作业
Download
聚焦模式
字号
前提条件
创建作业
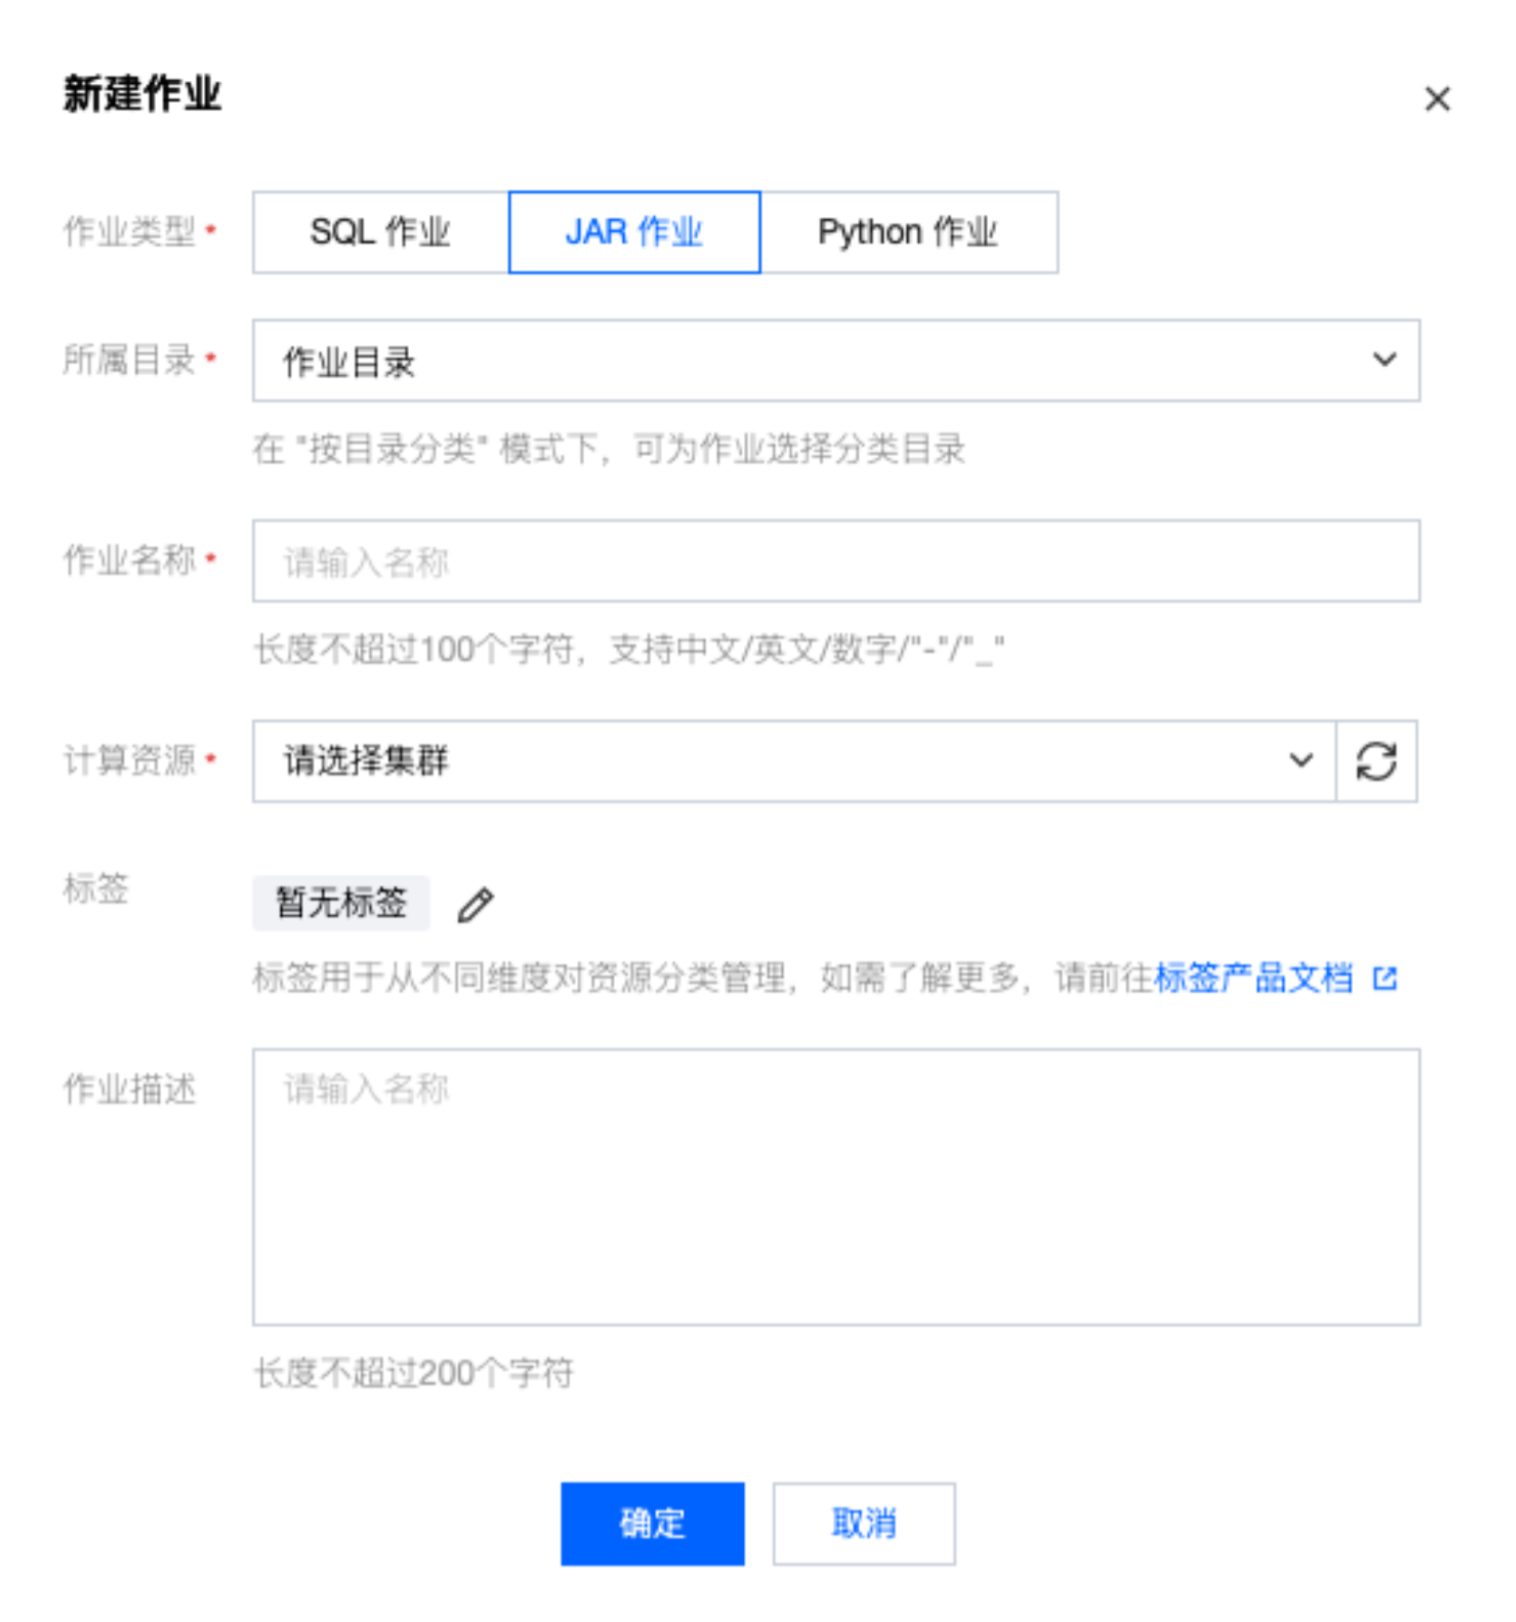
1. 在 流计算 Oceanus 控制台 中选择作业管理 > 新建 > 新建作业,在弹窗中选择作业类型、作业名称和运行集群,单击确定,即可在作业列表中看到新建的作业。
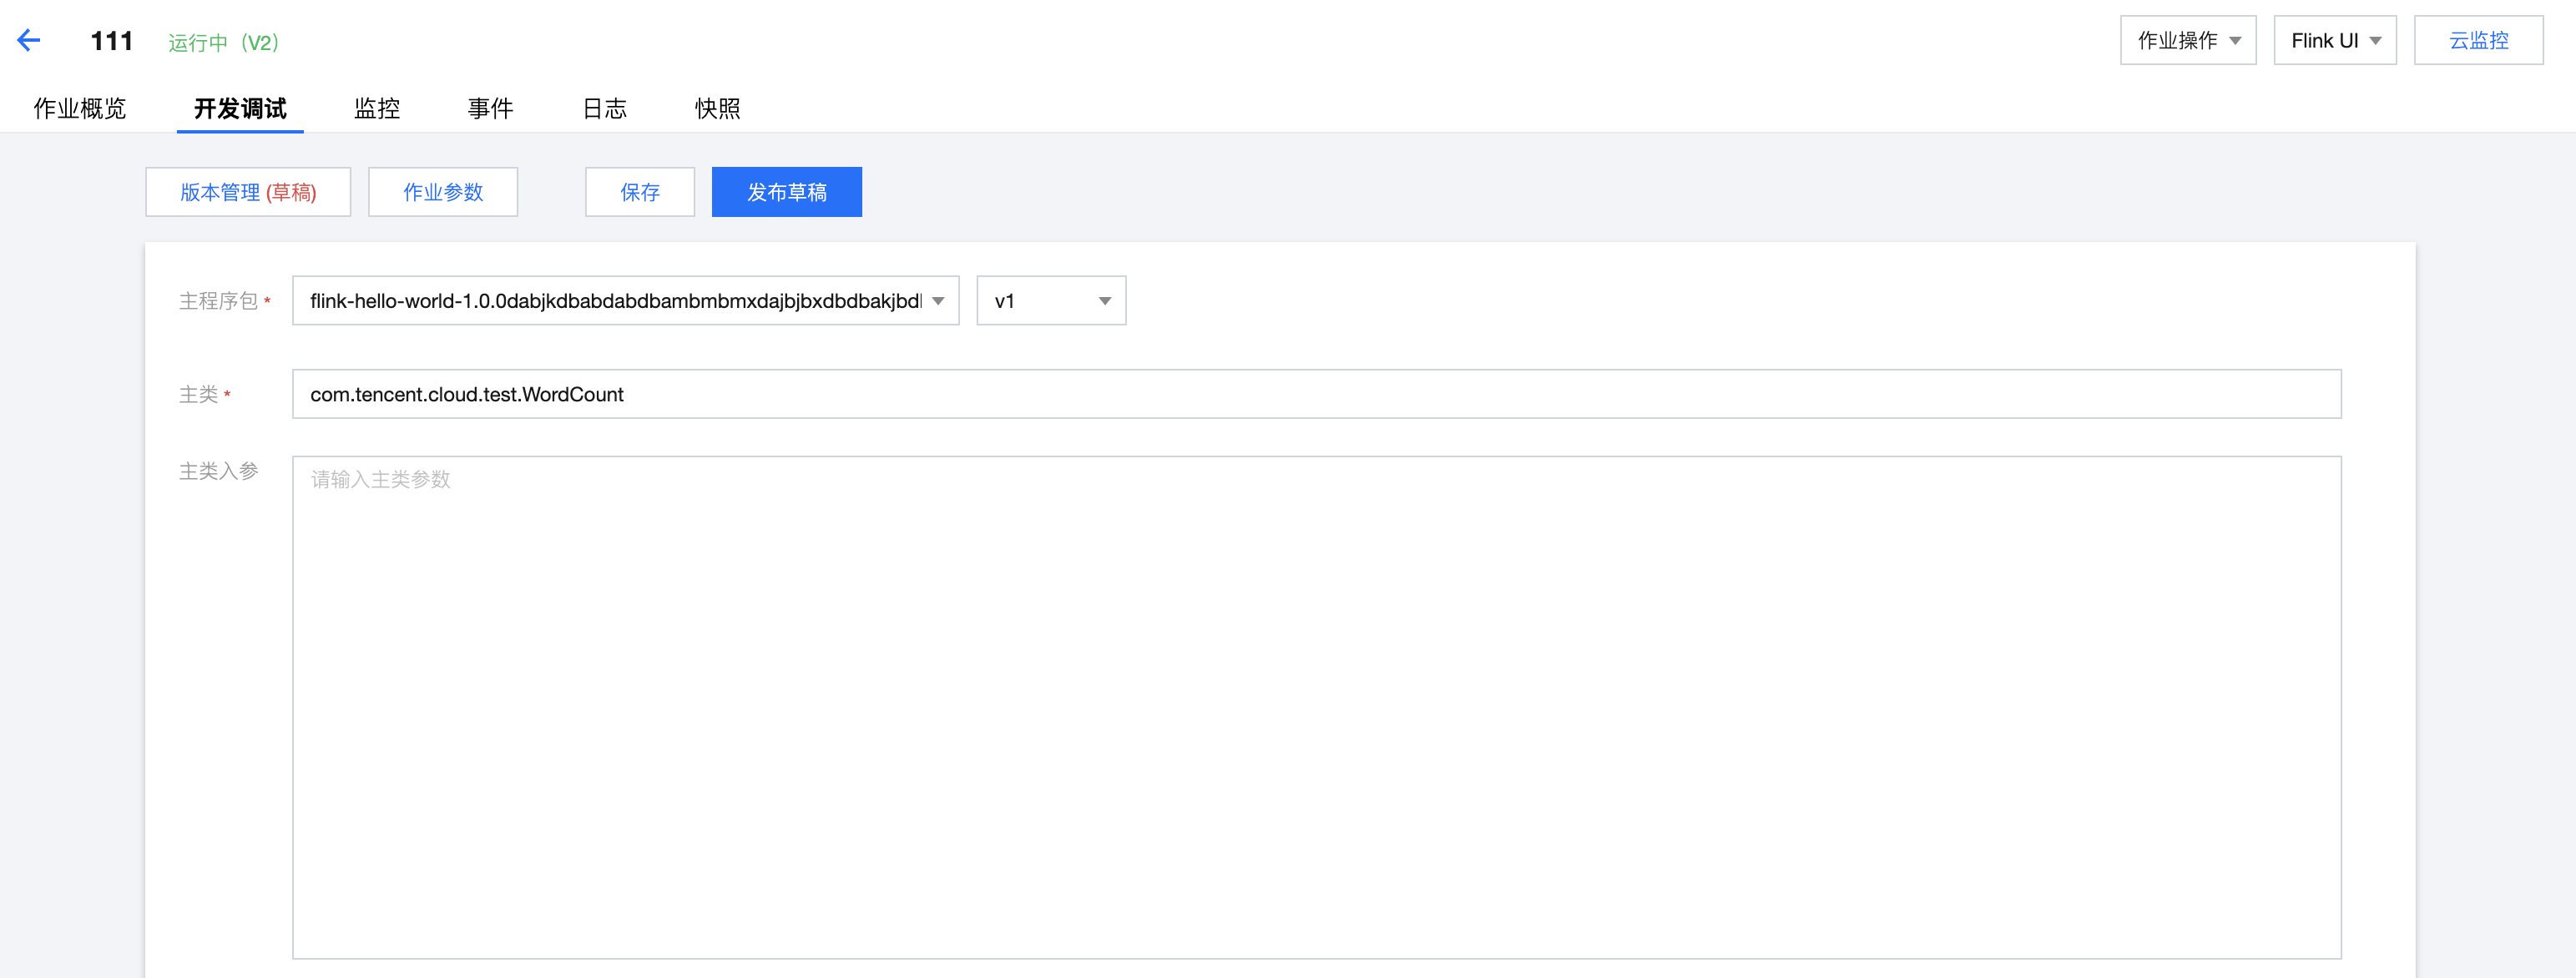
2. 创建 JAR 作业后,在作业管理中单击要进行开发的作业名称,然后单击开发调试,即可在草稿状态下进行作业开发。版本管理(草稿)后的“(草稿)”,即表示当前正处于可编辑的草稿状态下。
开发并使用 JAR 包
开发 JAR 作业需要先在本地开发并编译好 JAR 包,以程序包的形式上传后方可在控制台配置 JAR 作业(JAR 包上传可参考 依赖管理)。在开发调试页面中,选择主程序包及其版本,并输入主类和主类入参,单击作业参数并在侧边弹出的参数界面中设置参数值,然后单击保存,保存作业配置和参数信息。
目前流计算 Oceanus 支持运行基于开源 Flink-1.13、Flink-1.14、Flink-1.16、Flink-1.18 版本开发的 JAR 包,业务代码开发指南请参见 Flink 社区官方文档:Flink DataStream API 开发指南和 Flink Table API & SQL 开发指南。
作业参数
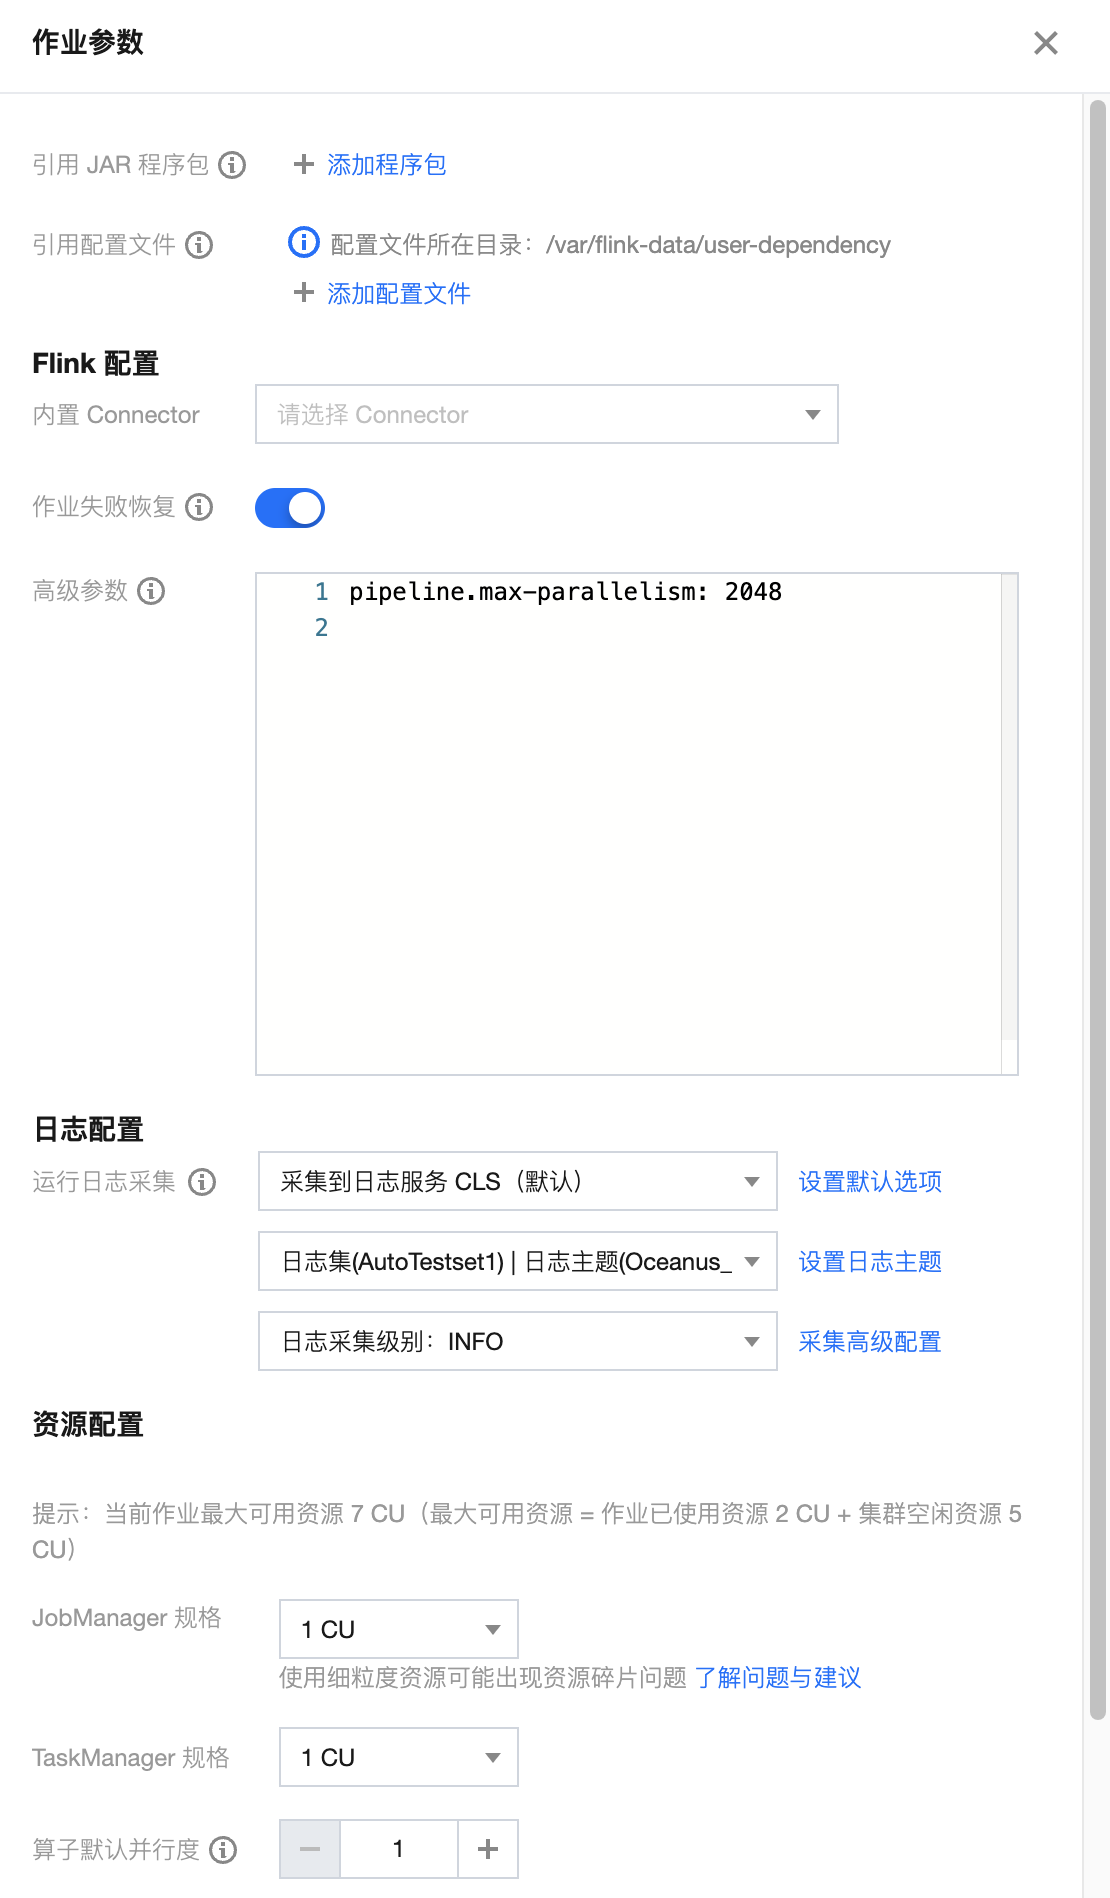
作业参数可以在开发调试页面中单击作业参数,并在侧边弹出的参数界面中设置参数值,然后单击确定,保存作业参数信息。下文会有各参数的详细介绍说明,以帮助您更好地配置各作业参数。
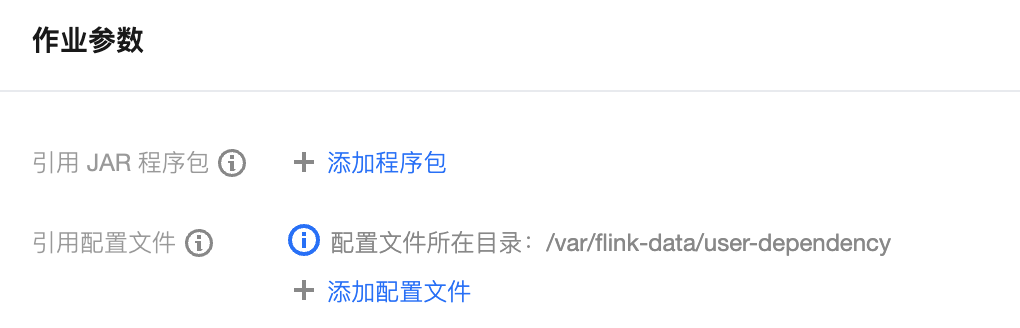
引用程序包
若用户有自定义函数的需求,可以自行开发 JAR 包并在依赖管理中上传后,方可在此添加引用程序包,并选择版本。
引用配置文件
作业参数中指定的外部依赖文件会被放置到 Flink 容器的指定目录下(当前默认路径为
/var/flink-data/user-dependency/),并且会同时被放置于 classpath 的根目录中。用户可以通过手动指定路径或读取 classpath 的方式获取到外部依赖文件。下面以 properties 配置文件为例,介绍如何引用并获取配置内容。
1. 手动指定配置文件路径,获取配置内容
用户首先需要在作业参数中引用配置文件
随后在主类入参中指定依赖文件的绝对路径(当前默认路径为
/var/flink-data/user-dependency/ + 依赖文件名)。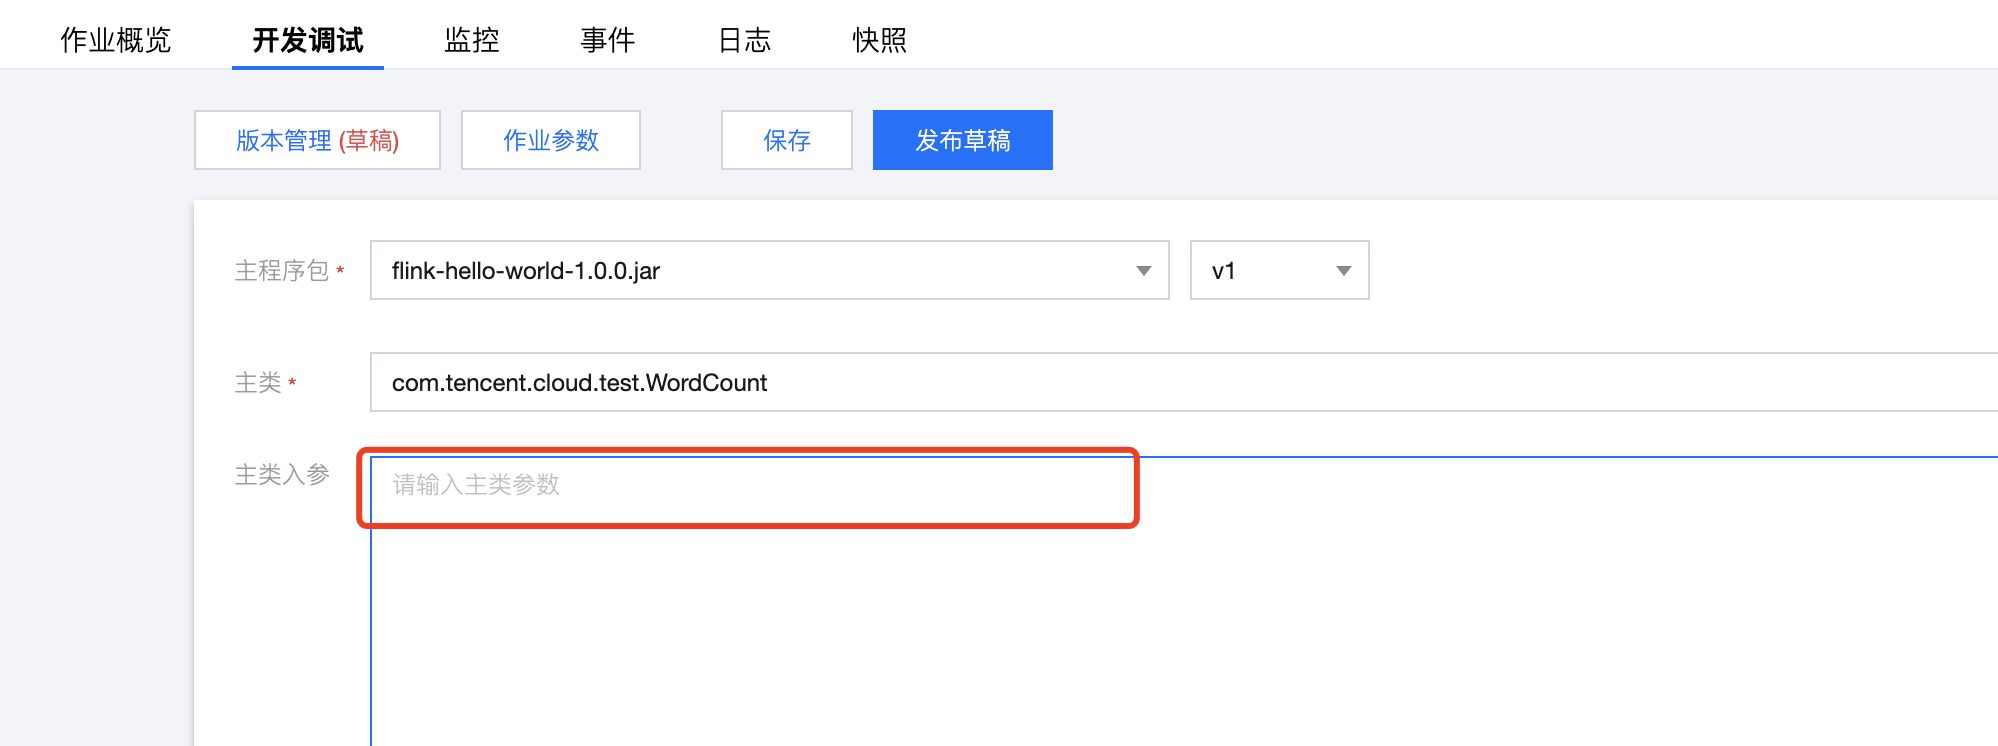
之后就可以在 Flink 主类中使用如下的方式获取外部依赖中的配置内容。
ParameterTool parameterTool = ParameterTool.fromPropertiesFile(args[0]);Properties properties = parameterTool.getProperties();
2. 读取 classpath 中配置文件,获取配置内容
用户首先需要在作业参数中引用配置文件。

随后在程序 Pom 中添加依赖。
<dependency><groupId>commons-configuration</groupId><artifactId>commons-configuration</artifactId><version>1.6</version></dependency>
之后就可以用以下代码获取配置内容。
PropertiesConfiguration pc = new PropertiesConfiguration();pc.setEncoding("utf8");pc.load("flink-config-1.properties");
内置 Connector
由系统提供可让用户选择的 Connector。例如,在 JAR 包中使用了来自 CKafka 的数据流,则必须要在此处选择 CKafka 相应的 connector。内置 Connector 的使用说明可参考 上下游开发指南。
运行日志采集
显示当前作业的运行日志采集配置,默认为采集到集群绑定的默认日志服务。作业的运行日志将自动采集到作业所在的集群绑定的日志集和日志主题,可在日志页面中查看。
高级参数
规格配置
算子默认并行度
当没有在 JAR 包中通过代码显式定义算子并行度时,作业将采用用户指定的算子默认并行度。并行度与TaskManager 规格大小决定作业所占用的计算资源。1个并行度将占用1 个 TaskManager 规格大小的 CU 计算资源(当 TaskManager 规格大小为1时,1个并行度将占用1 CU 计算资源。当 TaskManager 规格大小为0.5时,1个并行度将占用0.5 CU 计算资源)。
从快照恢复作业
作业运行时,支持从历史快照恢复。运行作业时,提示如下:
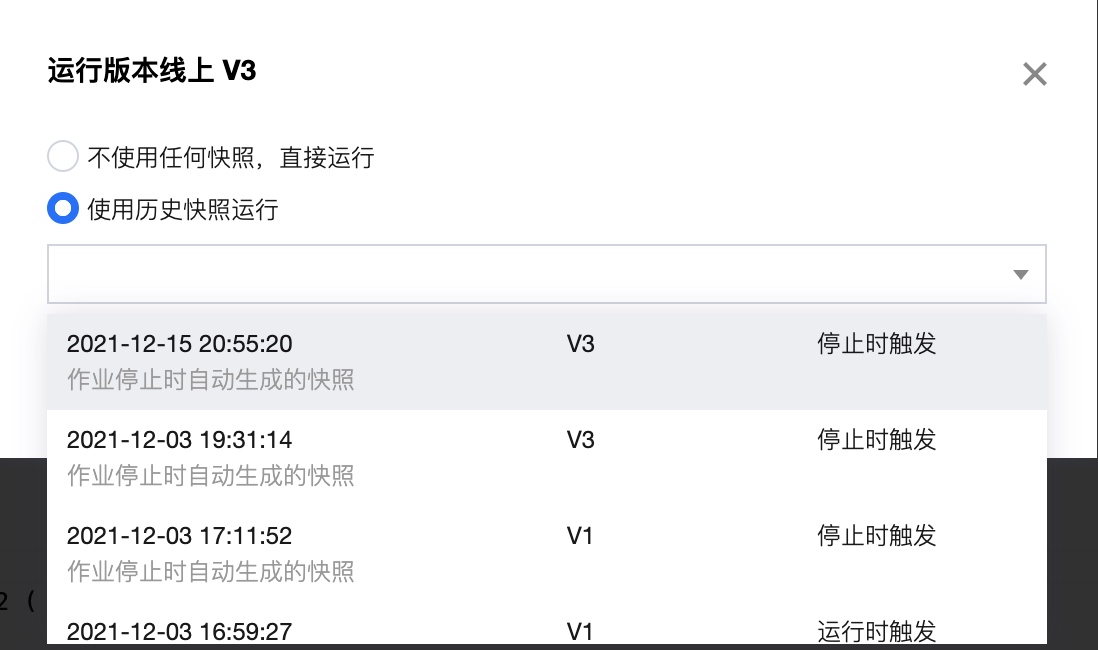
对于没有历史快照的作业,无法使用历史快照运行。
文档反馈