Create Push
Download
Focus Mode
Font Size
This document provides instructions for creating and sending Message Push tasks in the Console > Chat > App Push.
Service Activation
Before using the Message Push tool in the console, please activate the push service first.
User Guide
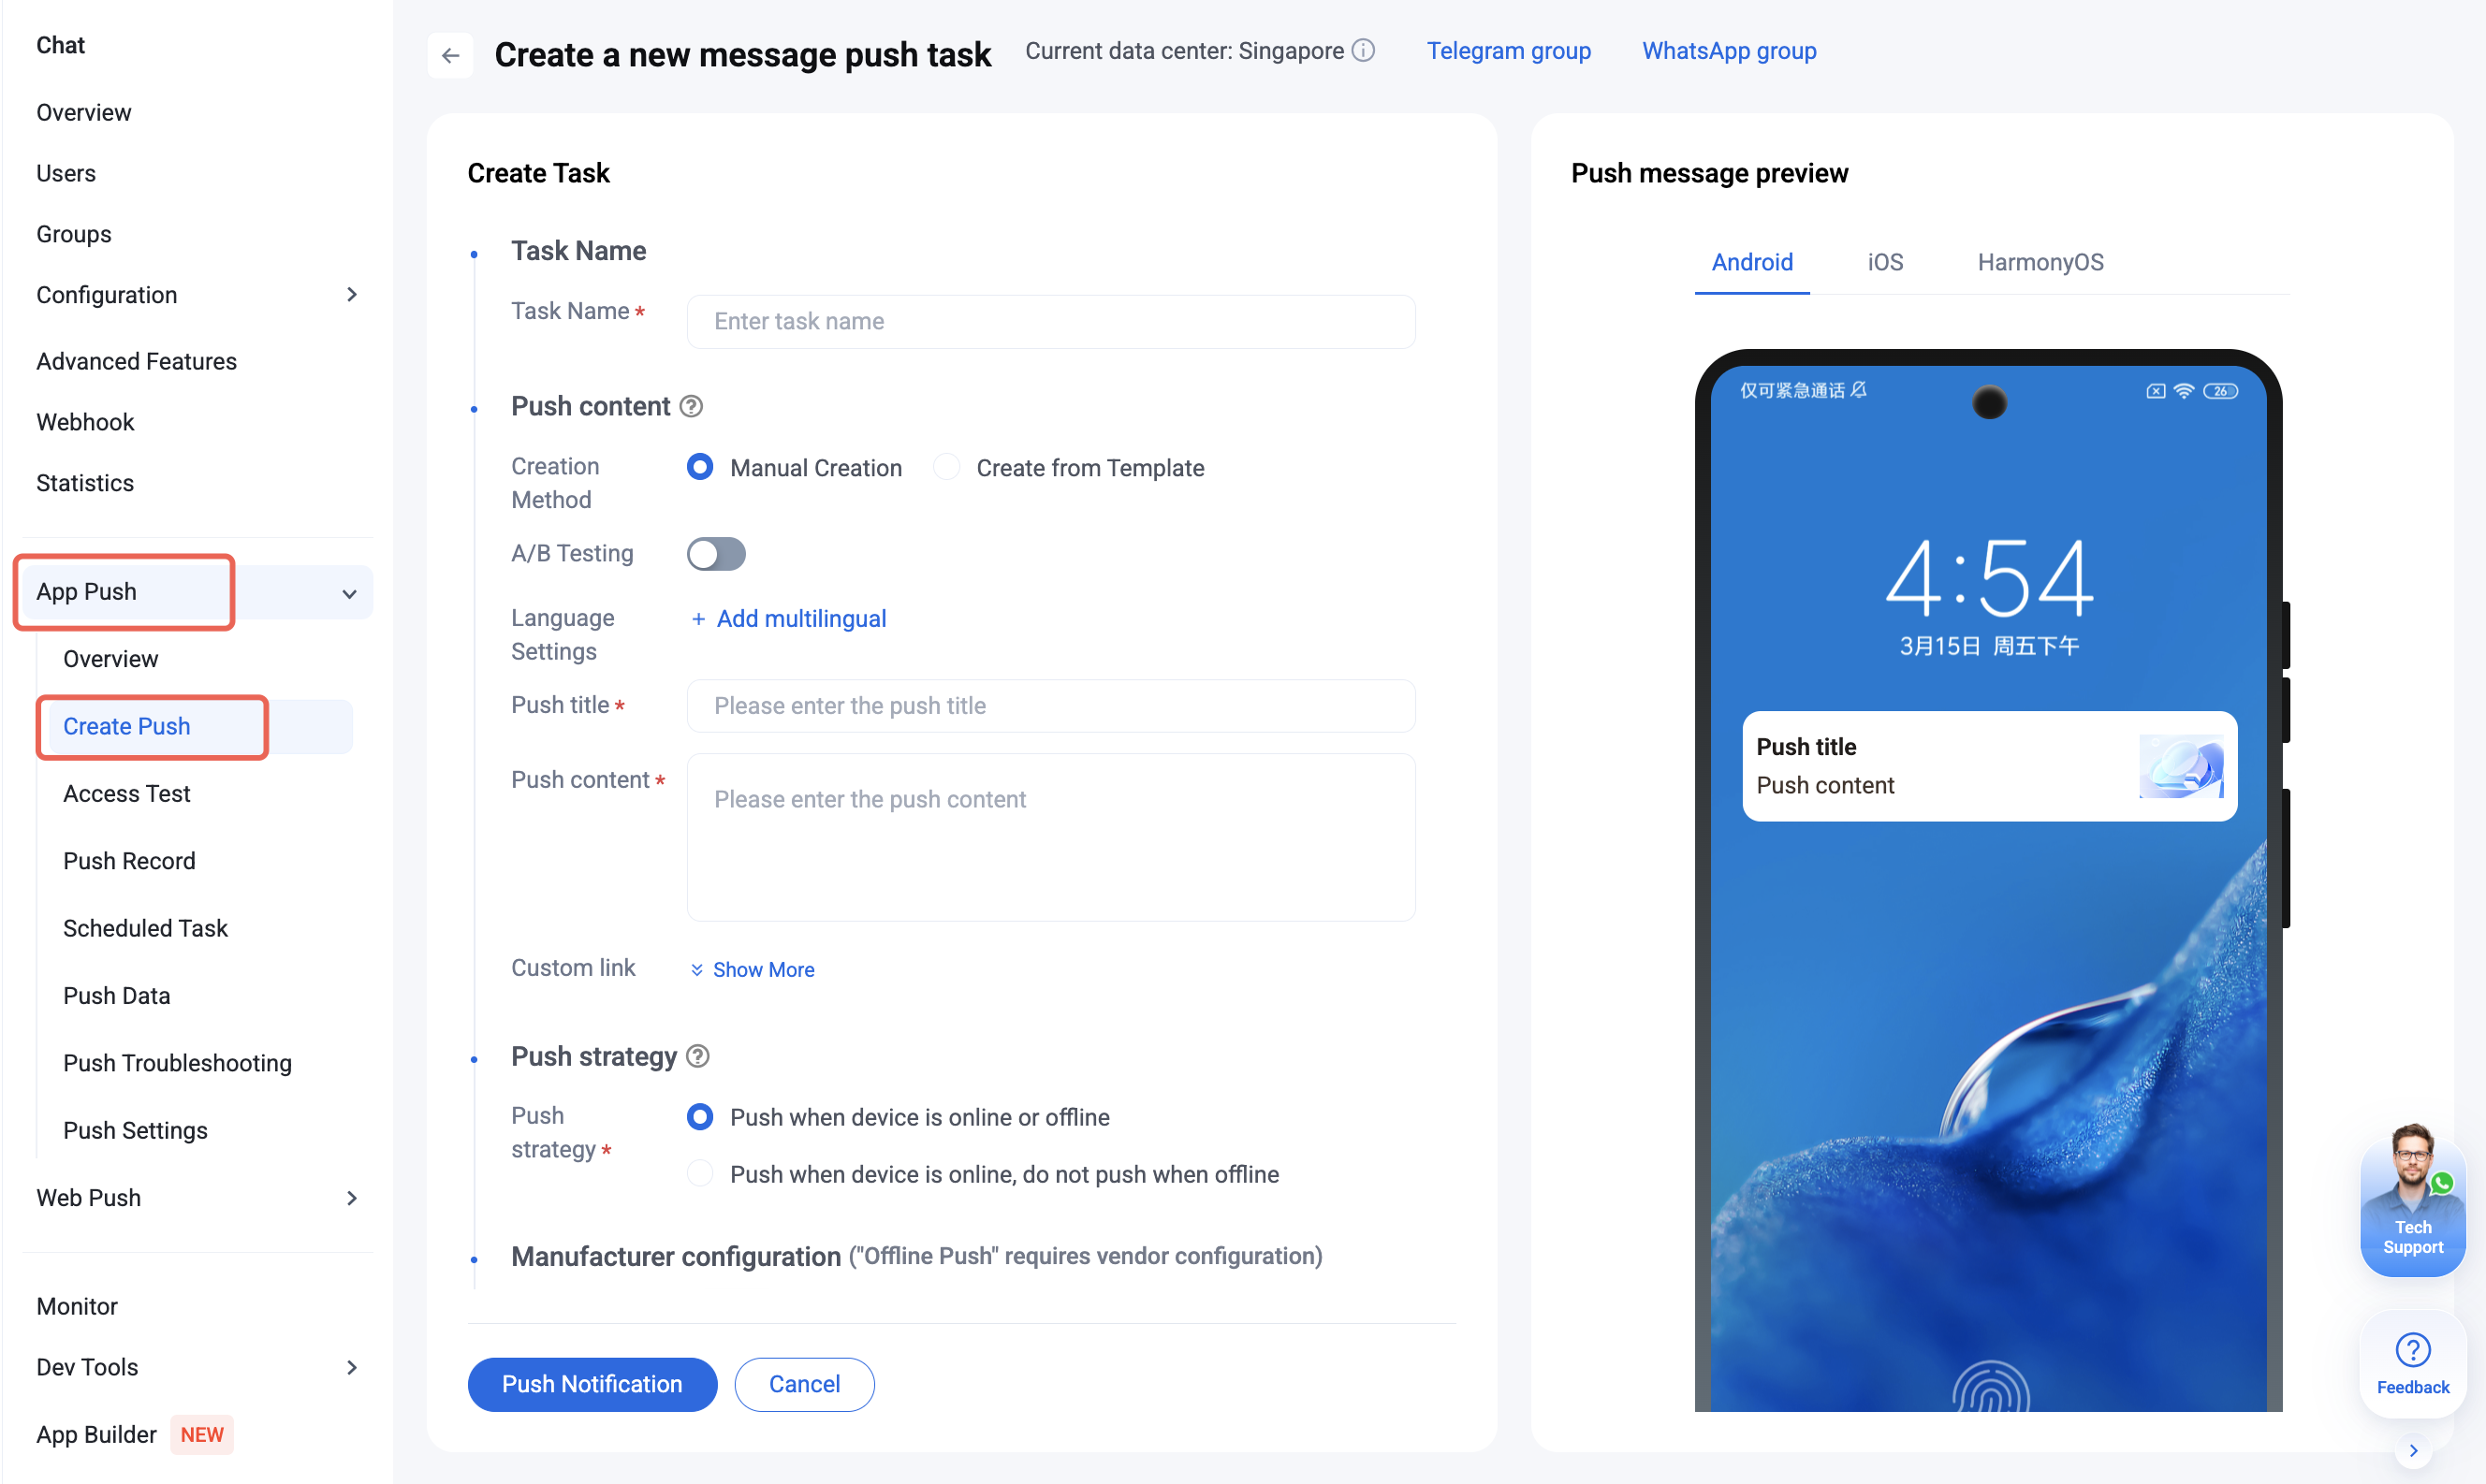
Basic Settings
Task Name
Every Message Push task requires a unique task name.

Push Content
You can create push content manually or from a template. The console supports A/B testing, multilingual messages, and custom link fields. Set both the push title and content (required); avoid using words like "test" to prevent vendor interception and ensure users receive the push.
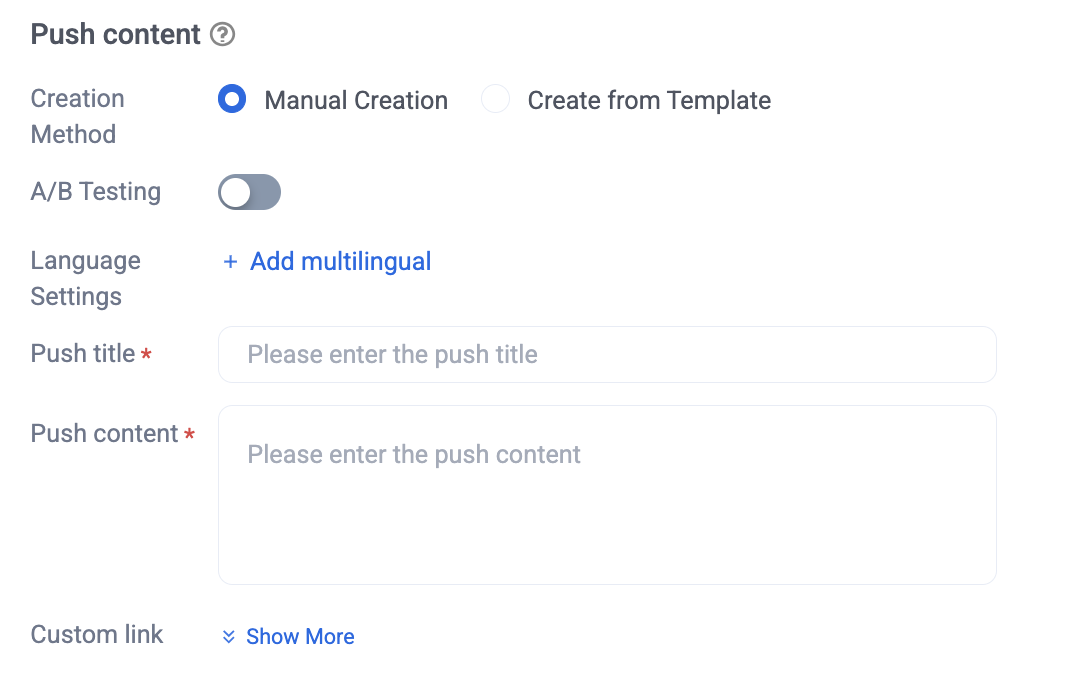
Push Strategy
Choose from two push policies:
Push when device is online or offline (requires vendor configuration)
Push when device is online, do not push when offline
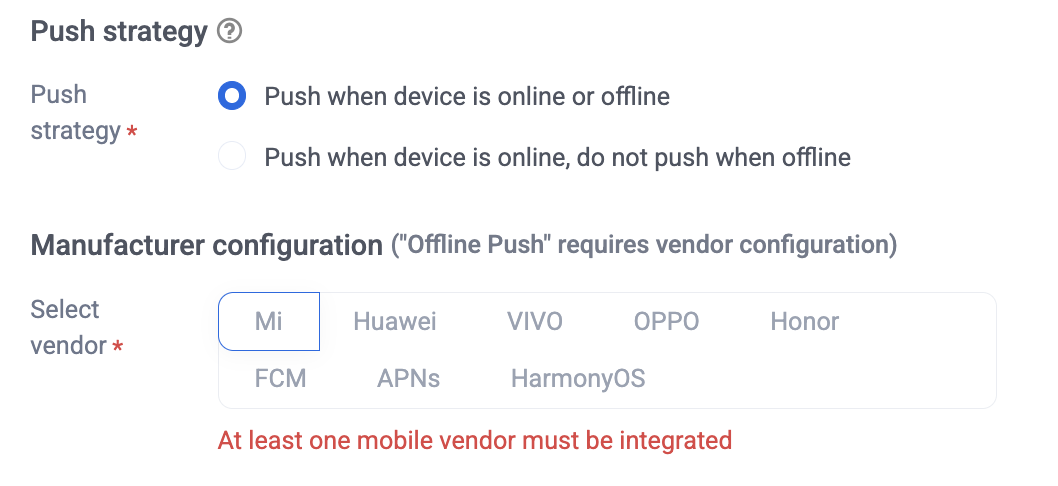
Push Target
Select from three audience targeting methods: UserID-Targeted Users, Tagged Users, or Pushing to all users.
Manual Input
Enter Registration IDs for each recipient. Separate multiple IDs with new lines. For Chat Message Push tasks, you may use UserIDs.
Upload User List File
Upload a
.txt file containing the Registration IDs of target users.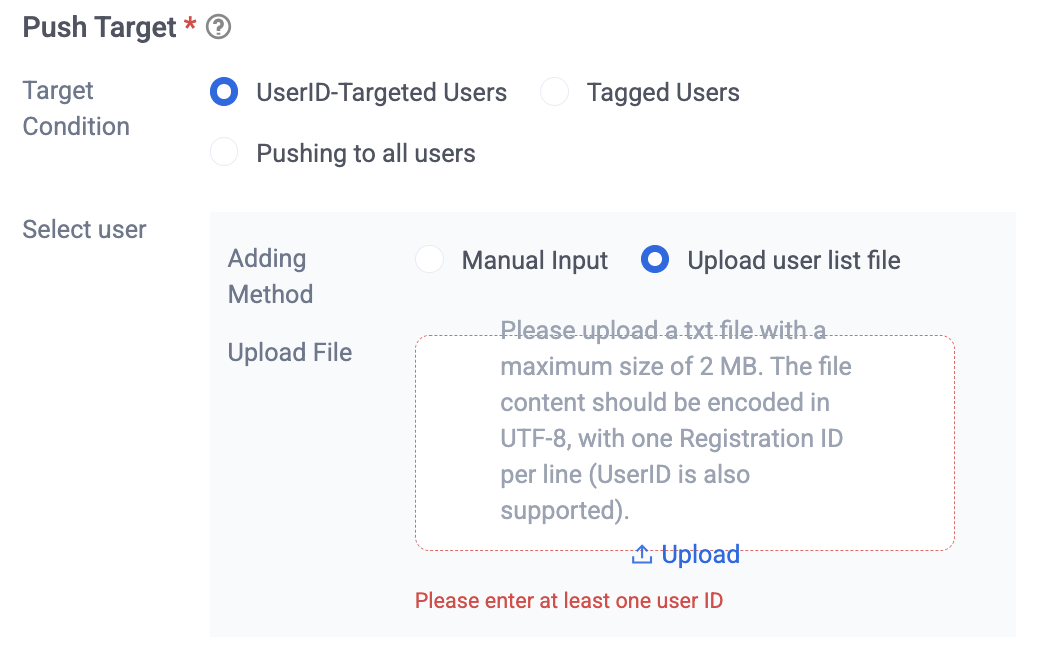
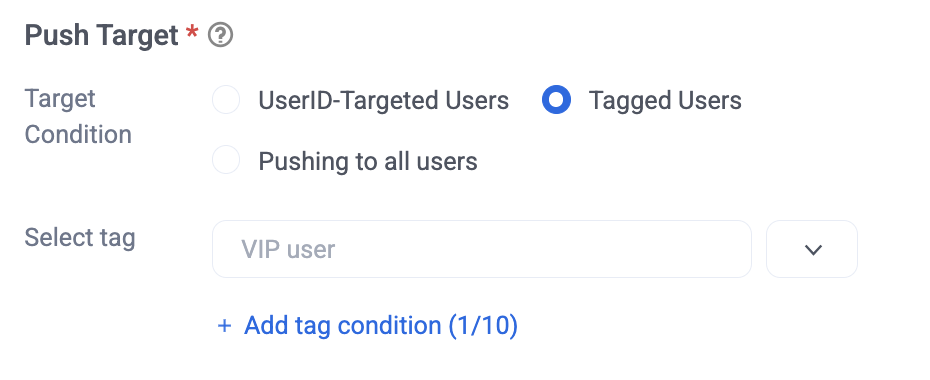
Combine existing tags using "AND" or "OR" logic. You can specify up to 10 tags per push task.
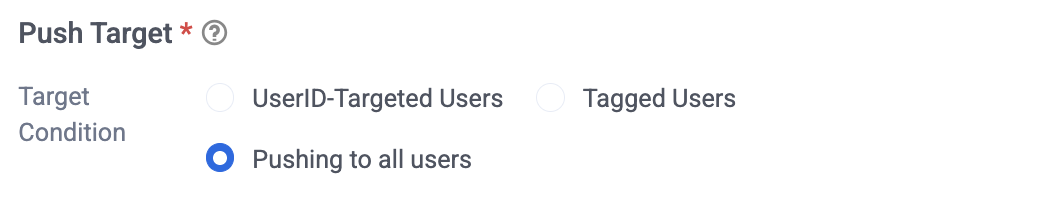
Send to all active users of the current app. No additional configuration required.
Sending Timing
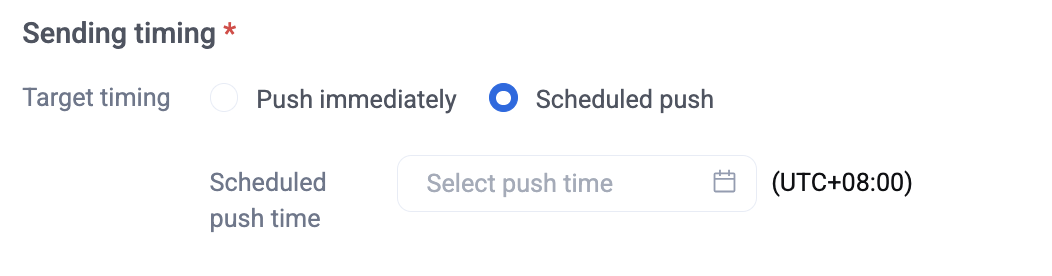
Push Immediately: The push task will be dispatched as soon as you confirm.
Scheduled Push: The push task will be executed at a specified time. For configuration details, see Scheduled Task.
Optional Settings
Custom Ringtone Configuration: After uploading a local ringtone file, you can configure it directly in the push task.
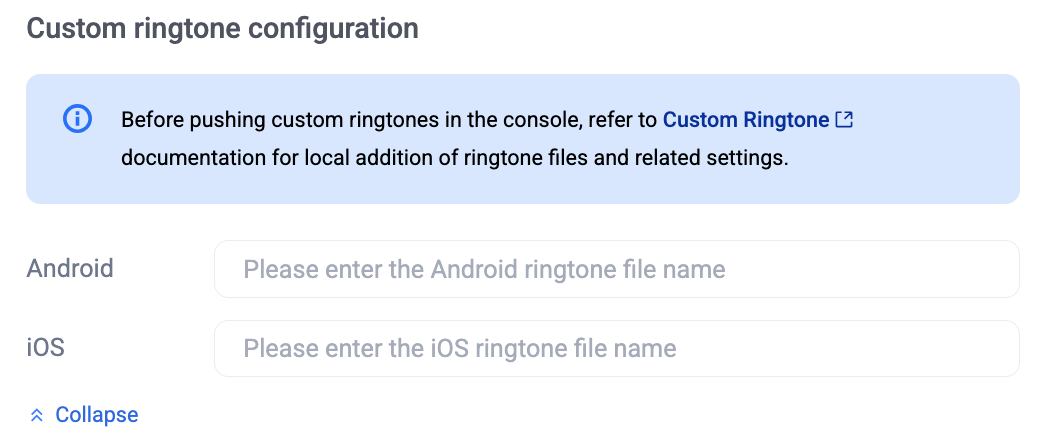
Advanced Settings
Three advanced features are available: Multilingual Smart Push, Custom Link Configuration, and Rate Limiting Push. Advanced features require a subscription to the Message Push service (Advanced Edition). For more information, see Billing instructions.
Multilingual Intelligent Push and Custom Link Configuration
For global users, Multilingual Smart Push enables you to configure push titles and content in multiple languages for a single task. The backend automatically selects the correct language according to each user's device settings.
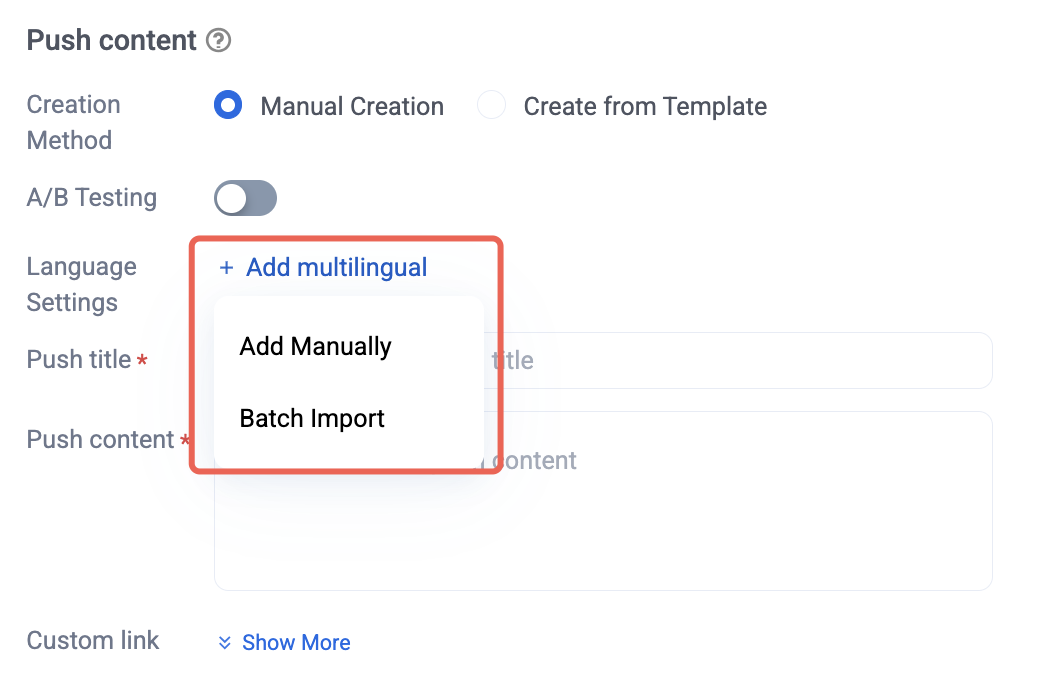
1. In the push content section, click Add multilingual. You can add languages manually or import them in bulk.
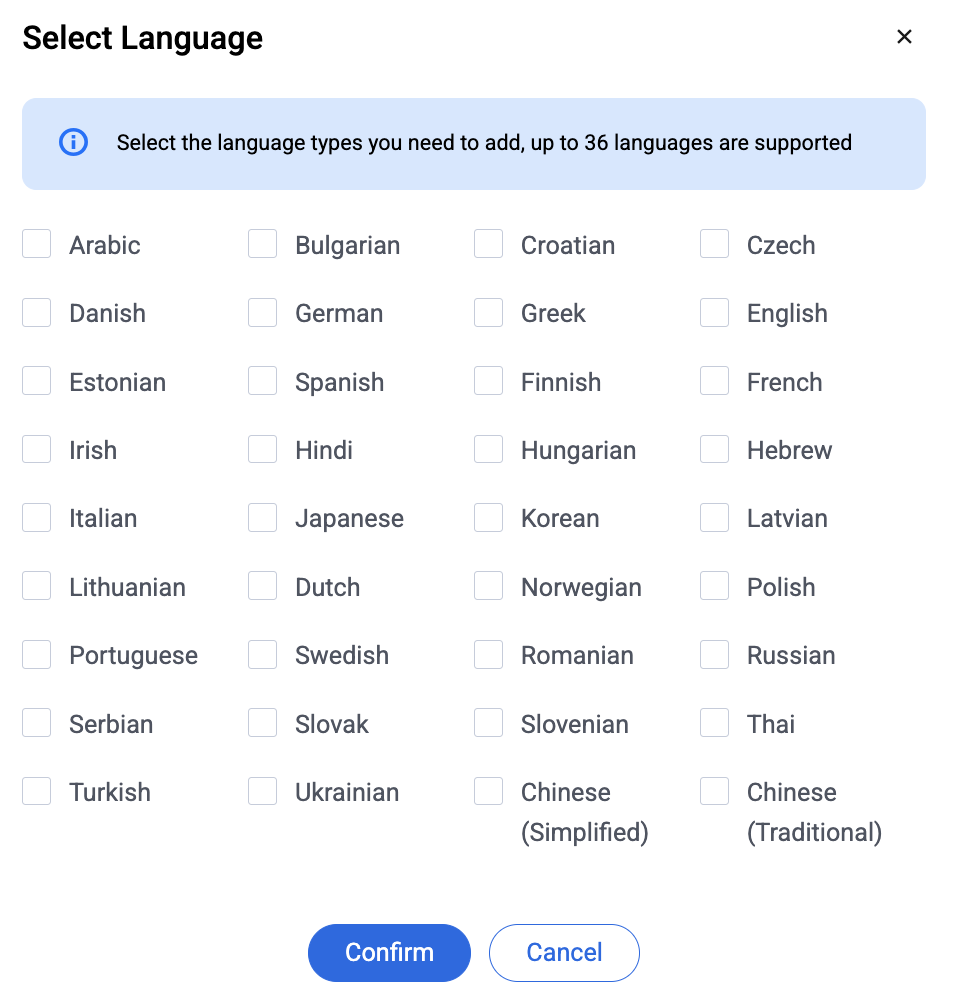
2. Select the languages, then click Confirm.
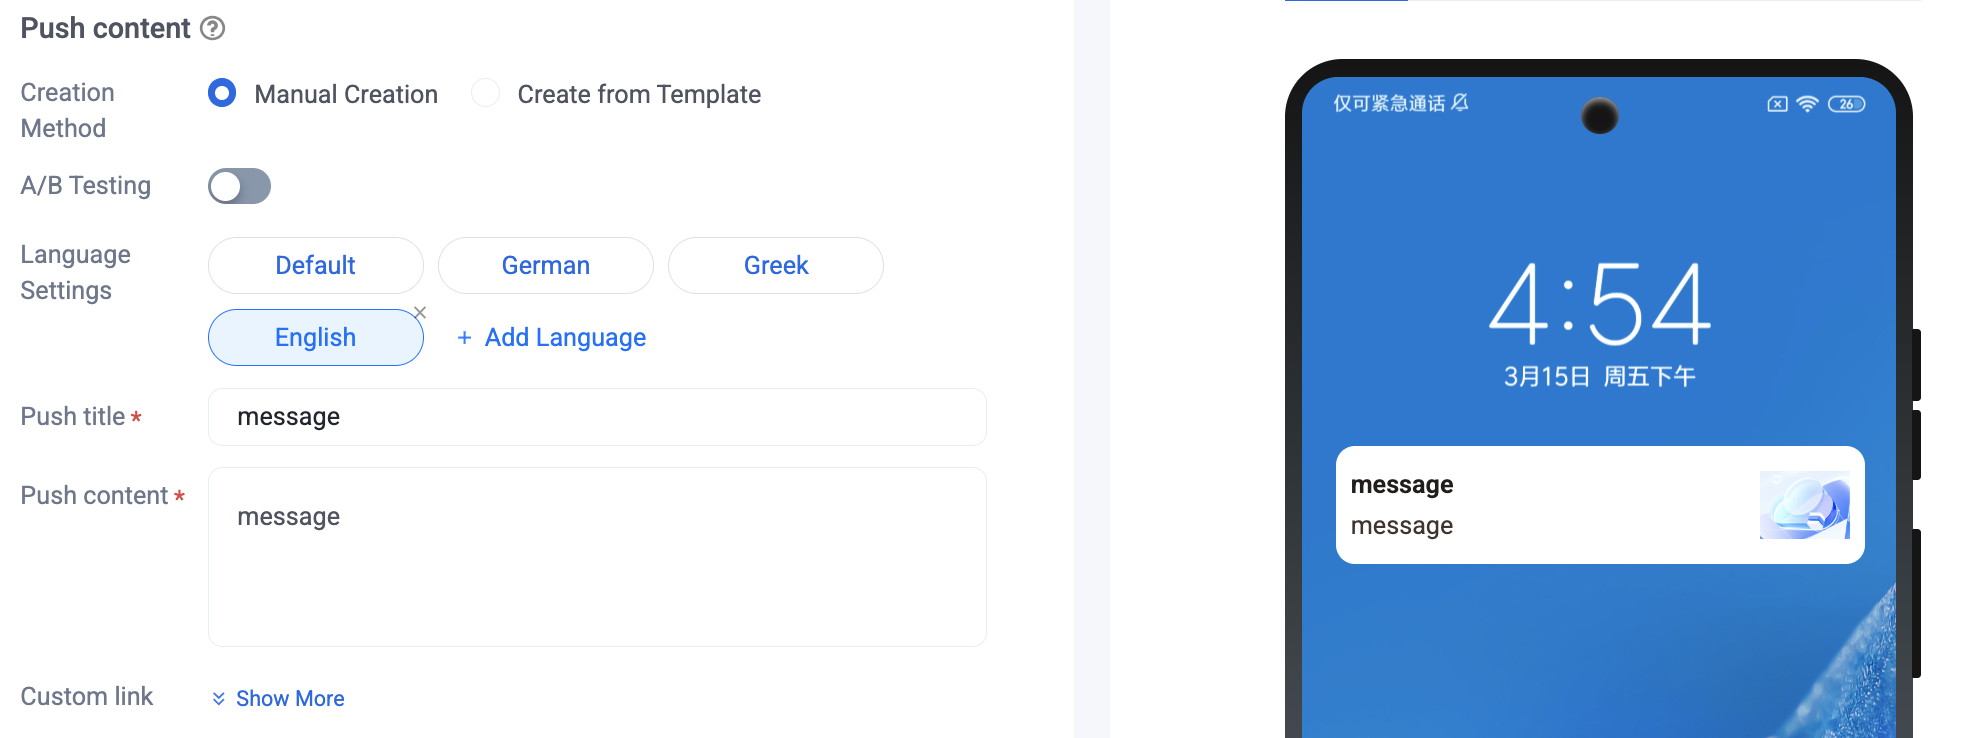
3. Enter the push title and content for each language. A live preview is displayed on the right.
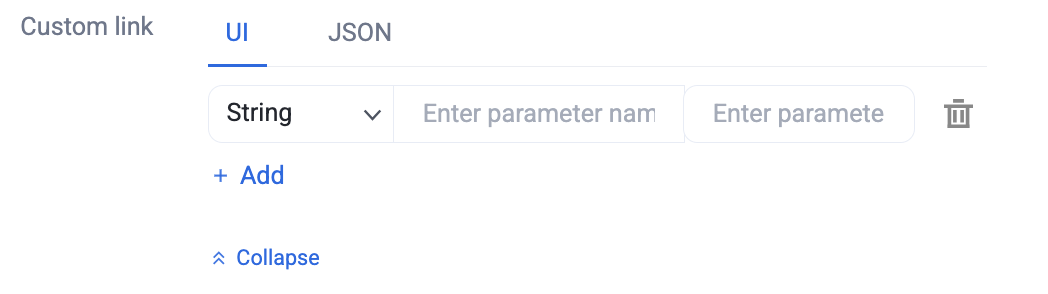
When you need to include custom fields in your push payload, configure them here by entering valid parameters.
Constant Speed Push
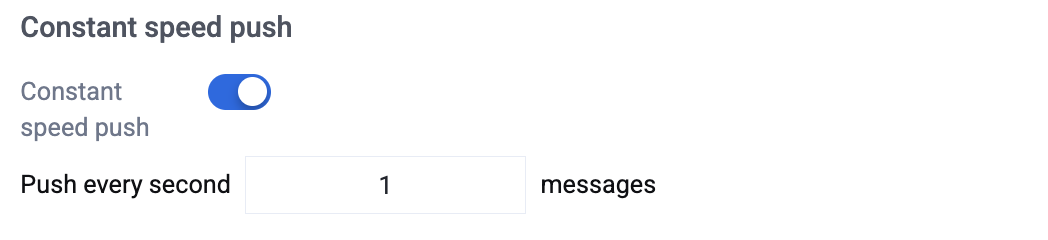
Enable rate limiting to control the number of messages sent per second (range: 0–5000).
Push Preview
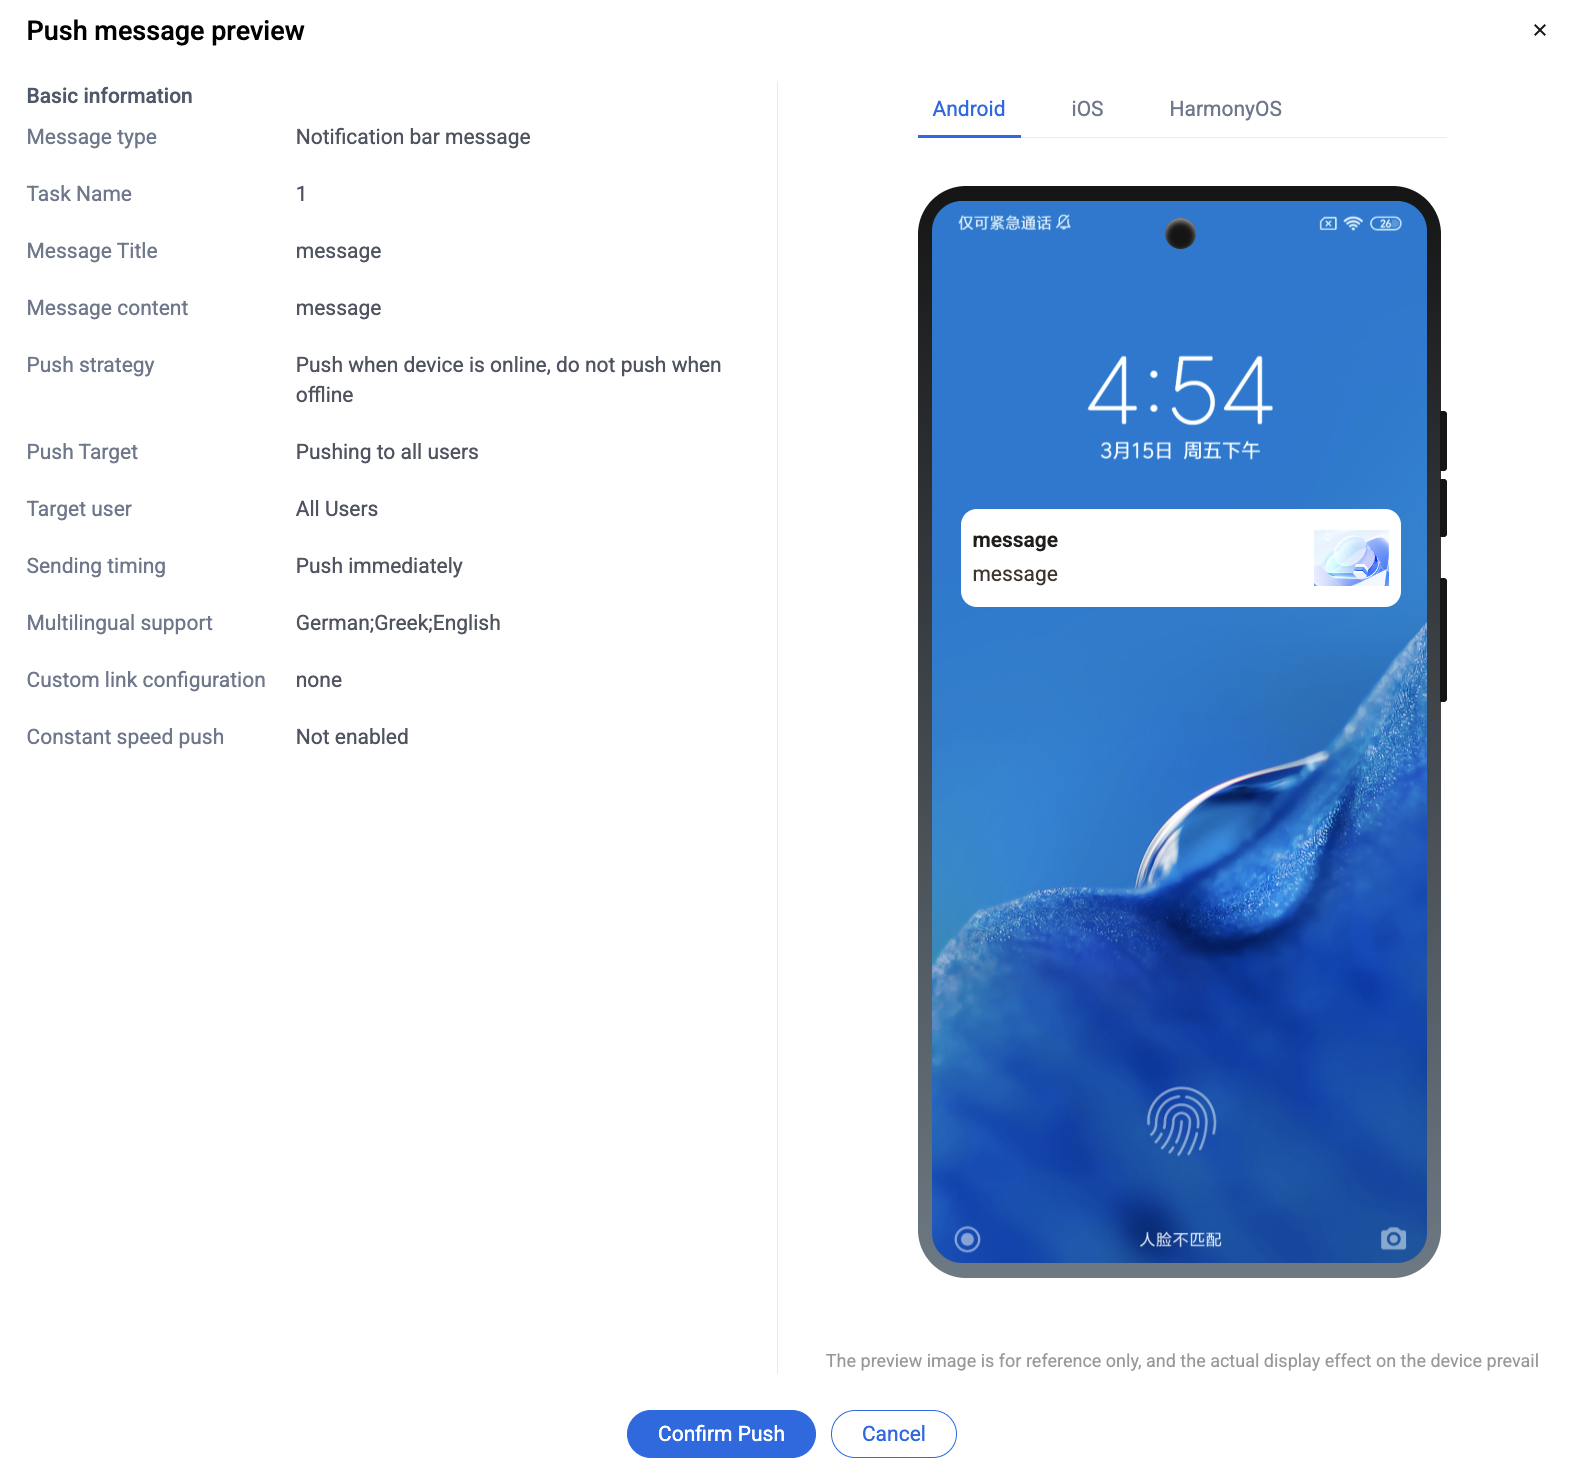
1. On the Create Push page, a preview area on the right displays the push effect in real time as you enter your title and content.
2. Once your push configuration is complete, click Push Notification at the bottom. Review the preview, then click Confirm Push to send the message.
Help and Support
Was this page helpful?
You can also Contact sales or Submit a Ticket for help.
Help us improve! Rate your documentation experience in 5 mins.
Feedback