This document describes how to initialize a Tencent Container Registry (TCR) Individual Edition instance, configure a namespace, and push and pull container images. To use TCR Enterprise Edition, see Quick Start.
Log in to the Tencent Cloud console and choose Tencent Cloud services > Tencent Container Registry to go to the TCR console. Then, activate and authorize TCR as prompted. If you have already authorized TCR, skip this step.
Step 3: Initializing TCR Individual Service
1. Log in to the TCR console and go to the Instance management page.
2. Select the region where you want to use the service. Currently, TCR Individual service is deployed only in Guangzhou in the Chinese mainland and supports cross-region access over the private network from regions such as Beijing, Shanghai, and Chengdu. For more information about other supported regions, see Purchase Guide. The actual available regions are subject to the region list in the console. This document takes the TCR Individual Edition instance of the selected region as an example.
3. Check the tab of the TCR Individual Edition instance in the region, and click Initialize Password to set the password for accessing TCR Individual service. You can choose More > Reset the login password to reset the password.
4. Click Log In to Instance to obtain the guidance on login of TCR Individual.
"username" is the current Tencent Cloud account ID.
Run this login command in the command line tool, and enter the password. The login is successful if Login Succeeded is displayed.
Step 4: Creating a Namespace
1. Click Namespace in the left sidebar. On the Namespace page, select TCR Individual Instance and click Create.
Note:
Namespaces are used to manage image repositories in the instance. They do not directly store container images, but can map to teams, product projects, or other custom layers in an enterprise.
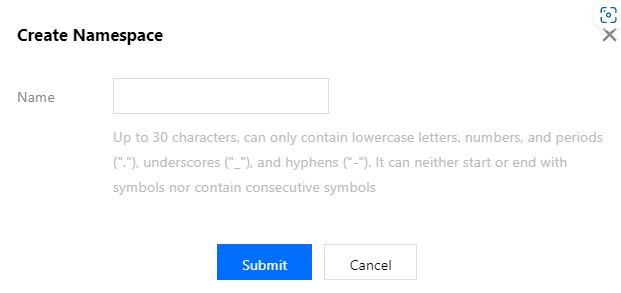
2. In the Create a Namespace pop-up window, configure the namespace information and click Confirm, as shown in the figure below:
Name: We recommend that you use an enterprise team or project name. A TCR Individual Edition instance is a shared instance. You cannot create a namespace with the name that has been used by another user.
Step 5: (Optional) Creating an Image Repository
Note:
After creating a namespace, you can use the Docker client to push images to the namespace, and the corresponding image repository will be automatically created.
1. Click Image Repository in the left sidebar to go to the Image Repository list page. Select TCR Individual Instance at the top of the page.
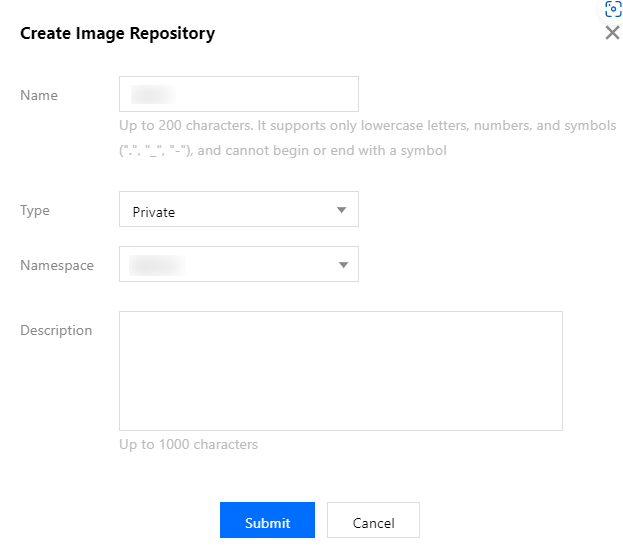
2. Click Create. In the Create an Image Repository pop-up window, configure the image repository information and click Confirm, as shown in the figure below.
2.1 Name: The name must be 200 characters in length and can contain only lowercase letters, digits, and any of the following separators: periods (.), underscores (_), and hyphens (-). The name cannot start or end with a separator, and cannot be a multi-level path.
2.2 Type: Public or private. Like the image types in DockerHub, a public image is visible to all external users and can be pulled anonymously, and a private image is visible only to users with permissions and can be pulled only after login.
2.3 Namespace: Select a created namespace.
2.4 Description: The Markdown syntax is supported.
Step 6: Pushing and Pulling an Image
After completing the preceding steps, you have created a namespace and image repository. Next, you can perform the following operations to push an image to or pull an image from the image repository.
Note:
You need to use a CVM or CPM instance with Docker installed.
Pushing a container image
You can create a container image on the local server or obtain a public image from Docker Hub for testing.
This document uses the official and latest Nginx image on Docker Hub as an example. In the command line tool, run the following commands sequentially to push this image. Replace project-a and nginx with the actual namespace and image repository names you have created.
sudodocker tag nginx:latest ccr.ccs.tencentyun.com/project-a/nginx:latest
If you encounter a problem while using TCR, locate and solve the problem by referring to the FAQs. Alternatively, you can submit a ticket, and we will solve the problem for you as soon as possible.