You can configure sender domains in the SES console. This document describes how to create a sender domain.
Prerequisites
You must have the admin permissions on the sender domain.
If your domain is hosted with Tencent Cloud, log in to the DNSPod console to configure the domain. Otherwise, configure it as instructed in the checklist.
Directions
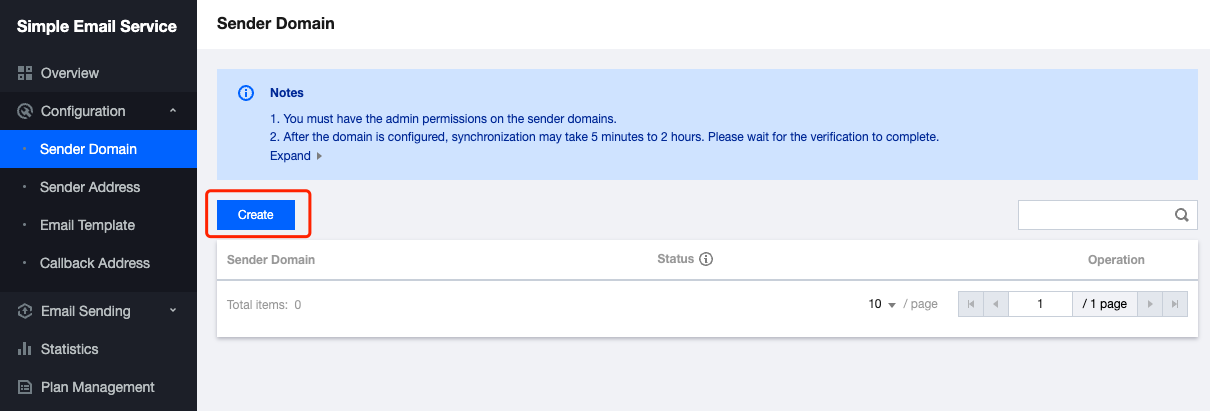
1. Log in to the SES console, click Configuration > Sender Domain to go to the Sender Domain page, and click Create.
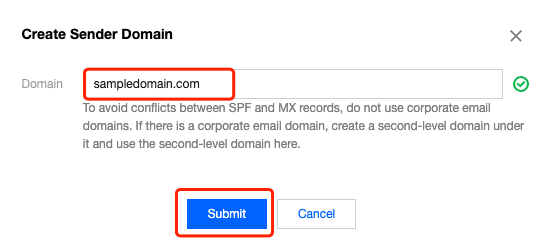
2. In the Create Sender Domain dialog box, enter a domain and click Submit to complete the configuration.
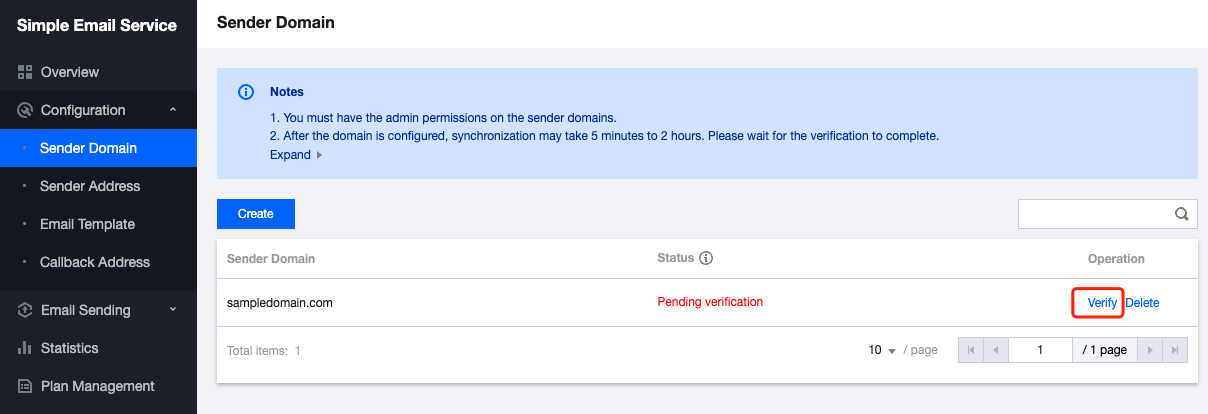
3. Go back to the Sender Domain page, and verify the domain before sending emails with it. For verification methods, see Identity Verification and Configuration.
Attribute
Description
Sender domain
The sender domain address you have configured
Status
Pending verification: You must verify the domain before sending emails with it.Verified: The domain has been verified and can be used to send emails.
Operation
If the status is pending verification, you can click Verify to perform verification, or click Delete to remove this sender domain configuration.
Note:
To avoid SPF and MX records conflicts, do not use corporate email domains.