This document describes how to batch send emails in the console. Batch sending is suitable for large-scale emailing scenarios and supports configuring different variables for different recipients. Recipients can see only themselves in the "To" field of the email.
Directions
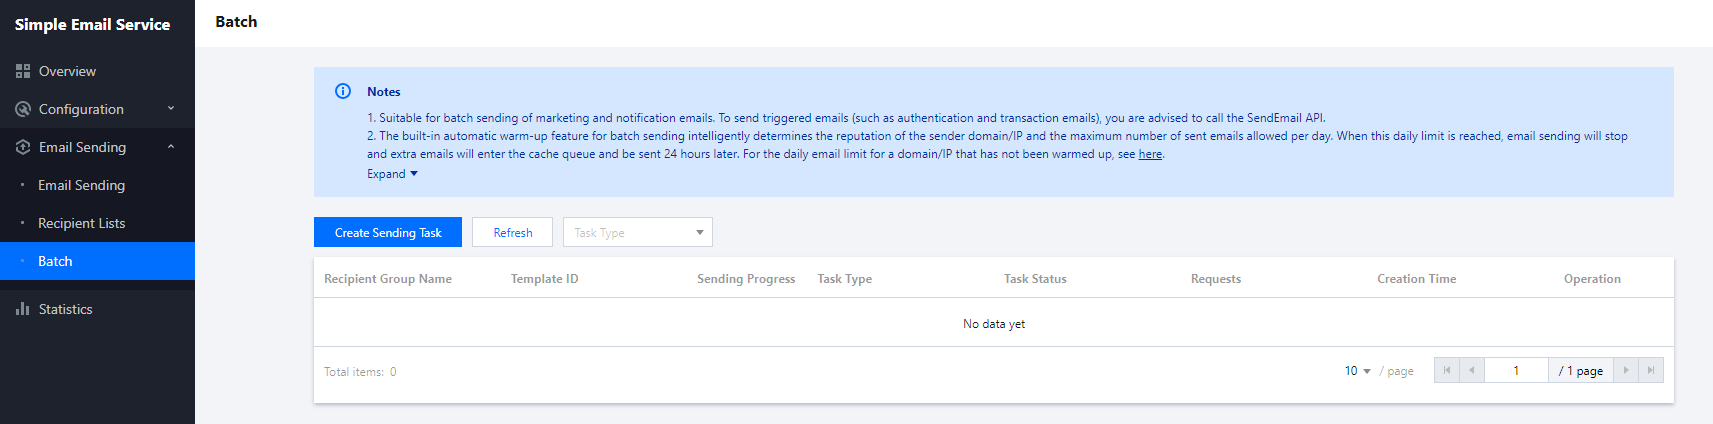
1. Log in to the SES console, click Email Sending > Batch, and you can see the sending task list. The list displays the details of each sending task, including sending progress, task type, task status, and number of requests.
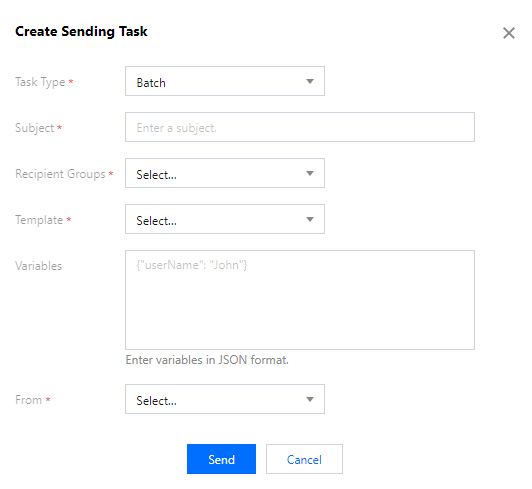
2. Click Create Sending Task, select Batch for Task Type, and set all required fields for the task to send emails in batches.
Note:
The number and names of variables in the recipient group selected on the sending task page must be the same as those in the selected template.
Scheduled sending
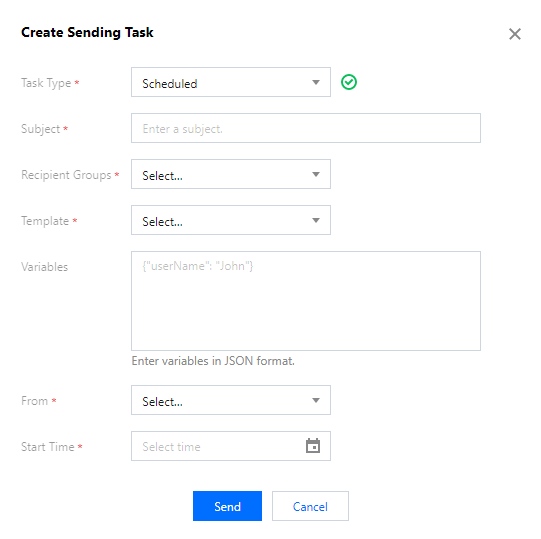
1. In the SES console, select Email Sending > Batch, click Create Sending Task, and select Scheduled.
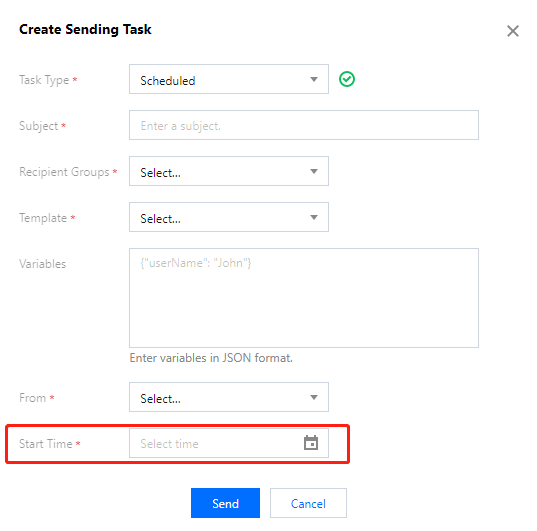
2. Select Start Time for the task, and the emails will be sent automatically at the specified time.
Recurring sending
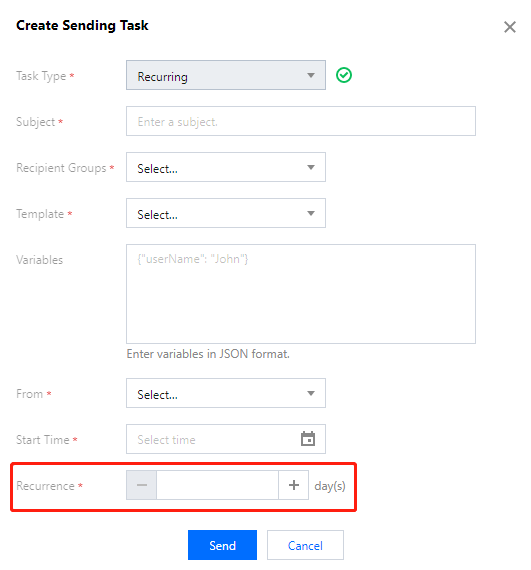
1. In the SES console, select Email Sending > Batch, click Create Sending Task, and select Recurring.
2. Set task fields including Start Time and Recurrence. The console will automatically send emails based on the specified recurrence.
Note:
The Batch feature in the console is suitable for batch sending marketing or notification emails. To send trigger-based emails (such as authentication and transactional emails), we recommend you call the SendEmail API.
You can use a single domain for multiple sending tasks. When the total email volume exceeds the maximum number allowed per day, extra emails will enter the cache queue and be sent the next day.
When a task enters the cache queue, its status is Paused and the sending progress bar remains static. After you restart the task the next day, its status becomes Sending and the progress bar updates.