追踪设置
操作场景
当您需要统计邮件是否被打开或者邮件中链接是否被点击时,您可以通过邮件推送控制台开启这两个事件的追踪。本文将为您介绍如何配置追踪设置。
前提条件
必须 已开通 邮件推送服务。
已配置 至少一个发信域名。
操作步骤
步骤1:创建并验证追踪域名
1. 登录 邮件推送控制台,选择邮件配置 > 追踪设置,进入“追踪域名” 配置页面,单击新建追踪域名。

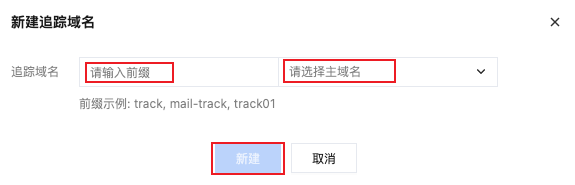
2. 选择主域名,并输入前缀,点击新建。成功创建一个追踪域名。
主域名:列表为已验证通过的发信域名的主域名。
前缀:格式需要满足3-63 个字符;仅支持字母(a-z, A-Z)、数字(0-9)、连字符(-);不能以连字符(-)开头和结尾;不能是纯数字,建议以字母开头。
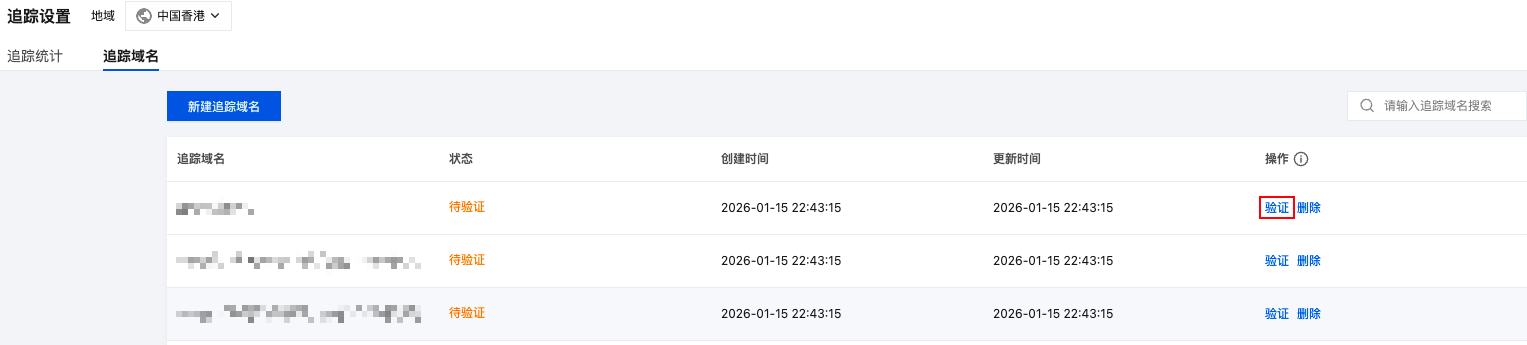
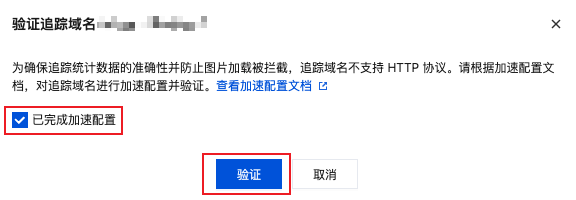
3. 对创建成功的追踪域名,在操作列点击 验证。按照 加速配置指引 进行加速配置,加速配置验证成功后追踪域名可使用。
步骤2:设置追踪
开启追踪
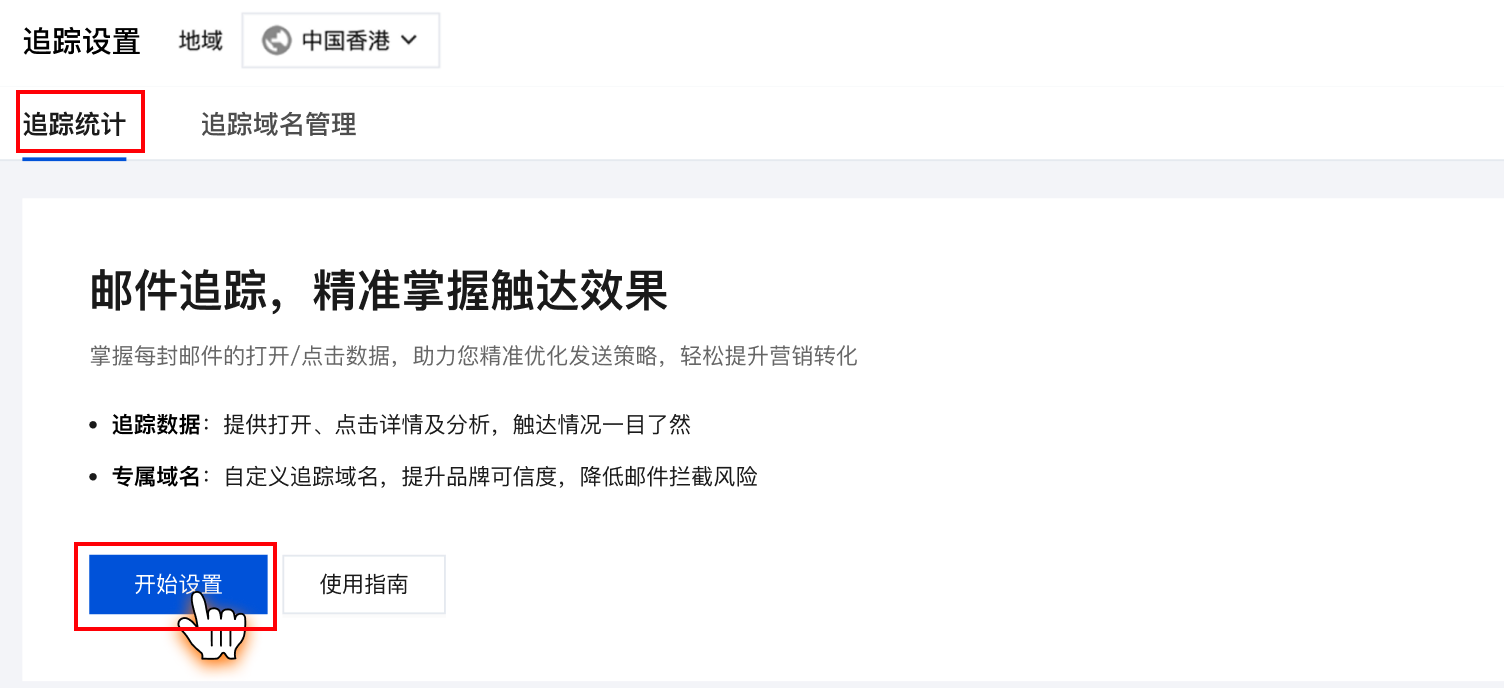
1. 进入“追踪统计” 配置页面,点击开始设置,开启追踪统计。
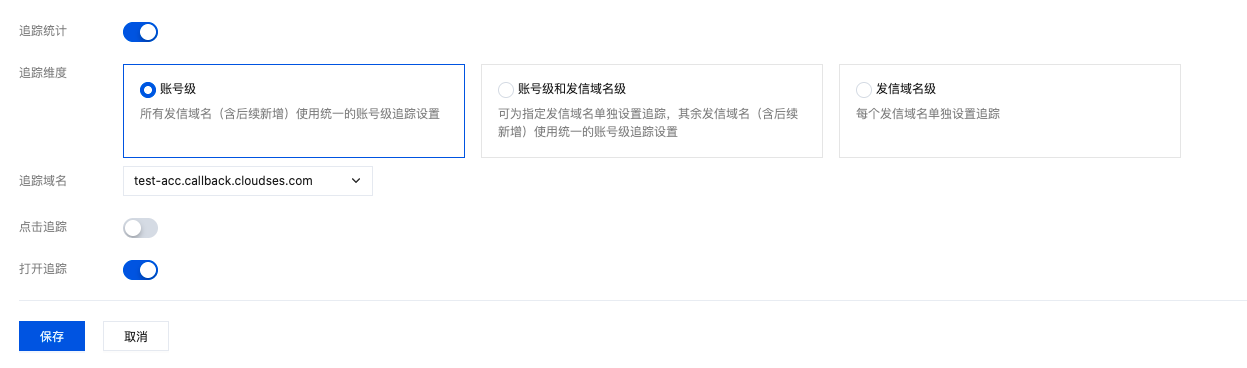
2. 选择追踪维度、已验证通过的追踪域名,根据业务实际需要开启“点击追踪”和“打开追踪”中的至少一项。
账号级:所有发信域名(含后续新增)使用统一的账号级追踪设置。
账号级和域名级:可为指定发信域名单独设置追踪,其余发信域名(含后续新增)使用统一的账号级追踪设置。
域名级:每个发信域名单独设置追踪。
3. 点击保存,追踪开启。一旦有邮件被打开或者点击,将会在 发信数据>数据监控 页面和 投递回应>打开/点击 页面看到对应的统计数据。
说明:
打开事件追踪原理:“追踪像素”的技术。
发送邮件时,系统会在邮件HTML代码中插入一个图片标签(<img>),但这个图片的源文件(src)地址并非一个普通图片,而是指向腾讯云SES的追踪服务器的一个特定URL。当收件人打开邮件,并且其邮件客户端设置为自动加载图片时,客户端就会向这个特定的URL地址发起请求,尝试下载那张“看不见”的图片。追踪服务器收到这个图片加载请求后,并不会真的返回一张图片,而是会记录下这次请求。记录的信息通常包括收件人邮箱、打开时间、IP地址(可能推断大致地理位置)、设备类型等,并将此事件标记为一次“打开” 。
点击事件追踪原理:对邮件中原始的链接进行“包装”或“重定向”。
当您在邮件编辑器中插入一个链接(例如 https://example.com),SES会自动将这个原始链接替换成一个特殊的追踪链接。这个追踪链接指向的是SES自己的重定向服务器。当收件人点击这个被替换过的链接时,请求首先会到达SES的追踪服务器。追踪服务器会立即记录下这次点击事件(包括谁点击、何时点击等信息),然后通过HTTP/HTTPS重定向技术,将用户的浏览器快速跳转到最初的那个真实目标网址。
修改追踪
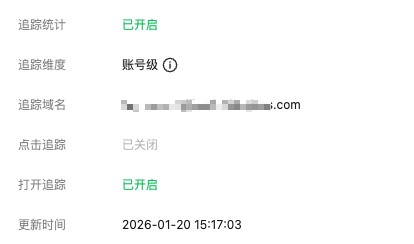
1. 登录 邮件推送控制台,选择邮件配置 > 追踪统计,点击编辑,修改追踪统计设置。
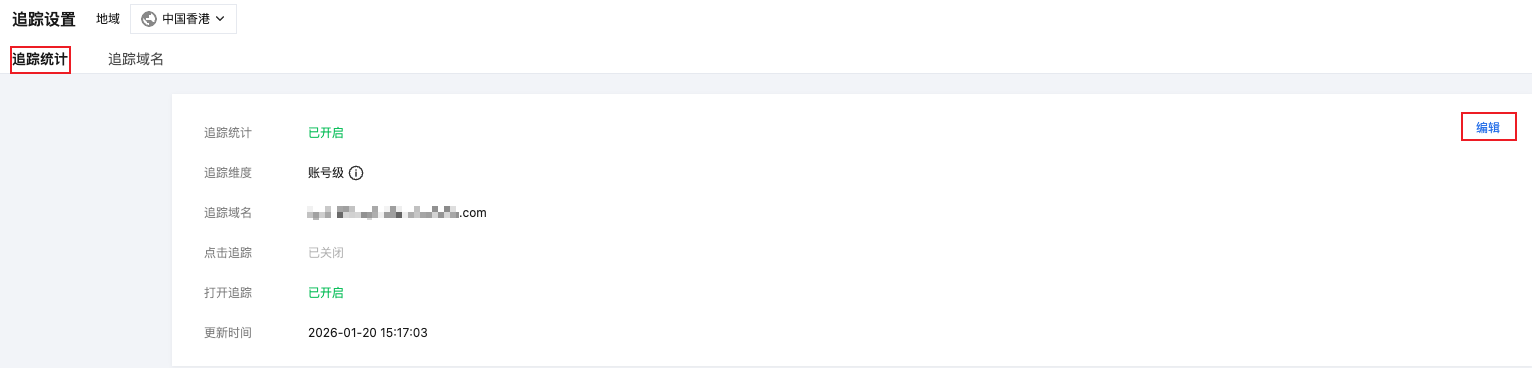
2. 修改追踪统计设置后,点击保存,保存成功后,修改追踪功能生效。
关闭追踪
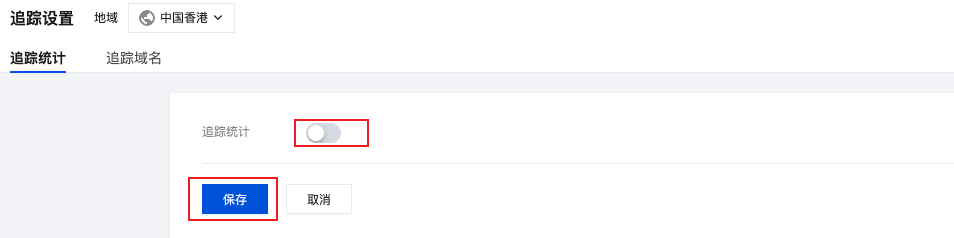
1. 登录 邮件推送控制台,选择邮件配置 > 追踪统计,点击编辑,修改追踪统计设置。
2. 关闭追踪统计按钮,点击保存,保存成功后,关闭追踪功能后生效,追踪统计状态更新为未开启。

文档反馈