2. In the left sidebar, click Application Management to go to the application list page and select a deployment region for your application.
Region
AZs Supported for Deployment
Guangzhou
Zones 3, 4, and 6
Shanghai
Zones 2, 3, 4, and 5
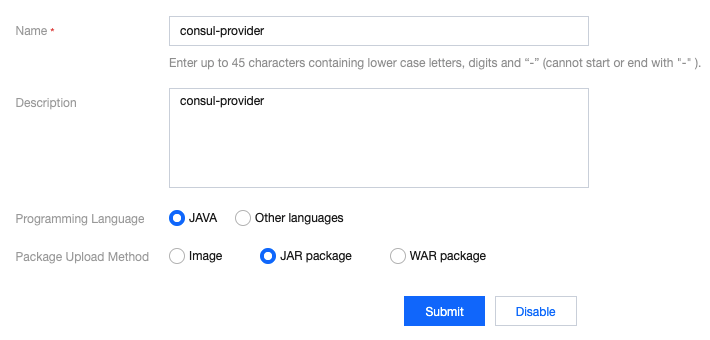
3. Click Create to access the New application page and enter the application information.
Name: enter the application name, which can contain up to 45 lowercase letters, digits, and hyphens and cannot start or end with a hyphen.
Programming Language: select your programming language.
Package Upload Method: select a package upload method. The Java language supports uploading images, JAR packages, and WAR packages, while other languages only support uploading images. If you select JAR package or WAR package, TEM will automatically build a container image for you and push it to your personal container image repository created by TEM.
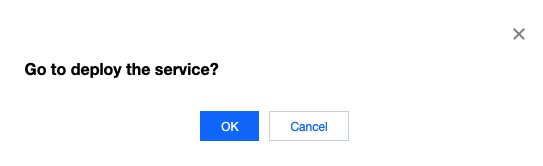
4. Click Submit and select OK in the pop-up window to enter the application deployment page. If you select Cancel, you can click Deploy to New Environment in the application list to complete the application deployment later.
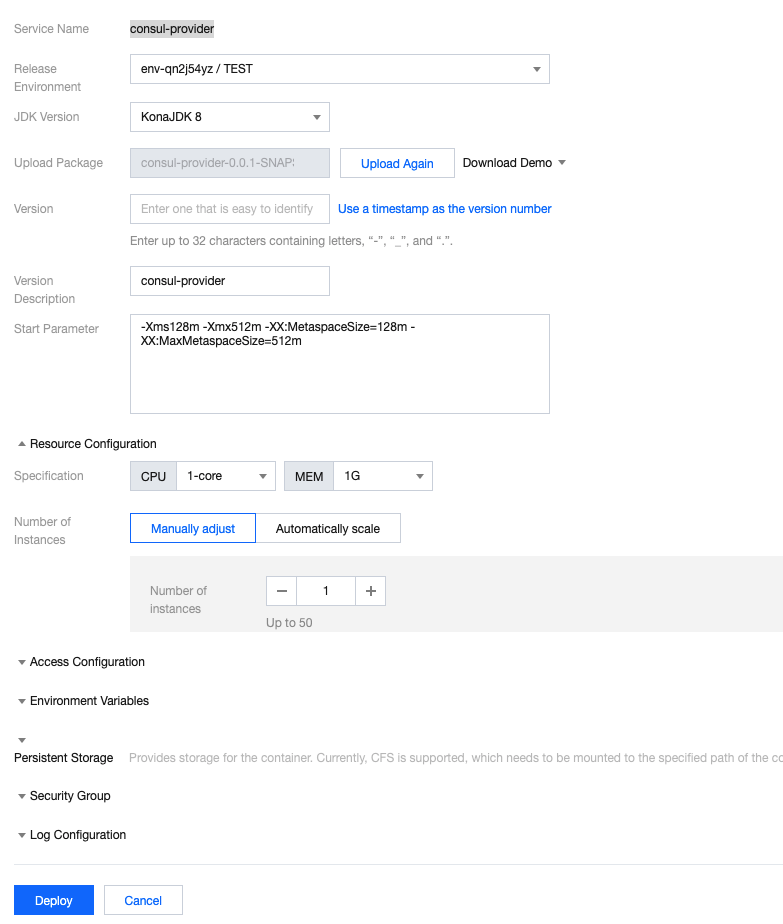
5. On the application deployment page, configure the relevant parameters according to the specific conditions of your application.
The parameters are described as follows:
Parameter
Description
Release Environment
Select the environment where the application is located. If there are no suitable environments, you can create one on the Environment page as instructed in Creating Environment.
JDK Version
Select the JDK version, which can be KonaJDK 11(recommend),OpenJDK 11,KonaJDK 8 or OpenJDK 8.
Upload Package/Image
Upload your package or image or download the demos in the console to deploy them and try out all the features of TEM.
Version Number
Set the application version number. You can choose to enter the version number or click Use Timestamp as Version Number to use the timestamp as the application version number.
Version Description
Enter the version description.
Start Parameter
Set the start parameter.
Note:
If your application is in Java and associated with a registry, TEM will be able to automatically inject the registry information. For more information, please see Service Registration and Discovery.
6. (Optional) You can set the following advanced options as needed:
Parameter
Required
Description
Resource Configuration
Yes
You can set a number manually or set an auto scaling rule to automatically scale.
Protocol: TCP and UDP protocols are supported. When public network/private network CLB instances are used, TCP and UDP protocols cannot be used together.
Application Management
No
Configure processing tasks to be executed before and after the application process, for example, environment preparation and application exit.
Configuration Setting
No
Configuration usage and management.
Environment Variables
No
Configure environment variables.
Health Check
No
Liveness check: check whether an application instance is running properly. If not, restart the instance.
Readiness check: check whether an application instance is ready. If not, stop forwarding traffic to the instance.
Mount Target: select the target path to mount the data volume added in this step and enter the version description.
Security Group
No
You can configure a security group rule to allow or reject the outbound and inbound traffic of instances in the security group. If you need to open other ports for your business, you can create a security group accordingly.
Log Configuration
No
You can enable Persistent storage in CLS. This supports standard output stdout and * configuration paths such as /logs/*, which should be separated by commas. Standard output is used by default.
7. Click Submit to complete the application deployment.
8. For microservice applications, the steps to deploy consumer and server applications are similar to steps 3–7.
Application Access
TEM provides two ways of access: intra-environment access and public network access.
Intra-environment access: microservices in the same environment can call each other through the registered service names. Service registration and discovery based on registries such as Consul as well as service discovery based on Kubernetes are supported.
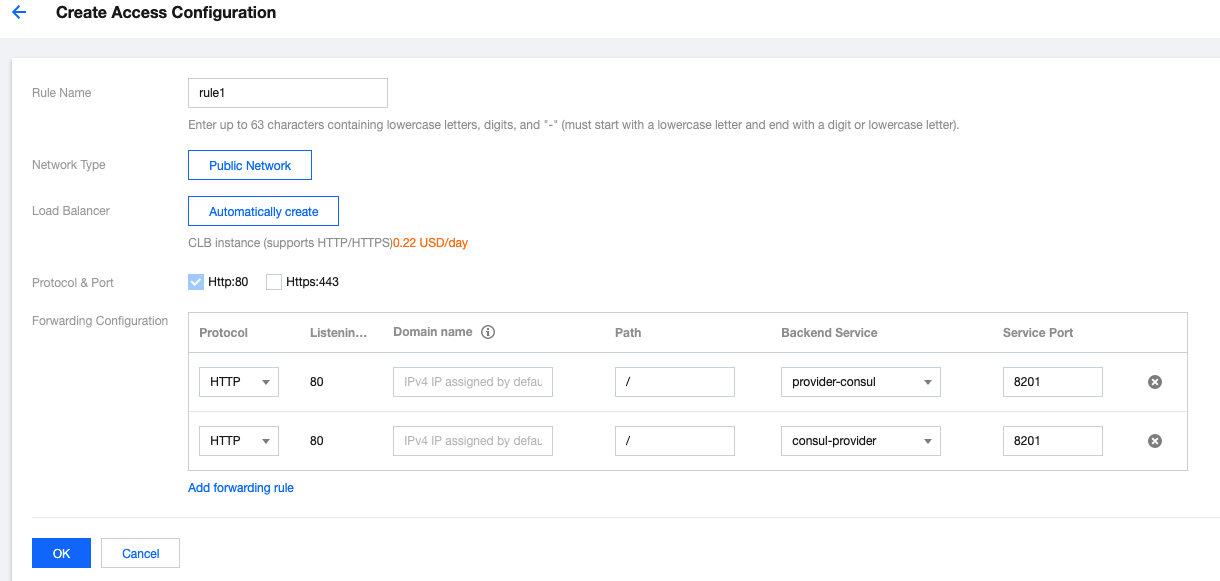
Public network access: click View Details under the target environment block and create public network CLB instances and HTTP/HTTPS forwarding rules on the Access Management page to access the application.
Taking public network access as an example, the steps are as follows: