Enabling Public Network Services Through CLB
Download
포커스 모드
폰트 크기
TencentDB for CTSDB 3.0 currently only supports private network addresses for internal access to instances. If necessary, you can use Cloud Load Balancer (CLB) to enable public network services for access. This document introduces how to enable public network services through CLB to connect to instances.
Prerequisites
The backend service feature has been applied, Submit a Ticket to CLB and apply for using the backend service feature.
Step 1: Purchasing a New CLB
Note:
If there is already a CLB instance in the same region as CTSDB 3.0, you do not need to purchase it.
The region should be the same as the region where CTSDB 3.0 is located.
The CLB instance and CTSDB 3.0 instance should be in the same VPC.
Step 2: Configuring a CLB
1. Log in to the CLB Console, select a region, and click Instance ID in the Instance Management list to enter the instance management page.
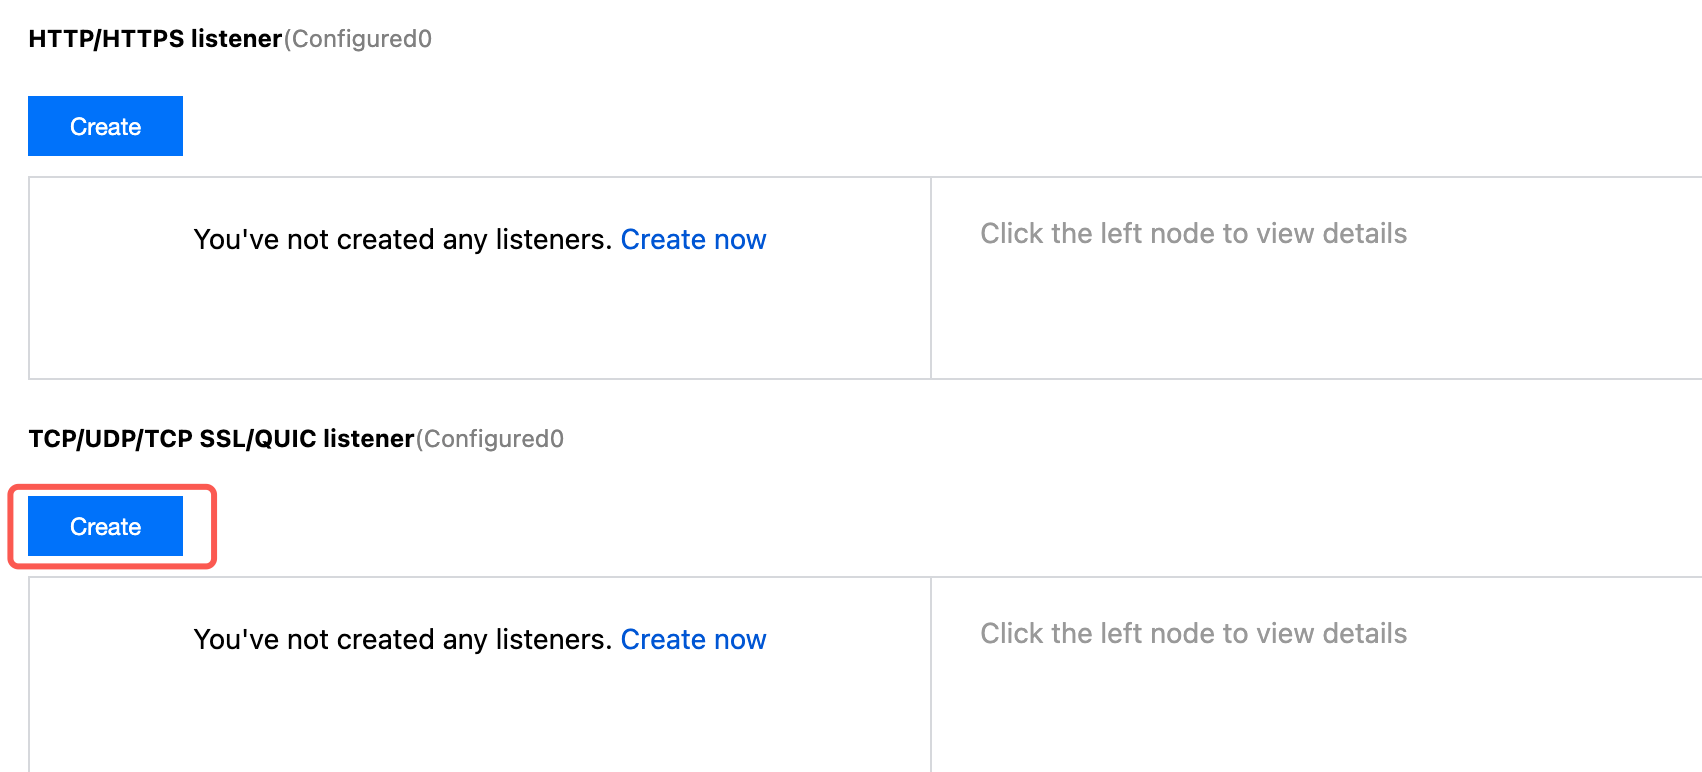
2. On the instance management page, select the Listener Management page and click Create under TCP/UDP/TCP SSL/QUIC Listener.
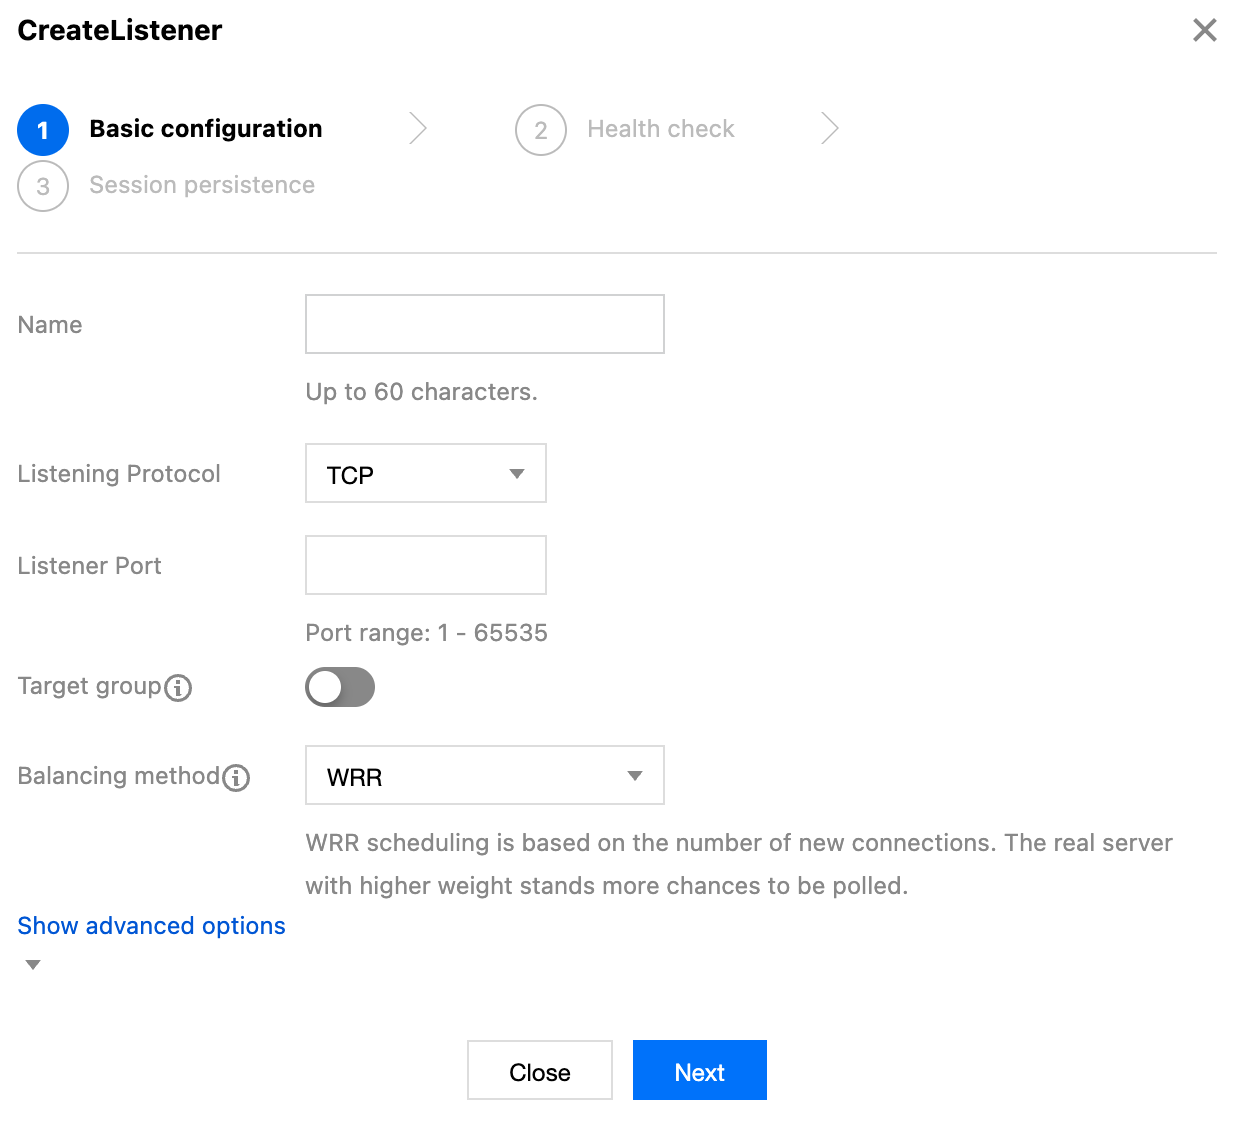
3. In the pop-up dialog box, complete the settings step by step, and then click Submit to complete the creation.
Step 3: Binding a CTSDB 3.0 Instance
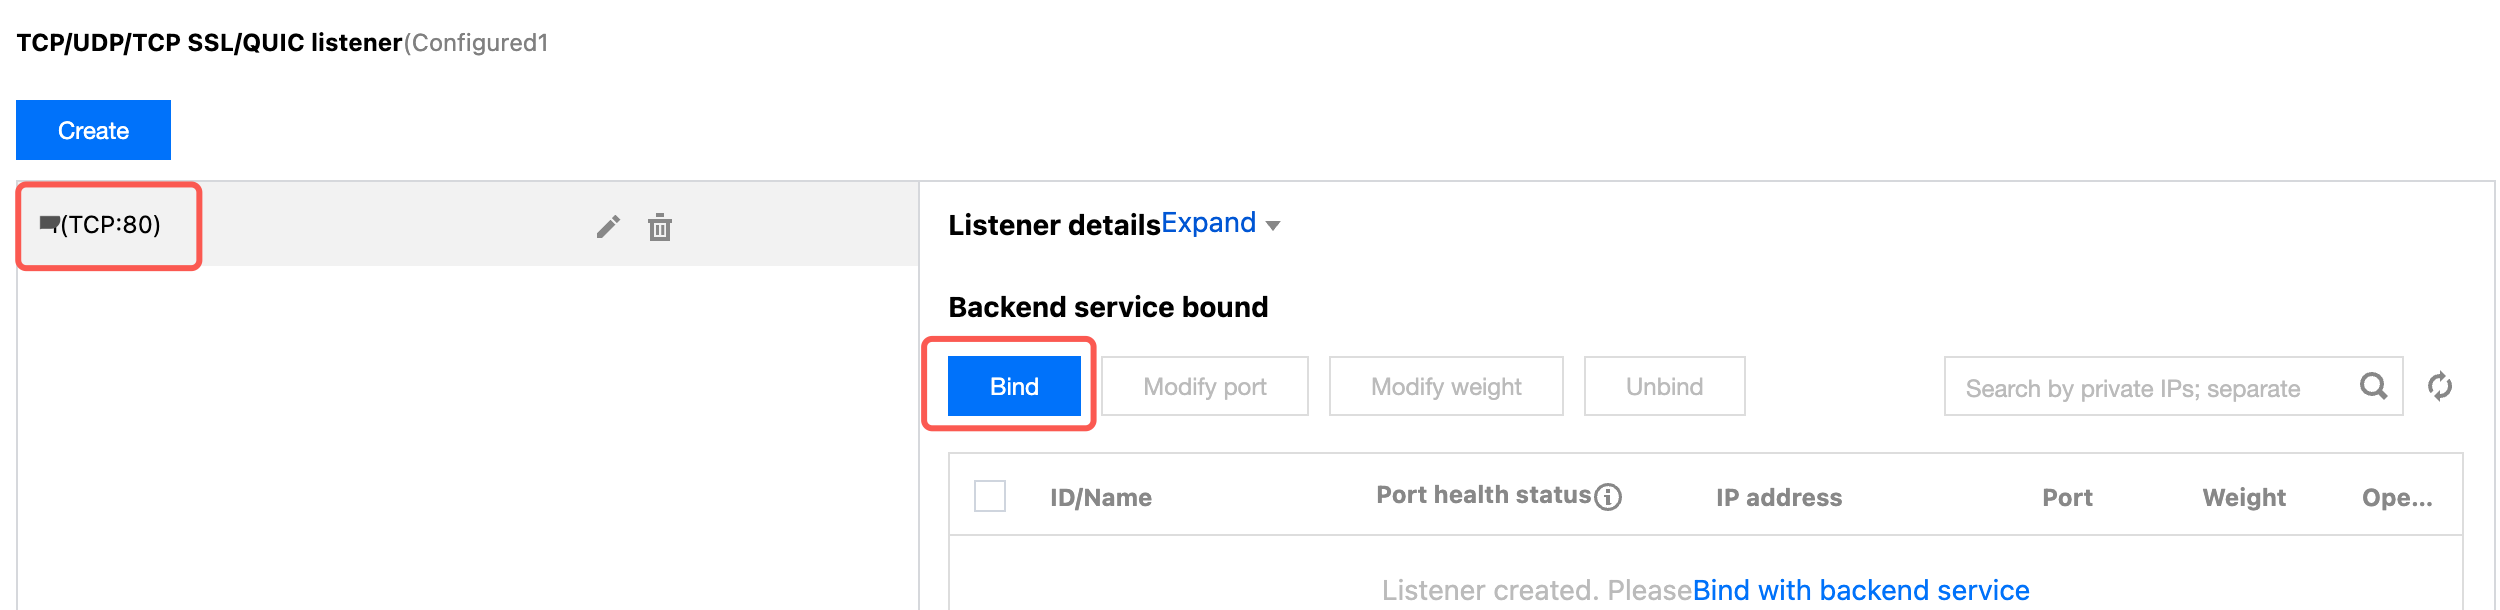
1. After creating the listener, on the Listener Management page, click the created listener, and then click Bind that appears on the right.
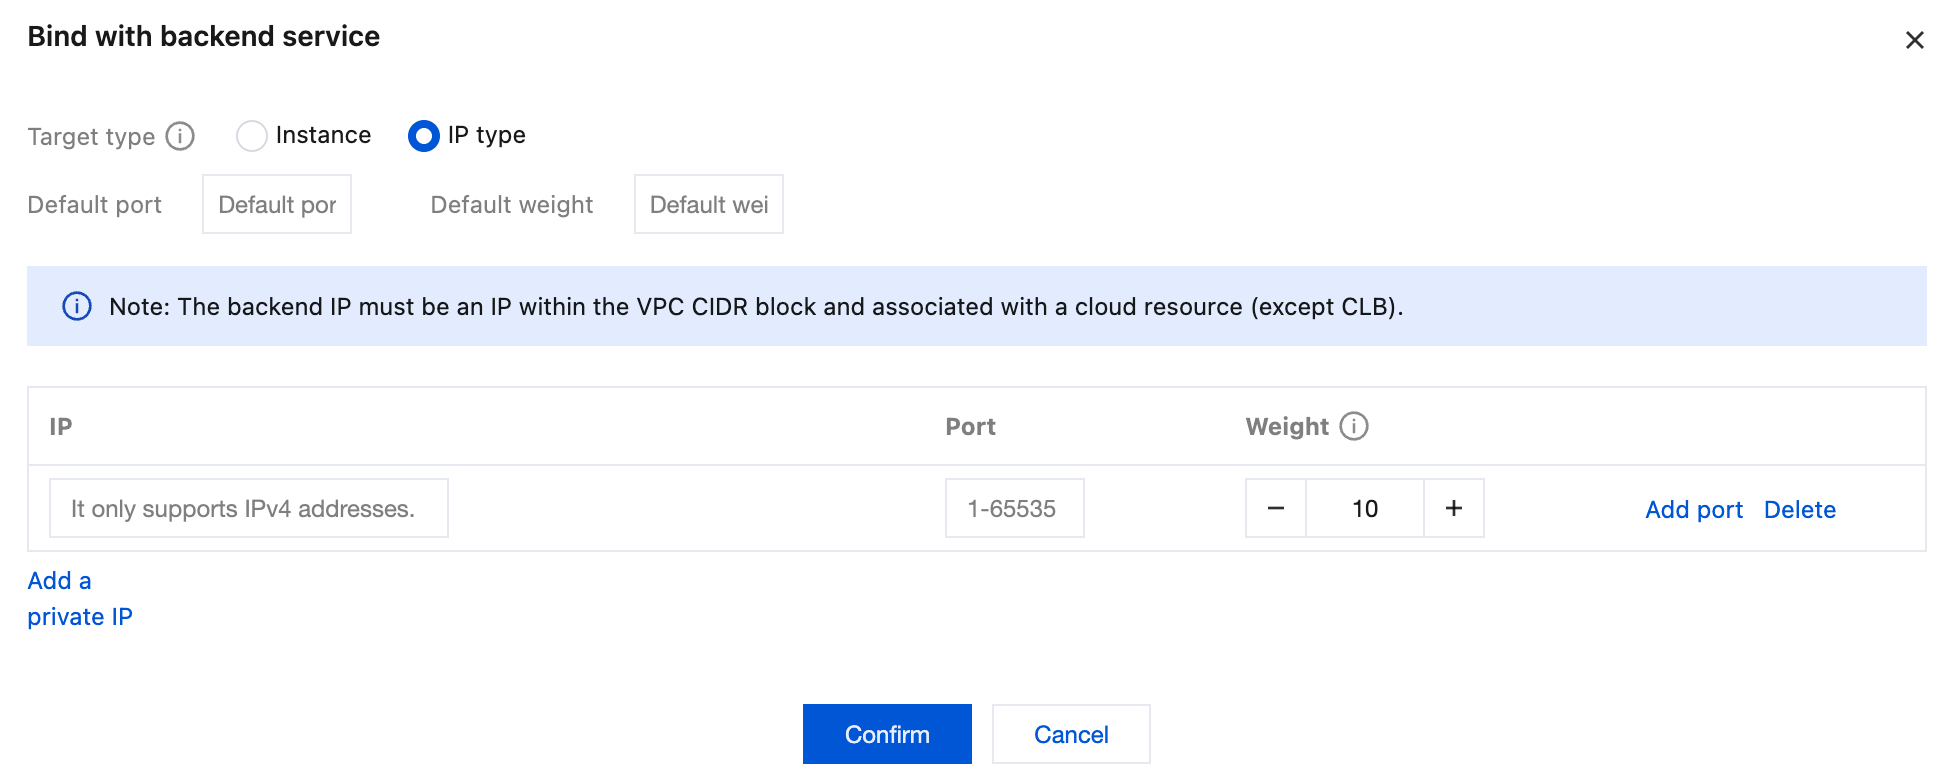
2. In the pop-up dialog box, select Target Type as IP Type, enter the IP address and port of the CTSDB 3.0 instance in the IP and Port input boxes respectively, and click Confirm to complete the binding.
Note:
The logged-in account should be a standard account (bandwidth migrated). If it cannot be bound, Submit a Ticket for assistance.
Step 4: Configuring the CTSDB 3.0 Security Group
After the public network service is enabled, configure security group rules for CLB and its CTSDB 3.0 instances on time to control the access source and ensure the security of data access.
1. Log in to the security group page of Security groups Console, Create security group, and set Inbound Rule to allow the IP address of the CTSDB 3.0 client and the listening protocol port of the CTSDB 3.0 instances you specified. For specific operations, see Creating Security Groups.

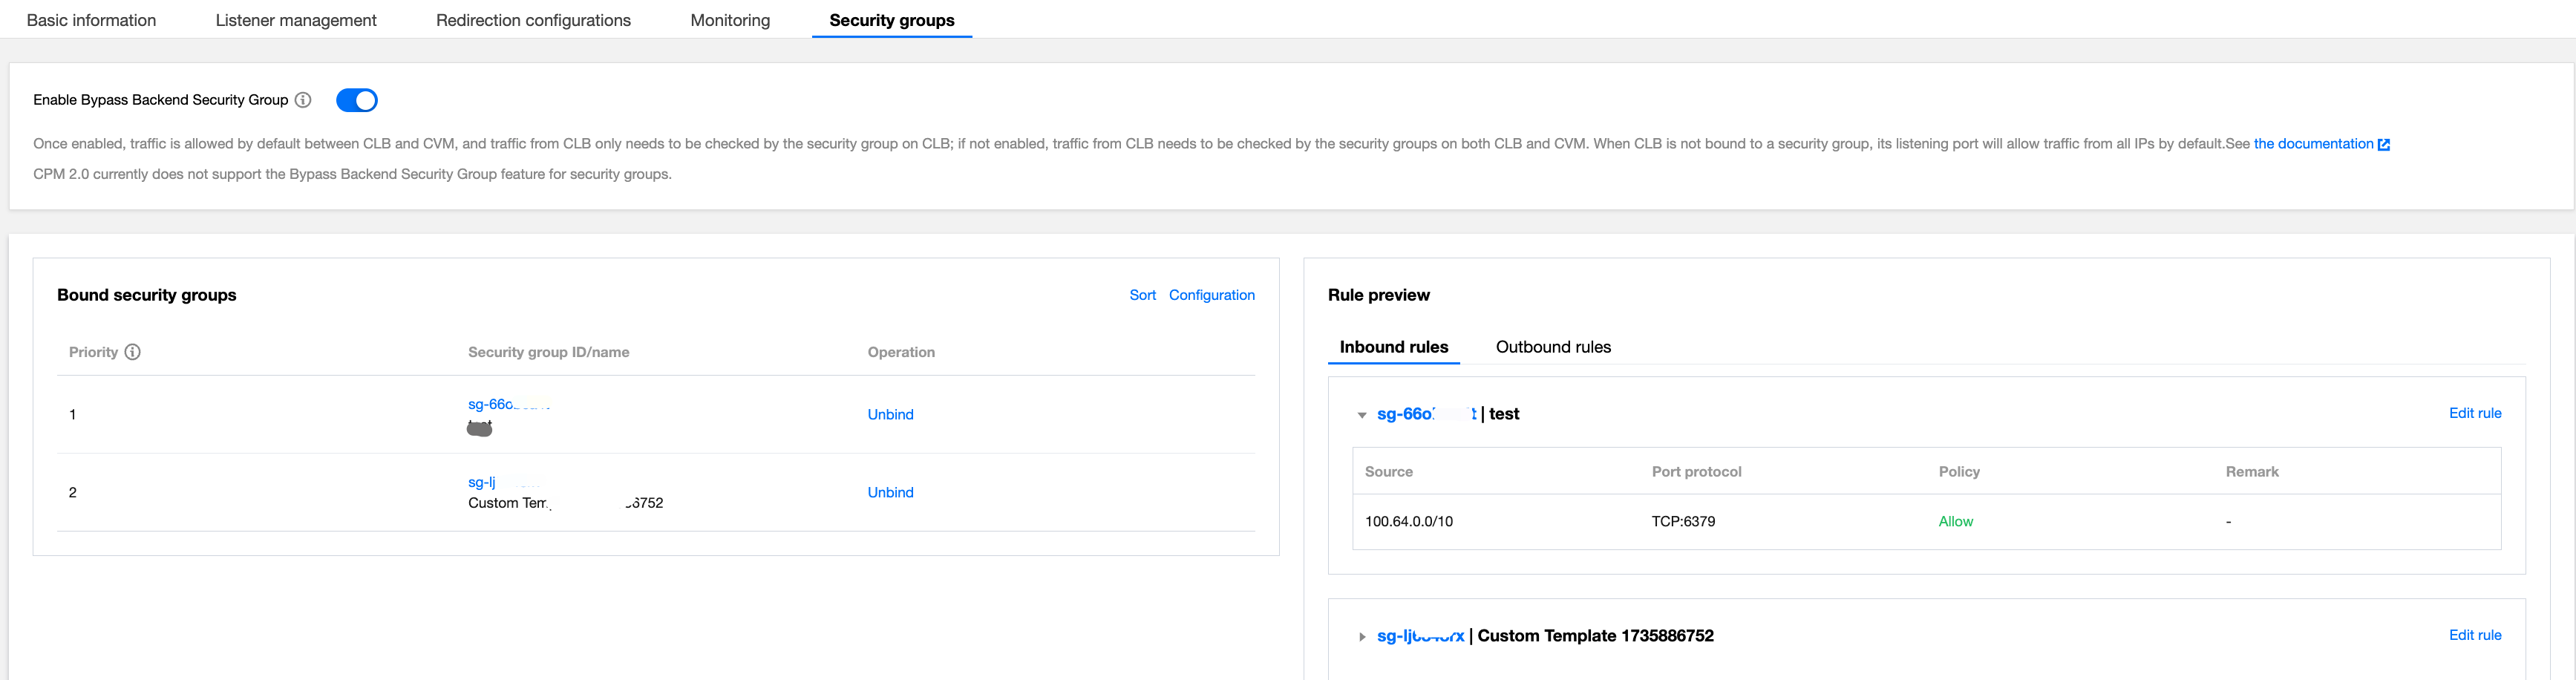
2. Log in to the CLB Console, find the CLB instance bound to CTSDB 3.0 in the Instance List of Instance Management, click its Instance ID, enter the instance's Basic Information tab, select the Security group tab, and click Bind in the Bound Security Group area. In the pop-up Configure Security Group window, select the created security group and click Confirm. For specific operations, see Configuring A CLB Security Group.
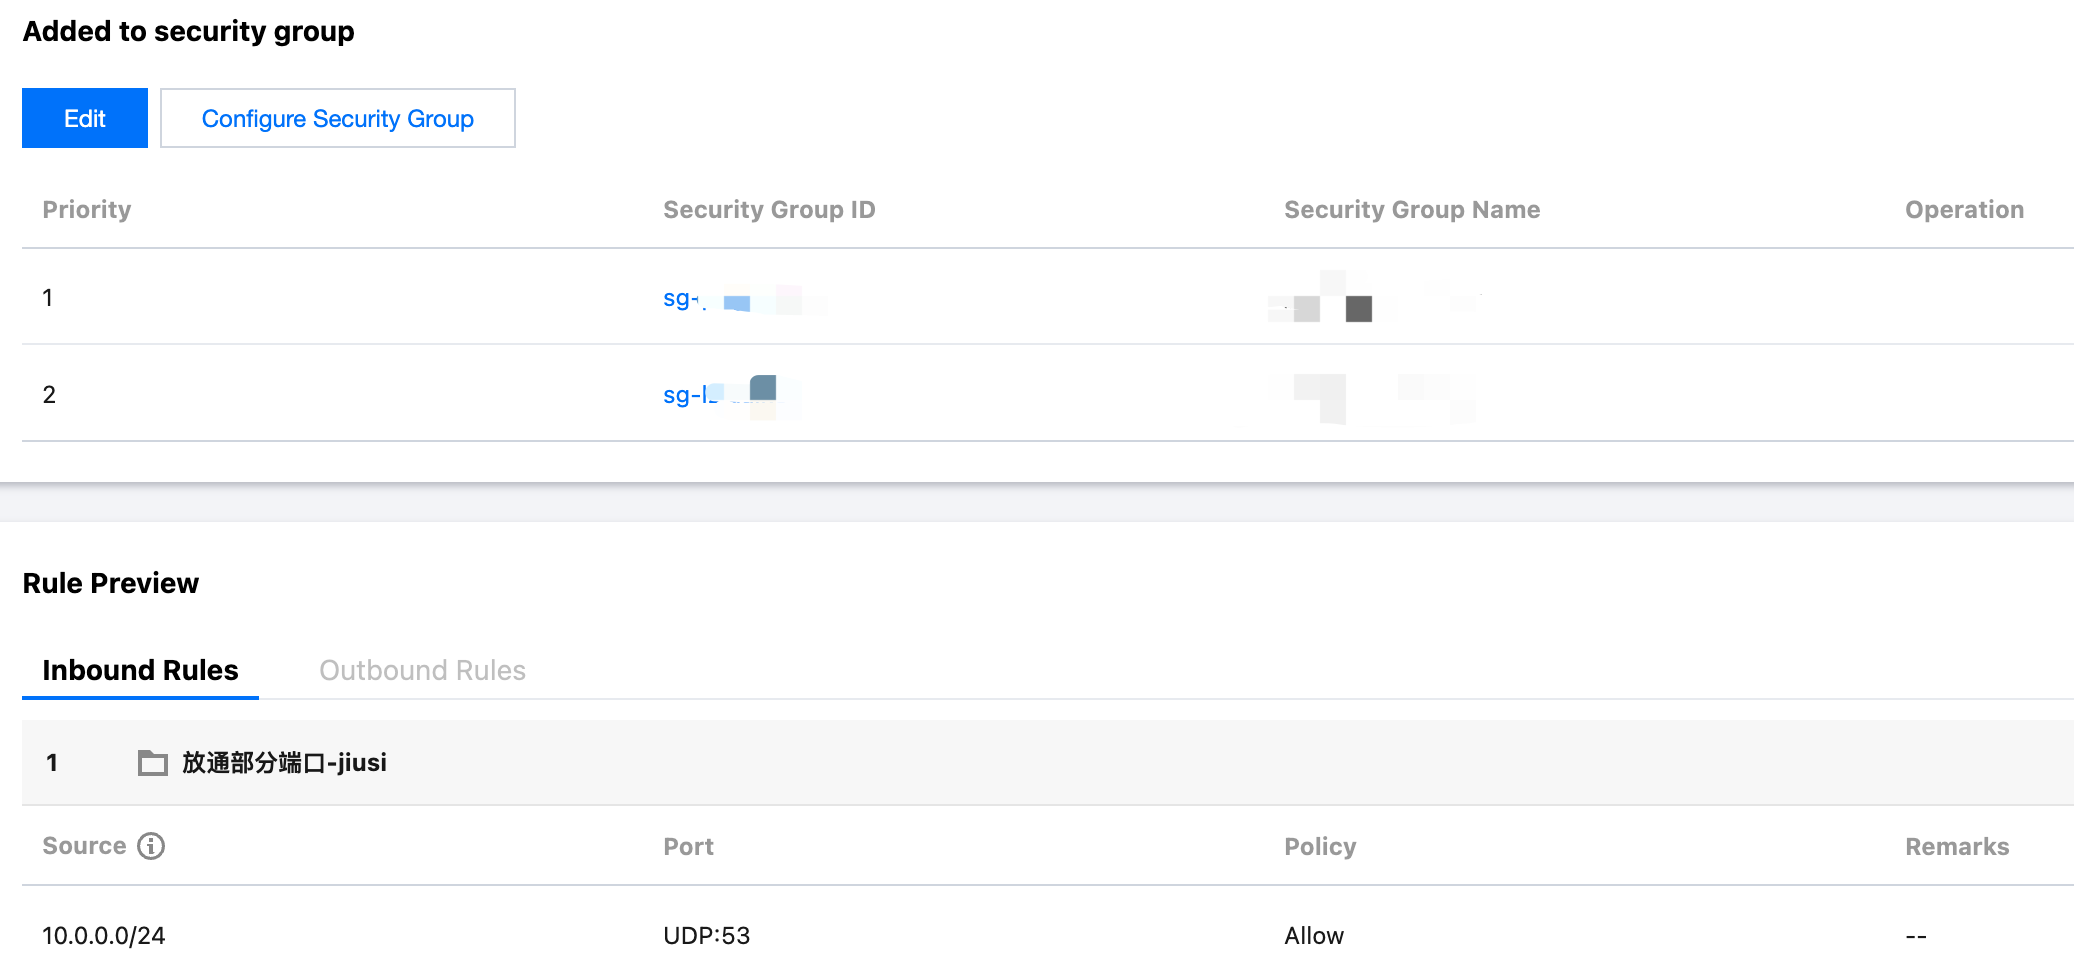
3. Log in to the CTSDB Console, select 3.0 at the top of the right page, and find the instance that needs to be bound to the security group in the Instance List. Click the target Instance ID, select the Security Group tab, and click Configure Security Group. In the Configure Security Group dialog box, select the security group to be bound and click Confirm. For specific operations, see Configuring Security Groups.
Step 5: Connecting to CTSDB Through influx CLI Client
Enter the influx CLI path and execute the following command to connect to the CTSDB 3.0 instance.
-username: a created user account.
-password: password corresponding to the user account.
-host: Configure it as the public network address of CLB.
-port: Configure it as the listening protocol port of CLB.
./influx -host <DB_HOST> -port <DB_PORT> -username <USERNAME> -password <PASSWORD>
피드백