MQTT.fx is a mainstream MQTT desktop client. Compatible with Windows, macOS, and Linux, it can quickly verify whether it is possible to connect to IoT Hub and publish or subscribe to messages. For more information on the MQTT protocol, please see MQTT Introduction. This document describes how MQTT.fx can interact with IoT Hub with MQTT.fx 1.7.0 for macOS as an example.
Directions
Connecting to IoT Hub
1. Download an appropriate version of MQTT.fx client on the MQTT.fx download page and install it.
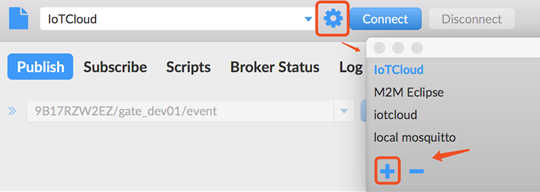
2. Open the MQTT.fx client program and click the Settings icon.
3. Click + to create a profile.
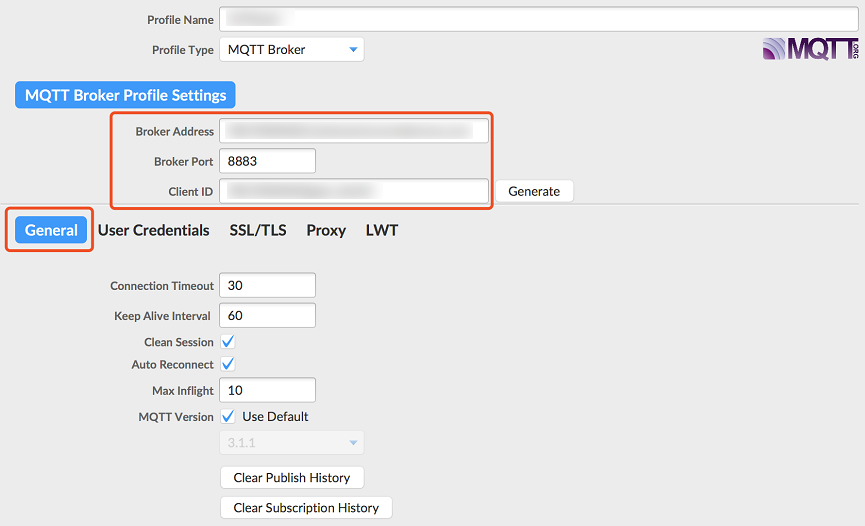
4. Enter the Connection Profile and General information.
Parameter description
Parameter
Description
Profile Name
Name of the profile
Broker Address
MQTT server connection address. For more information, see Device Connection Regions. `PRODUCT_ID` in the domain is a variable parameter, and you should replace it with the product ID automatically generated when you create the product, such as `9****ZW2EZ.iotcloud.tencentdevices.com`.
Broker Port
MQTT server connection port. For certificate authentication, enter `8883`. For key authentication, enter `1883`.
Client ID
MQTT protocol field. Enter product ID + device name according to IoT Hub's requirement, such as `9****ZW2EZgate_dev01`, where `9****ZW2EZ` is the product ID, and `gate_dev01` is the device name.
Connection Timeout
Connection timeout period in seconds
Keep Alive Interval
Heartbeat interval in seconds
Auto Reconnect
Automatic reconnection after network disconnection
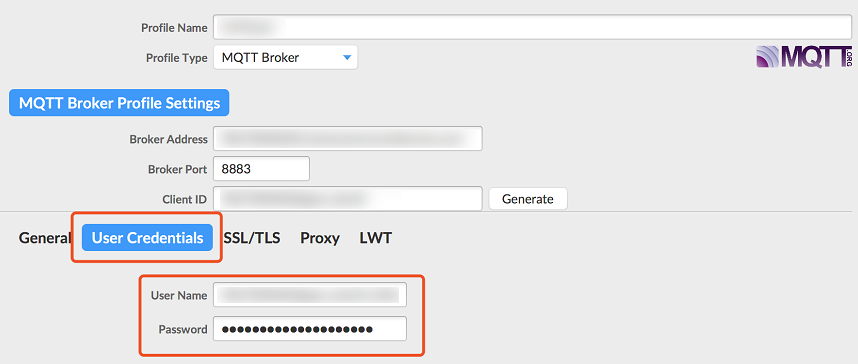
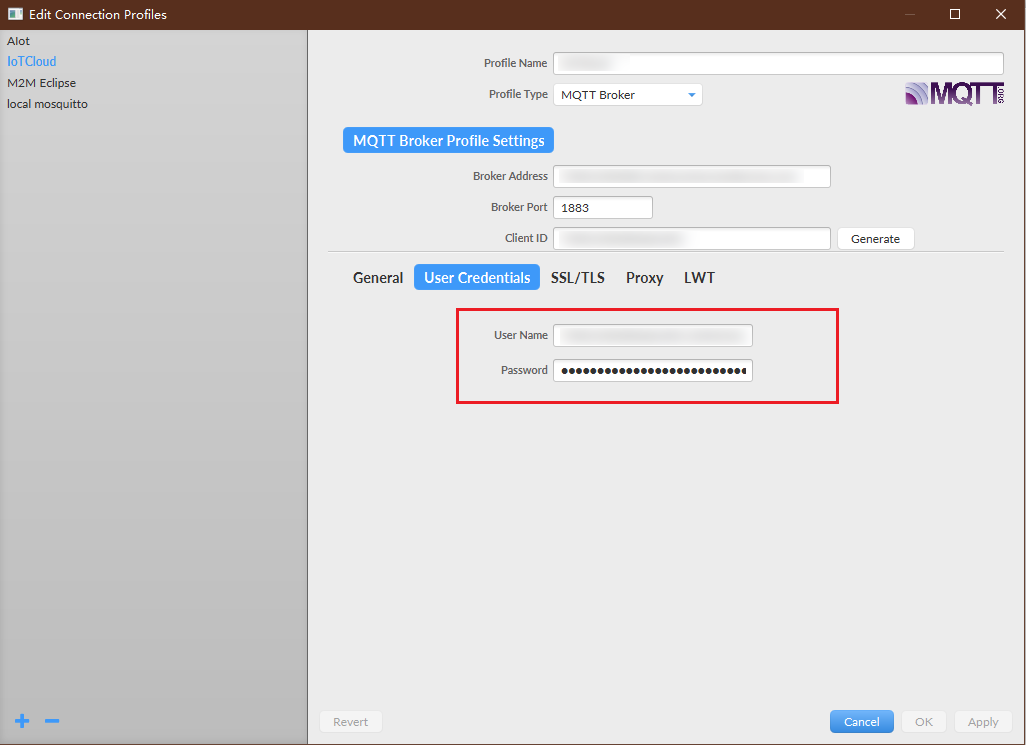
1. Enter the User Credentials information.
User Name : MQTT protocol field. Enter product ID + device name + SDKAppID + connid according to IoT Hub's requirement, such as 9****ZW2EZgate_dev01;12010126;12345 (the ProductID can be viewed on the product list or product details page after the product is created). It is sufficient to replace only the product ID and device name in the example. As the last two parameters are automatically generated by the connection SDK of IoT Hub, fixed test values are entered here.
Password : the password is required.
Certificate authentication: as MQTT.fx sets the password flag to true by default, you need to enter a random non-empty string as the password; otherwise, you will not be able to connect to IoT Hub's backend. When actually accessing IoT Hub's backend, the authentication is based on the certificate, and the random password entered here will not be used as the access credential.
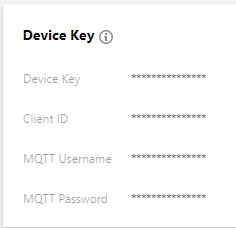
Key authentication: you can access the corresponding device list in the IoT Hub console to view and get the password (on the page as described in the key authentication steps below). You can also manually generate a password as instructed MQTT-Based Device Connection over TCP.
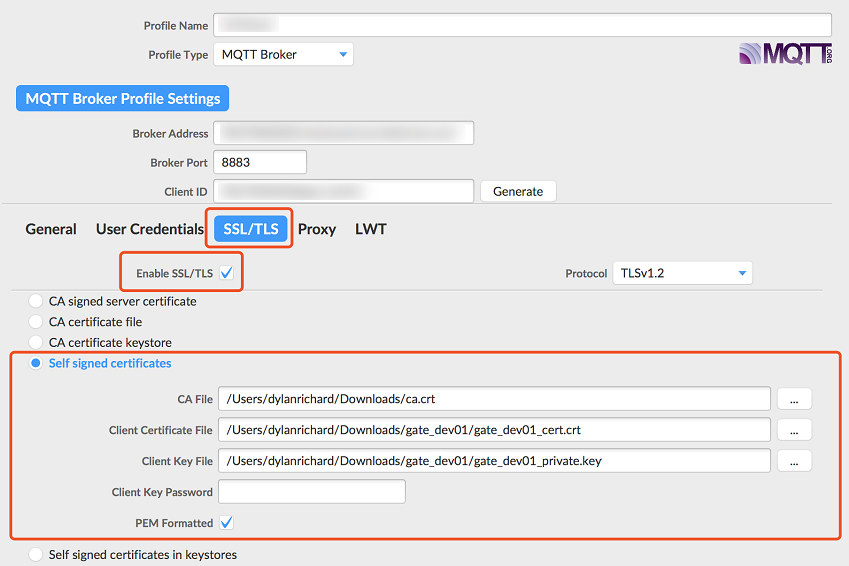
2. (Optional) certificate verification: select Enable SSL/TLS, check Self signed certificates, and upload related files.
File description
File
Description
CA File
Root certificate. Click the ca.crt link to download the file.
Client Certificate File
Client certificate file, i.e., the device certificate which can be downloaded if the device is created in a certificate-authenticated product. For more information, please see Device Connection Preparations.
Client Key File
Client key file, i.e., the device key which can be downloaded if the device is created in a certificate-authenticated product. For more information, please see Device Connection Preparations.
PEM Formatted
The IoT Hub root certificate, device certificate, and device key are all generated by OpenSSL, and they are all in PEM format. MQTT.fx is a Java client, so it does not recognize PEM certificates. You need to select this option to enable the client to automatically convert the certificates into Java-recognized JKS format.
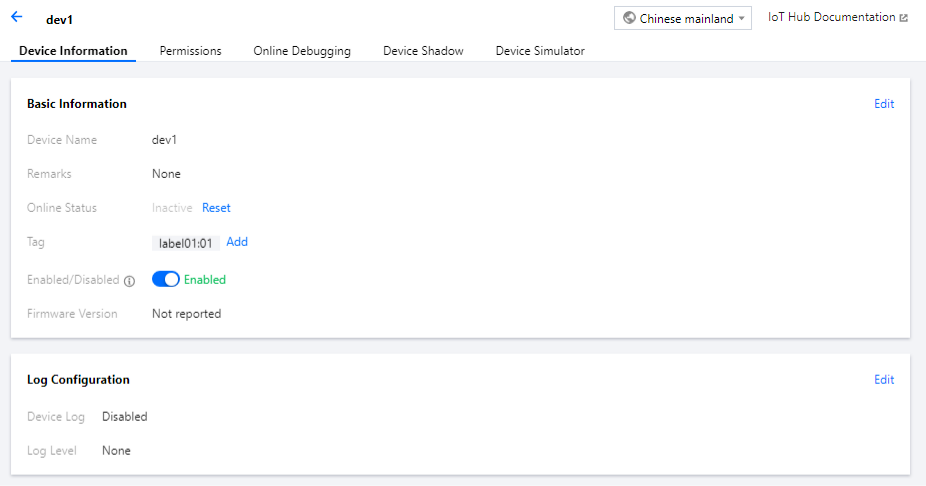
1. (Optional) Key authentication:
You can go to the console to get the username and password of the corresponding device:
2. After completing the above steps, click Apply > OK to save. Then, select the name of the file just created in the profile box and click Connect.
3. If the round icon in the top-right corner is green, the connection to IoT Hub is successful, and publishing and subscribing operations can be performed.
Publishing a message
Select the Publish tab in the client, enter a topic name, select a QoS level, and click Publish to publish the message. The publishing result can be queried through Cloud Log.
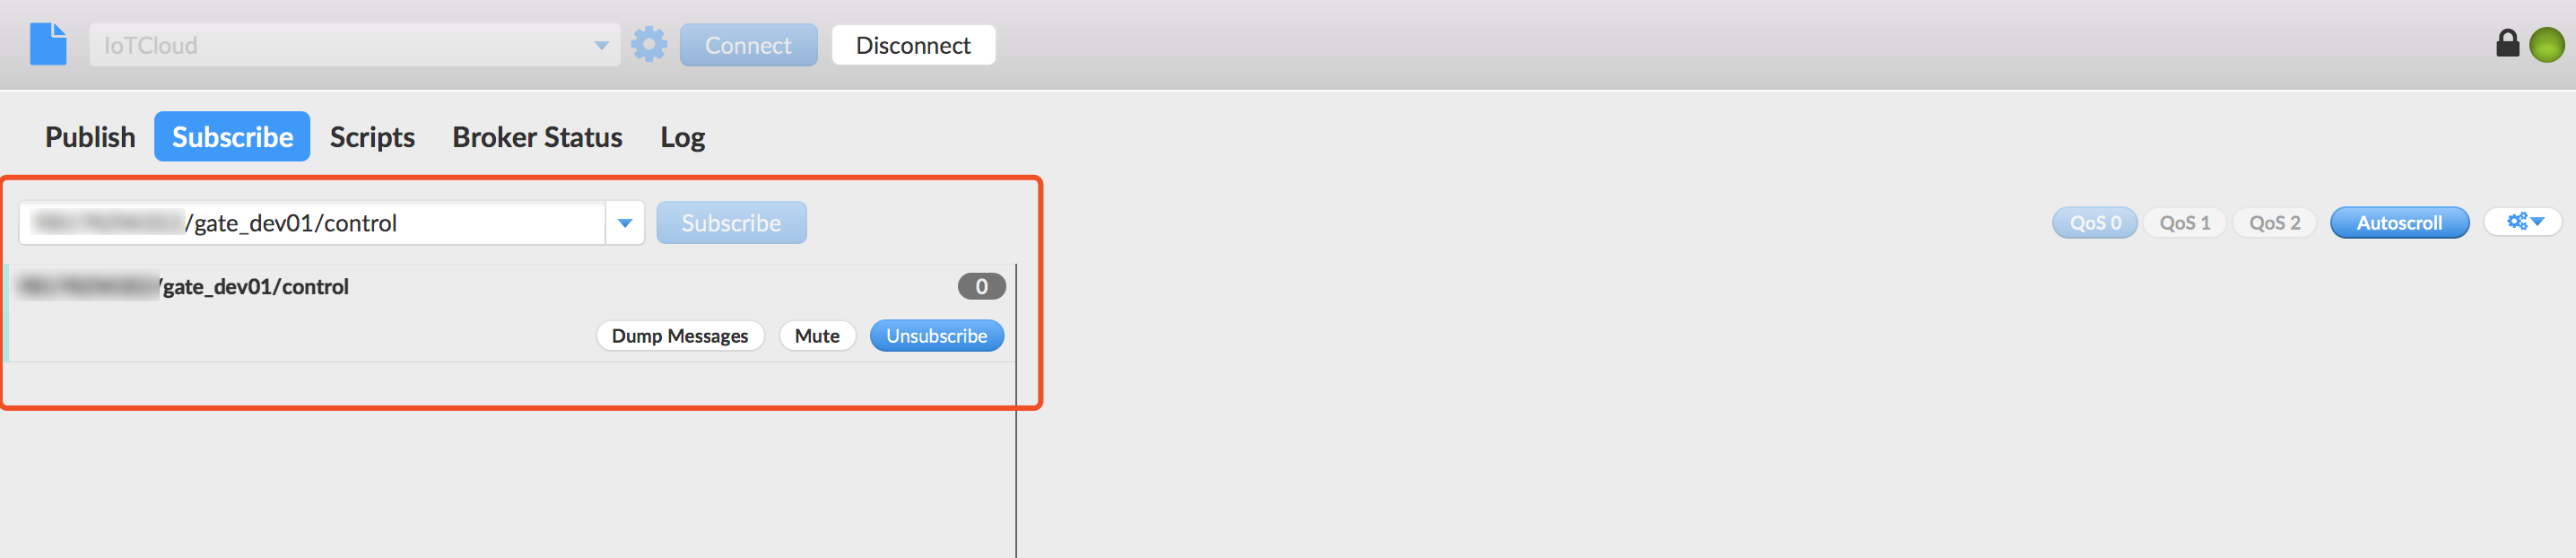
Subscribe to a topic
Select the Subscribe tab in the client, enter a topic name, select a QoS level, and click Subscribe to subscribe to the topic. The subscribing result can be queried through Cloud Log.