- Release Notes and Announcements
- Product Introduction
- Purchase Guide
- Getting Started
- Operation Guide
- Development Guide
- Best Practices
- API Documentation
- SDK Documentation
- FAQs
- General References
- Service Level Agreement
- Contact Us
- Release Notes and Announcements
- Product Introduction
- Purchase Guide
- Getting Started
- Operation Guide
- Development Guide
- Best Practices
- API Documentation
- SDK Documentation
- FAQs
- General References
- Service Level Agreement
- Contact Us
Resource Creation and Preparation
Last updated: 2022-07-04 15:32:58
This document is currently invalid. Please refer to the documentation page of the product.
Overview
This document describes how to create resources such as cluster, vhost, exchange, and queue in the TDMQ console and what operations you need to perform in the console before running a client.
Prerequisites
- You have signed up for a Tencent Cloud account.
Directions
Step 1. Create a cluster
- Log in to the TDMQ console, enter the Cluster page, and select the target region.
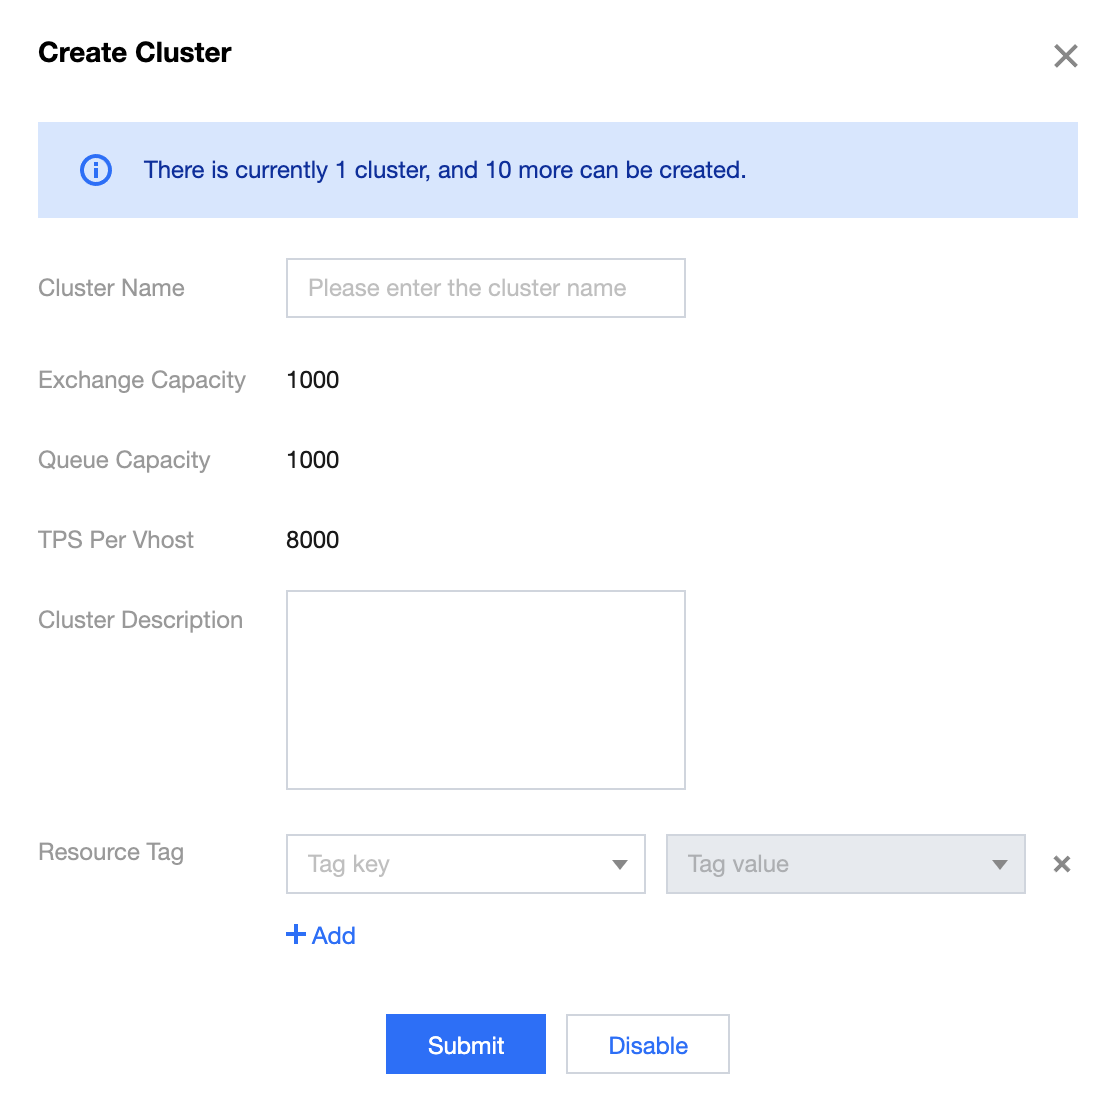
- Click Create Cluster and enter the cluster name and description.
- Click Submit.
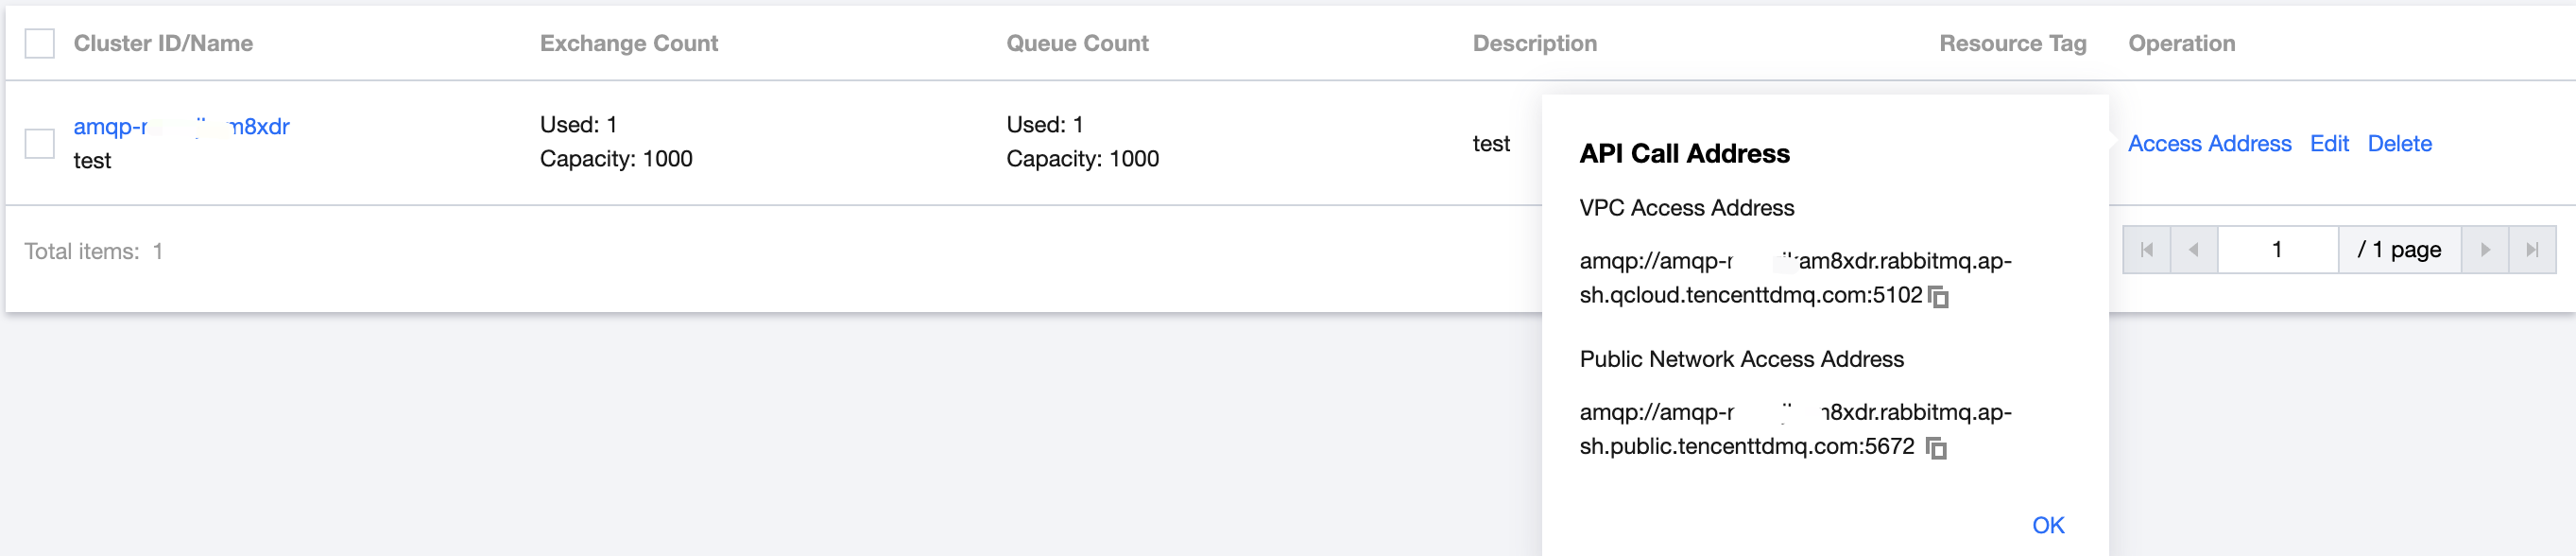
- On the Cluster list page, click Access Address in the Operation column of the cluster you just created to get the connection information of the server.
Step 2. Create a vhost
- On the Cluster list page, click the ID of the cluster you just created to enter the cluster's basic information page.
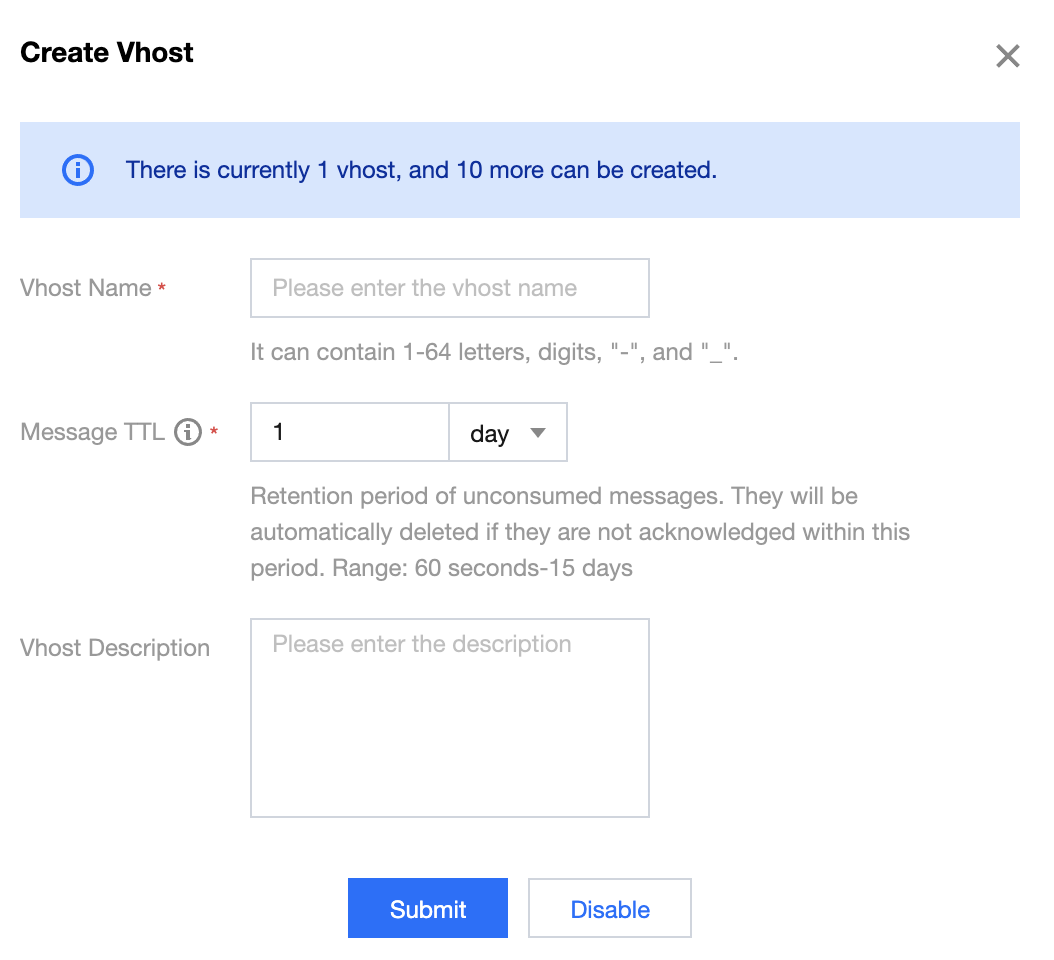
- Select the Vhost tab at the top, click Create, and enter the vhost information.
- Vhost Name: Enter the vhost name, which cannot be modified after creation and can contain 3–64 letters, digits, "-", and "_".
- Message TTL: Set the retention time of unconsumed messages. Messages will be automatically deleted if not acknowledged after expiration. Value range: 60 seconds–15 days.
- Remarks: Enter the vhost remarks.
- Click Submit.
Step 3. Create a role and configure permissions
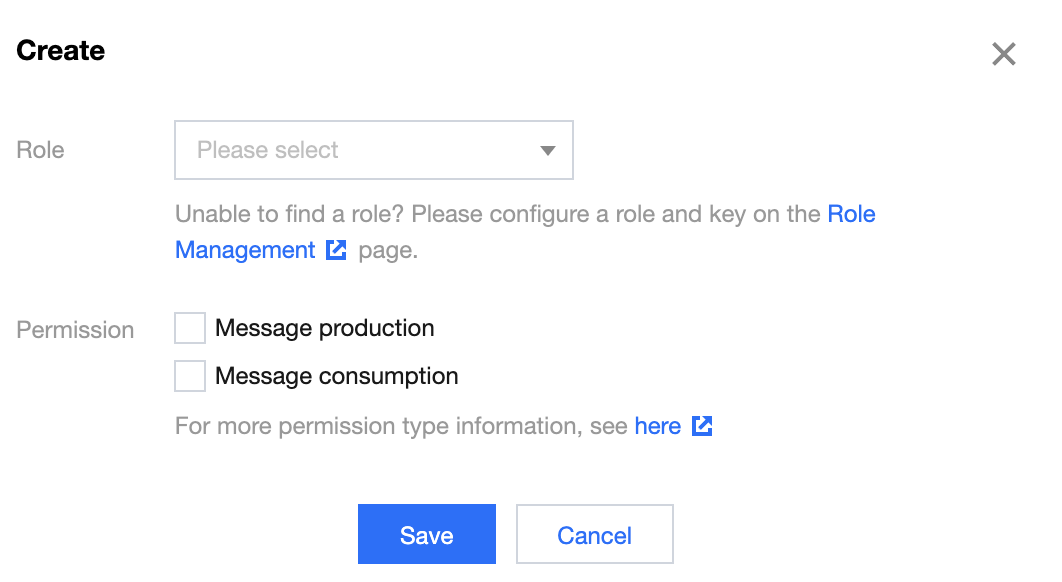
- Select Role Management on the left sidebar in the TDMQ console and click Create to create a role.
- On the Cluster page, click the ID of the cluster you just created to enter the cluster details page.
- Select the Vhost tab at the top and click Configure Permissions in the Operation column of the vhost you just created.
- On the Configure Permission page, click Add Role to add production and consumption permissions to the role you just created.
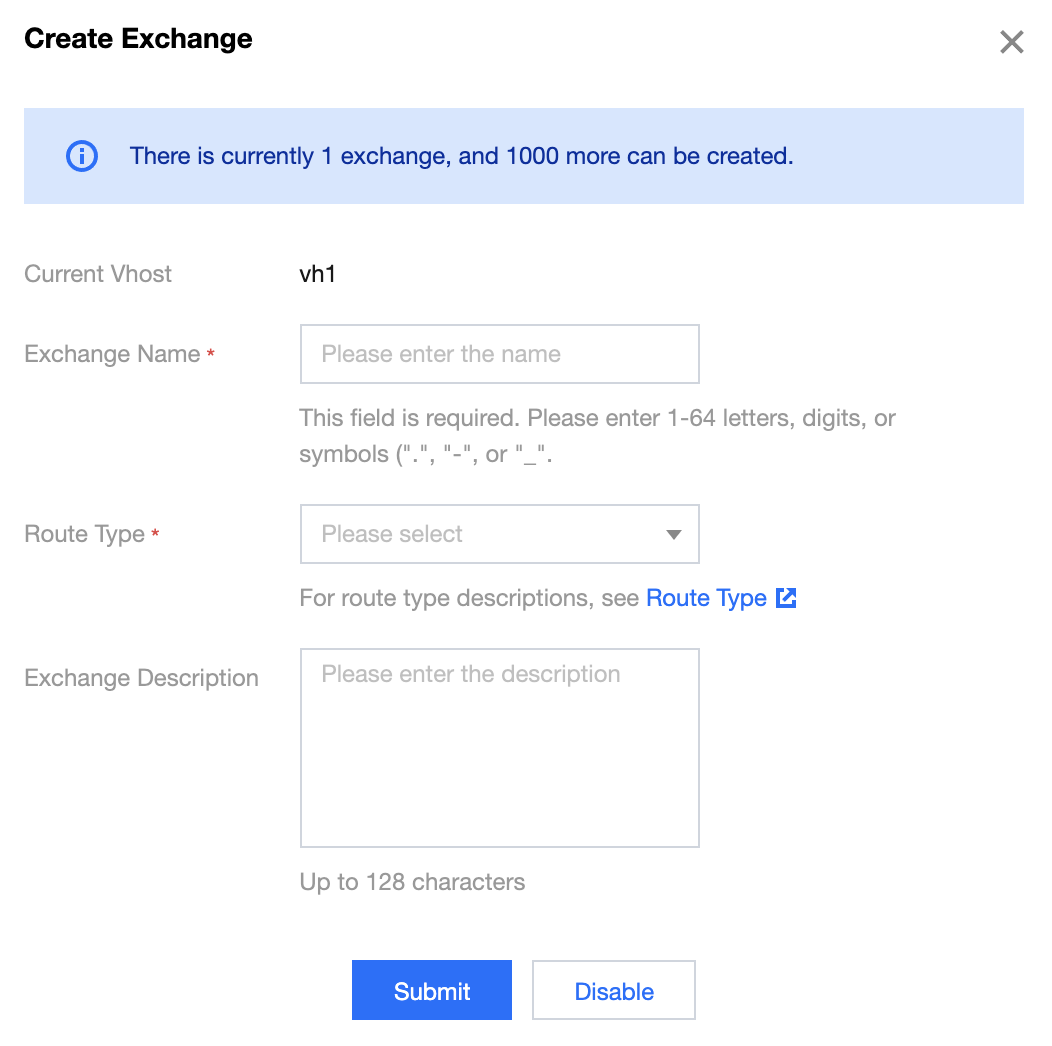
Step 4. Create an exchange
- On the Vhost list page, select the Exchange tab at the top to enter the Exchange list page.
- Select the vhost you just created, click Create, enter the exchange name and description, and select the route type.
- Direct: A direct exchange will route messages to the queue whose binding key exactly matches the routing key.
- Fanout: A fanout exchange will route messages to all queues bound to it.
- Topic: A topic exchange supports multi-condition match and fuzzy match; that is, it will route messages to the queues bound to it by using routing key pattern match and string comparison.
- X-delayed-message: By declaring this exchange type, you can customize the header attribute x-delay of the message to specify the time period for delayed message delivery in milliseconds. The message will be delivered to the corresponding queue based on the routing rule after the time period defined in x-delay elapses. The routing rule is subject to the route type specified in x-delayed-type.
- Click Submit.
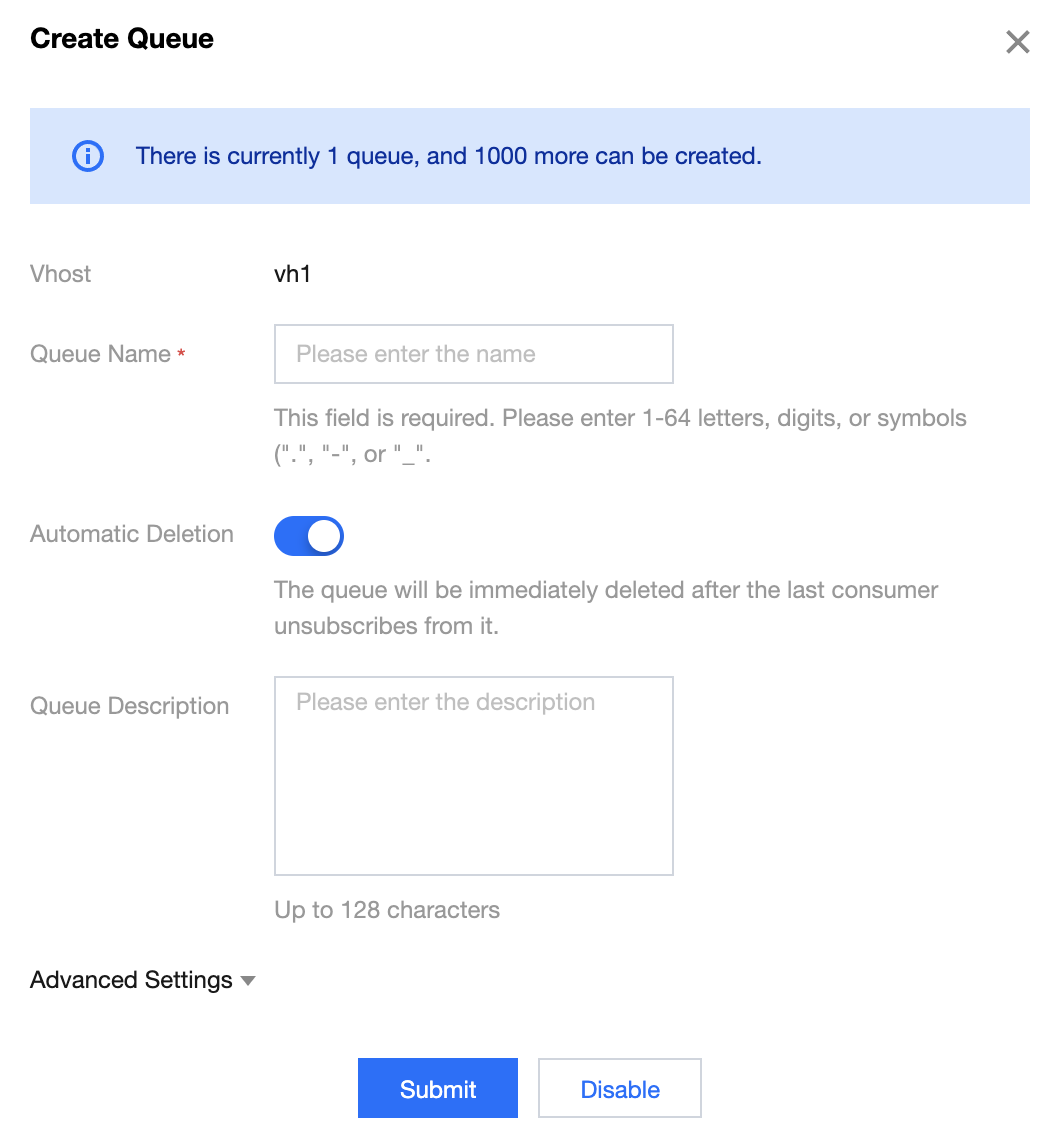
Step 5. Create a queue
- On the Exchange list page, select the Queue tab at the top to enter the Queue list page.
- Select the Vhost you just created, click Create, and enter the queue name, remarks, and dead letter exchange.
- Click Submit.
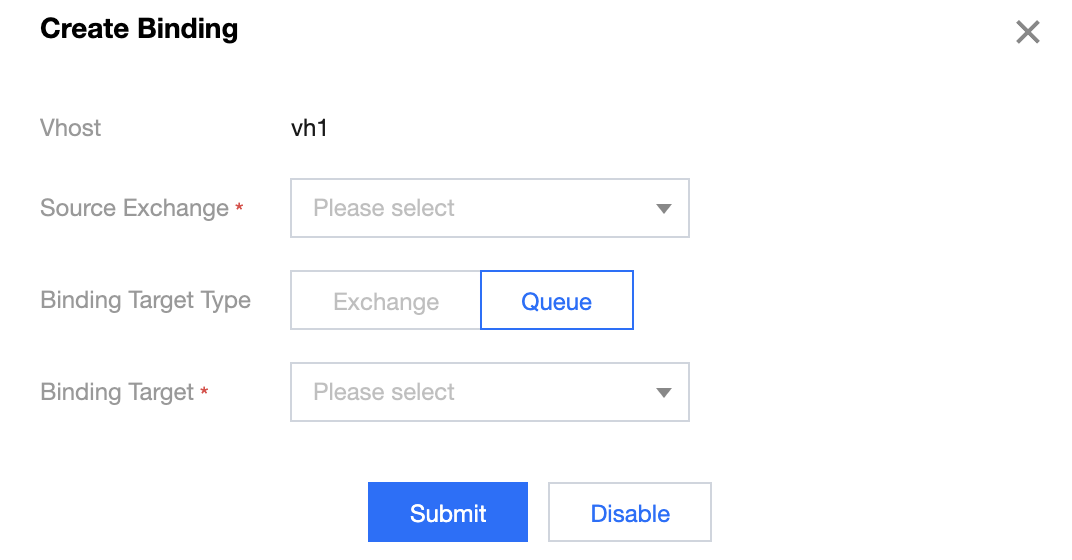
Step 6. Create a routing
- On the Queue list page, select the Routing tab at the top to enter the Routing list page.
- Select the Vhost you just created and click Create.
Select the exchange you just created as the source exchange, Queue as the binding type, and the queue you just created as the binding target. - Click Submit.

 Yes
Yes
 No
No
Was this page helpful?