Overview of Task-based Modeling
Task-based modeling provides model building capabilities in a wizard-like training task submission method and supports task submission based on multiple algorithm sources. It allows you to directly bind mainstream high-performance, distributed training frameworks through code package to quickly submit and start training tasks. The following uses a simple PyTorch MPI job as an example to demonstrate how to quickly create a task in task-based modeling.
Data Preparations
Dataset
This document uses the MNIST database available here.
Code package
The training script in this document is written by using the PyTorch framework. Its code package can be downloaded here.
Directions
Step 1 of task creation
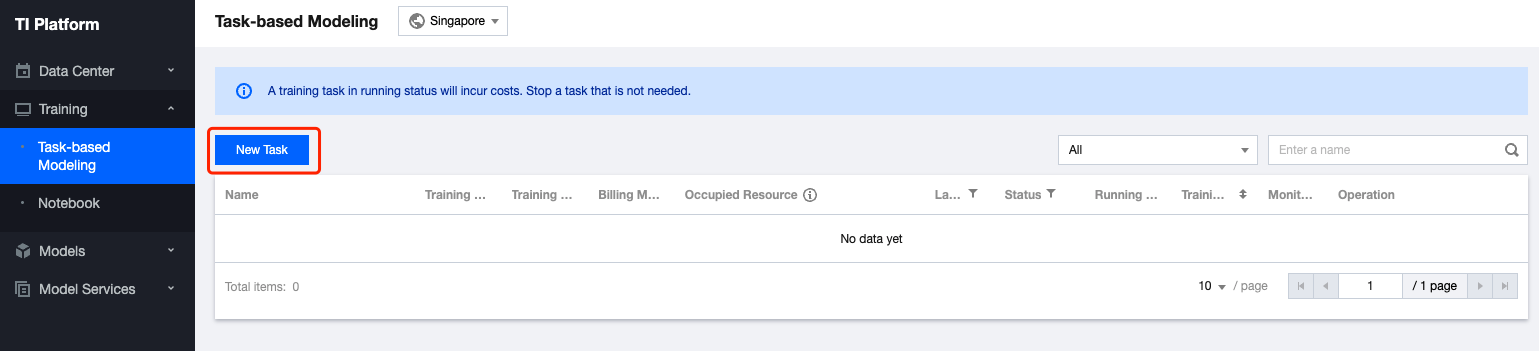
- Go to Training > Task-based Modeling and click New Task to enter the task creation wizard.
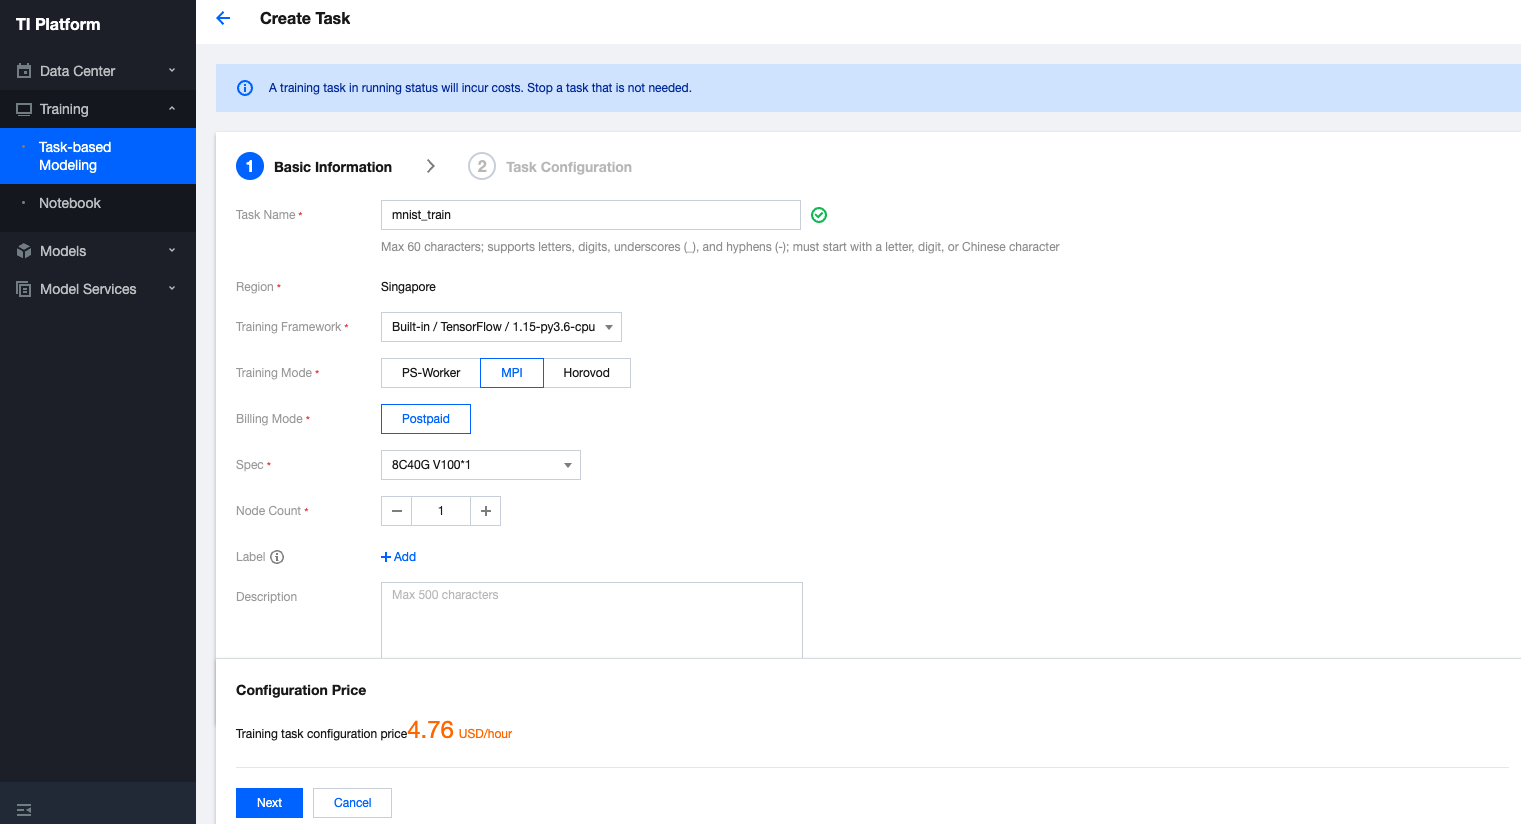
Enter the following information on the basic information page:
- Task Name: mnist_train
- Training Framework: select Built-in framework / PyTorch / 1.9-py3.6-cuda11.1-gpu.
- Training Mode: select MPI.
- Billing Mode: select Pay-as-You-Go.
- Spec: select 8C40G V100*1.
- Node Count: select 1.
- Tag and Description: optional
After entering the required information, click Next to go to the task configuration page.
Step 2 of task creation
Enter the following information on the task configuration page:
Algorithm Source:
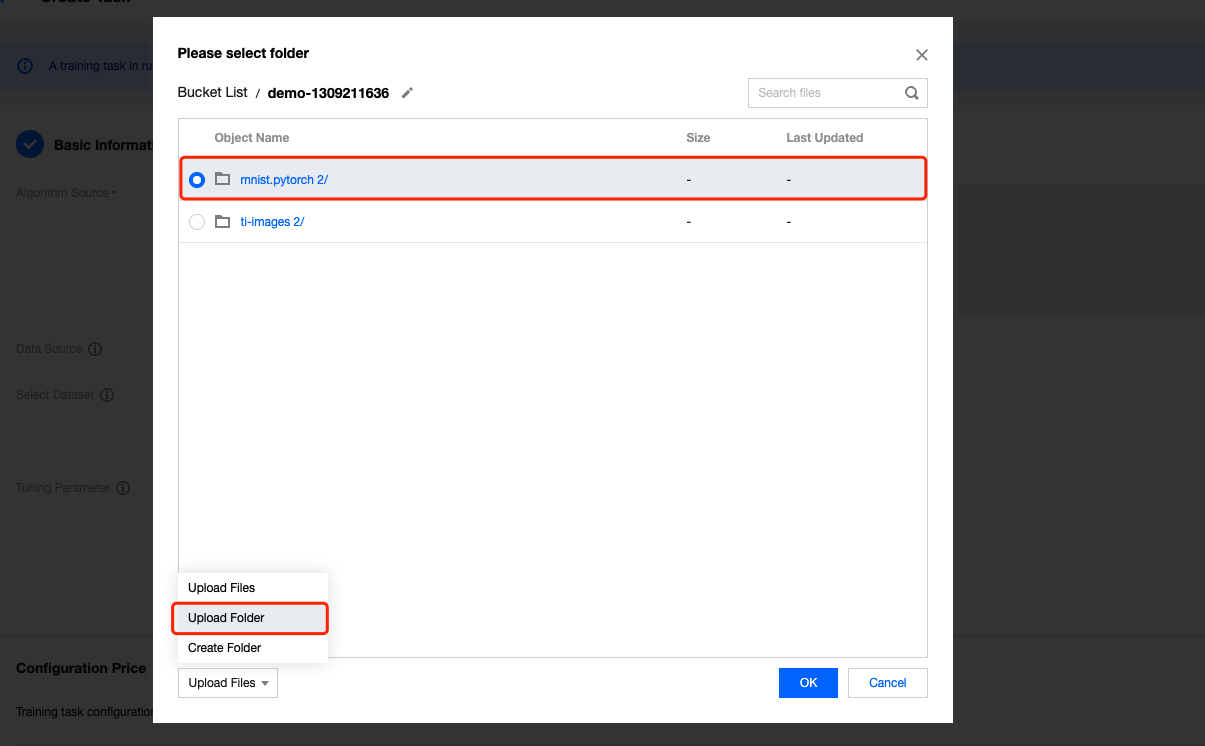
- Code Package: click Select. In the COS pop-up window, select the target bucket, click Upload Folder in the bottom-left corner, upload the
mnist.pytorchfolder generated after decompressing the code package to the bucket, and select the path of the code package. - Startup Commands: enter
sh start.sh.
- Code Package: click Select. In the COS pop-up window, select the target bucket, click Upload Folder in the bottom-left corner, upload the
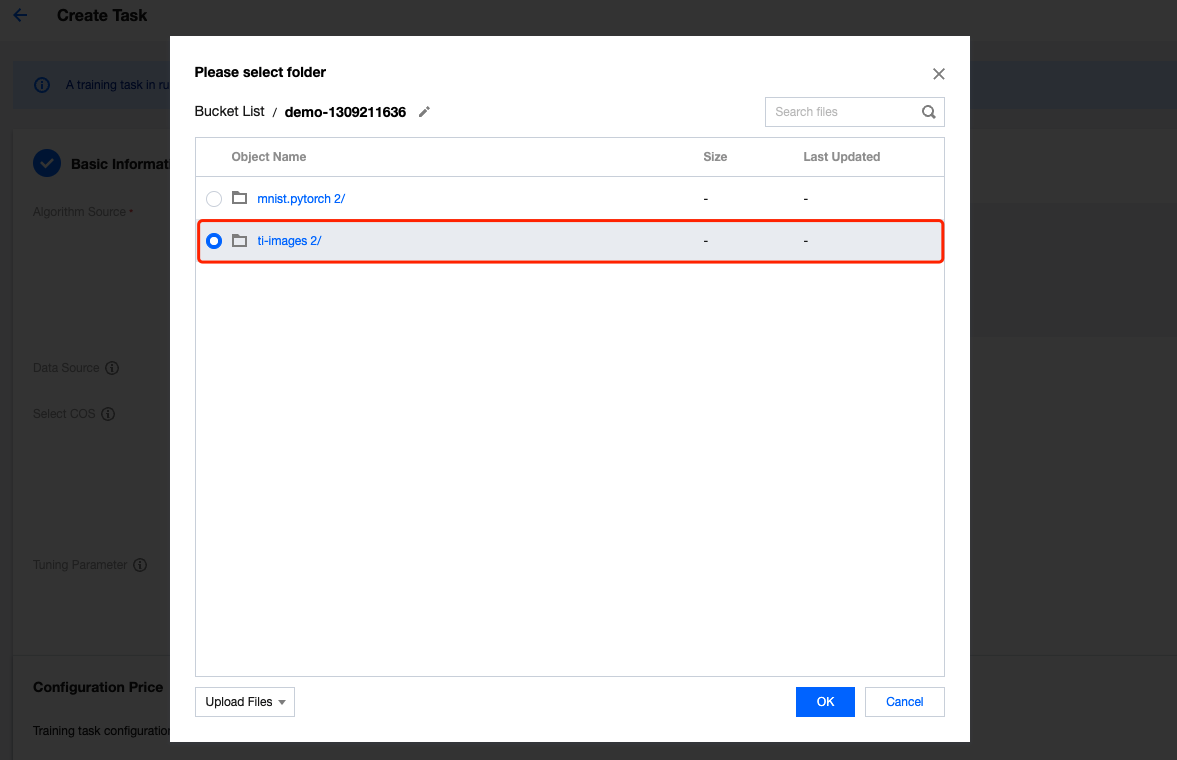
Data Source: select COS.
- Mapping Path: enter
train. - Dataset Path: click Select. In the COS pop-up window, select the target bucket, click Upload Folder in the bottom-left corner, upload the
ti-imagesfolder generated after decompressing the dataset, and select the folder path as shown below:
- Mapping Path: enter

Tuning Parameter: none.
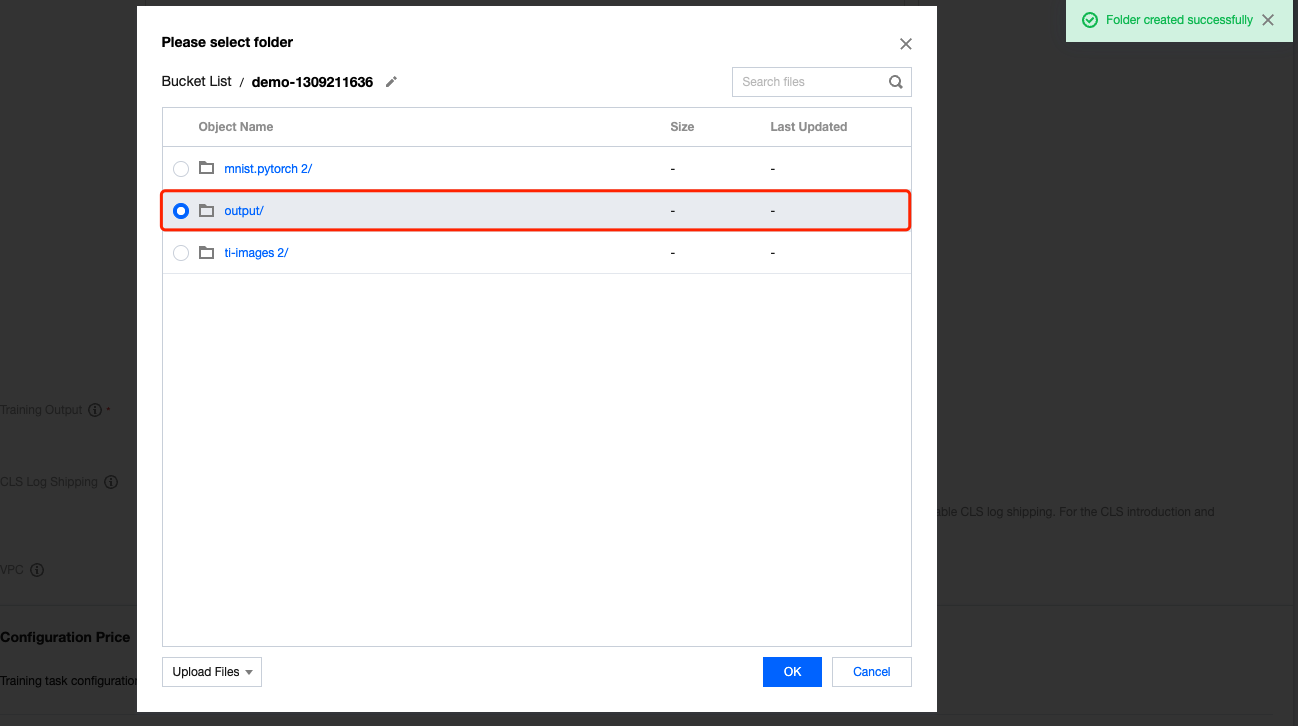
Training Output: click Select. In the COS pop-up window, select the target bucket path for saving the training output data as shown below:
- CLS Log: toggle it off.
- VPC: select Do not use VPC.
After completing the configuration, view the hourly rate of the training task at the bottom of the page and click OK.

 Yes
Yes
 No
No
Was this page helpful?