Quick Start with Data Analytics in Data Lake Compute
Download
Mode fokus
Ukuran font
Terakhir diperbarui: 2026-04-15 21:29:49
Data Lake Compute allows you to quickly query and analyze COS data. Currently, CSV, ORC, Parquet, JSON, Avro, and text files are supported.
With Data Lake Compute, you can complete data analysis queries on COS in just a minute. It currently supports multiple formats including CSV, ORC, PARQUET, JSON, ARVO, and text files.
Preliminary Preparations
Before initiating a query, you need to activate the internal permissions of Data Lake Compute and configure the path for query results.
Step 1: Establish the necessary internal permissions for Data Lake Compute.
Note:
If the user already has the necessary permissions, or if they are the root account administrator, this step can be disregarded.
If you are logging in as a sub-account for the first time, in addition to the necessary CAM authorization, you also need to request any Data Lake Compute admin or root account admin to grant you the necessary Data Lake Compute permissions from the Permission Management menu on the left side of the Data Lake Compute console (for a detailed explanation of permissions, please refer to DLC Permission Overview).
1. Table Permissions: Grant read and write operation permissions to the corresponding catalog, database, table, and view.
2. Engine Permissions: These can grant usage, monitoring, and modification rights to the computation engine.
Upon initial use of Data Lake Compute, you must first configure the path for query results. Once configured, the query results will be saved to this COS path.
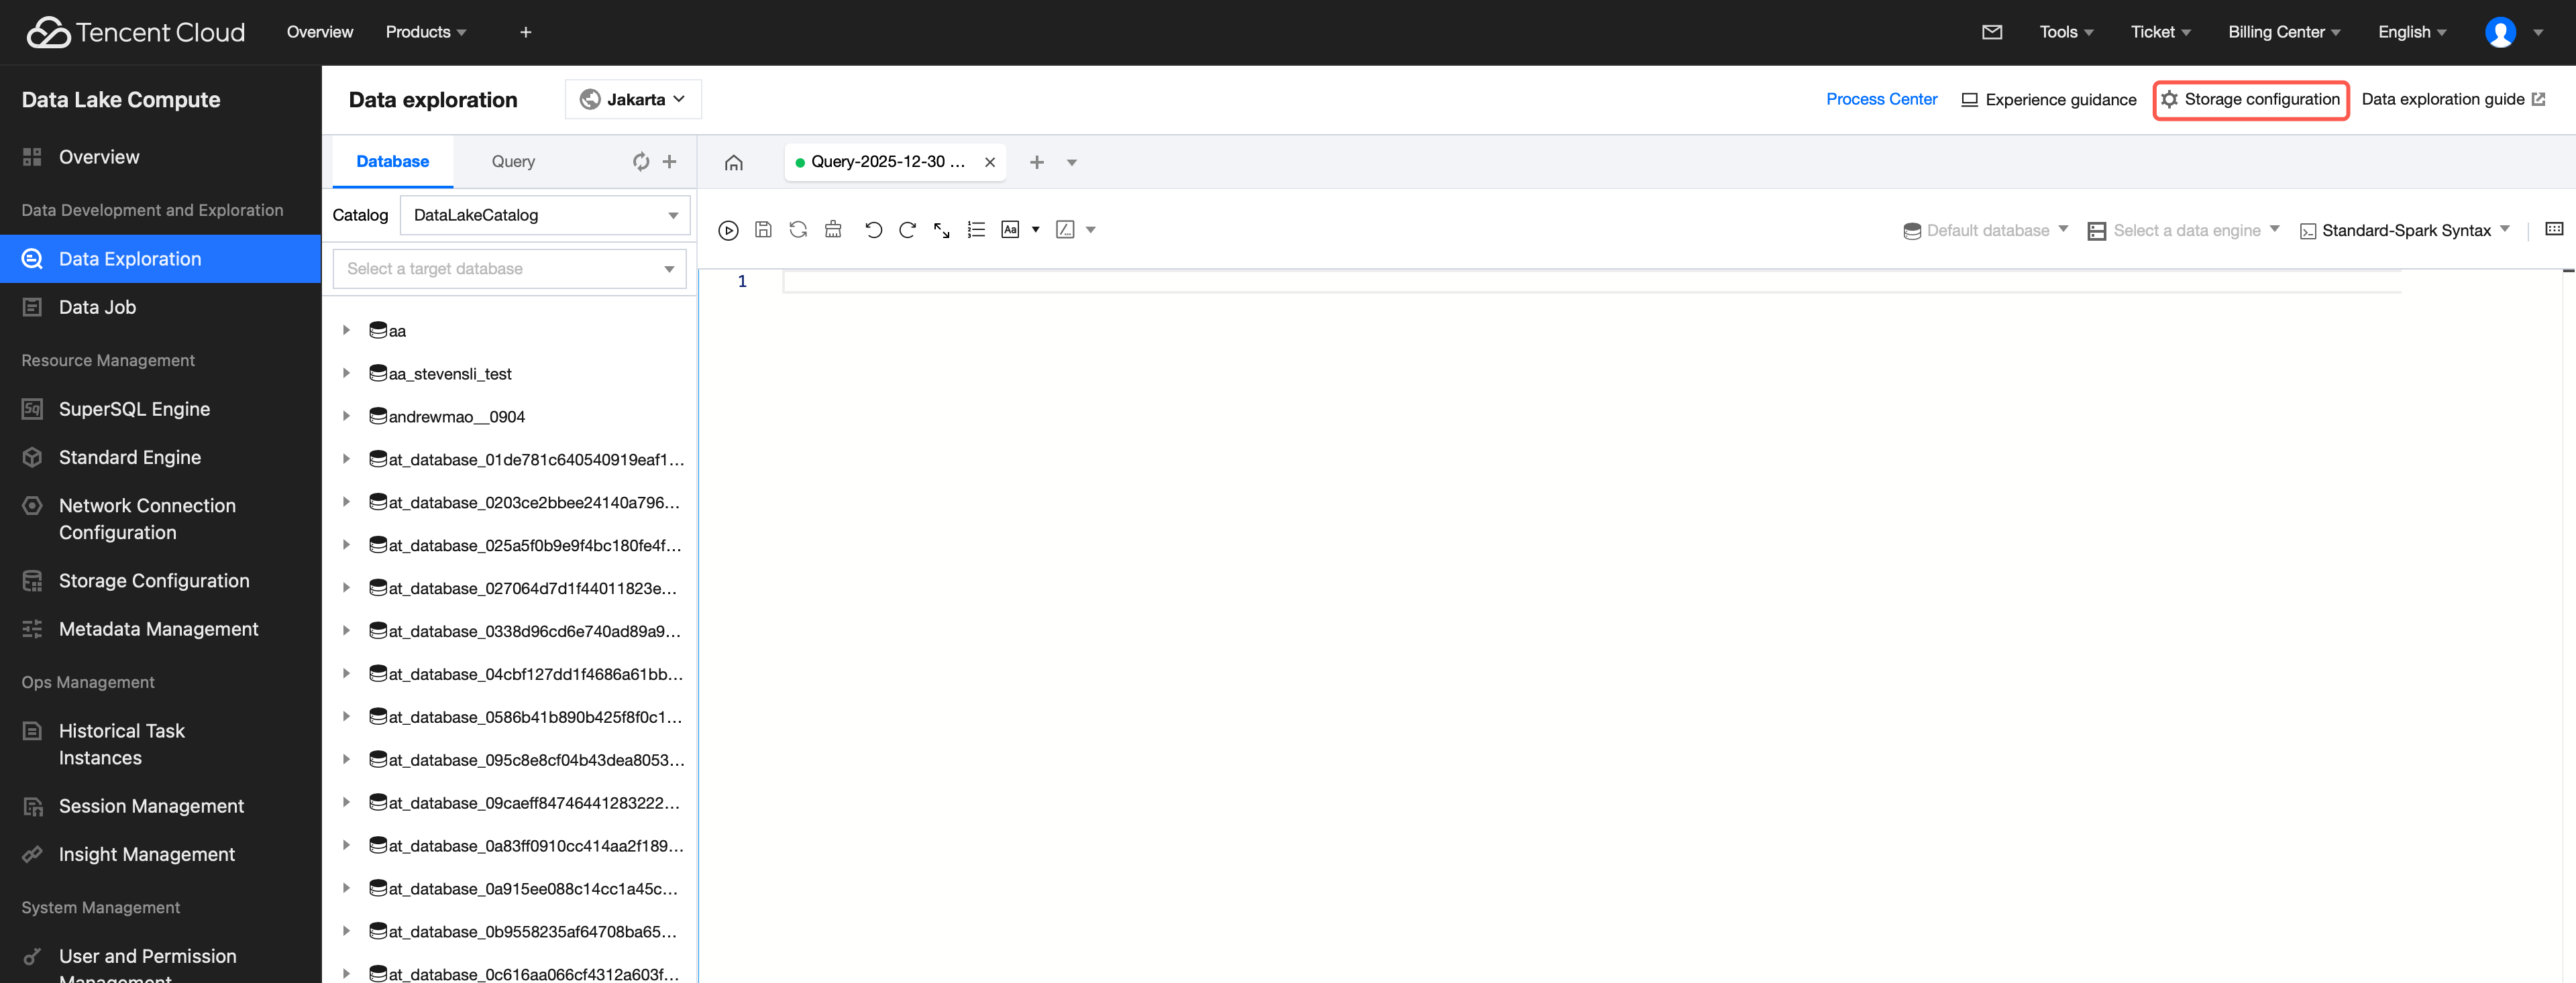
2. Navigate to Data Exploration via the left sidebar menu.
3. In the upper-right corner of the Data Exploration page, enter Storage Configuration, then click Modify configuration to configure the query result path.
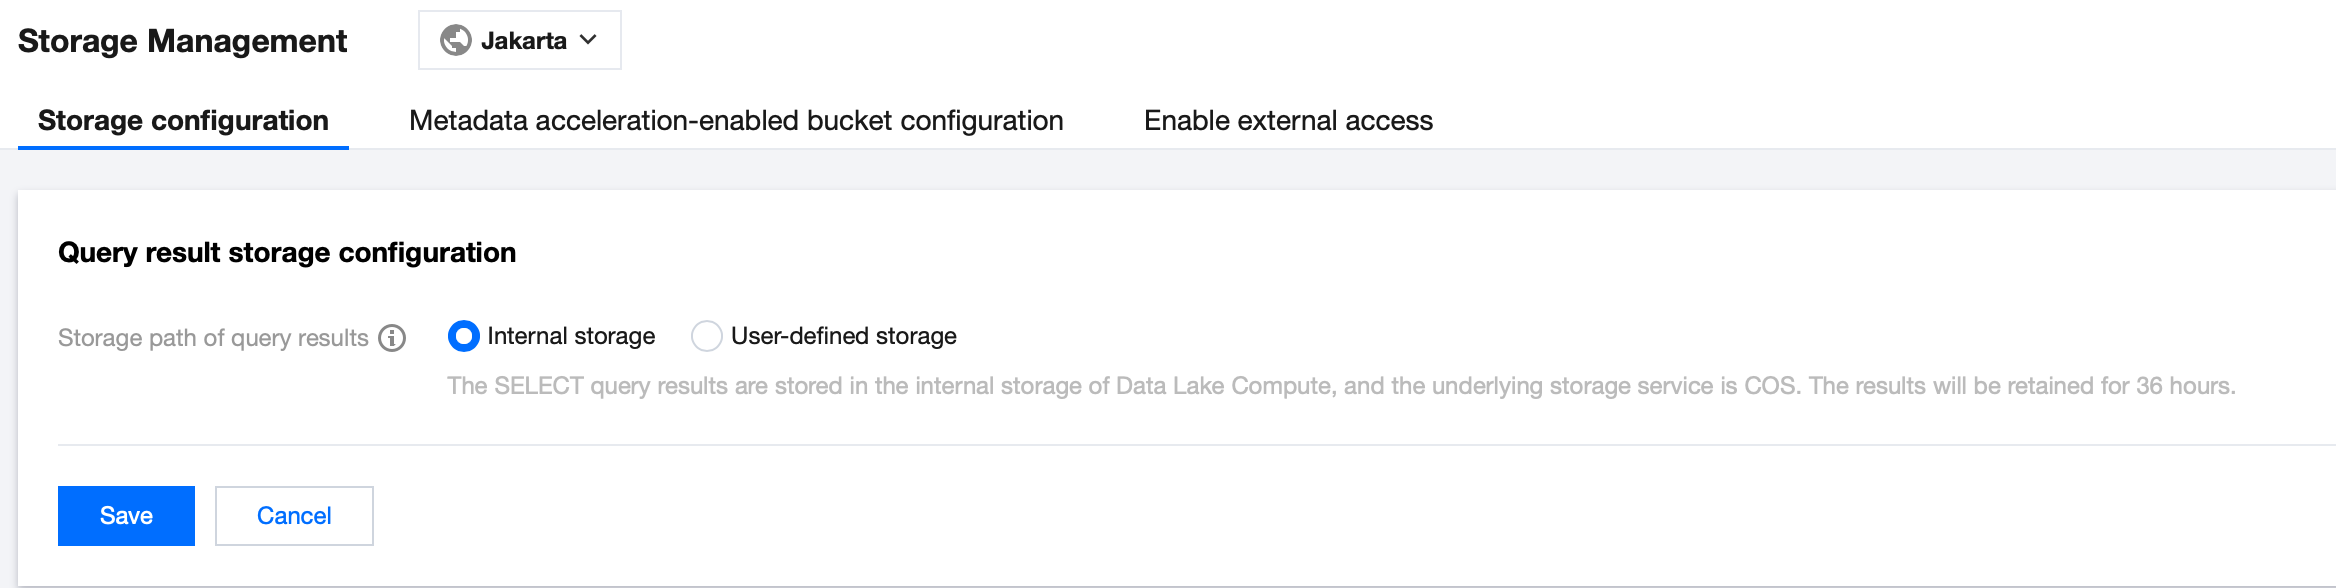
Configure the query result path. For example, the DLC internal storage stores SELECT query results in the storage space within the Data Lake Compute (DLC) product, with Cloud Object Storage (COS) as the underlying storage. The results are retained for 36 hours.
If there are no available COS storage buckets in your account, you can create one through the COS console.
Method 2:
1. Log in to the DLC console and select the Region for the service.
3. On the Storage Configuration page, click Modify configuration to configure the query result path.
Configure the query result path. For example, the DLC internal storage stores SELECT query results in the storage space within the DLC product, with Cloud Object Storage (COS) as the underlying storage. The results are retained for 36 hours.
If there are no available COS storage buckets in your account, you can create one through the COS console.
Analysis Steps
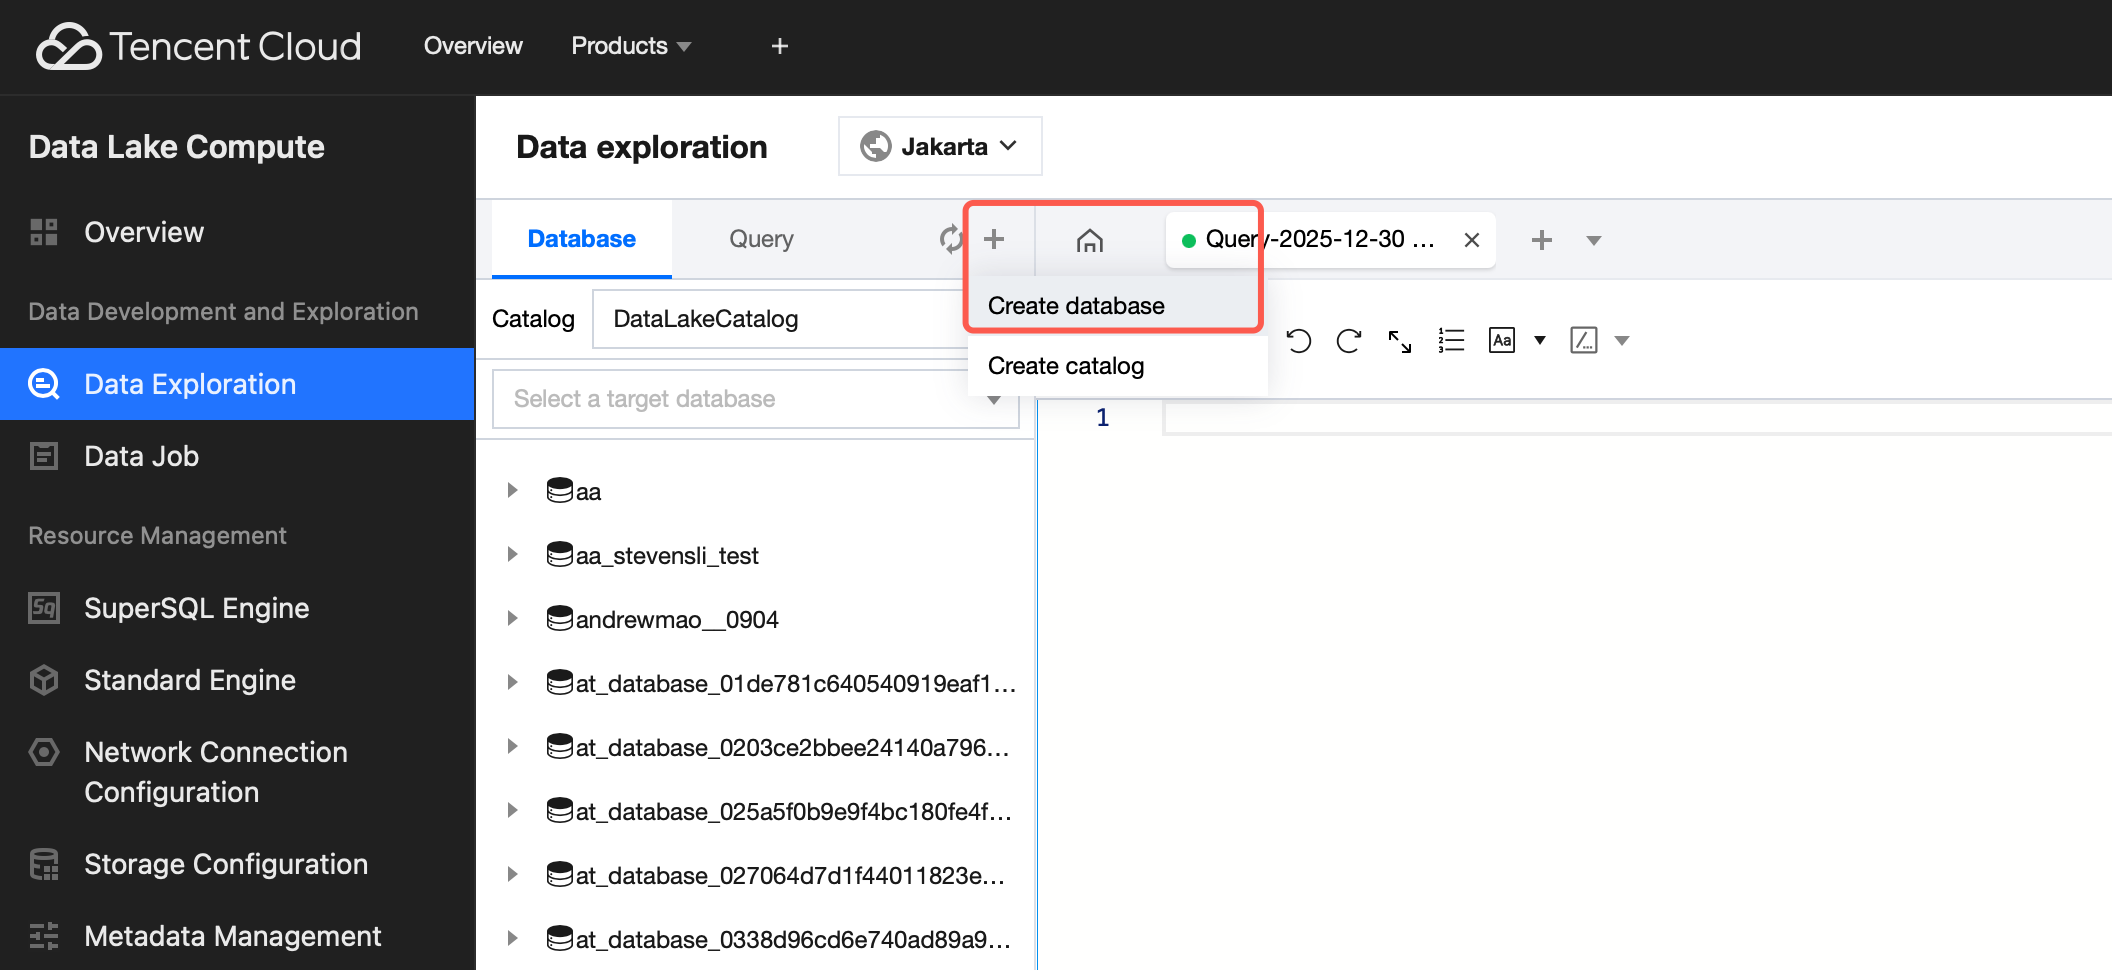
Step 1. Create a database
If you are familiar with SQL statements, write the CREATE DATABASE statement in the query and skip the creation wizard.
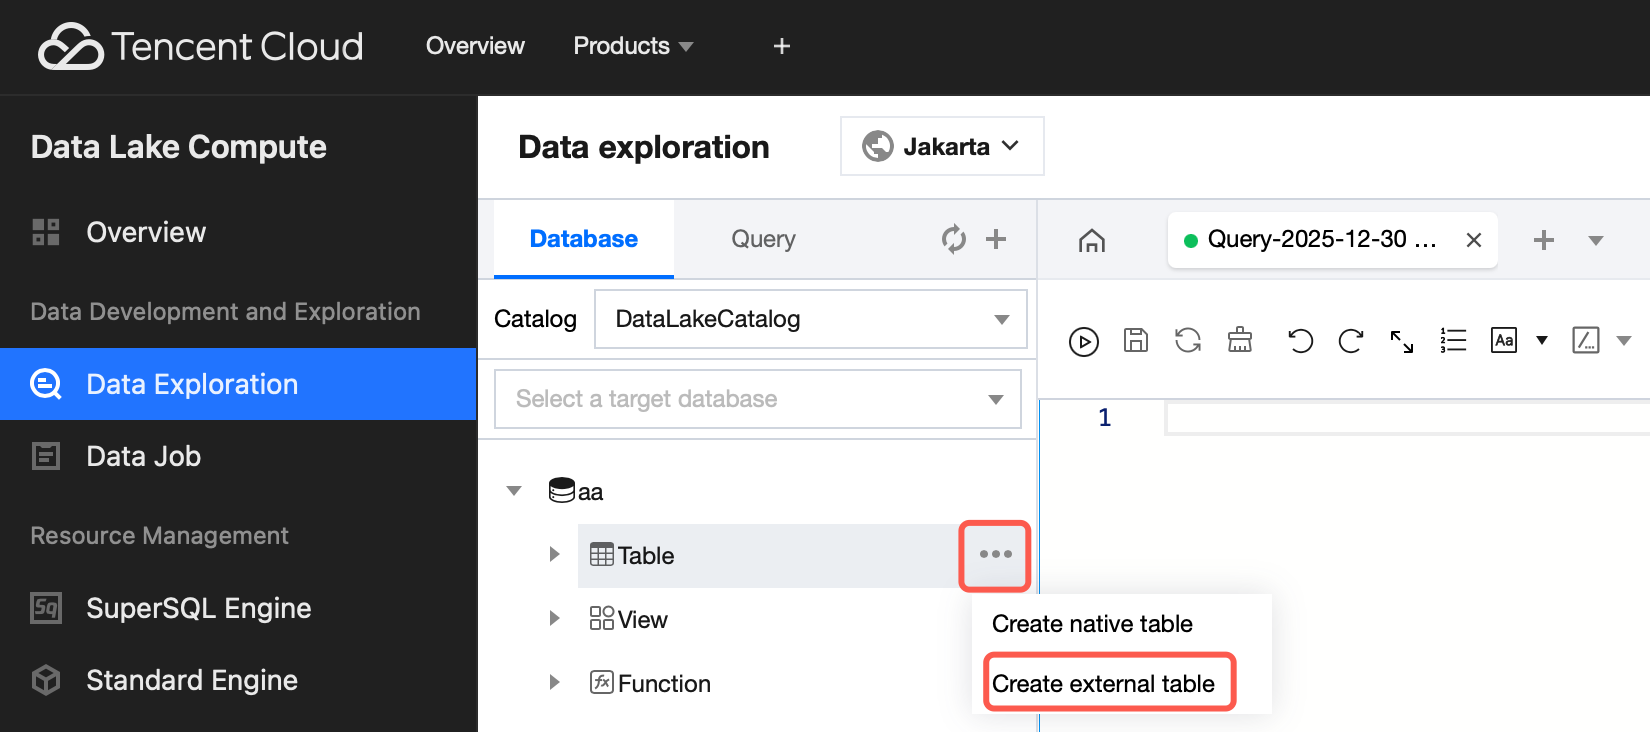
3. On the Database and Tables page, click the created database, move the mouse pointer to the three-dot icon on the right side of the table and click the icon, then select Create external table.
Note:
An external table generally refers to a data file stored in a COS bucket under your account. It can be directly created in Data Lake Compute for analysis with no need to load additional data. It is external, so only its metadata will be deleted when you run DROP TABLE, while your original data will remain.
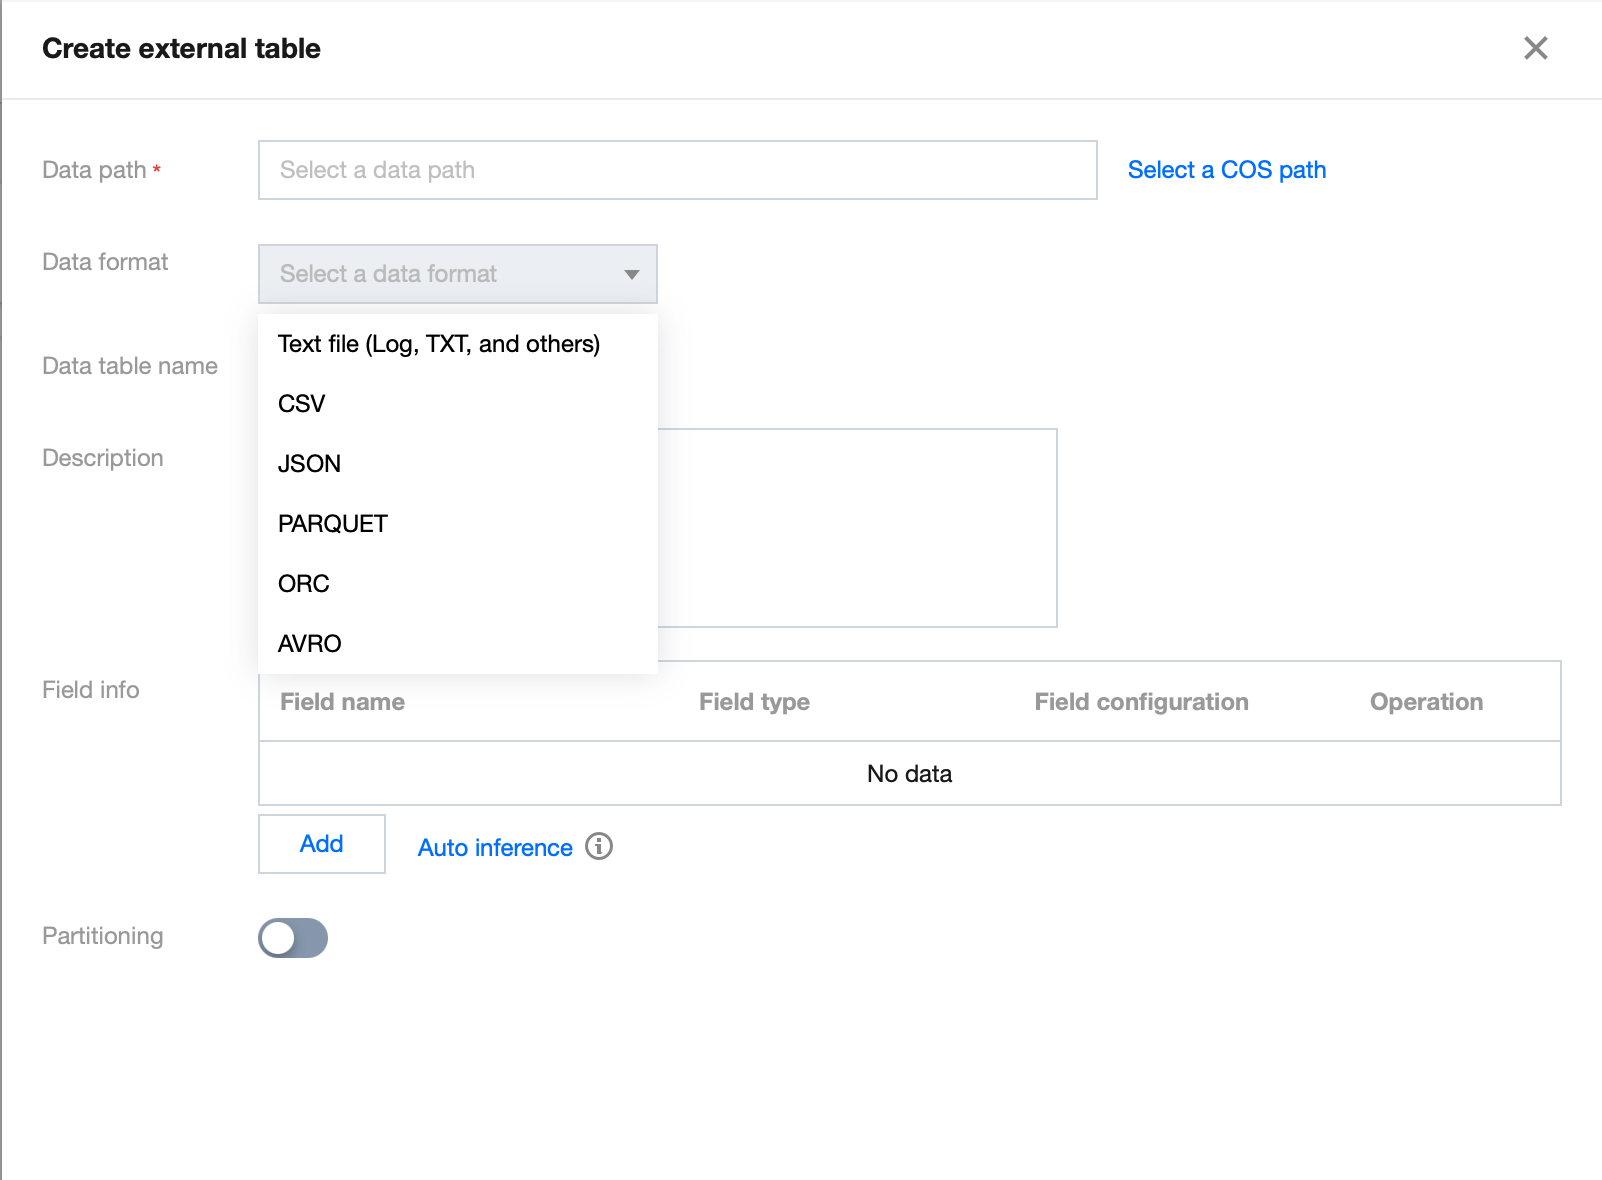
4. Generate the table creation statement according to the wizard. Complete each step in the order of Data path > Data format > Table format configuration item > Partitioning.
Step 1. Select the COS path of the data file (which must be a directory in a COS bucket but not a bucket itself). There is also a quick method to upload a file to COS. The operations require relevant COS permissions.
Step 2. Select the data file format. In the Advanced options, you can select automatic inference, and then the backend will parse the file format and automatically generate the table column information for fast column inference.
Note:
Structure inference is an auxiliary tool for table creation and may not be 100% accurate. You need to check and modify the field names and types as needed.
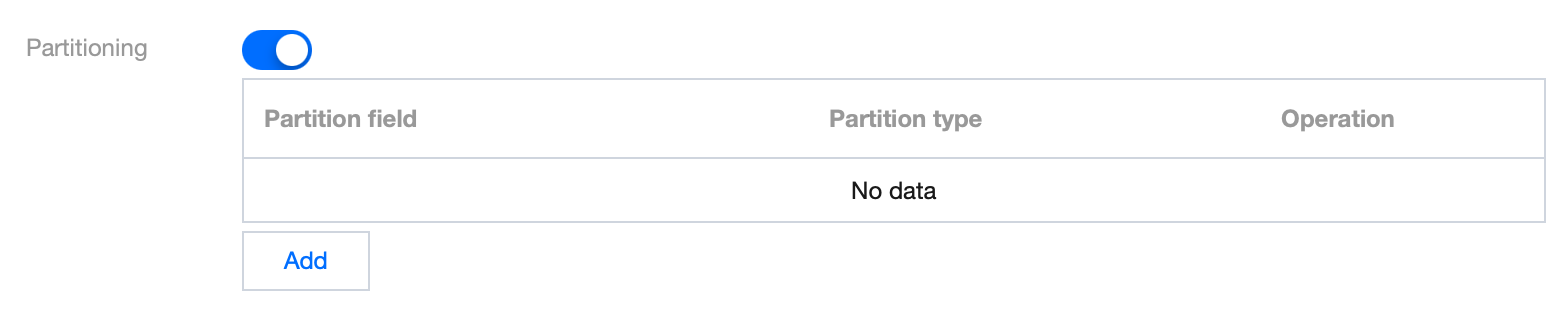
Step 3: Skip this step if there is no partition. Enabling partitioning can reasonably enhance analysis performance. For more information on partitioning, refer to Querying Partition Table.
5. Click Complete to generate the SQL statement for table creation. Select a data engine and run the generated statement to complete the table creation.
Step 3. Run the SQL analysis
After the data is prepared, write the SQL analysis statement, select an appropriate compute engine, and start data analysis.
Sample
Example Note:
1. In the example, 'demo2' is the database name and 'demo_audit_table' is the table name. You can replace the field values based on the actual business scenario.
2. In the example, the where condition is only for code reference. You can perform SQL analysis as needed based on the actual business scenario.
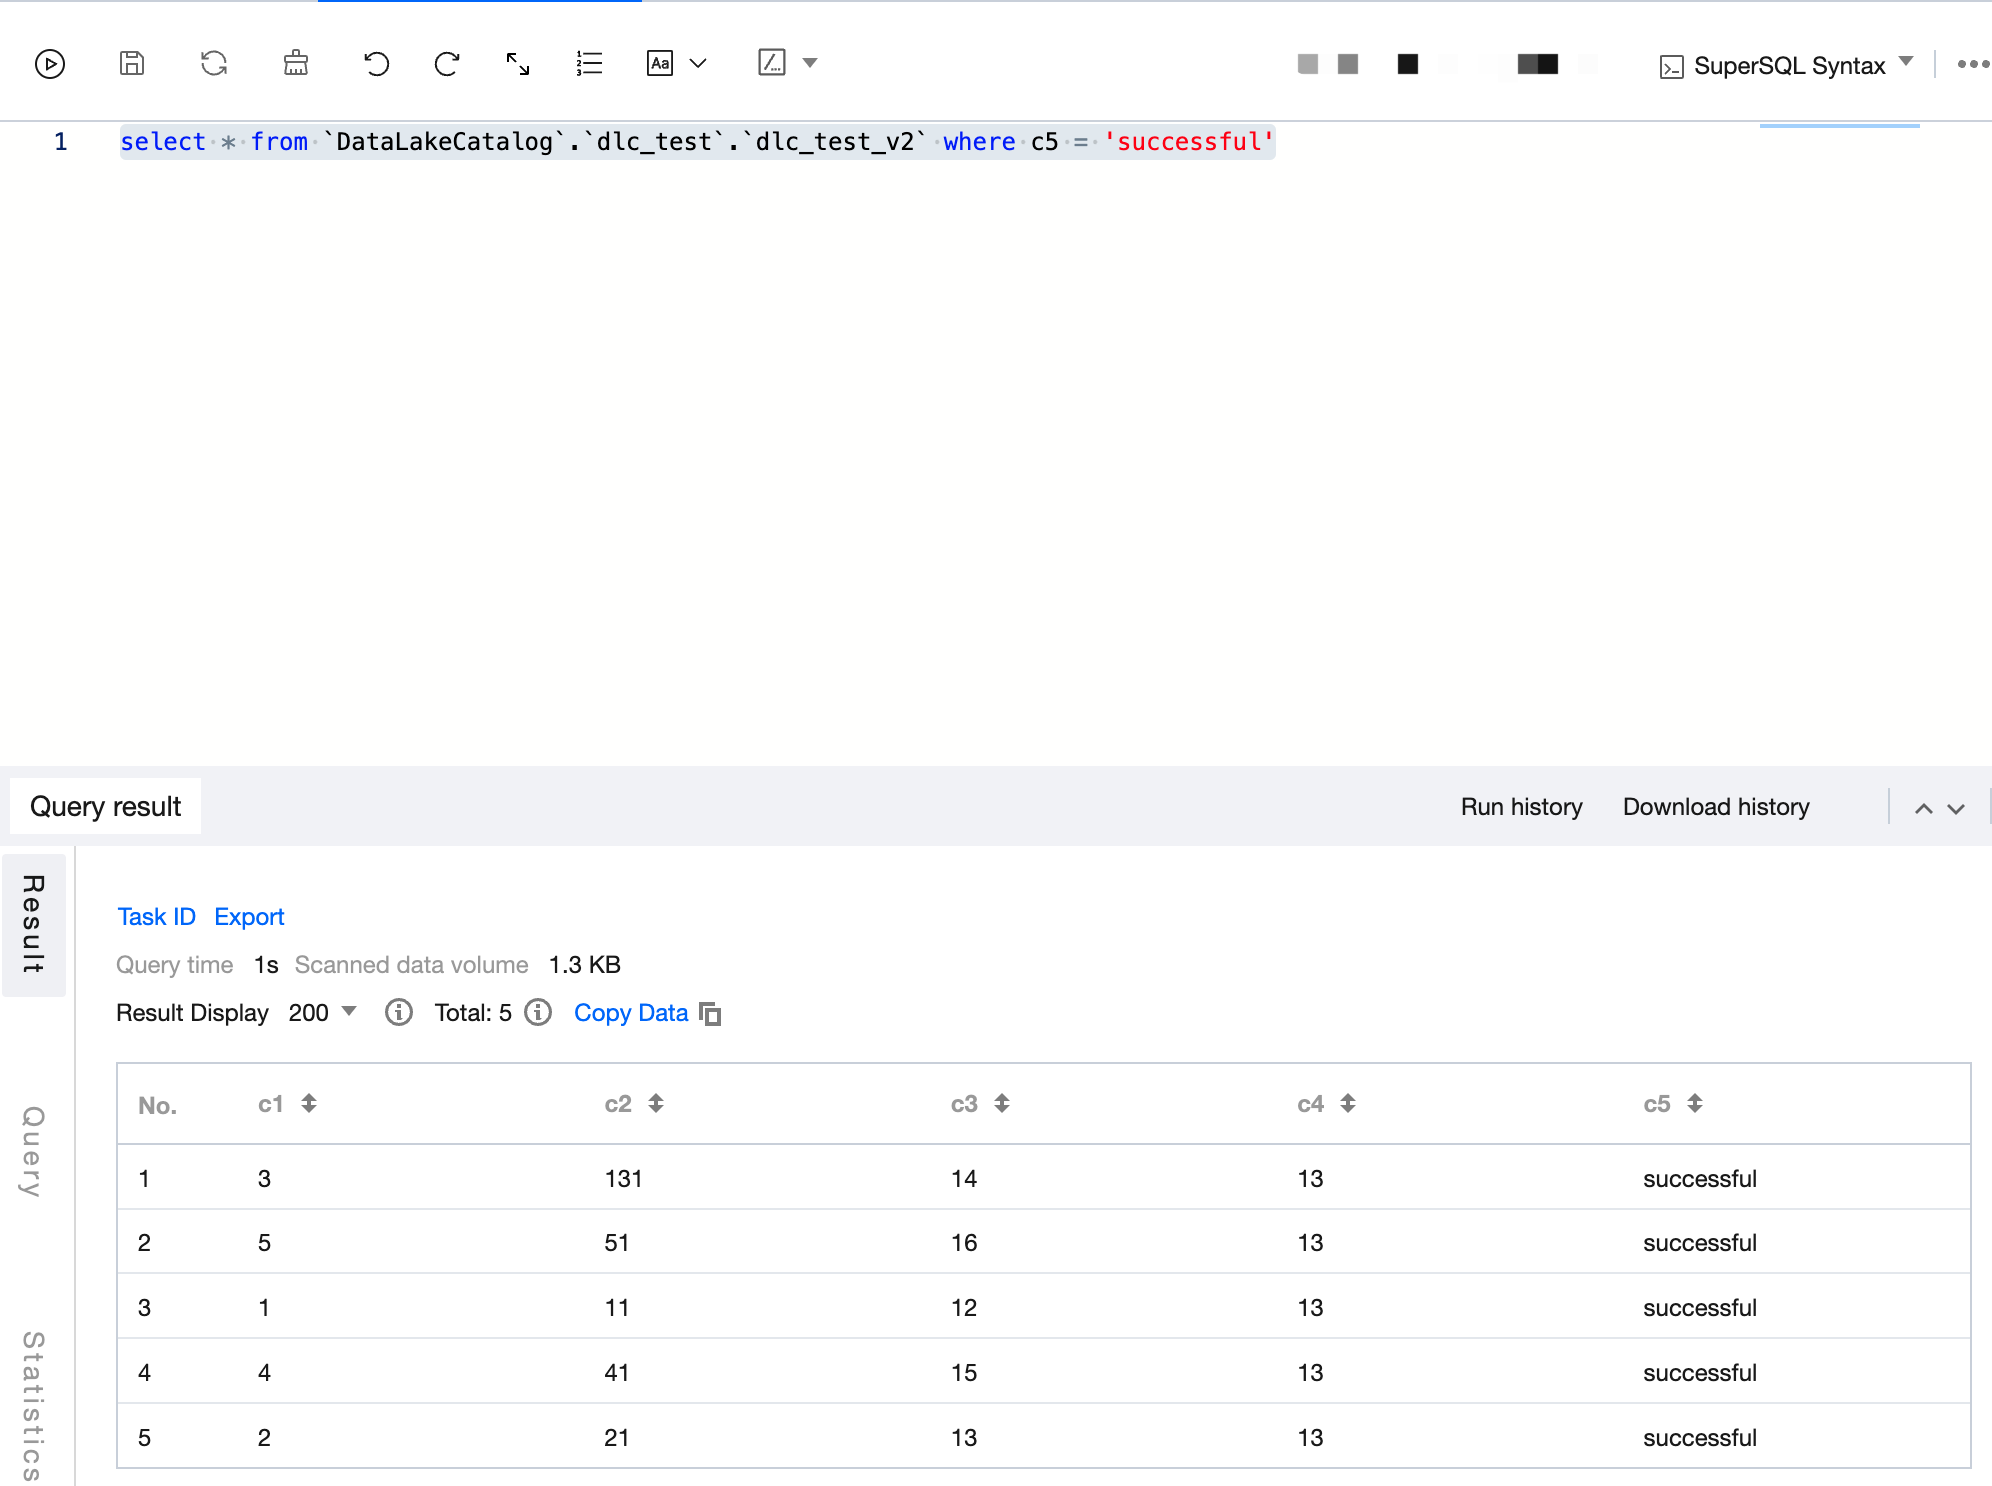
Write a SQL statement with all data query results being SUCCESS and run the statement after selecting a compute engine.
select * from `DataLakeCatalog`.`dlc_test`.`dlc_test_v2` where c5 ='successful'