tencent cloud

Tencent Cloud AI Digital Human

Product Overview
Overview
Product Features
Product Advantage
Purchase Guide
Pricing Guide
Purchase Guide
Process for Purchasing with Vouchers
Refund Instructions
Introduction of Avatar
Introduction to Image Categories
Basic Image Library
Guide on Avatar and Voice Clone
Digital Human Platform Operation Guide
Accessing Platform
Avatar Production and Asset Management
Digital Human Conversation Interaction Application and Management
Broadcast Digital Human Video Generation and Management
Operations Management and Analysis
Server API Integration
Digital Human API Access Mode Overview
Avatar aPaas API Calling Methods
Avatar Image Customization and Voice Clone API Documentation
Video Generation Service API Documentation
Interactive Digital Human Service API Documentation
Personal Asset Management API Documentation
Client SDK Integration
Overall Introduction
3D Client-Side Rendering SDK Integration
2D Client-Side Rendering SDK Integration
Digital Human SSML Markup Language Specification
Related Agreement
Privacy Policy
DSA (Data Sharing Agreement)
FAQs

Quick Run-Through

PDF
Focus Mode
Font Size
Last updated: 2025-11-05 10:17:32
This document will introduce how to quickly complete Digital Human H5 SDK access. You can finish the work within 10 minutes and finally get a Digital Human interaction dialogue interface with complete UI.
The interface effect is as follows:


Demo Example

Project Structure

client-render-demo: Client-side rendering example

Installation and Use

Environment Requirements

chrome browser.

Installing

Copy the project code to local.

Running the Demo

Client-Side Rendering Example

1. Open the client-render-demo directory.
2. Start a local server in this directory.
3. Open the index.html file in the browser. If you are using a local server, you can achieve this by accessing http://localhost:3000/index.html.
4. Download model data.

5. Copy the corresponding 3D avatar model data to the local 
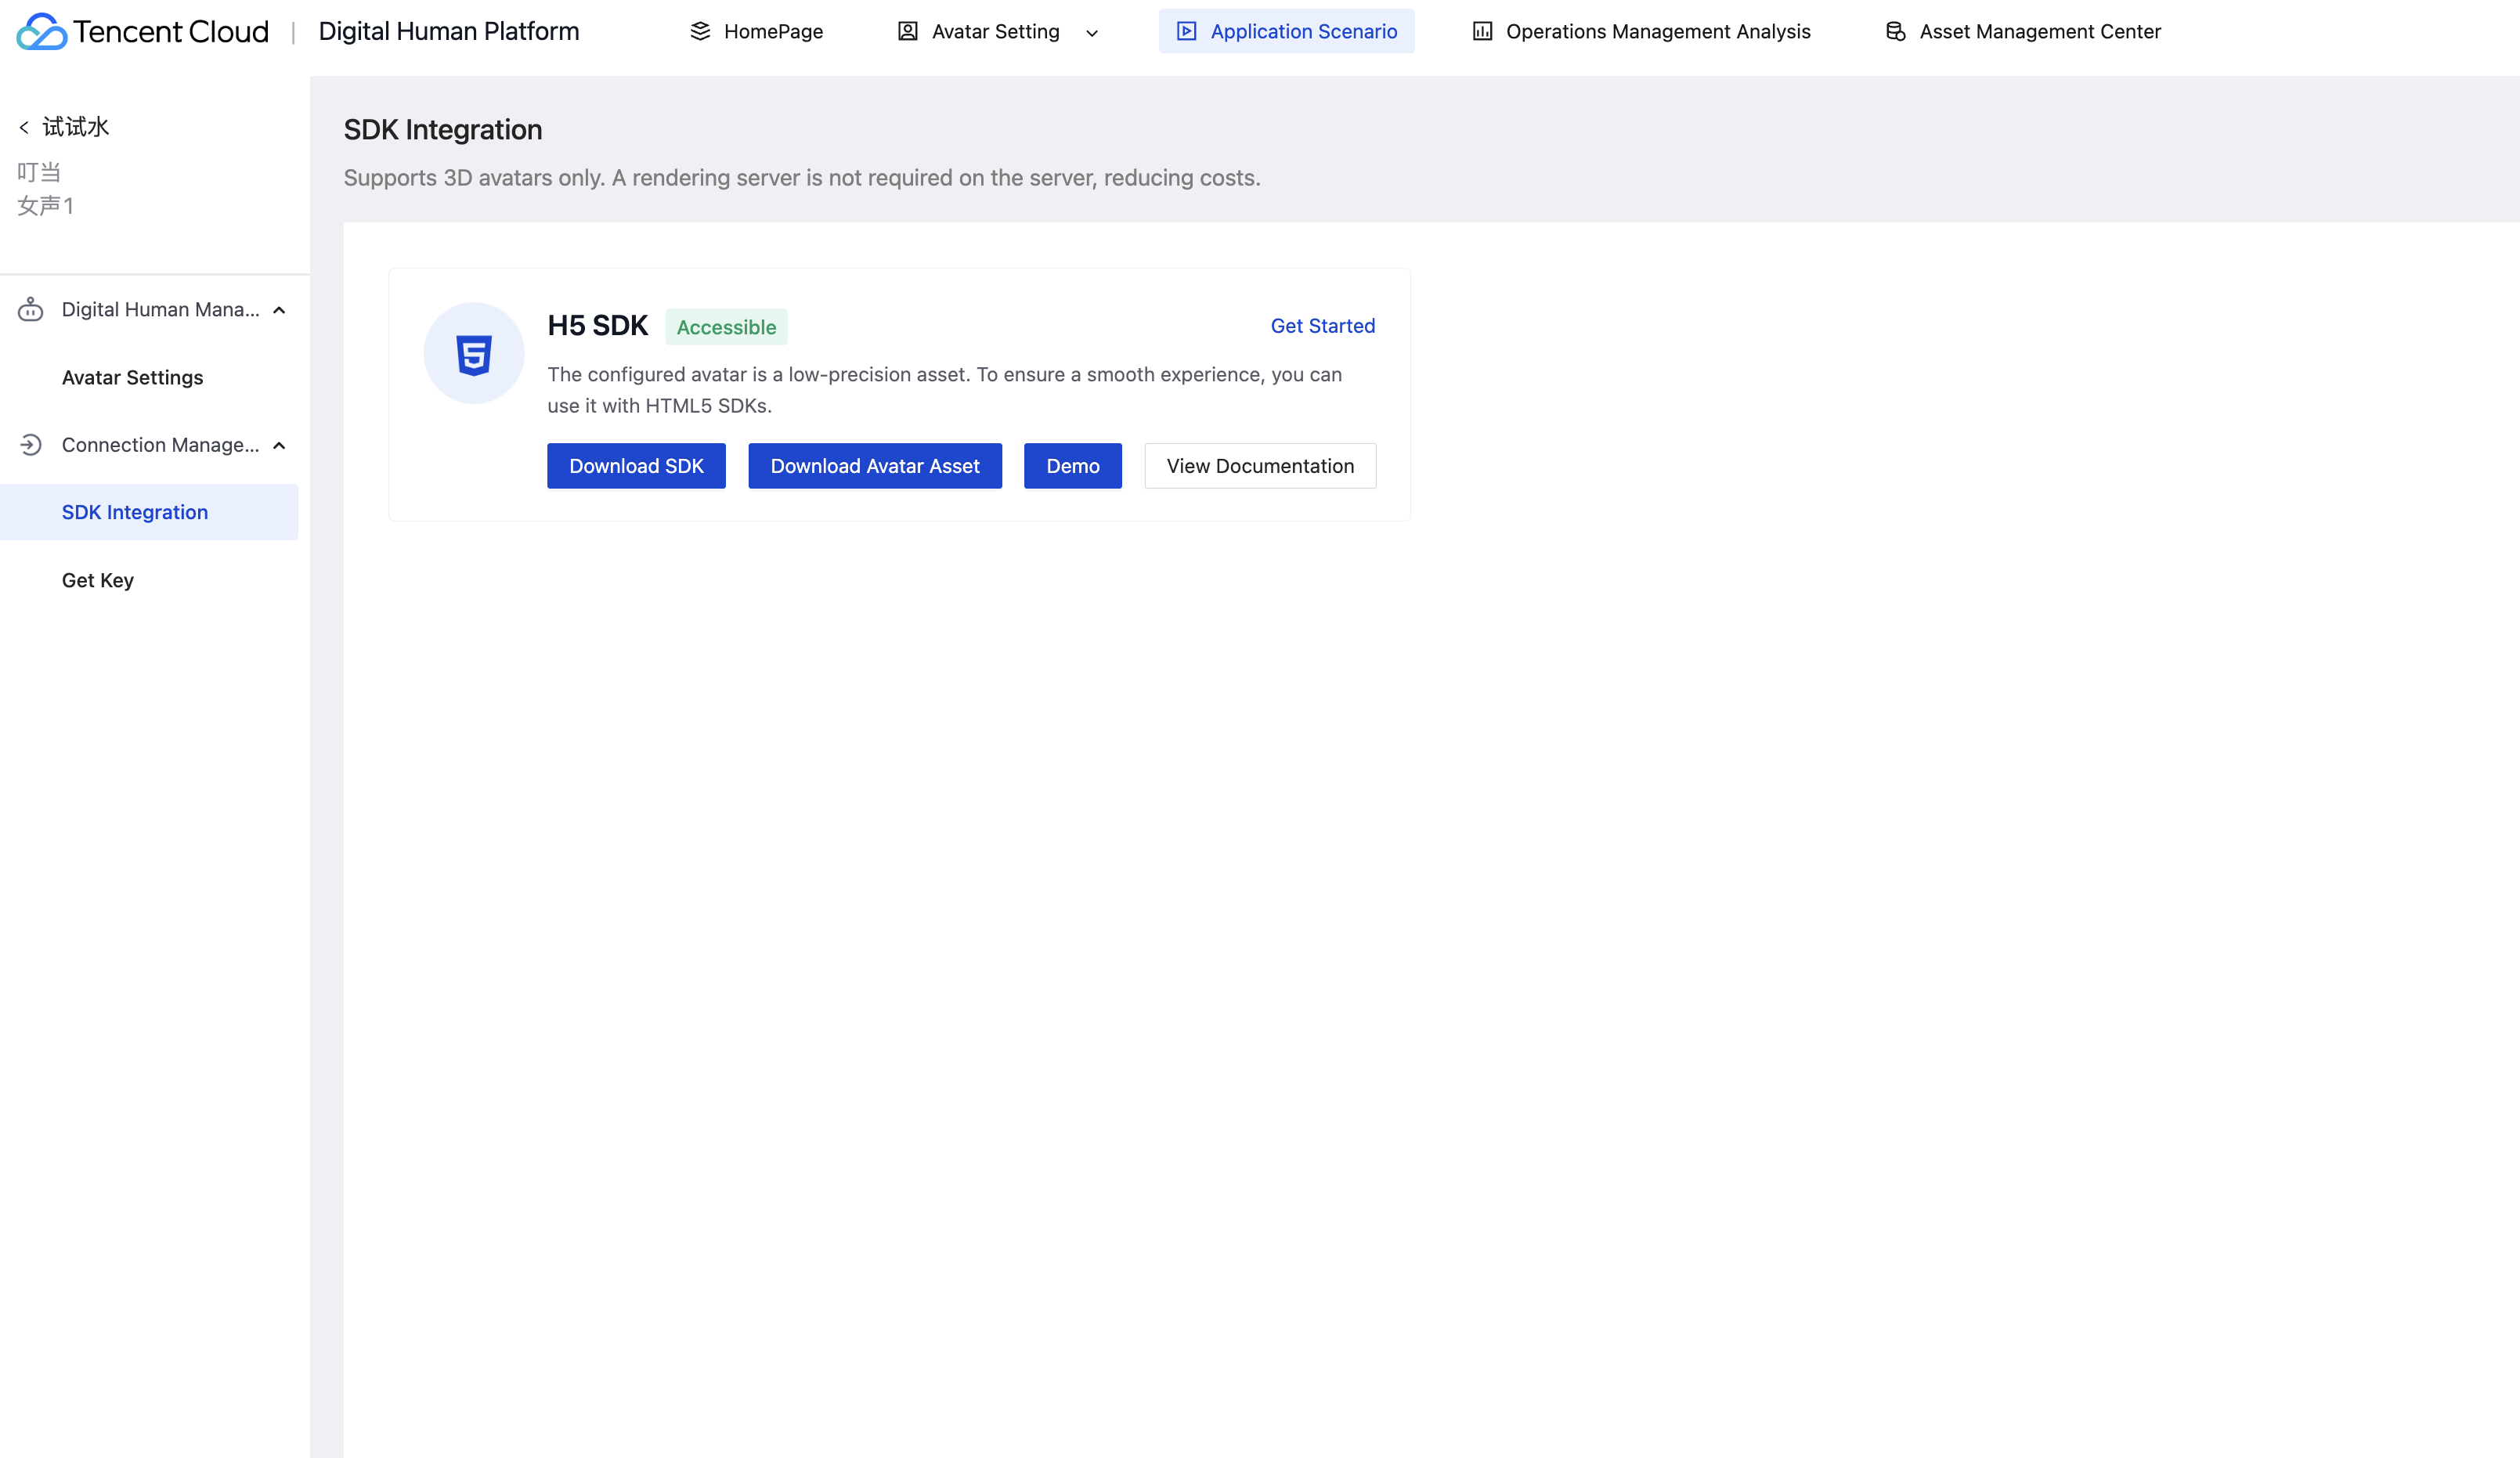
model folder, and modify the meta.json content in the model folder based on the model name.
The local model file directory structure is as follows:
model
├── action
│ ├── listening.json
│ ├── kending.json
│ └── ...
├── config.json
├── meta.json
└── model.glb
In the meta.json file, modify the model name based on actual.
{
"modelPath": "model.glb",
"actionPaths": [
"action/listening.json",
"action/kending.json",
...
],
"configPath": "config.json"
}
If there is no config.json file in the downloaded model, remove the configPath configuration item from meta.json.
6. Add URL parameters for execution, for example: http://localhost:3000/index.html?virtualmanKey=xxxx&sign=xxxx&config=xxxx.
virtualmanKey: Unique identifier of the avatar. You can get the key and follow the steps to obtain this value.
sign: Signature. Please note, no URL encoding is needed here. Likewise, you can get it by accessing get the key.

Cloud-Render Example

1. Open the server-render-demo directory.
2. Start a local server in this directory.
3. Open the index.html file in the browser. If you are using a local server, you can achieve this by accessing http://localhost:3000/index.html.
4. Add URL parameters for execution, for example: http://localhost:3000/index.html?virtualmanKey=xxxx&sign=xxxx.
virtualmanKey: Unique identifier of the avatar. You can get the key and follow the steps to obtain this value.
sign: Signature. Please note, no URL encoding is needed here. Likewise, you can get it by accessing get the key.

Automatic Speech Recognition Capabilities

To enable ASR, add the ASR service's secretId, secretKey, and appId parameters to the URL parameter.


Help and Support

Was this page helpful?

Help us improve! Rate your documentation experience in 5 mins.

Feedback