For operations like password management, SSHD fixing and maintenance before disk mounting, Linux users need to enter the single user mode. This document describes how to boot into this mode in mainstream Linux distributions.
2. In the VNC login window, select Send CtrlAltDel in the upper-left corner, press Ctrl-Alt-Delete, and click OK in the prompt box.
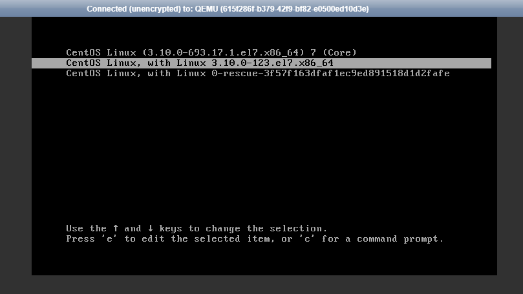
3. When a connection failure message appears, press Up or Down arrow to refresh the page and hovers the cursor over the grub menu, as shown below.
4. Press e to enter the grub rescue mode.
5. Perform the steps that suit your operating system version.
CentOS 6.x
CentOS 7.x
CentOS 8.0
Ubuntu or Debian
SUSE
tlinux 2.2
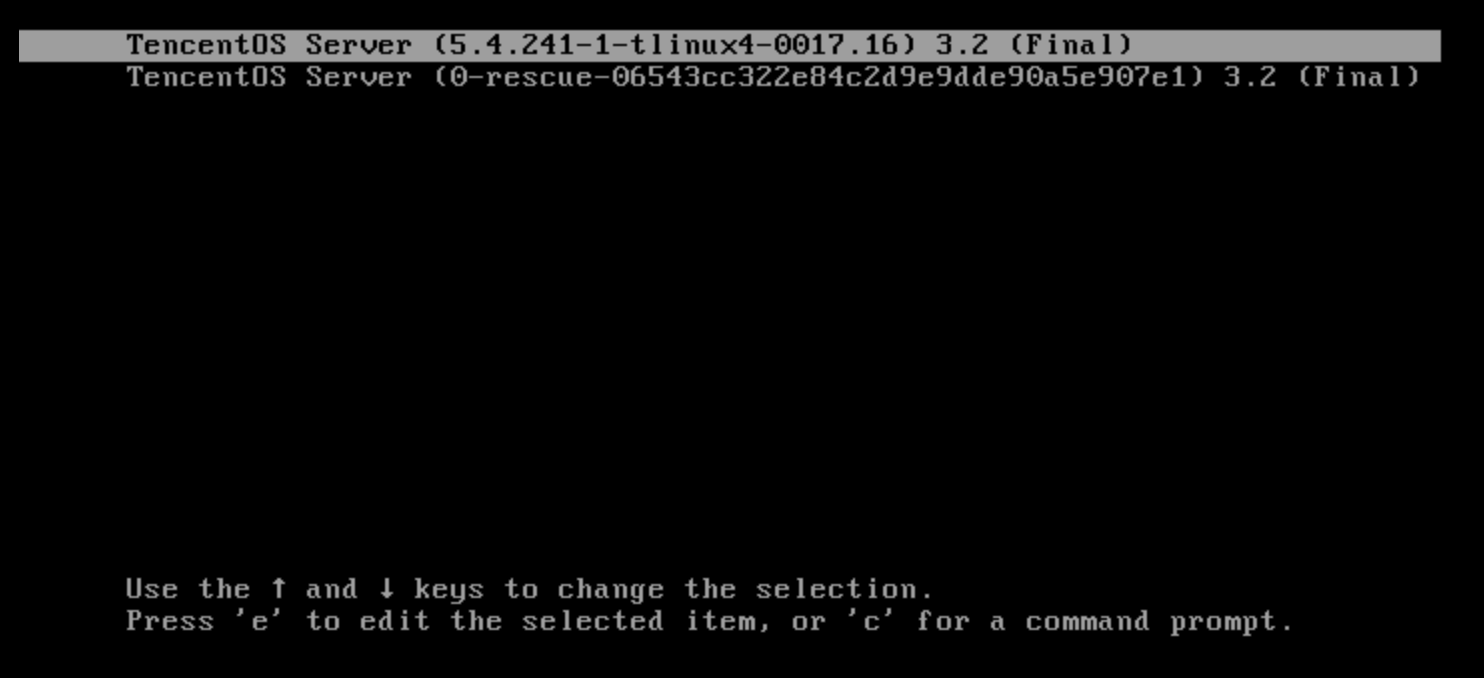
tlinux 3.2
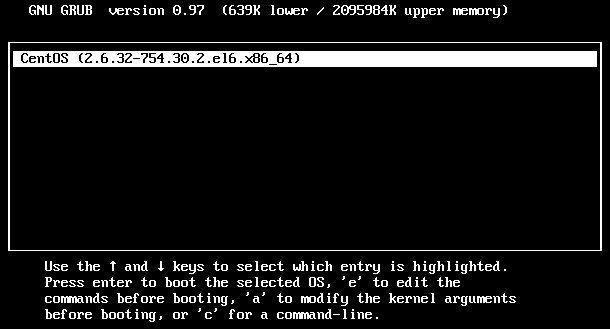
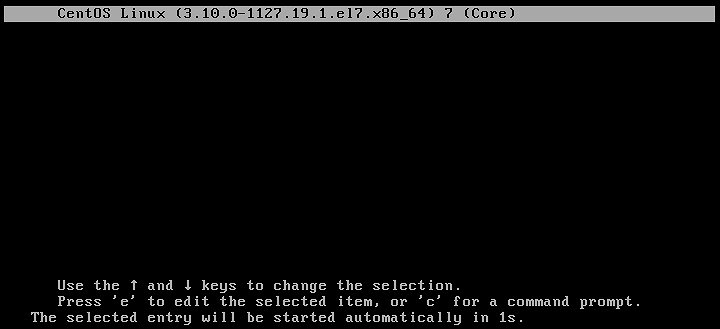
1. Select a kernel in the grub mode, as shown below.
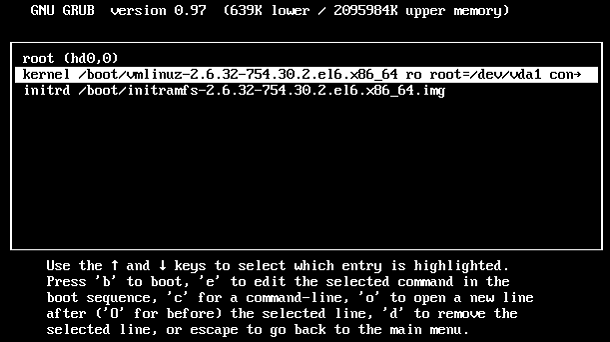
2. Press e to enter the kernel edit page, choose the kernel line using Up or Down arrow, and press e again, as shown below.
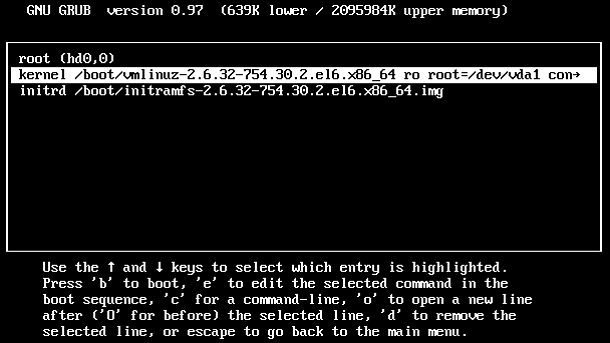
3. Enter single at the end of line, as shown below.
4. Press Enter, and then press b to boot the selected command line and enter single user mode, as shown below.
The following figure indicates that the system boots into single user mode.
Note:
You can run the exec /sbin/init command to exit the single user mode.
1. Select a kernel in the grub mode, as shown below.
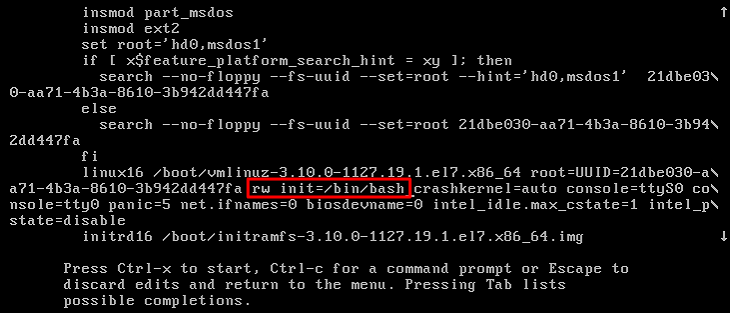
2. Press e to enter the kernel edit page. Locate the line started with “linux16” using Up or Down arrow and replace ro with rw init=/bin/bash or /usr/bin/bash, as shown below.
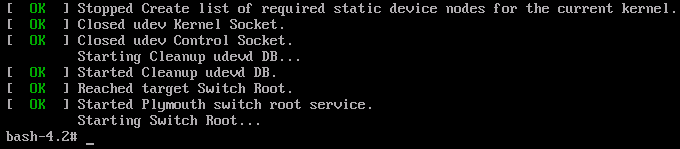
3. Press Ctrl+X to boot into the single user mode, as shown below:
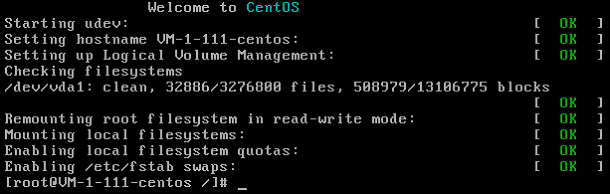
The following figure indicates that the system boots into the single user mode.
Note:
You can run the exec /sbin/init command to exit the single user mode.
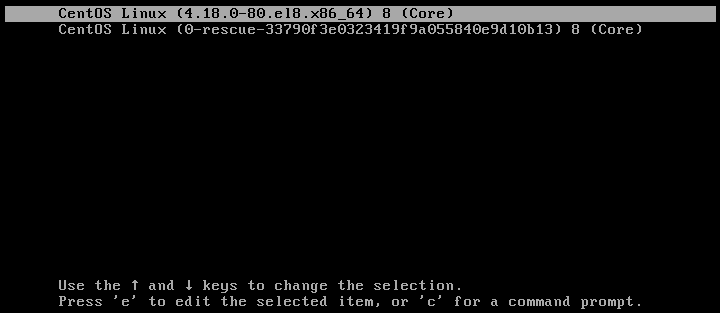
1. Select a kernel in the grub mode, as shown below.
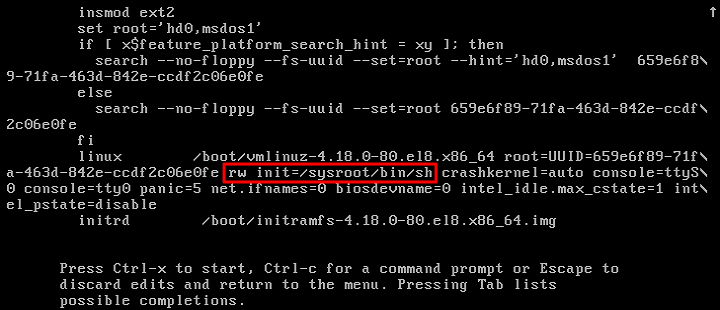
2. Press e to enter the kernel edit page. Locate the line started with “linux” using Up or Down arrow and replace ro with rw init=/sysroot/bin/bash, as shown below.
3. Press Ctrl+X to boot into the single user mode, as shown below:
The following figure indicates that the system boots into the single user mode.
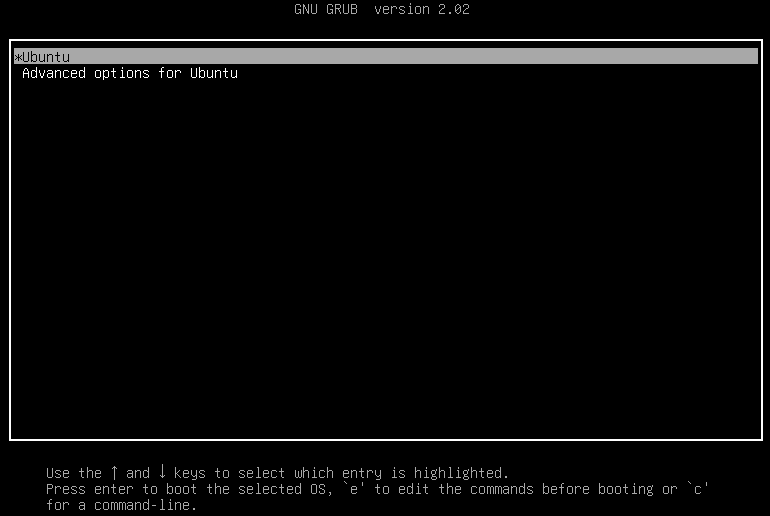
1. Select a kernel in the grub mode, as shown below.
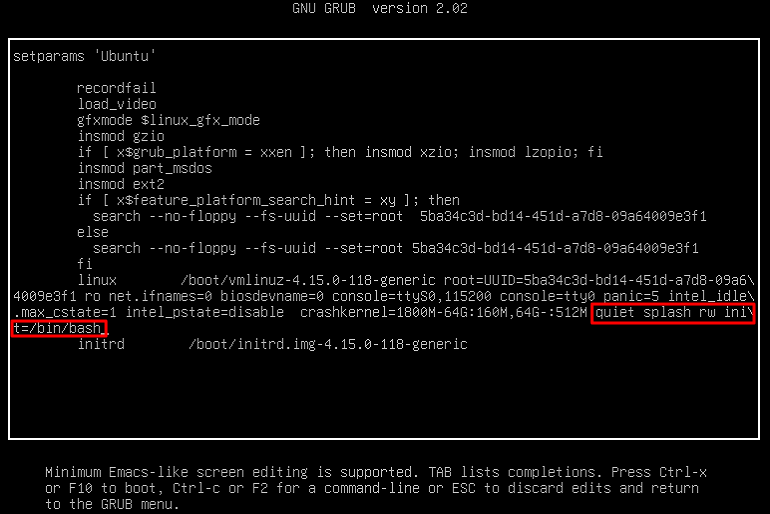
2. Press e to enter the kernel edit page. Locate the line started with “linux” using Up or Down arrow and append quiet splash rw init=/bin/bash to the end of the line, as shown below.
3. Press Ctrl+X to boot into the single user mode, as shown below:
The following figure indicates that the system boots into single user mode.
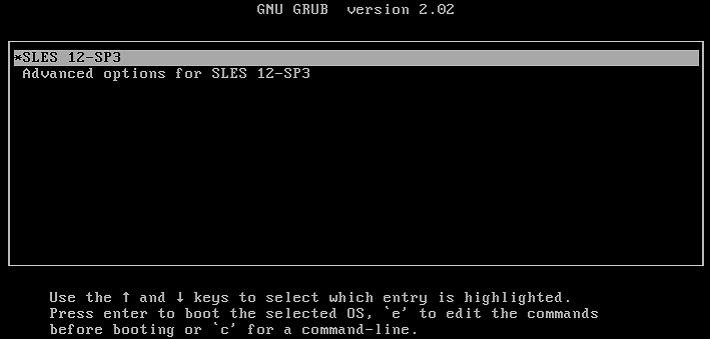
1. Select a kernel in the grub mode, as shown below.
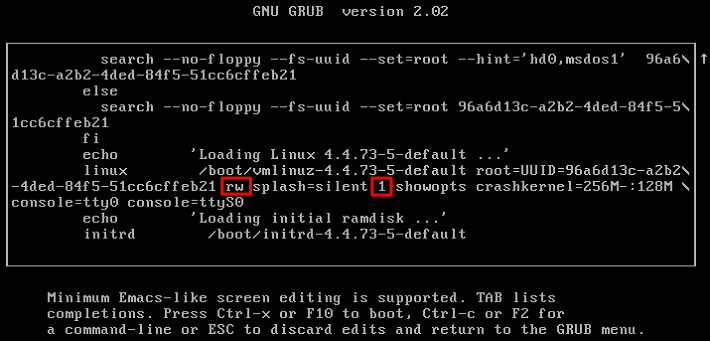
2. Press e to enter the kernel edit page. Locate the line started with “linux” using Up or Down arrow, add rw to the beginning and 1 to the end of the splash parameter, as shown below.
3. Press Ctrl+X to boot into the single user mode, as shown below:
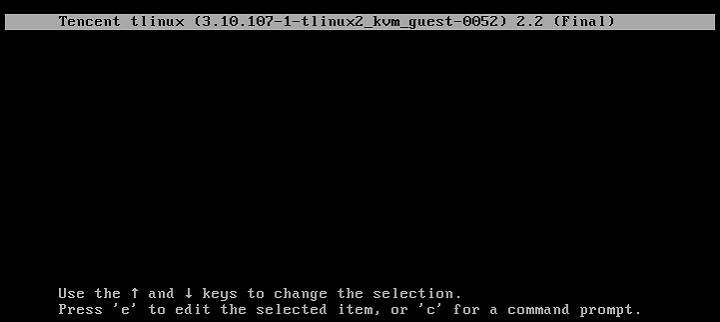
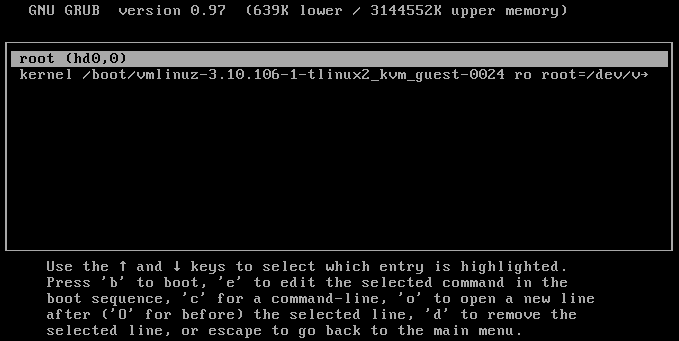
1. Select a kernel in the grub mode, as shown below.
2. Press e to enter the kernel edit page, choose the kernel line using Up or Down arrow, and press e again, as shown below.
3. Add a space and 1 to the end of the line (namely after 256M), as shown below.
4. Press Enter to enter the single user mode.
1. On the grub mode interface, select a kernel, as shown in the following figure:
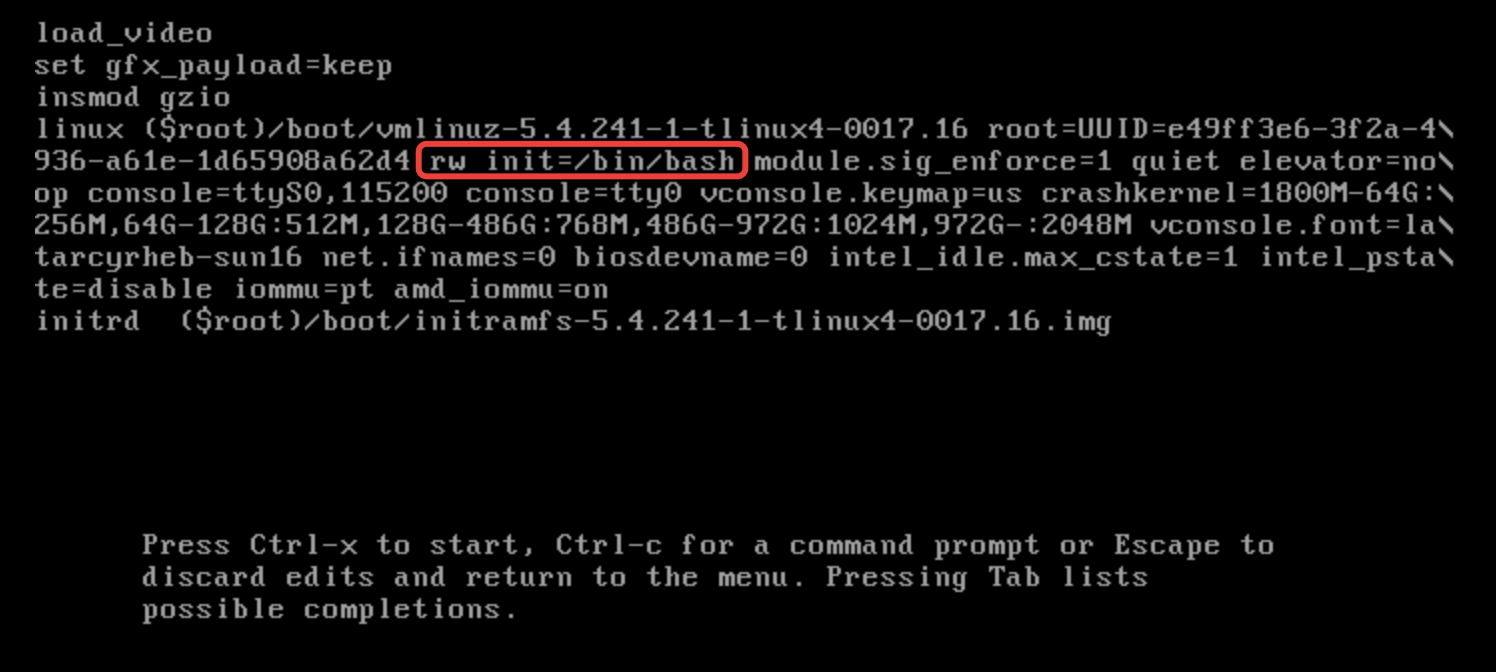
2. Press e to access the kernel editing interface. Use the Up/Down arrow keys to navigate to the line starting with linux. Replace ro with rw init=/bin/bash or /usr/bin/bash, as shown in the following figure:
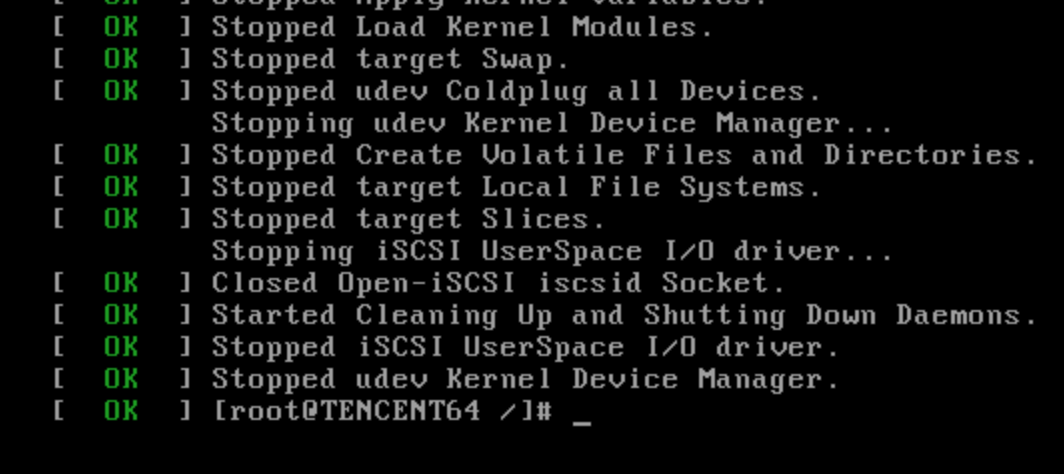
3. Press Ctrl+X to start the instance, and the system enters the single-user mode.
As shown in the following figure, the system has entered the single-user mode successfully.