To save the storage space, physical and logical backups in TencentDB for MySQL will be compressed with qpress and then packed with xbstream offered by Percona.
The open-source Percona XtraBackup can be used to back up and restore databases. This document describes how to use XtraBackup to restore a physical backup file of TencentDB for MySQL instance to a CVM-based self-built database.
Note:
If you use the TDE or Instant DDL feature, you cannot restore data from a physical backup in a self-built system.
Supported instance architectures: two-node or three-node MySQL
Instances with TDE enabled cannot be restored from a physical backup.
Note:
This document takes a CVM instance on CentOS and a MySQL 5.7 instance as an example.
Step 1.
Download the backup file
You can download data backups and log backups of TencentDB for MySQL instances in the console.
Note:
Each IP can have up to 10 download links by default, with a download speed limit of 20–30 Mbps each.
1. Log in to the TencentDB for MySQL console. In the instance list, click an instance ID or Manage in the Operation column to enter the instance management page.
2. On the Backup and Restoration > Data Backup List tab, locate the backup file to be downloaded and click Download in the Operation column.
3. Copy the download address in the pop-up dialog box, log in to the Linux CVM in the same VPC as the TencentDB instance as instructed in Customizing Linux CVM Configurations, and run wget to download the file over the high-speed private network.
Note:
You can also click Download to download it directly. However, this may take a longer time.
Step 2. Download the backup decryption key (required only if the backup encryption feature is enabled)
You can download data backups and decryption keys of TencentDB for MySQL instances in the console.
Note:
A decryption key is generated for each database backup separately. If the backup encryption feature is enabled, you need to download and save the backup file together with the decryption key.
1. Log in to the TencentDB for MySQL console. In the instance list, click an instance ID or Manage in the Operation column to enter the instance management page.
2. On the Backup and Restoration > Data Backup List tab, locate the decryption key of the backup file to be downloaded and click Download Key in the Operation column.
Step 3. Restore data
3.1 Unpack the backup file
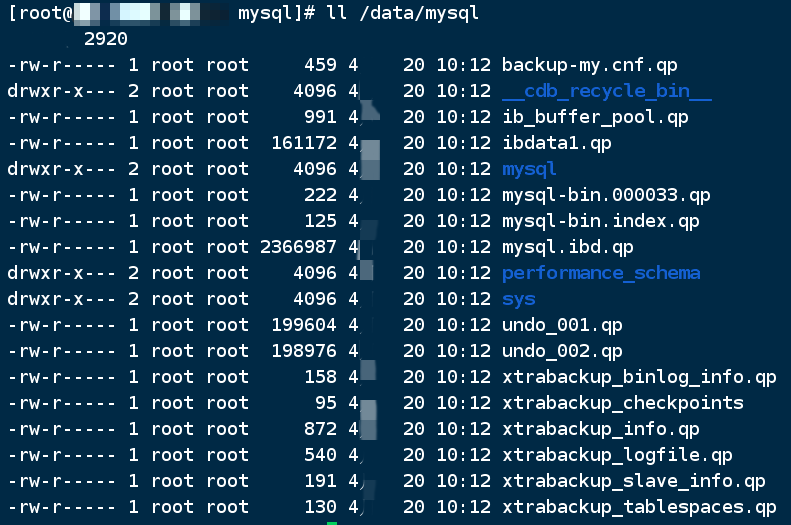
Run the xbstream command to unpack the backup file to the target directory.
The target directory /data/mysql is used as an example in this document. You can replace it with the directory you actually use to store the backup file.
Replace /data/test.xb with your backup file.
The unpacking result is as shown below:
3.2 Decompress the backup file
1. Download qpress by running the following command.
wget -d --user-agent="Mozilla/5.0 (Windows NT x.y; rv:10.0) Gecko/20100101 Firefox/10.0" https://docs-tencentdb-1256569818.cos.ap-guangzhou.myqcloud.com/qpress-11-linux-x64.tar
2. Extract the qpress binary files by running the following command.
tar -xf qpress-11-linux-x64.tar -C /usr/local/bin
source /etc/profile
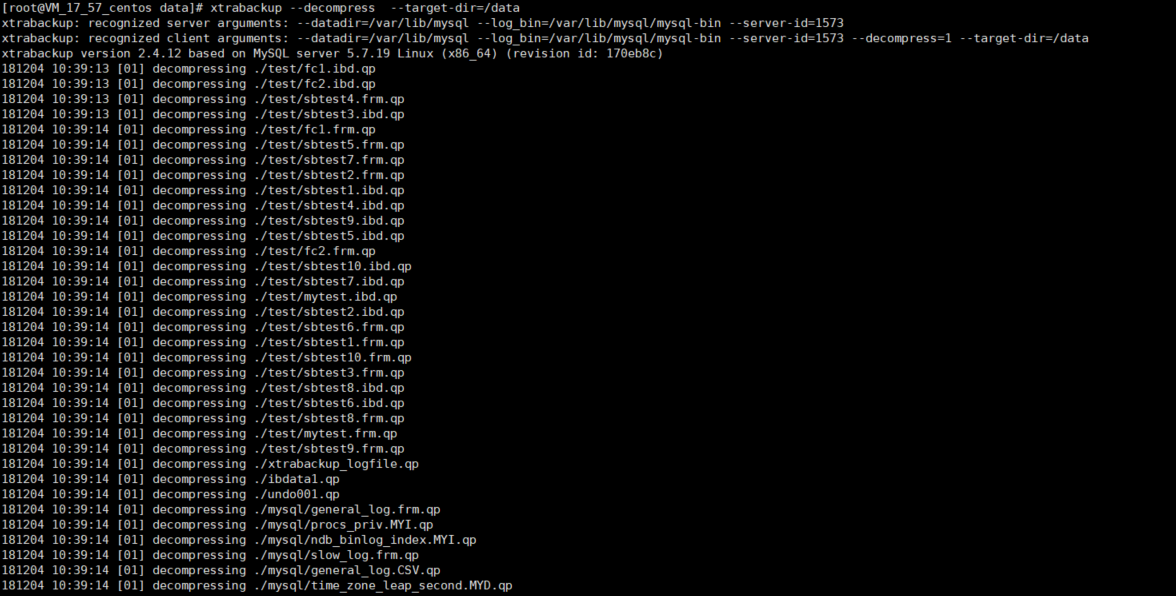
3. Then, decompress all .qp files in the target directory by running the following command:
xtrabackup --decompress --target-dir=/data/mysql
Note:
/data/mysql is the target directory where the backup file was previously stored. You can replace it with the directory you actually use.
The --remove-original option is supported only in Percona Xtrabackup 2.4.6 and later.
xtrabackup won't delete the original files during decompression by default. If you want to delete them upon the completion of decompression, add the --remove-original parameter to the above command.
3.3 Prepare the backup file
After a backup file is decompressed, perform the apply log operation by running the following command.
xtrabackup --prepare --target-dir=/data/mysql
If the execution result contains the following output, it means that the prepare operation succeeded.
3.4 Modify the configuration file
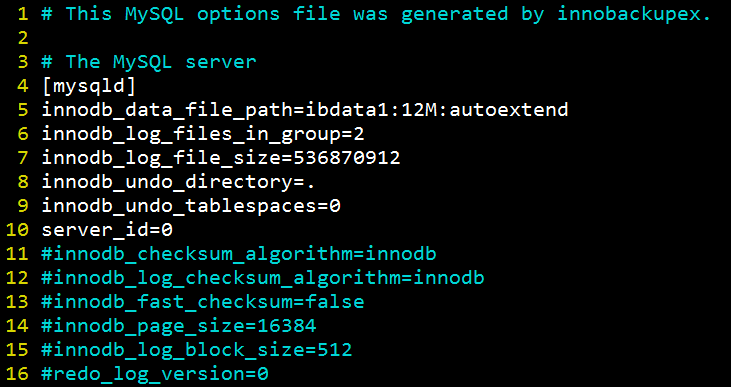
1. Run the following command to open the backup-my.cnf file.
vi /data/mysql/backup-my.cnf
Note:
The target directory /data/mysql is used as an example in this document. You can replace it with the directory you actually use.
2. Given the existing version issues, the following parameters need to be commented out from the extracted backup-my.cnf file.
innodb_checksum_algorithm
innodb_log_checksum_algorithm
innodb_fast_checksum
innodb_page_size
innodb_log_block_size
redo_log_version
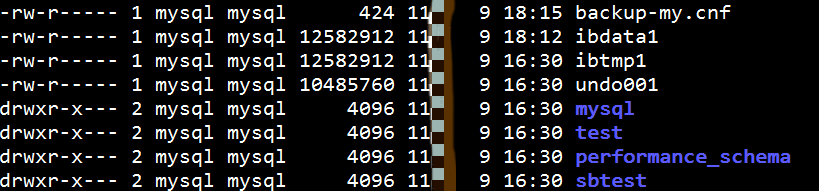
3.5 Modify file attributes
Modify file attributes and check whether files are owned by the mysql user.
chown -R mysql:mysql /data/mysql
Step 4. Start the mysqld process and log in for verification


 Yes
Yes
 No
No
Was this page helpful?