CSS supports recording live streams and storing recording files in VOD for download and preview. This document describes how to create, bind, unbind, modify, and delete recording templates.
You can create a recording template in two ways:
Recording files are saved in VOD by default. Please activate VOD first. To avoid service suspension due to overdue payments, you can also buy VOD storage packages in advance. For more information, see Getting Started with VOD.
After enabling the recording feature, please make sure that your VOD service is in normal status. If it is not activated or is suspended due to overdue payments, live recording will fail. No recording files will be generated. Nor will fees be incurred.
A recording file is available in about five minutes after recording ends. For example, if you start recording a live stream at 12:00 and stop at 12:30, you can get the recording at around 12:35.
Because only FLV, .MP4, and HLS formats are supported, you can only use the H.264 video codec and the AAC audio codec.
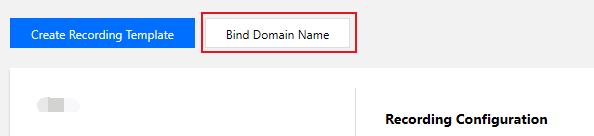
After creating a recording template, you can bind it with push domain names. For detailed directions, see Recording Configuration. The binding takes effect in about 5-10 minutes.
For the naming rules of generated recording files, see VodFileName.
Binding, unbinding, or modifying a template affects only new live streams and not ongoing ones. To make the change apply to ongoing live streams, you need to stop them and push them again.
Mixed-stream recording does not support mixing streams inside the Chinese mainland with those outside. It will cause an error and playback will fail.
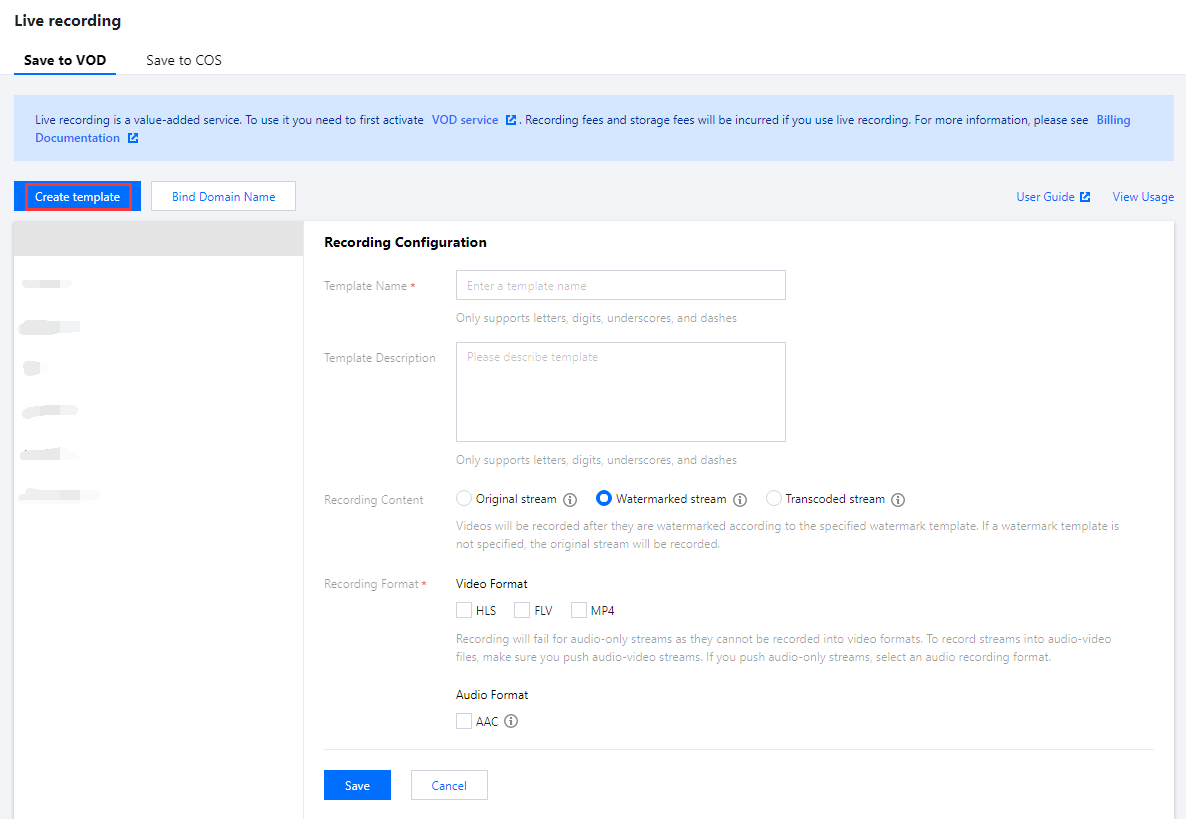
1. Log in to the CSS console and select Feature Configuration > Live Recording on the left sidebar.
2. Click Create Template.
Item
Description
Template Name
The template name, which can contain Chinese characters, letters, digits, underscores (_), and hyphens (-).
Template Description
The template description, which can contain Chinese characters, letters, digits, underscores (_), and hyphens (-).
Recording Content
Original stream
Record videos before transcoding, watermarking, and stream mixing.
Watermarked stream
Record videos after they are watermarked according to the specified watermark template.
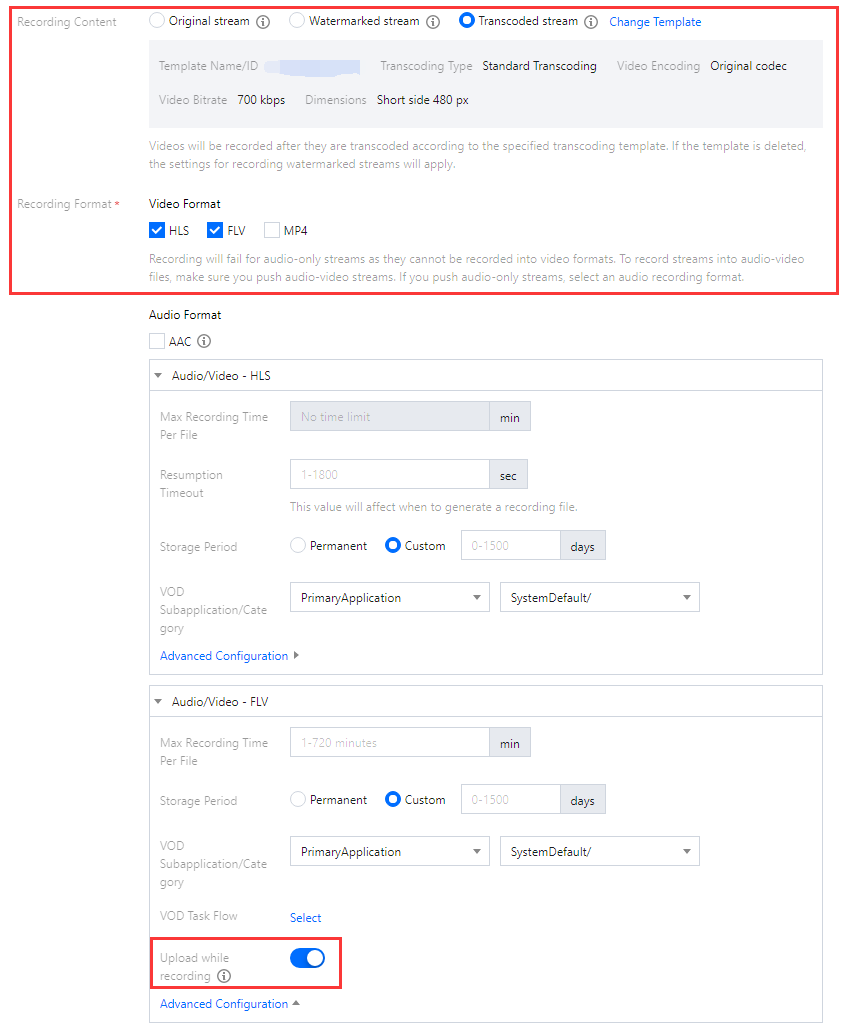
Transcoded stream
Record transcoded streams. You can select an existing transcoding template or click the name of a template to modify its configuration. If you select this, streams will be watermarked and transcoded as specified in the selected templates before recording. If the transcoding template is deleted, streams will be recorded after they are watermarked.
Recording Format
Videos can be outputted in formats of HLS, MP4, FLV, and AAC (for audio-only recording).
Caution
For WebRTC streams, if you select Original stream, audio will be missing from the recording file. We recommend you choose other content types.
You cannot record transcoded streams if you use the time shifting feature. If time shifting is enabled for a stream, the original stream will be recorded.
If an audio-only transcoding template is selected, the recording format must also be an audio format.
To record a transcoded live stream, you need to configure a transcoding template for the stream in advance. This will incur transcoding fees. If you use the same transcoding template to play the stream, no additional transcoding fees will be incurred.
3. Select the recording content and formats and complete the following settings:
Item
Description
Max Recording Time Per File
There is no upper limit on the length of a recording file in HLS format. If a live stream is interrupted and the timeout period for resumption elapses, a new recording file will be generated to continue recording.
The value range for the maximum length of a recording file in FLV format is 1-720 minutes.
The value range for the maximum length of a recording file in MP4 or AAC format is 1-120 minutes.
Resumption Timeout
Only the HLS format supports recording resumption after a push interruption, and the value range for the timeout period for resumption is 1-1800 seconds.
Storage Period (days)
You can select Permanent to save a recording file permanently or Custom to specify a storage period (up to 1,500 days). If you set the period to 0, recording files will be saved permanently.
VOD Subapplication/Category
Recording to a specified VOD category in VOD application is supported. By default, the recording is stored in the main application of the account, and only applications with an open write status are supported.
Advanced Configuration
VOD Task Flow
Click Select to bind a task flow created under the specified VOD subapplication. In the pop-up window, you can click the name of a task flow to modify its configuration. The selected task flow will be executed on recording files upon generation, which will incur VOD fees.
Upload while recording
Currently, only the FLV format supports upload while recording. This feature makes it possible to finish uploading a video as soon as recording ends. It extends the maximum recording time per file to 12 hours and makes FLV recording more disaster tolerant. Online playback of the recording files may stutter, but local playback is unaffected.
4. Click Save.
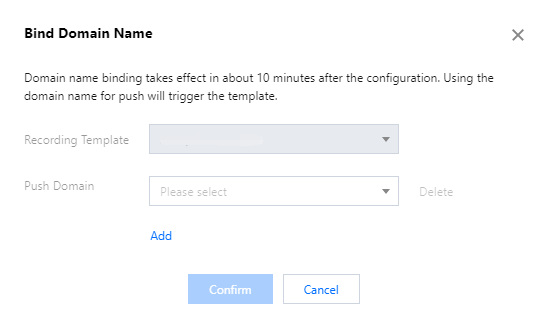
Binding a Domain Name
1. Log in to the CSS console and select Feature Configuration > Live Recording on the left sidebar.
Bind a domain to an existing template: Click Bind Domain Name in the top left.
Bind a domain after creating a template: After creating a template, click Bind Domain Name in the dialog box that pops up.
2. In the pop-up window, select a recording template and a push domain and then click Confirm.
Note
You can click Add to bind multiple push domains to a template.
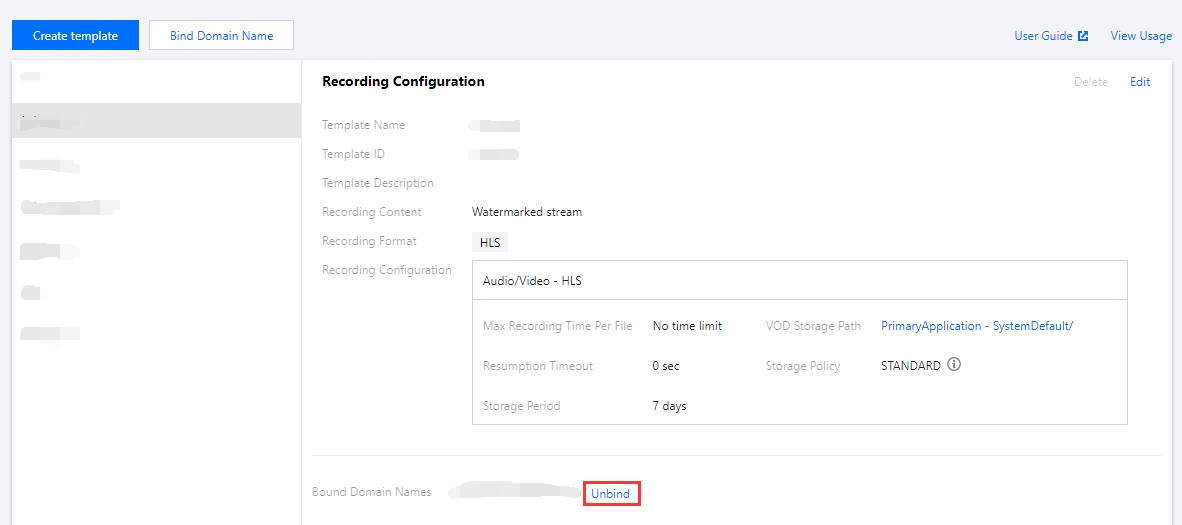
Unbinding a Domain Name
1. Log in to the CSS console and select Feature Configuration > Live Recording on the left sidebar.
2. Select a recording template bound with domain names, find the target domain name, and click Unbind.
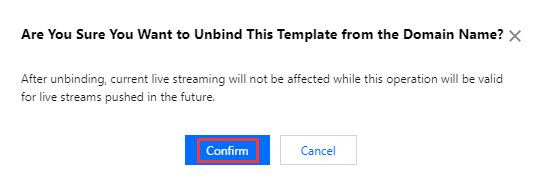
3. In the pop-up window, click Confirm.
Note
Unbinding a recording template will not affect ongoing live streams.
To cancel recording for ongoing streams, stop the streams and push them again.
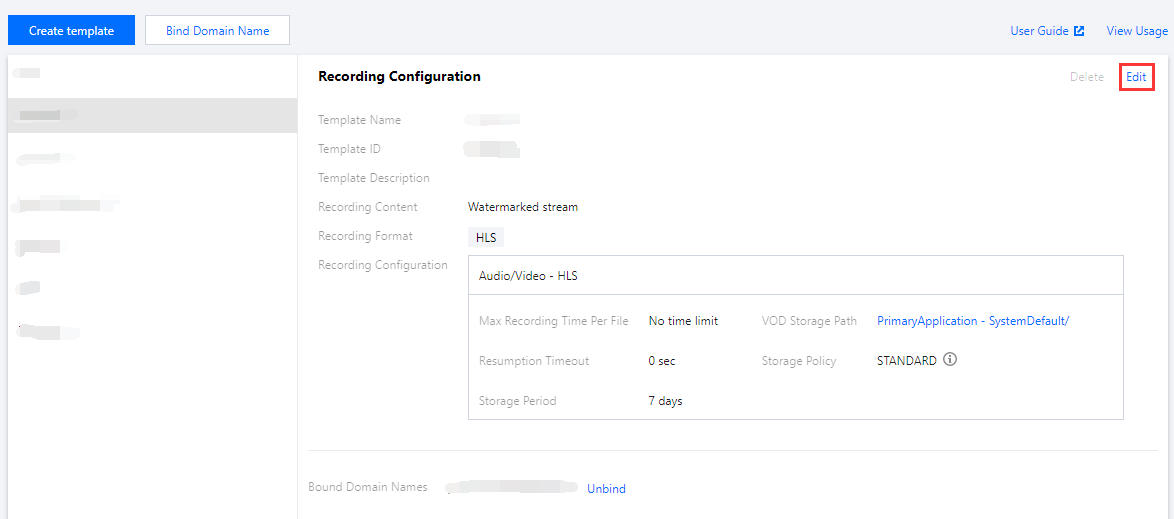
2. Select the target recording template, click Edit on the right, modify the settings, and click Save.
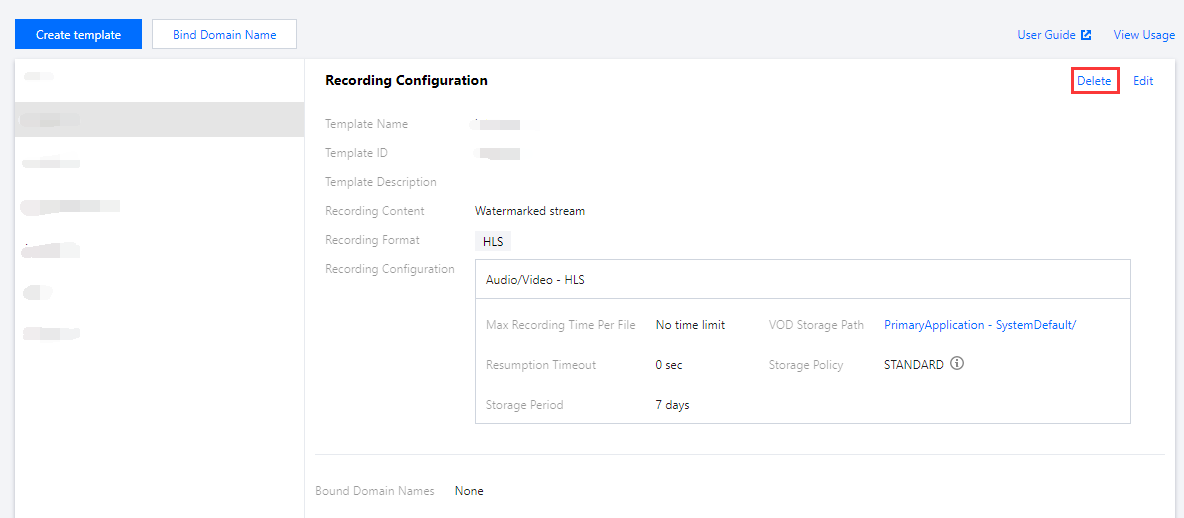
Deleting a Template
1. Log in to the CSS console and select Feature Configuration > Live Recording on the left sidebar.
2. Select the target recording template, and click Delete in the upper right.
3. In the pop-up window, click Confirm.
Caution
If domain names are bound to a template, you need to unbind them before you can delete the template.
In the console, recording templates are managed at the domain level. To unbind recording rules bound to streams by APIs, call DeleteLiveRecordRule.
More
For more information about binding and unbinding a domain name, see Recording Configuration.
FAQs
How are recording files named?
If a recording template is created in the console, the names of recording files (the names returned by the recording callback) are in the following format:
{StreamID}*{StartYear}-{StartMonth}-{StartDay}-{StartHour}-{StartMinute}-{StartSecond}*{EndYear}-{EndMonth}-{EndDay}-{EndHour}-{EndMinute}-{EndSecond}


 Yes
Yes
 No
No
Was this page helpful?