With remote authentication, after authenticating a push/playback request for hotlink protection, CSS will call your server API to send the request to your server so that you can determine whether the request is legitimate. Based on the result your server returns, CSS will approve or reject the push/playback request. This ensures more precise authentication and improves security. However, you need to develop your own authentication server.
Workflow
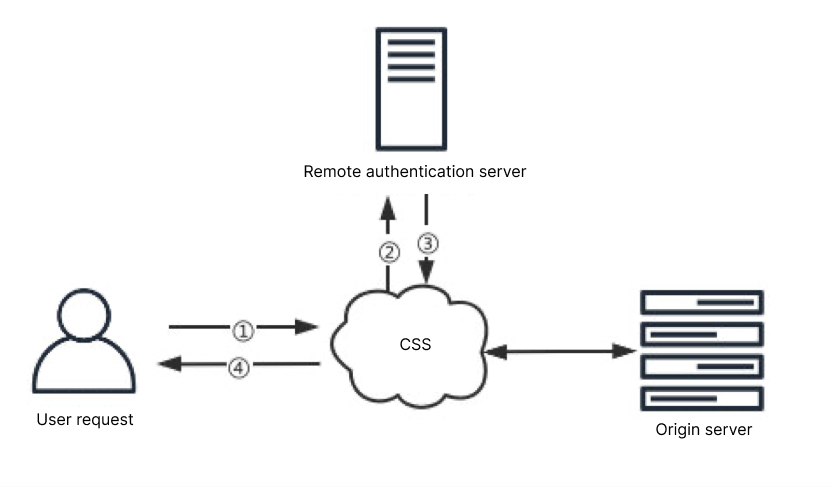
Remote authentication works as follows:
No
Description
1
A request is sent to CSS.
2
If remote authentication is enabled for the domain, CSS will process the request as specified and then send it to your authentication server.
3
Your authentication server returns the result. The HTTP status code 200 indicates that the request should be approved, while the code 403 indicates that the request should be rejected.
4
CSS approves or rejects the request based on the result.
Prerequisites
You have activated CSS and logged in to the CSS console.
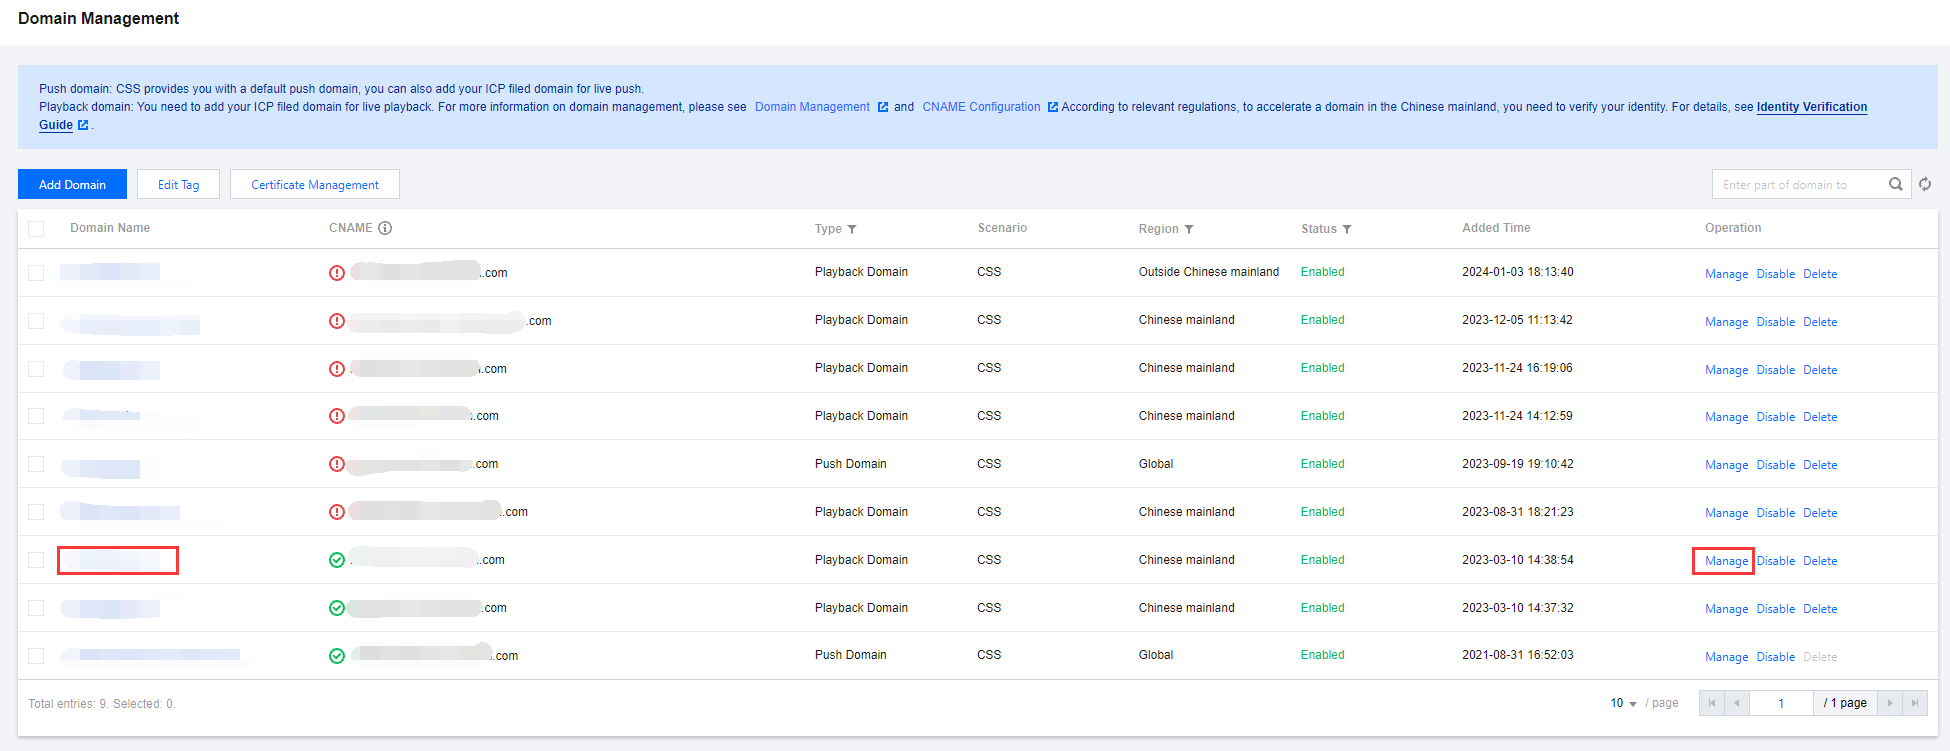
1. Select Domain Management on the left sidebar. Click the name of the target playback domain or click Manage on the right to enter the domain management page.
2. Under the Access Control tab, find Remote authentication.
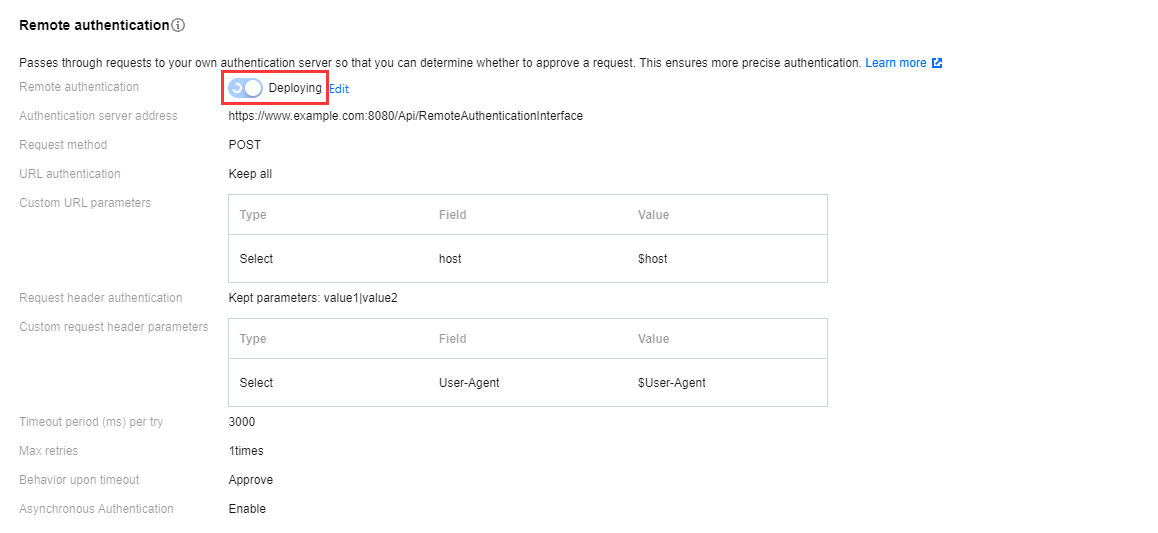
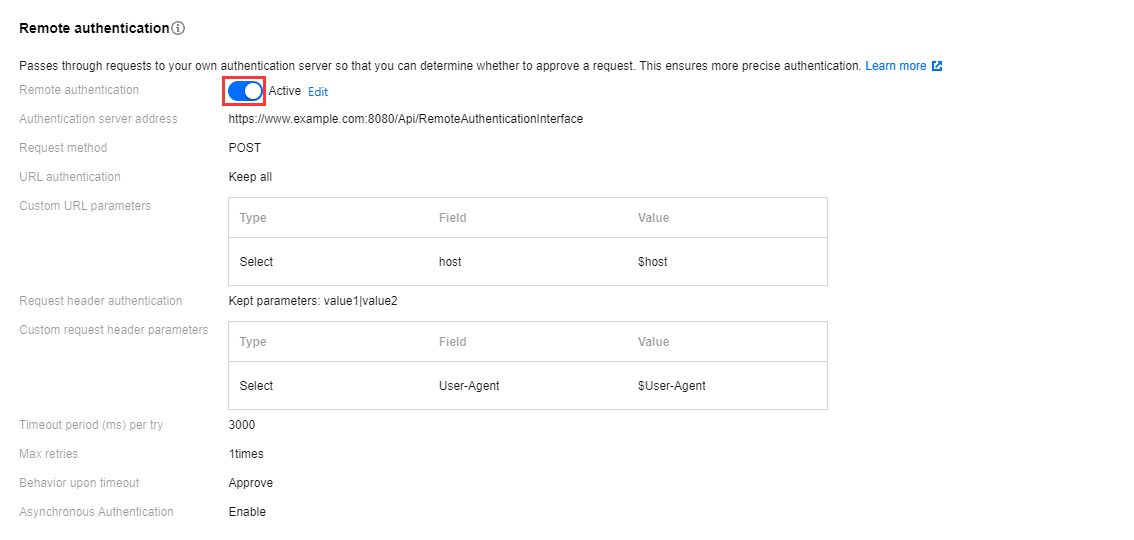
3. Click
to enable remote authentication and complete the following settings:
Configuration Item
Description
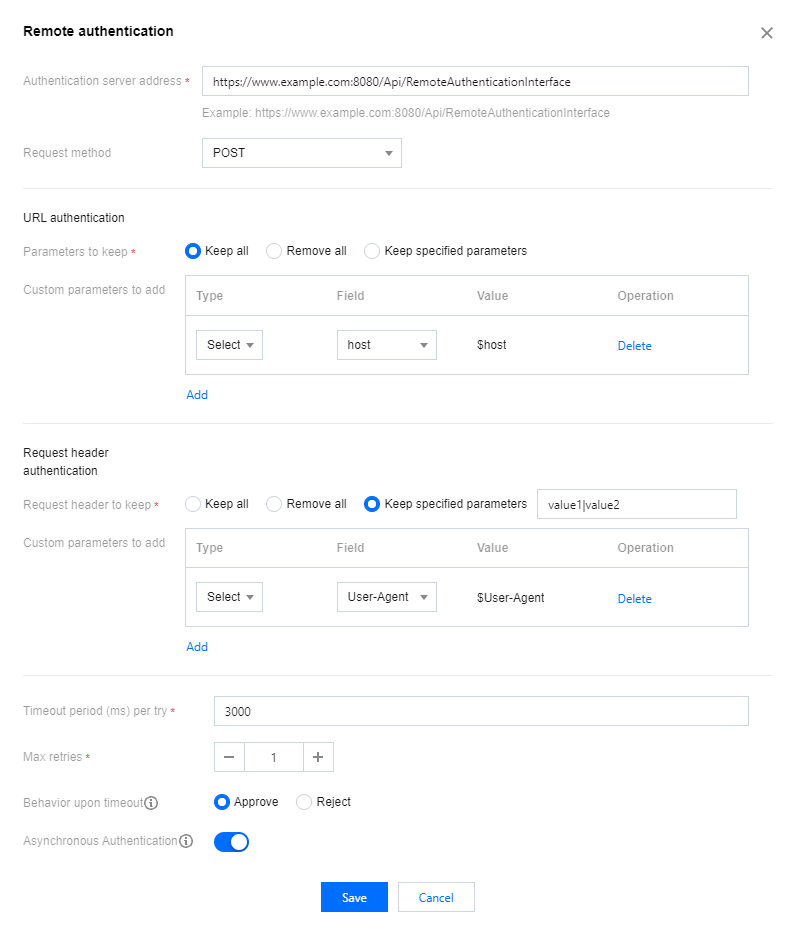
Authentication server address
The address of your authentication server (required). Format: http(s)://+Domain or IP address+Port+Path.
Request method
POST is selected by default. You can also use HEAD or GET.
URL authentication
Parameters to keep
All URL parameters are kept by default. You can also specify parameters to keep or remove all parameters.
If you select "Keep specified parameter", fill in the box the parameters you want to keep. Separate them with |, as in value1|value2.
The parameters are case-sensitive (“key” and “KEY” are different parameters).
Custom parameters to add
Click "Add" to add authentication parameters (max 50). You can either select a parameter to add or add a custom parameter.
The parameters you can select include "host", "uri", "client_ip", and "cdn_ip", which represent the playback domain, the original request URL, the client IP address, and the CDN IP address respectively.
If you select "Custom", "Parameter" and "Value" are required. The names and values are case-sensitive ("key" and "KEY" are different parameters). Chinese characters are not allowed.
Request header authentication
Request header to keep
All URL parameters are kept by default. You can also specify parameters to keep or remove all parameters.
If you select "Keep specified parameter", fill in the box the parameters you want to keep. Separate them with |, as in value1|value2.
If you select "Keep all", the CDN node will delete the host header. If you want to keep it, select "Keep specified parameter" or add a custom parameter.
The parameters are case-insensitive.
Custom parameters to add
Click "Add" to add authentication parameters (max 50). You can either select a parameter to add or add a custom parameter.
The parameters you can select include "User-Agent", "Referer", and "X-Forwarded-For", which represent the system and browser information of the user, the referer of the URL, and the URL disguise.
If you select "Custom", "Parameter" and "Value" are required. The names and values are case-insensitive. Chinese characters not allowed.
Timeout period (ms) per try
This is required. Enter a value between 500 and 3000. The default is 3000.
Max retries
Enter a value between 0 and 3. The default is 1.
Behavior upon timeout
The default is "Approve". You can also set it to "Reject".
Whether to approve or reject a request if the system does not receive a response (HTTP status code 200 or 403) after the total timeout period elapses (Total timeout period = Timeout period per try x (Max retries + 1)).
Asynchronous Authentication
Asynchronous authentication is disabled by default. You may enable this feature manually based on your specific business requirements.
Once enabled, playback will commence without waiting for the remote authentication result, allowing for immediate content viewing. If the remote authentication subsequently fail, the playback will be disconnected. This approach avoids the issue of increased initial screen load time due to the latency of remote authentication. In the asynchronous authentication mode, the authentication for ts and m3u8 files in the HLS protocol will not be effective, and synchronous authentication will continue to be maintained.
4. Click Save.
Note:
After configuring the remote authentication feature, it will take approximately 10 minutes to become effective. We appreciate your patience during this time.
Modifying Remote Authentication Settings
1. Select Domain Management on the left sidebar. Click the name of the target playback domain or click Manage on the right to enter the domain management page.
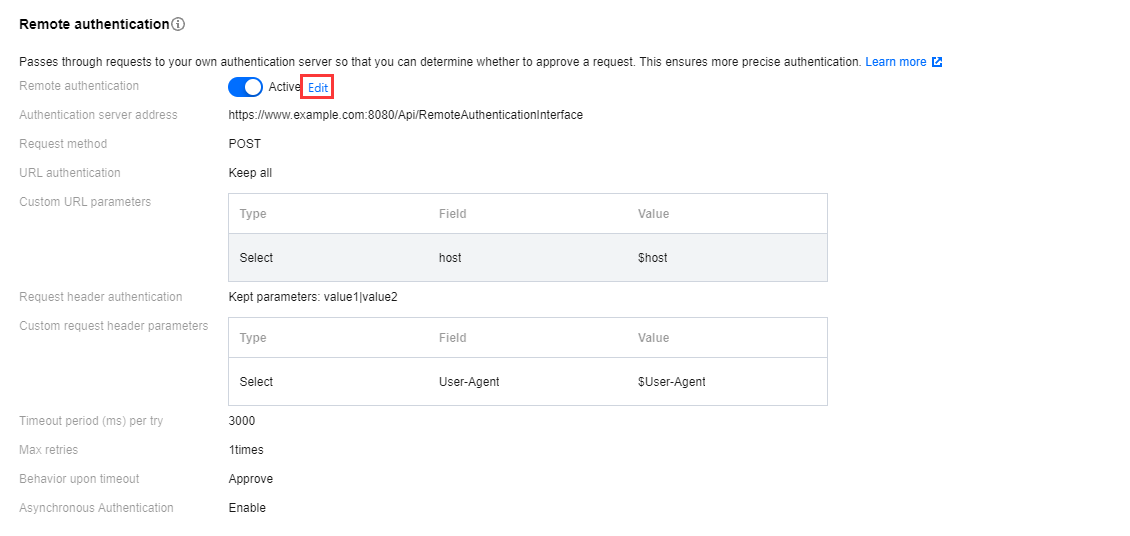
2. Under the Access Control tab, find Remote authentication and click Edit.
3. Modify the settings and click Save.
Disabling Remote Authentication
1. Select Domain Management on the left sidebar. Click the name of the target playback domain or click Manage on the right to enter the domain management page.
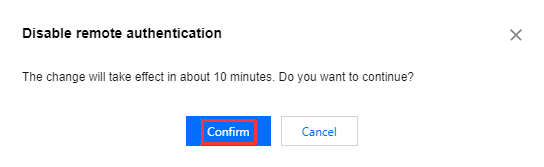
2. Under the Access Control tab, find Remote authentication, and click
to disable remote authentication.
3. To disable the remote authentication configuration, it is expected to take effect in about 10 minutes. Click Confirm.