You can save the dependent libraries of the SCF code in the code package and upload it to the cloud for use by SCF. SCF supports the following runtimes and usage methods:
Node.js runtime
The Node.js runtime supports installing dependent libraries in the following three ways:
Upload from local
Online Dependency Installation
Use dependency management tools
You can use a dependency manager (such as npm) to locally install the dependent library, package and upload it with the function code.
Note:
Place the entry point file of the function in the root directory of the zip package. If you package and upload the entire folder as a zip package, the function creation will fail because the entry point file cannot be found in the unzipped root directory.
This document takes installing the lodash library as an example.
1. Run the mkdir test-package command in the local terminal to create a directory for storing the function code and dependency libraries.
2. Run the following command to install the lodash dependency library in this directory.
cd test-package
npminstall lodash
3. Create the function entry file index.js in this directory and import the lodash library in the code.
'use strict';
const _ =require('lodash');
exports.main_handler=async(event, context)=>{
console.log("Hello World")
console.log(event)
console.log(event["non-exist"])
console.log(context)
return event
};
4. Compress the function code and dependent library to a zip package. Upload the zip package and create a function via the SCF console.
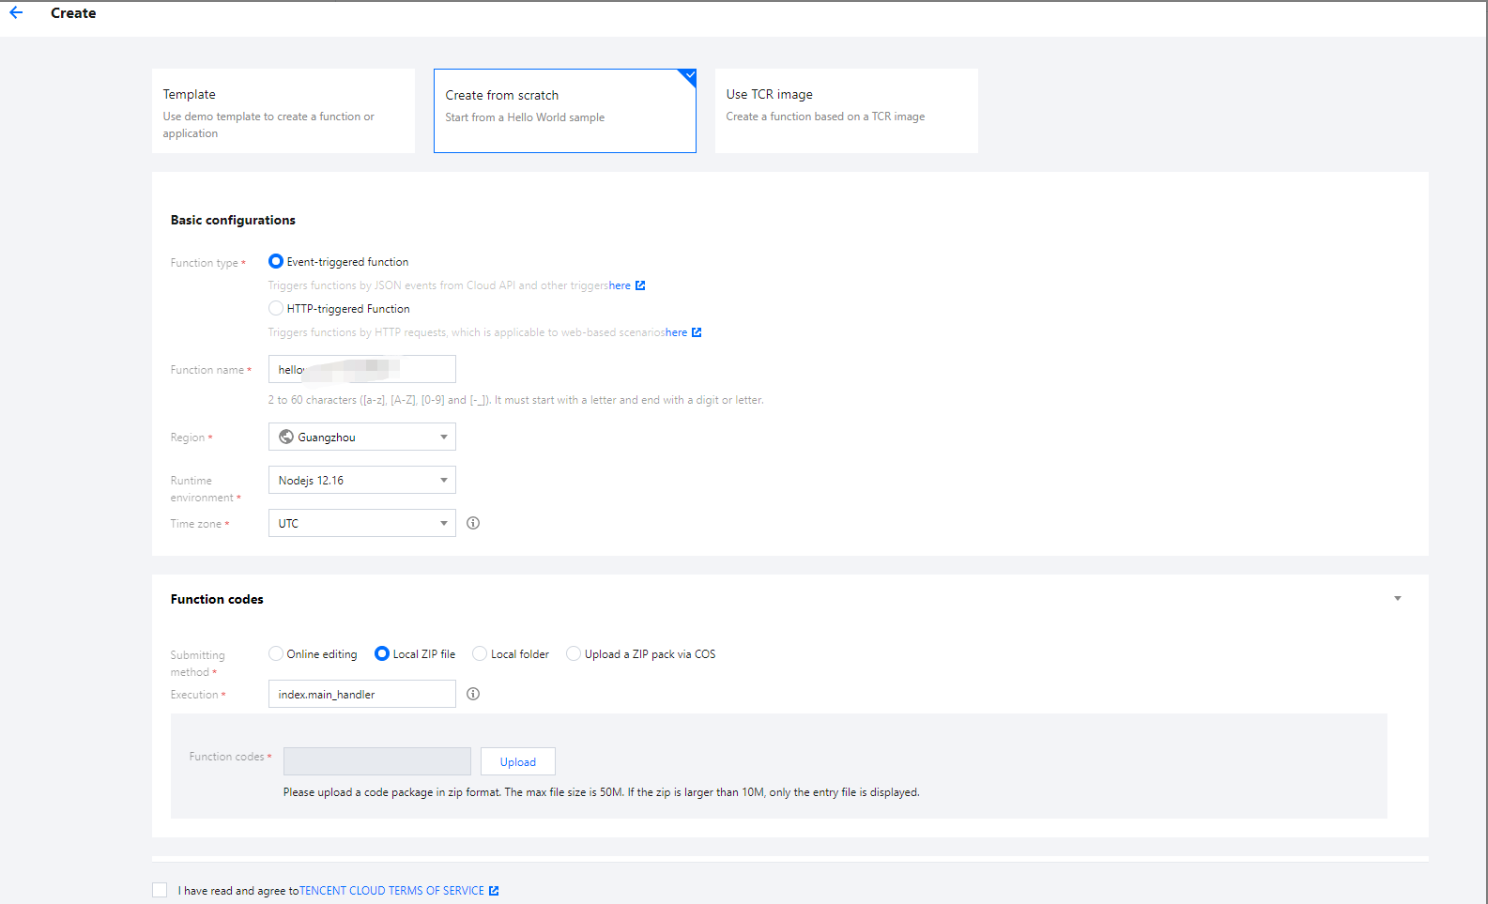
4.1 Log in to the SCF console and click Functions on the left sidebar.
4.2 Select the region where to create a function at the top of the page and click Create to enter the function creation process.
4.3 Enter the basic information of the function on the Create function page.
Creation method: Select Create from scratch.
Runtime environment: Select Node.js 12.16.
Submitting method: Select Local ZIP file.
4.4 Click Complete.
The Node.js runtime provides an online dependency installation feature, which can install dependencies online according to the dependency information configured in package.json. For more information, see Online Dependency Installation.
The SCF online editor Serverless Web IDE supports Terminal capability that has a built-in npm package management tool.
Note:
Serverless Web IDE has a delay in supporting newer versions of runtime environments. If the console does not open up the Serverless Web IDE for the corresponding runtime environment, package and upload the dependency library together with the code for dependency installation or install the dependency online.
This document takes installing the lodash library in the terminal as an example:
1. Log in to the SCF console and click Functions on the left sidebar.
2. In the function list, click a function name to enter the function details page.
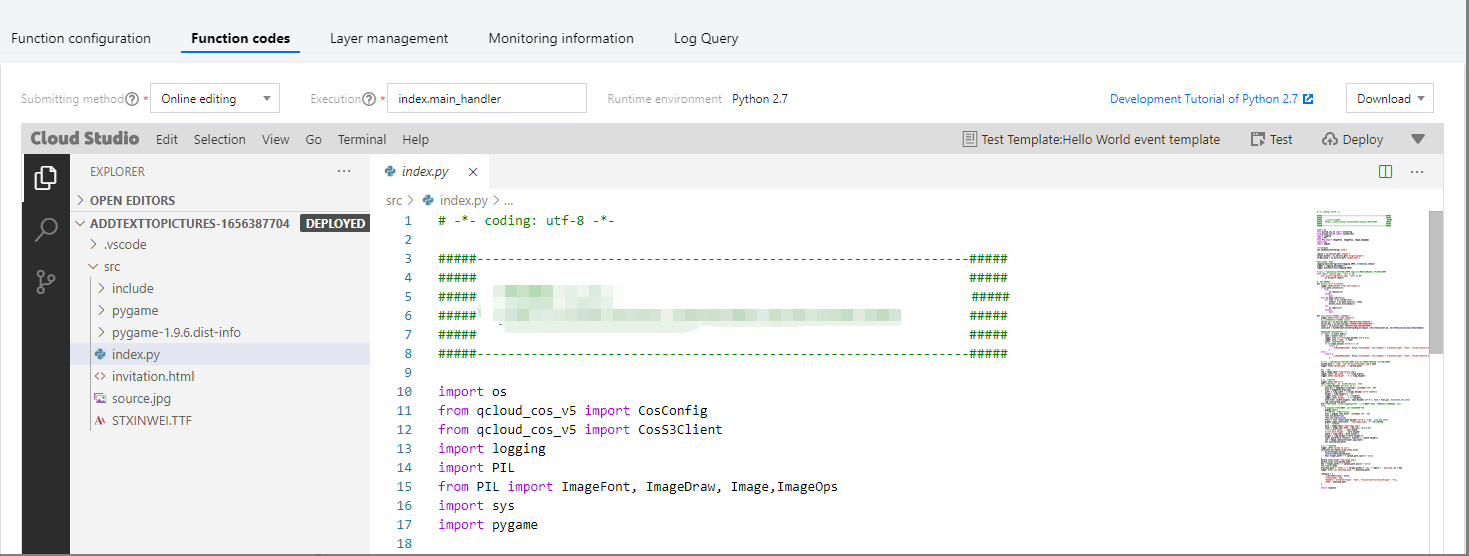
3. On the Function management page, select Function codes > Edit codes to view and edit the function.
4. Select Terminal > New terminal on the topbar of the IDE to open the terminal window.
5. Run the following command in the terminal to install the lodash dependency library:
cd src # Install the dependent library in the same level of directory as the function’s entry point file, namely, enter the `src` directory and install it.
npminstall lodash # You can view the npm version through the terminal
6. After the installation is completed, view package.json and node_modules in the file tree on the left side of the IDE.
7. After you click Deploy, the dependency library can be packaged and uploaded to the cloud together with the function code.
Python runtime
The Python runtime supports installing dependent libraries in the following two ways.
Upload from local
Use dependency management tools
You can use a dependency manager (such as pip) to locally install the dependent library, package and upload it with the function code.
Note:
Place the entry point file of the function in the root directory of the zip package. If you package and upload the entire folder as a zip package, the function creation will fail because the entry point file cannot be found in the unzipped root directory.
Due to runtime environment differences, confirm that the installed dependency version is adapted to the function runtime environment.
The function runtime environment is CentOS 7, and you need to install the dependencies in the same environment. If not, an error where the dependencies cannot be found may occur while running the function after upload.
If some dependencies involve a dynamic link library, such as Pandas in Python 3.6, you need to manually copy the relevant dependency package to the dependency installation directory before packaging and uploading them. For more information, see Installing Dependency with Docker. You can also use the online IDE for installation.
This document takes installing the numpy library as an example:
1. Run the mkdir test-package command in the local terminal to create a directory for storing the function code and dependency libraries.
2. Run the following command to install the numpy dependency library in this directory.
cd test-package
pip install numpy -t .# Check whether the pip version you are using is adapted to the function runtime environment
3. Create the function entry file index.py in this directory and import the numpy library in the code.
4. Compress the function code and dependent library to a zip package. Upload the zip package and create a function via the SCF console.
4.1 Log in to the SCF console and click Functions on the left sidebar.
4.2 Select the region where to create a function at the top of the page and click Create to enter the function creation process.
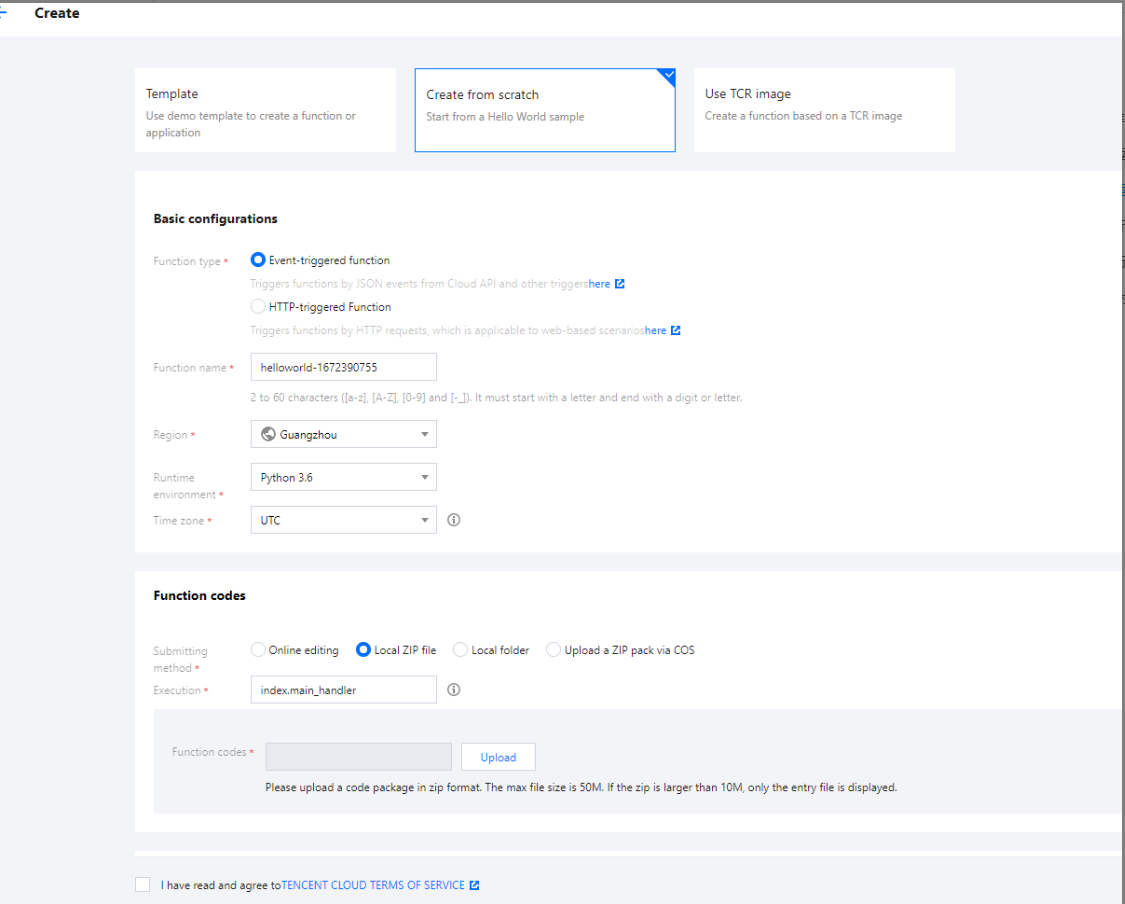
4.3 Enter the basic information of the function on the Create function page.
Creation method: Select Create from scratch.
Runtime environment: Select Python 3.6.
Submitting method: Select Local ZIP file.
4.4 Click Complete.
The SCF online editor Serverless Web IDE supports Terminal capability that has a built-in pip package management tool.
Note:
Serverless Web IDE has a delay in supporting newer versions of runtime environments. If the console does not open up the Serverless Web IDE for the corresponding runtime environment, package and upload the dependency library together with the code for dependency installation or install the dependency online.
This document takes installing the numpy library in the terminal as an example:
1. Log in to the SCF console and click Functions on the left sidebar.
2. In the function list, click a function name to enter the function details page.
3. On the Function management page, select Function codes > Edit codes to view and edit the function.
4. Select Terminal > New terminal on the topbar of the IDE to open the terminal window.
5. Run the following command in the terminal to install the numpy dependency library:
cd src # Install the dependent library in the same level of directory as the function’s entry point file, namely, enter the `src` directory and install it.
pip install numpy -t .# You can view the pip version through the terminal to check whether it is adapted to the function runtime environment
6. After the installation is completed, view the installed dependency libraries in the file tree on the left side of the IDE.
7. After you click Deploy, the dependency library can be packaged and uploaded to the cloud together with the function code.
Note:
You can run pip freeze > requirements.txt to generate the requirements.txt files for all dependencies in the local environment.
Run pip install -r requirements.txt -t . in the terminal of the IDE to install the dependency package according to the configuration in requirements.txt.
PHP runtime
Note:
The PHP versions supported by SCF are 5.6, 7.2, 7.4 and 8.0. Different minor versions of PHP may be incompatible. Check the version number first before installing dependencies.
Install custom libraries
Install custom extensions
You can use a dependency manager (such as “composer”) to locally install the dependent library, package and upload it with the function code.
Note:
Place the entry point file of the function in the root directory of the zip package. If you package and upload the entire folder as a zip package, the function creation will fail because the entry point file cannot be found in the unzipped root directory.
This document takes installing the requests library for PHP 7.2 as an example:
1. Run the mkdir test-package command in the local terminal to create a directory for storing the function code and dependency libraries.
2. Create Composer.json under test-package and specify the dependency library and version to be installed.
{
"require":{
"requests":">=1.0"
}
}
3. Run the following command to install the requests dependency library in this directory.
cd test-package
composerinstall
4. Create the function entry file index.php in this directory and import the requests library in the code.
<?php
require'vendor/autoload.php';
functionmain_handler($event,$context){
return"hello world";
}
?>
5. Compress the function code and dependent library to a zip package. Upload the zip package and create a function via the SCF console.
5.1 Log in to the SCF console and click Functions on the left sidebar.
5.2 Select the region where to create a function at the top of the page and click Create to enter the function creation process.
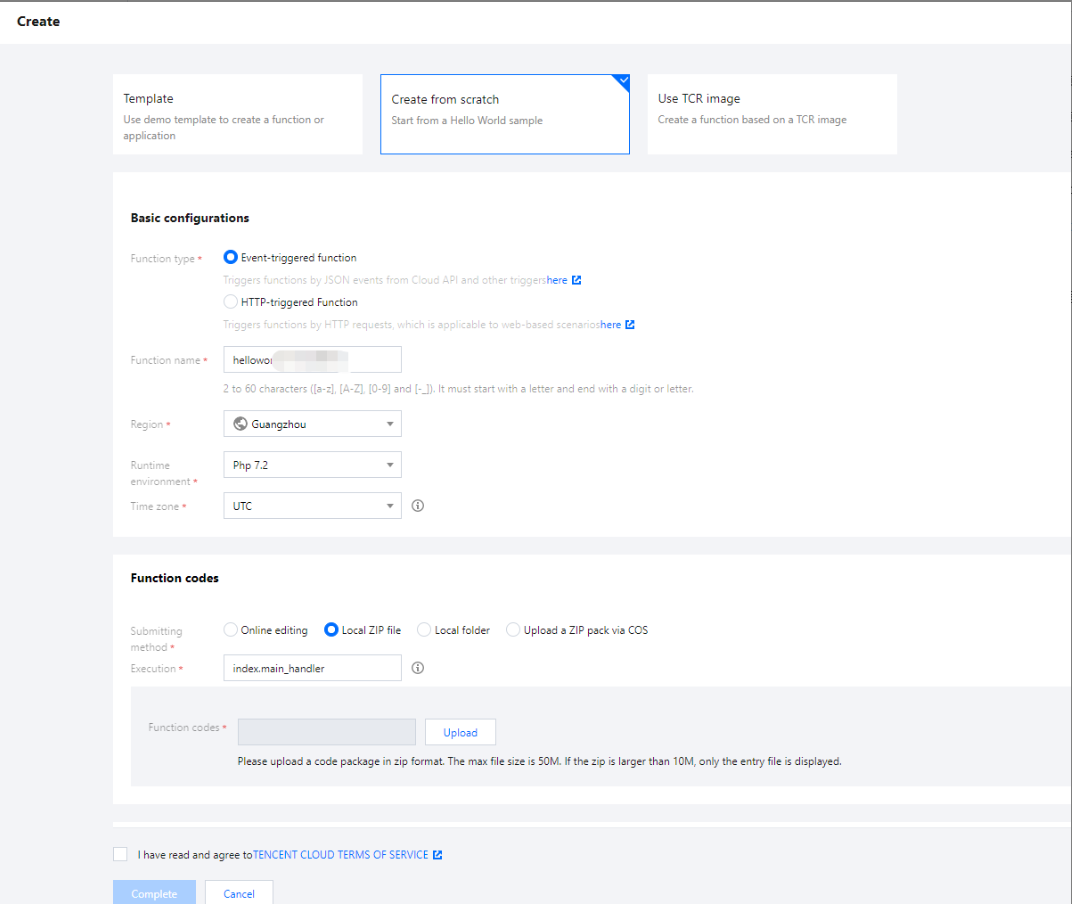
5.3 Enter the basic information of the function on the Create function page.
Creation method: Select Create from scratch.
Runtime environment: Select Php7.2.
Submitting method: Select Local ZIP file.
5.4 Click Complete.
Create the extension folder php_extension in a directory at the same level as the function entry file, add the custom extension file .so and configuration file php.ini, and package and upload them together with the function code.
This document uses installing the custom extension swoole.so for PHP 7.2 as an example.
1. Run the mkdir test-package command in the local terminal to create a directory for storing the function code and dependency libraries.
2. Run the following command to create the folder php_extension in test-package and place the configuration file php.ini and extension file .so corresponding to the extension in this directory. The directory structure is as follows:
Note:
The extension folder php_extension and configuration file php.ini are given fixed names. If other names are used, the extension may fail to load.
The extension folder php_extension, the configuration file php.ini, and the custom extension file .so need to have executable permissions.
|____php_extension
| |____php.ini
| |____swoole.so
|____index.php
3. Custom extensions can be loaded from the code or layers. If an extension is uploaded as a layer, make sure that the unzipped directory structure of the uploaded zip file is as follows:
|____php_extension
| |____swoole.so
4. php.ini writing method:
The extension is in the code directory:
extension=/var/user/php_extension/swoole.so
This extension is in the layer directory:
extension=/opt/php_extension/swoole.so
5. Create the function entry file index.php in this directory. Check whether the extension is loaded successfully through the extension_loaded( ) function, and if so, true will be returned; otherwise, false will be returned.
<?php
functionmain_handler($event,$context){
var_dump(extension_loaded('swoole'));
return"hello world";
}
?>
6. Compress the function code and dependent library to a zip package. Upload the zip package and create a function via the SCF console.
1. Log in to the SCF console and click Functions on the left sidebar.
6.1 Select the region where to create a function at the top of the page and click Create to enter the function creation process.
6.2 Enter the basic information of the function on the Create function page.
Creation method: Select Create from scratch.
Runtime environment: Select Php7.2.
Submitting method: Select Local ZIP file.
6.3 Click Complete.
Java runtime
You can use a dependency manager (such as maven) to locally install the dependent library, package and upload it with the function code.
1. Run the mkdir test-package command in the local terminal to create a directory for storing the function code and dependency libraries.
2. Create pom.xml in this directory and configure the dependency information in pom.xml.
3. Run the mvn package command in the root directory of the project folder, and the compilation output is as follows:
4. Compress the function code and dependent library to a jar package. Upload the jar package and create a function via the SCF console.
4.1 Log in to the SCF console and click Functions on the left sidebar.
4.2 Select the region where to create a function at the top of the page and click Create to enter the function creation process.
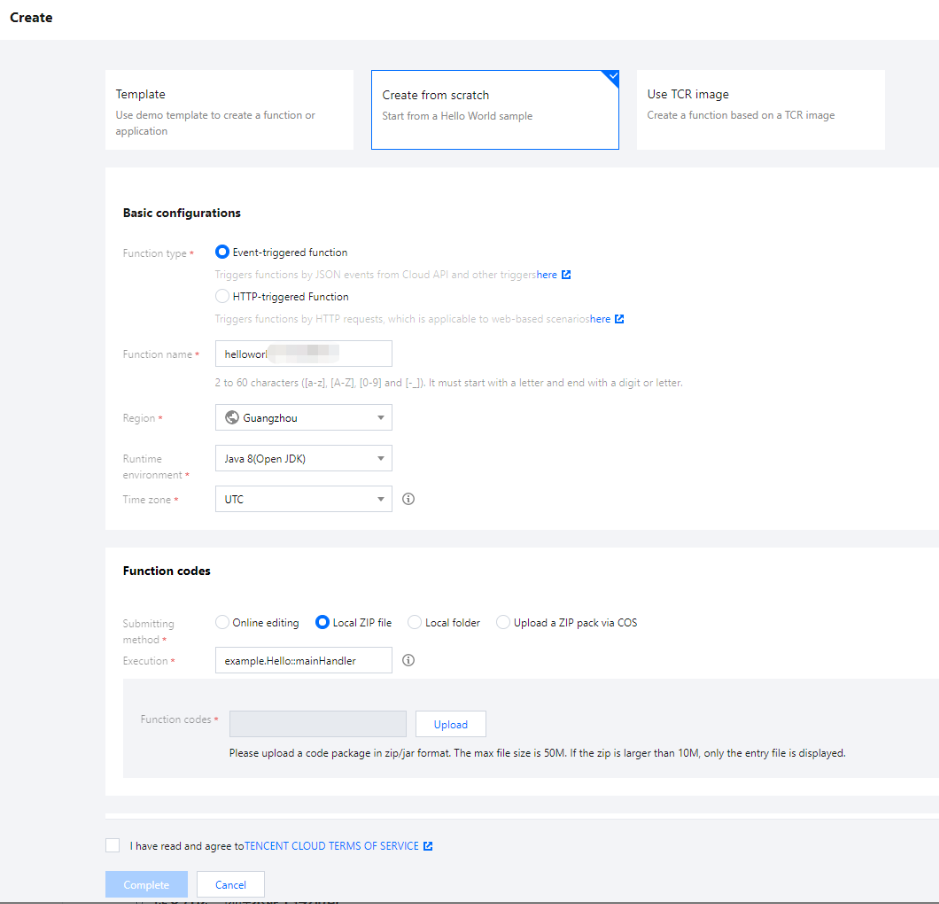
4.3 Enter the basic information of the function on the Create function page.
Creation method: Select Create from scratch.
Runtime environment: Select Java 8.
Submitting method: Select Local ZIP file.
4.4 Click Complete.
Go runtime
Instructions: upload the final binary file when packaging.
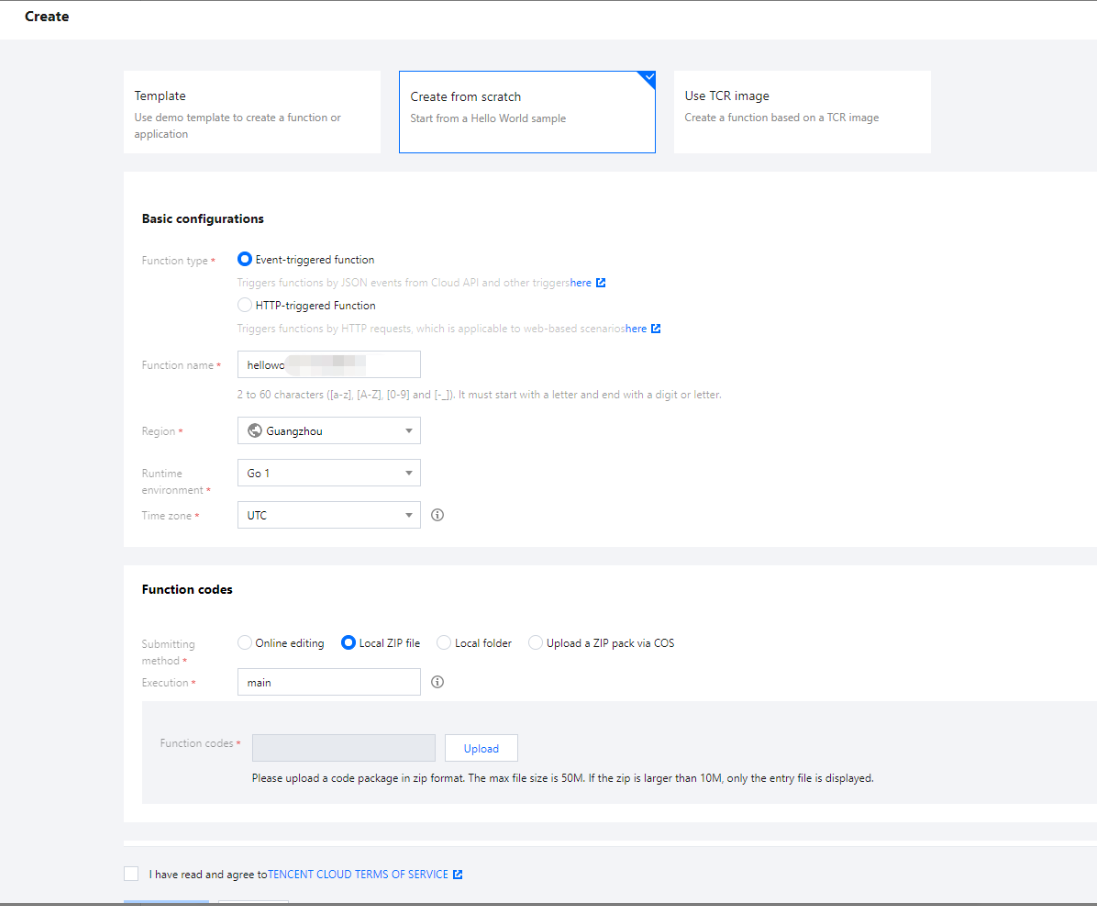
Compile the dependent library of the Go runtime with codes to generate a binary file. Upload the binary file and create a function via the SCF console.
1. Log in to the SCF console and click Functions on the left sidebar.
2. Select the region where to create a function at the top of the page and click Create to enter the function creation process.
3. Enter the basic information of the function on the Create function page.