tencent cloud

Serverless Cloud Function

Release Notes and Announcements
Release Notes
Announcements
User Guide
Product Introduction
Overview
Related Concepts
How It Works
Strengths
Scenarios
Related Products
Purchase Guide
Billing Overview
Billing Mode
Billable Items and Billing Modes
Function Computing Power Support
Free Tier
SCF Pricing
Billing Example
Payment Overdue
Getting Started
Creating Event Function in Console
User Guide
Quota Management
Managing Functions
Web Function Management
Log Management
Concurrence Management
Trigger Management
Function URL
A Custom Domain Name
Version Management
Alias Management
Permission Management
Running Instance Management
Plugin Management
Managing Monitors and Alarms
Network Configuration
Layer Management
Execution Configuration
Extended Storage Management
DNS Caching Configuration
Resource Managed Mode Management
Near-Offline Resource Hosting Model
Workflow
Triggers
Trigger Overview
Trigger Event Message Structure Summary
API Gateway Trigger
COS Trigger
CLS Trigger
Timer Trigger
CKafka Trigger
Apache Kafka Trigger
MQTT Trigger
Trigger Configuration Description
MPS Trigger
CLB Trigger Description
TencentCloud API Trigger
Development Guide
Basic Concepts
Testing a Function
Environment Variables
Dependency Installation
Using Container Image
Error Types and Retry Policies
Dead Letter Queue
Connecting SCF to Database
Automated Deployment
Cloud Function Status Code
Common Errors and Solutions
Developer Tools
Serverless Web IDE
Calling SDK Across Functions
Third-Party Tools
Code Development
Python
Node.js
Golang
PHP
Java
Custom Runtime
Deploying Image as Function
Web Framework Development
Deploying Framework on Command Line
Quickly Deploying Egg Framework
Quickly Deploying Express Framework
Quickly Deploying Flask Framework
Quickly Deploying Koa Framework
Quickly Deploying Laravel Framework
Quickly Deploying Nest.js Framework
Quickly Deploying Next.js Framework
Quickly Deploying Nuxt.js Framework
Quickly Deploying Django Framework
Use Cases
Overview
Solutions with Tencent Cloud Services
Business Development
TRTC Practices
COS Practices
CKafka Practice
CLS
CLB Practice
MPS
CDN
CDWPG
VOD
SMS
ES
Scheduled Task
Video Processing
Success Stories
Tencent Online Education
Online Video Industry
Tencent Online Education
Best Practice of Tencent IEG Going Global
API Documentation
History
Introduction
API Category
Making API Requests
Other APIs
Namespace APIs
Layer Management APIs
Async Event Management APIs
Trigger APIs
Function APIs
Function and Layer Status Description
Data Types
Error Codes
SDK Documentation
FAQs
General
Web Function
Billing FAQs
Network FAQs
Log FAQs
SCF utility class
Event Handling FAQs
API Gateway Trigger FAQs
Related Agreement
Service Level Agreement
Contact Us
Glossary

Create Plugin

PDF
Focus Mode
Font Size
Last updated: 2025-06-17 16:31:30
This article introduces how to create a plugin via Serverless Console.

Operation Steps

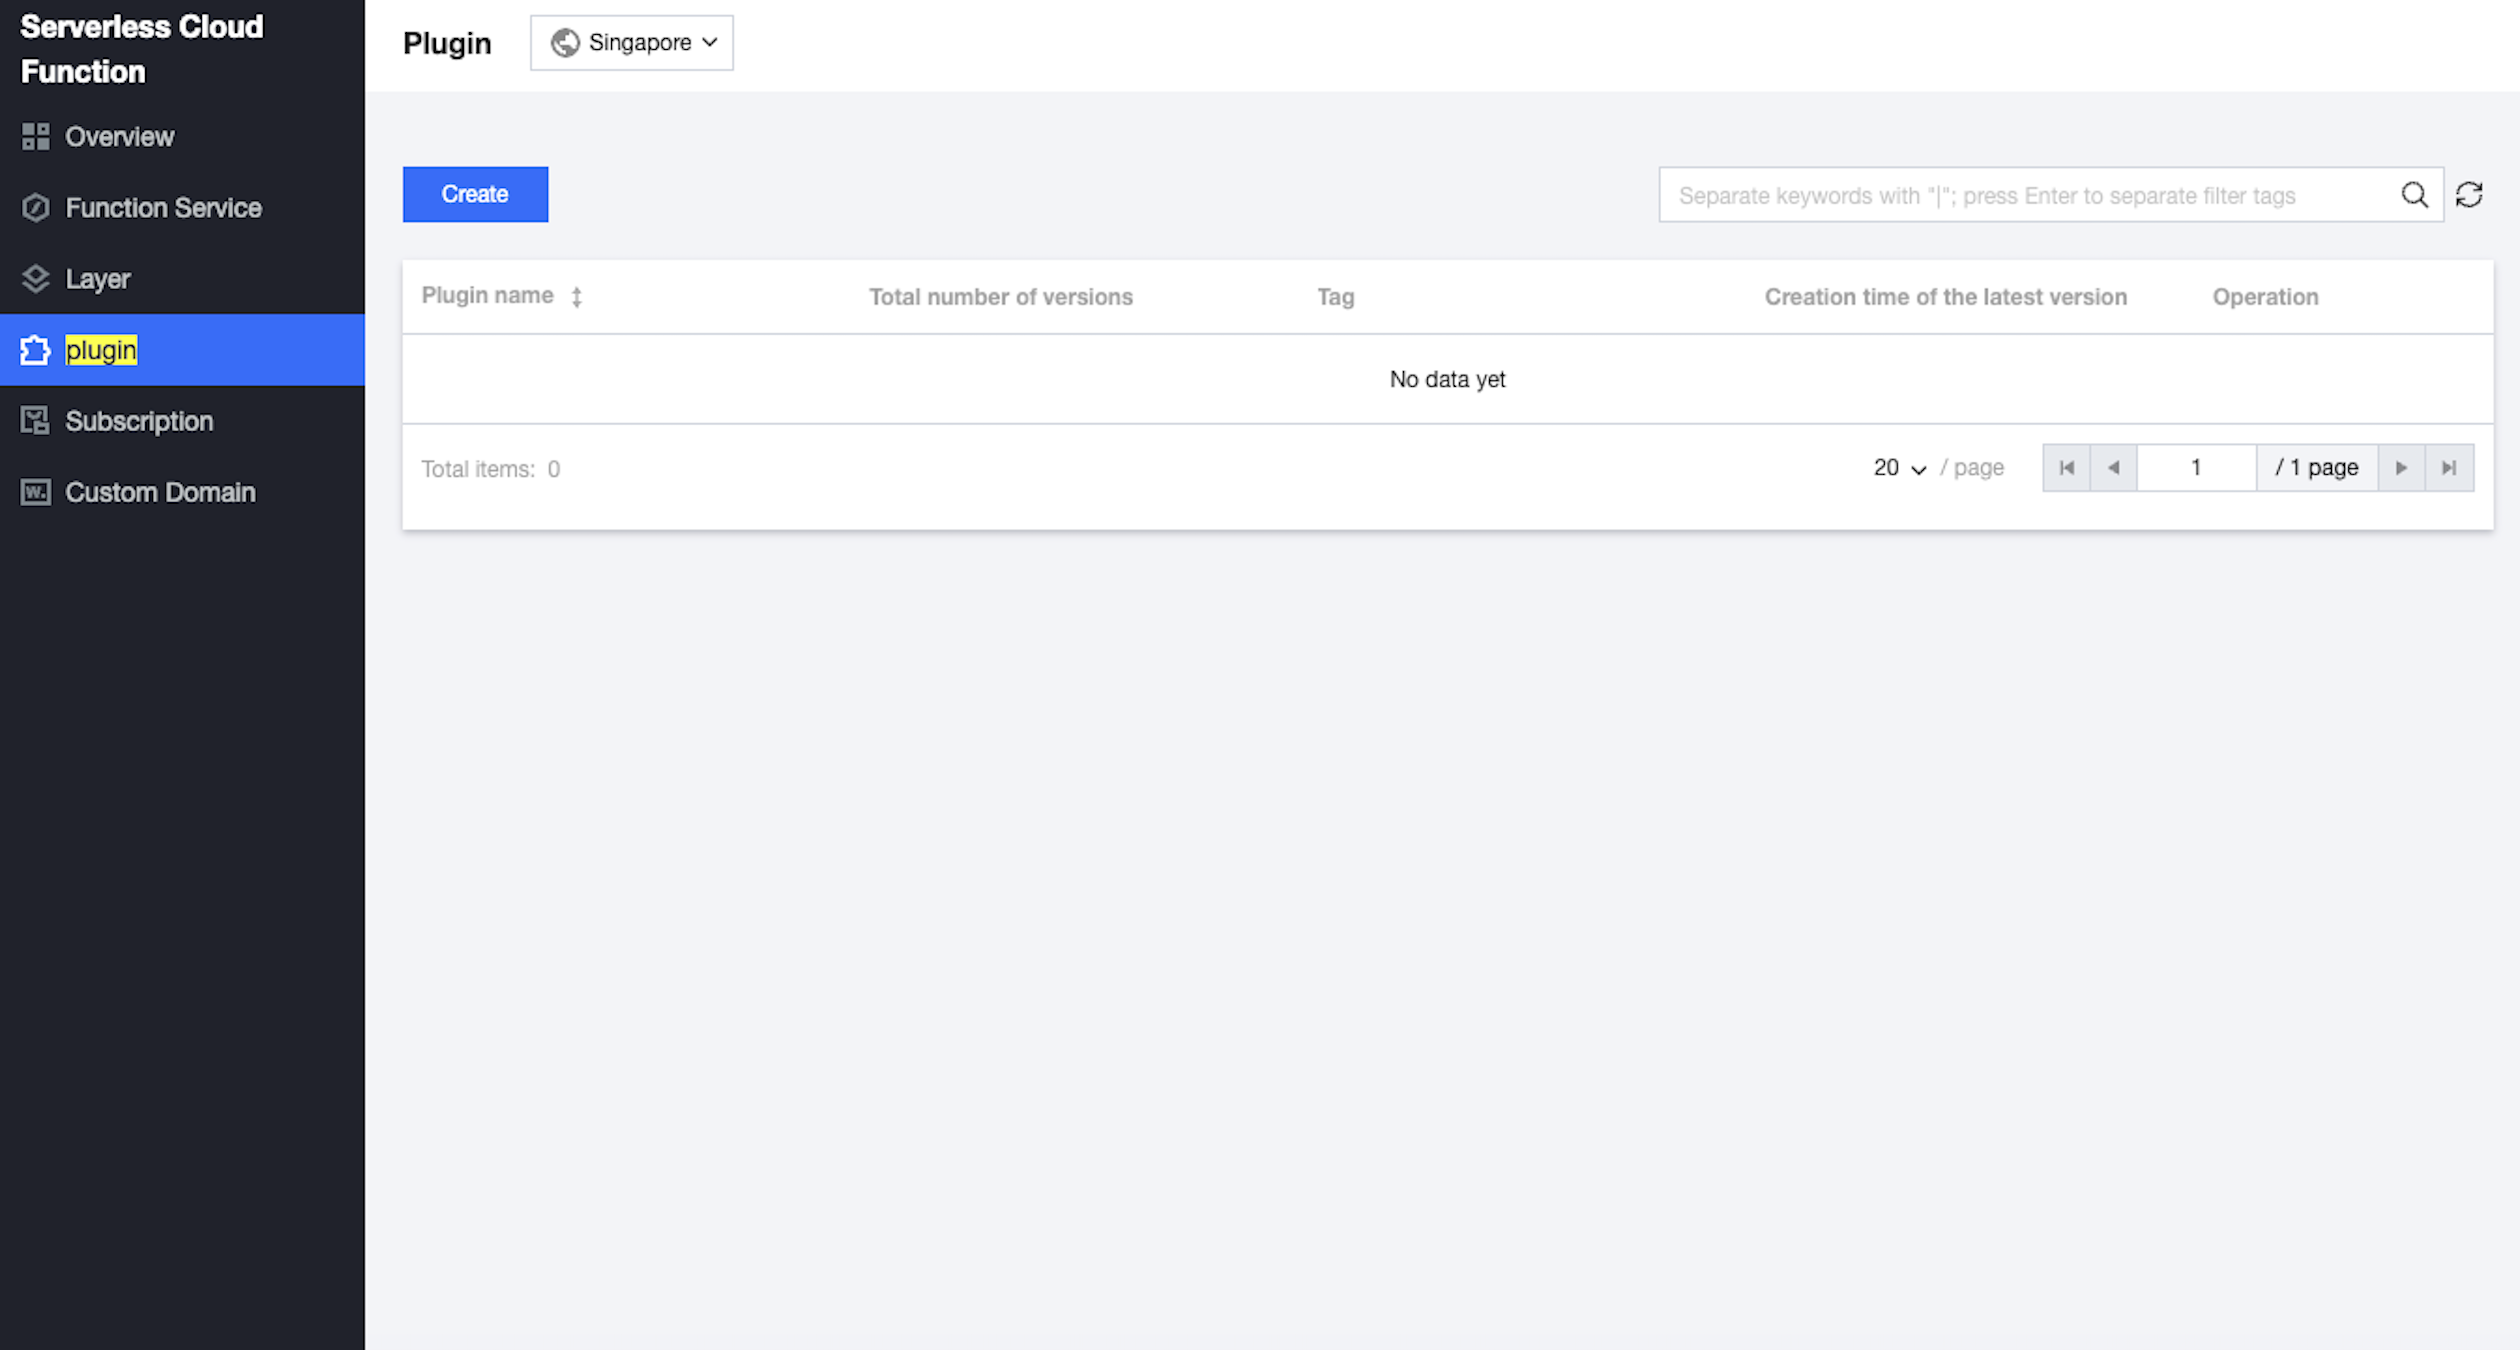
1. Log in to Serverless Console and select Advanced Capability > Plug-in in the left sidebar.
2. On the Plugin page, select the region where you need to use the plugin and click Create.

3. On the Create plugin page, set the plugin information according to actual needs. As shown below:

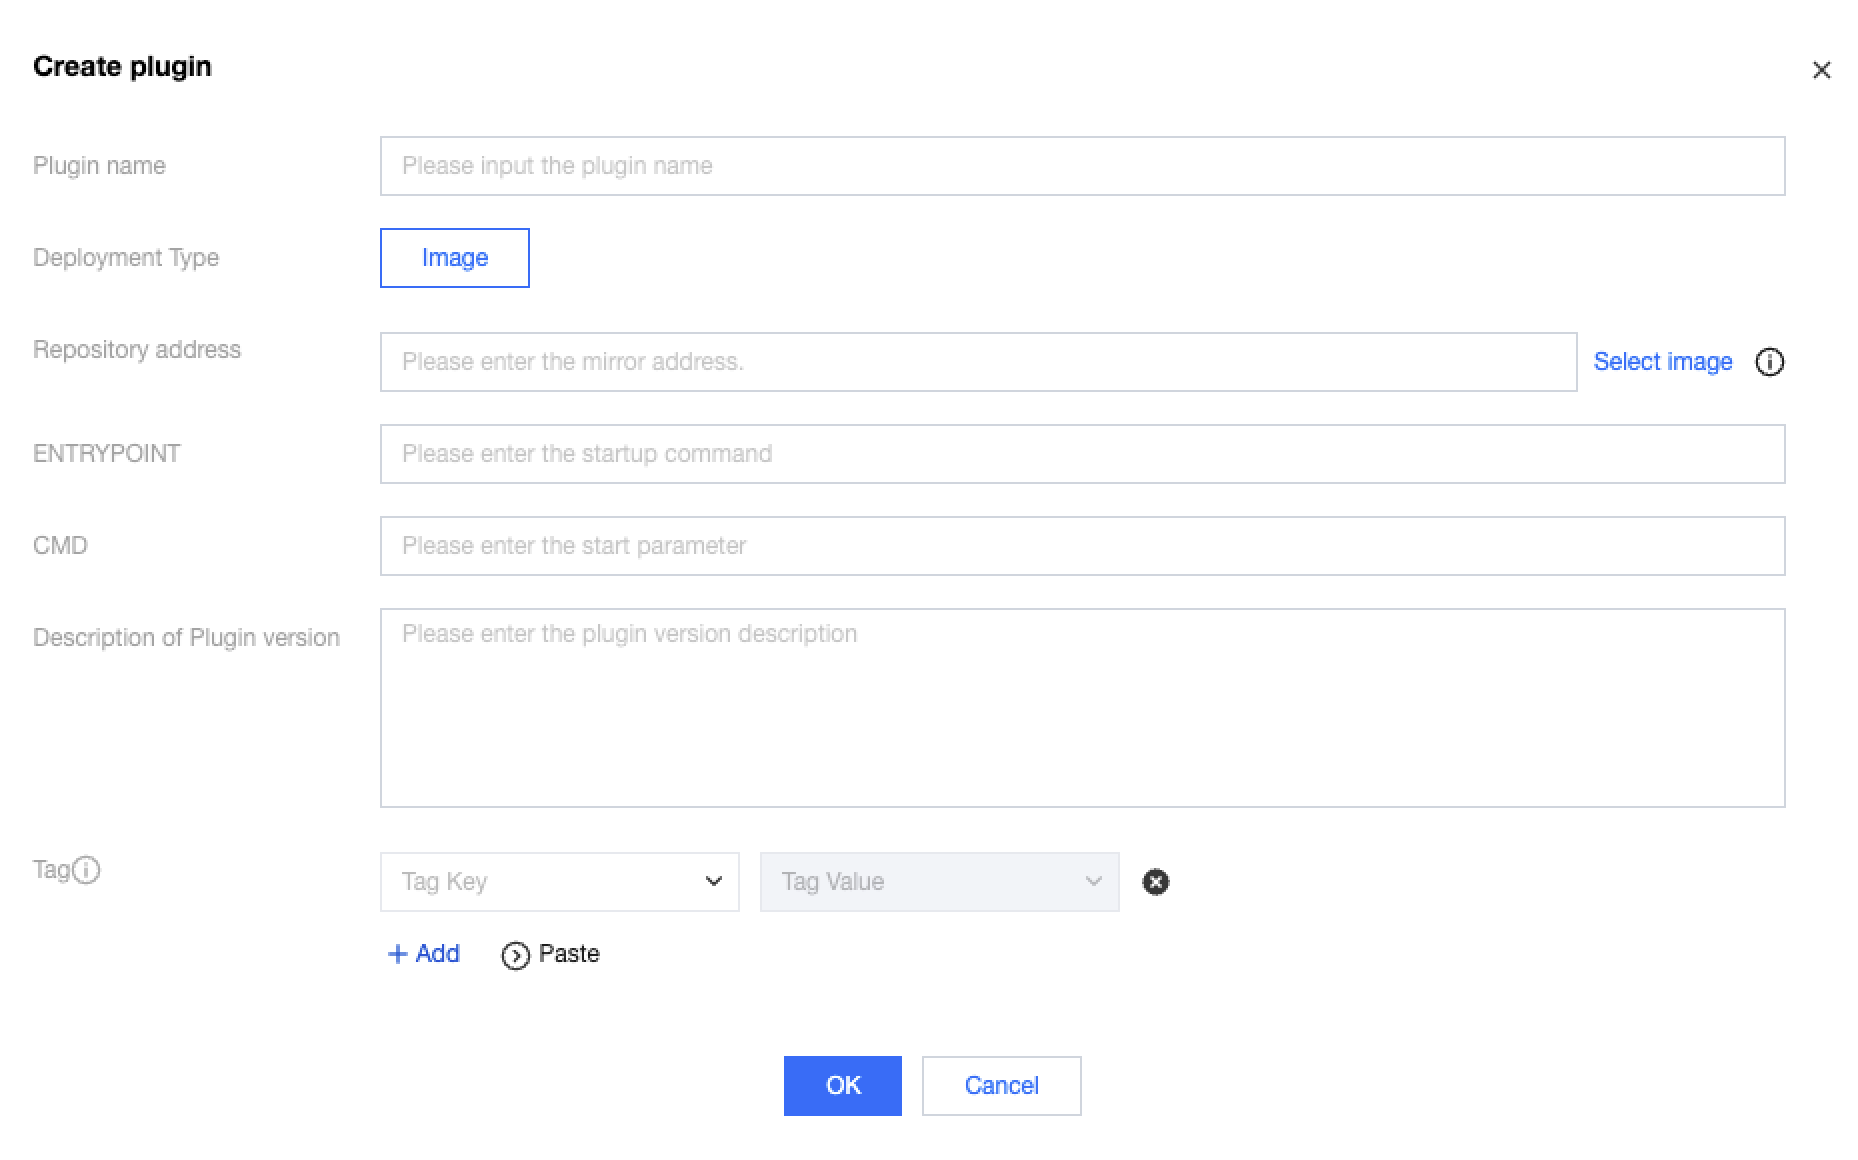
Plugin name: Manually input custom layer name.
Description of Plugin version: Version description. Fill in according to the actual situation.
Deployment Type: Currently, only image deployment can be selected.
Repository address: Plugin image address.
Entrypoint: Enter the container's startup command. Follow the writing norm for parameters, and fill in a runnable instruction, such as python. This parameter is optional; if not filled, the Entrypoint in the Dockerfile will be used by default.
CMD: Fill in the container's startup parameter. Follow the writing norm for the parameter, using a space as the segmentation identifier for the parameter. For example, -u app.py. This parameter is optional. If not filled, use the CMD in the Dockerfile by default.
Tag: A tag is in the plug-in dimension. All versions under this plug-in have the same tag.
4. Click OK to submit the add-on creation and automatically return to the plug-in list. You can view the add-on creation situation in the plug-in list.


Help and Support

Was this page helpful?

Help us improve! Rate your documentation experience in 5 mins.

Feedback