CLS provides a daily pay-as-you-go billing option in all the supported regions. You pay for what you use and no upfront payment is required. For more information, please see
3. Getting Started
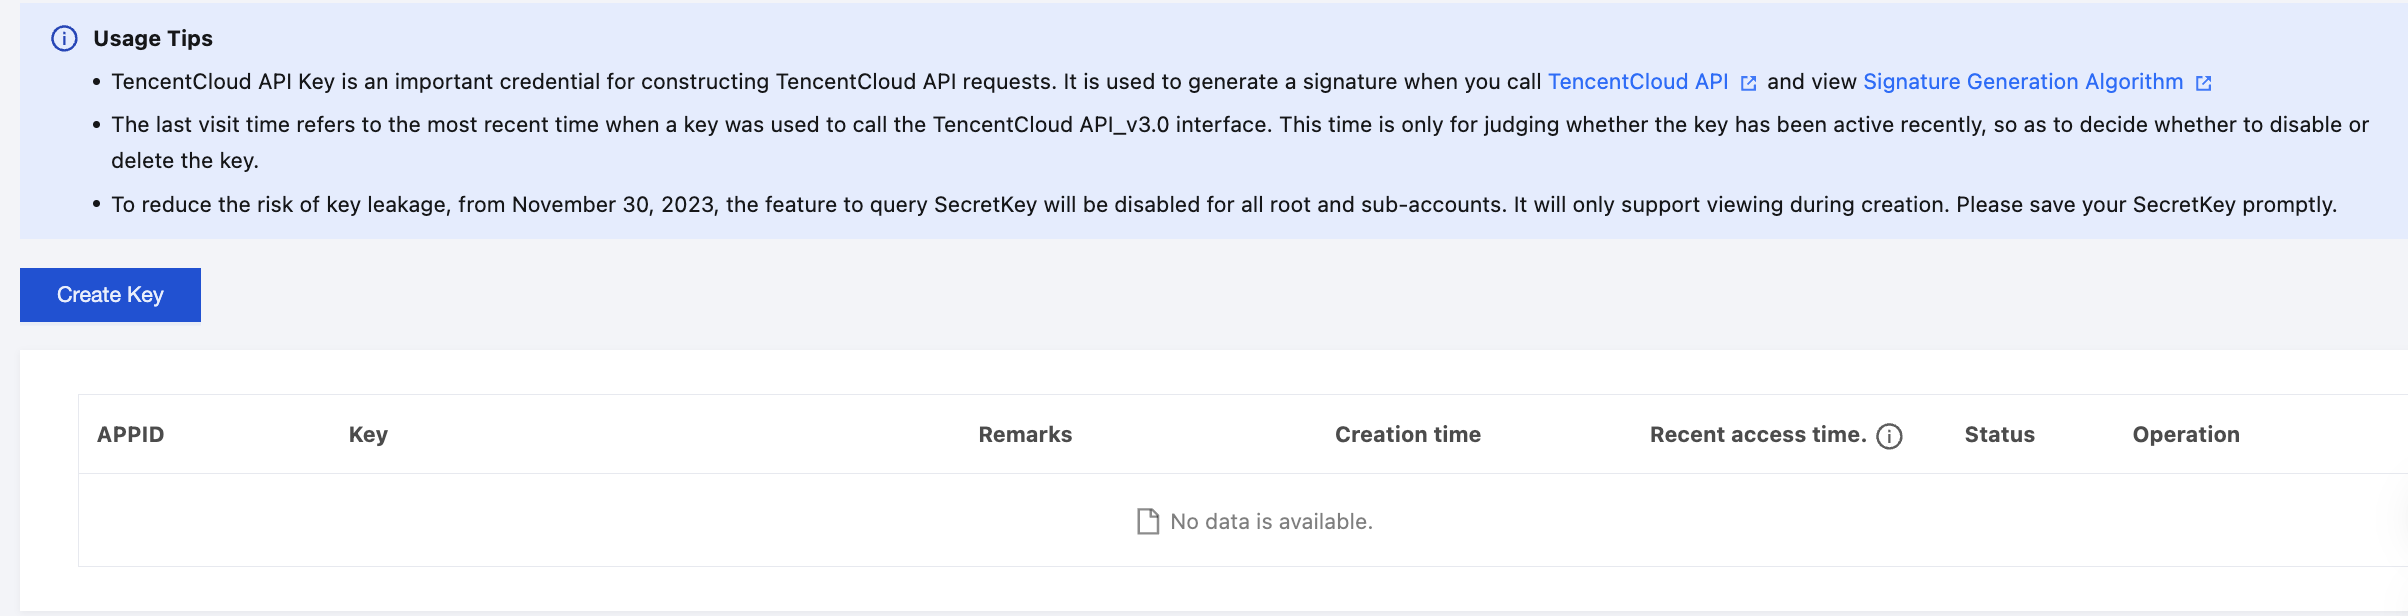
Step 1: Activating the Service
First, you need to activate CLS at the Tencent Cloud official website.
Step 2: Downloading and Installing LogListener
LogListener is a client that collects log data and sends it to CLS in a fast and non-intrusive way. You can install it as follows:
1. Checking the network connection
To install LogListener, the source server and the CLS region must be able to connect to each other. Tencent's Cloud Virtual Machine (CVM) accesses CLS via a private network by default. You can run the following command to check the network connectivity, where <region> is the abbreviation for the CLS region. For more information about regions, please see Available Regions.
ping<region abbreviation>.cls.tencentyun.com
2. Viewing/Creating a key pair.
3. Installing LogListener
The log collection environment for this demonstration is set up on a CVM running CentOS 7.2 (64-bit). For LogListener download and detailed installation steps, see the LogListener Installation Guide.
Step 3: Creating a Log Topic
CLS service is differentiated by region. To lower network latency, try to create log resources in a CLS region closest to your business region. For supported regions, see Available Regions. Log resource management involves the management of logsets and log topics. A logset represents a project, while a log topic represents a type of service. A single logset may contain multiple log topics.
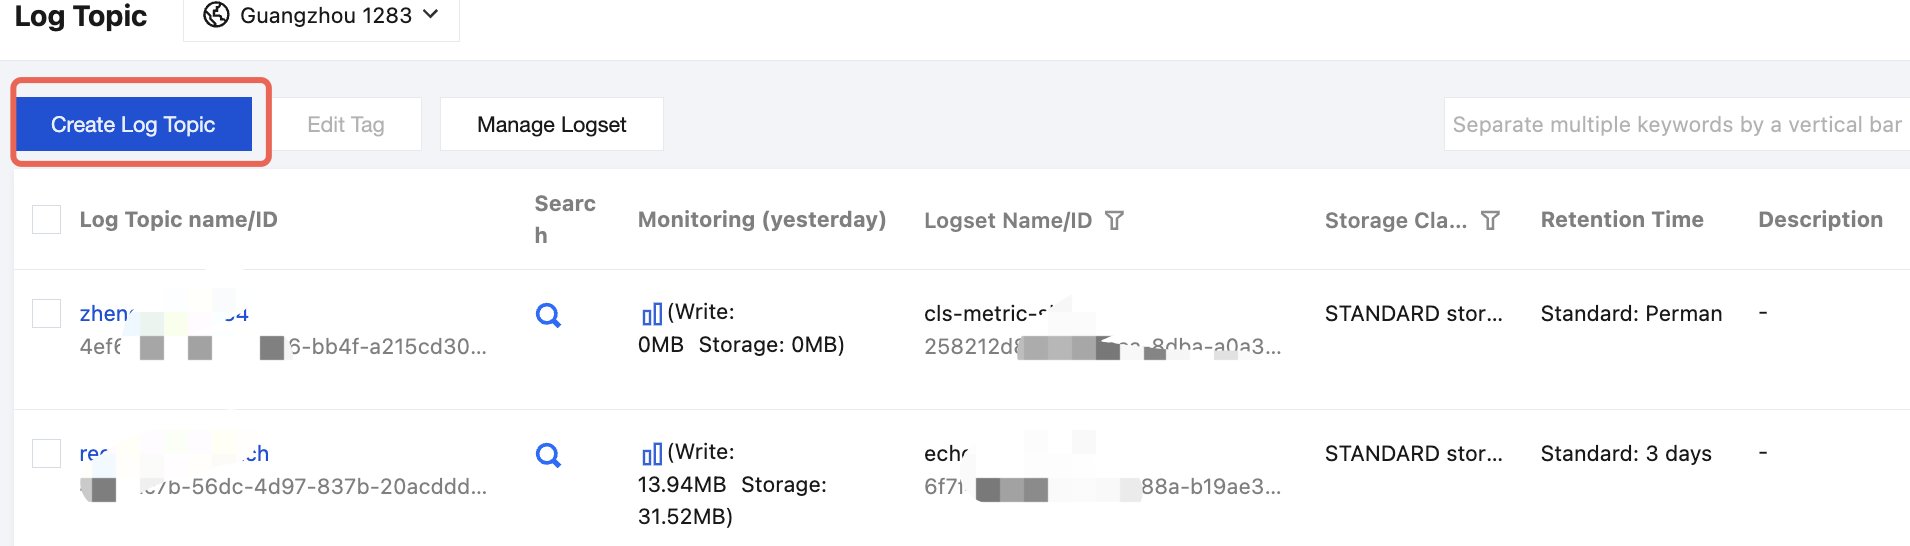
2. In the left sidebar, click Log Topic to go to the Log Topic Management page.
3. Select a region for the log topic and click Create Log Topic.
4. In the pop-up Create Log Topic window, enter the required information.
Storage Time: Supports limited retention (1 - 3600) days or permanent retention. You can also automatically archive some historical logs to STANDARD_IA storage to effectively reduce costs. For details, see Log Archiving.
Log topic name: name of the log topic, such as topic_test.
Logset Operation: Select an existing logset is selected by default. Alternatively, you can select Create Logset and set the logset name (e.g., cls_test) as needed.
5. Click OK.
The created log topic will appear in the log topic list.
To view a newly created logset, click Manage Logset and view it on the expanded logset list page.
Step 4. Create a machine group
CLS uses a machine group to manage a list of log source machines.
1. Log in to the CLS console. On the left sidebar, click Machine Group Management to go to the machine group management page. At the top of the page, select the appropriate region and click Create Machine Group. A machine group can contain multiple machine IP addresses (one IP address per line). For Tencent CVM, enter the private IP address directly. For more information, see Machine Group Management.
2. After a machine group is created, click View in the machine group list to check the connection between the LogListener client and servers. If the status is normal, the LogListener client is successfully connected to CLS; otherwise, see Machine Group Exception for troubleshooting.
2. On the left sidebar, click Log Topic to enter the log topic management page.
3. On the log topic management page, click Collection Configuration, specify a collection path and parsing mode for the log topic, and bind the log topic to a machine group.
Note:
This step takes the LogListener-based log collection method as an example. For more information, please see Collection Methods.
Binding a Machine Group
Select a pre-created machine group and associate the current log topic with it. LogListener will then monitor and collect log files on the machine group according to the configured rules. (A log topic can be bound to multiple machine groups, but a log file can only be reported to one log topic.)
Configure the data collection path
The collection path must match the absolute path of the log file on the machine. Two parameters are required: the directory prefix and the log file name. The format is [Directory Prefix Expression]/**/[File Name Expression]. LogListener matches all common prefix paths that conform to the [Directory Prefix Expression] and monitors all log files under those directories (including subdirectories) that match the [File Name Expression] rule. The parameters are described in detail below:
Field
Description
Directory Prefix
Directory prefix for log files, which supports only the wildcard characters
* matches multiple arbitrary characters.
? matches a single arbitrary character.
/**/
Indicates the current directory and all subdirectories.
File Name
Log file name, which supports only the wildcard characters
* matches multiple arbitrary characters.
? matches a single arbitrary character.
For example, if the absolute path of the file to be collected is /cls/logs/access.log, then the directory prefix entered for the collection path should be /cls/logs, and the file name access.log, as shown below:
Configure parsing mode
CLS supports various log parsing modes such as full text in a single line, separator, JSON, and full regex. The following log sample uses the separator mode (for more information, please see Separator Format).
Tue Jan 22 14:49:45 2019;download;success;194;a31f28ad59434528660c9076517dc23b
Selecting an extraction mode:
This section uses a delimiter-formatted log as an example. Therefore, in the Key-Value Extraction Mode configuration item, select the delimiter and choose the semicolon as the log delimiter.
Inputting a sample log and extracting key-value pairs:
Enter a complete log entry in the sample log field. After confirmation, the system will automatically extract key-value pairs. Then, assign a unique key name to each pair.
In this example, the log is parsed into five fields: Tue Jan 22 14:49:45 2019, download, success, 194, and a31f28ad59434528660c9076517dc23b. Then, assign a key name to each field: time, action, status, size, and hashcode. This enables LogListener to collect data according to the defined structured format.
Step 6. Search for logs
Configuring an index
CLS offers a log search and analysis feature based on segment indexing. We currently offer two index types: full-text index and key-value index. They can be managed on the index configuration tab on the log topic management page. Both index types can be enabled at the same time.
Index Type
Description
Full-Text
Breaks a full log into segments by delimiter, and executes keyword query based on the segments.
Key-Value
Breaks a full log into key-value pairs according to the specifications, and executes field query based on the key-value pairs.
This section uses the key-value index as an example to explain the configuration method. On the log topic management page, click Index Configuration to enter the index management page and choose to use recommended configuration. For details, see Configuring Indexes.
2. On the left sidebar, click Search and Analysis to enter the search and analysis page.
3. Select the target region, log topic, and time range, and enter the search statement (the syntax can be search by keyword, fuzzy match, and range). For more information, see Configuring Index. Click Search and Analysis to begin log search.
Set alarm policies for one or more log topics to send alarm notifications when the query and analysis results meet the trigger condition, so as to find exceptions in time.
Perform scheduled SQL analysis, that is, periodic log query and analysis tasks, and save the results to new log topics, usually in log (to reduce storage costs) and report aggregation scenarios.
If you have any doubts or suggestions when using CLS products and services, you can submit your feedback through the following channels. Dedicated personnel will contact you to solve your problems.
For questions about the product documentation, such as links, content, or APIs, click Send Feedback on the right of the document page.
If you have any questions regarding the CLS service, contact smart customer service or submit a ticket.