Based on native Kubernetes, Tencent Kubernetes Engine (TKE) is a container-oriented, highly scalable, and high-performance container management service. Compared with a client's container service, TKE has core advantages such as its ease of use, flexible expansion, security, reliability, high efficiency, and low costs. For more information, see Tencent Kubernetes Engine.
Overview
As an open source platform for automated container operations, Kubernetes is a mainstream choice for developers. However, the access capability of Kubernetes clusters are not sufficient and cannot meet the requirements of large applications. Using API Gateway as the access layer of Kubernetes can significantly improve the access capability of Kubernetes clusters and empower Kubernetes clusters with advanced capabilities of API Gateway, adapting to more scenarios of more customers.
Prerequisites
You have activated Tencent Cloud services such as API Gateway, TKE, Cloud Load Balancer (CLB), Virtual Private Cloud (VPC), and Cloud Virtual Machine (CVM) and have permission to configure these services, as they will be used during the configuration process.
When creating a CVM, select the VPC and the subnet created in Step 1 and retain the default values for the other parameters. In this example, a standard S5 CVM instance is created.
2. In the left sidebar, click Cluster to access the TKE cluster list page.
3. Click Create at the top of the TKE cluster list. On the Create Cluster page, create a TKE cluster by following the instructions in Creating a Cluster.
Note:
When configuring the cluster information, set Cluster network to the VPC created in Step 1.
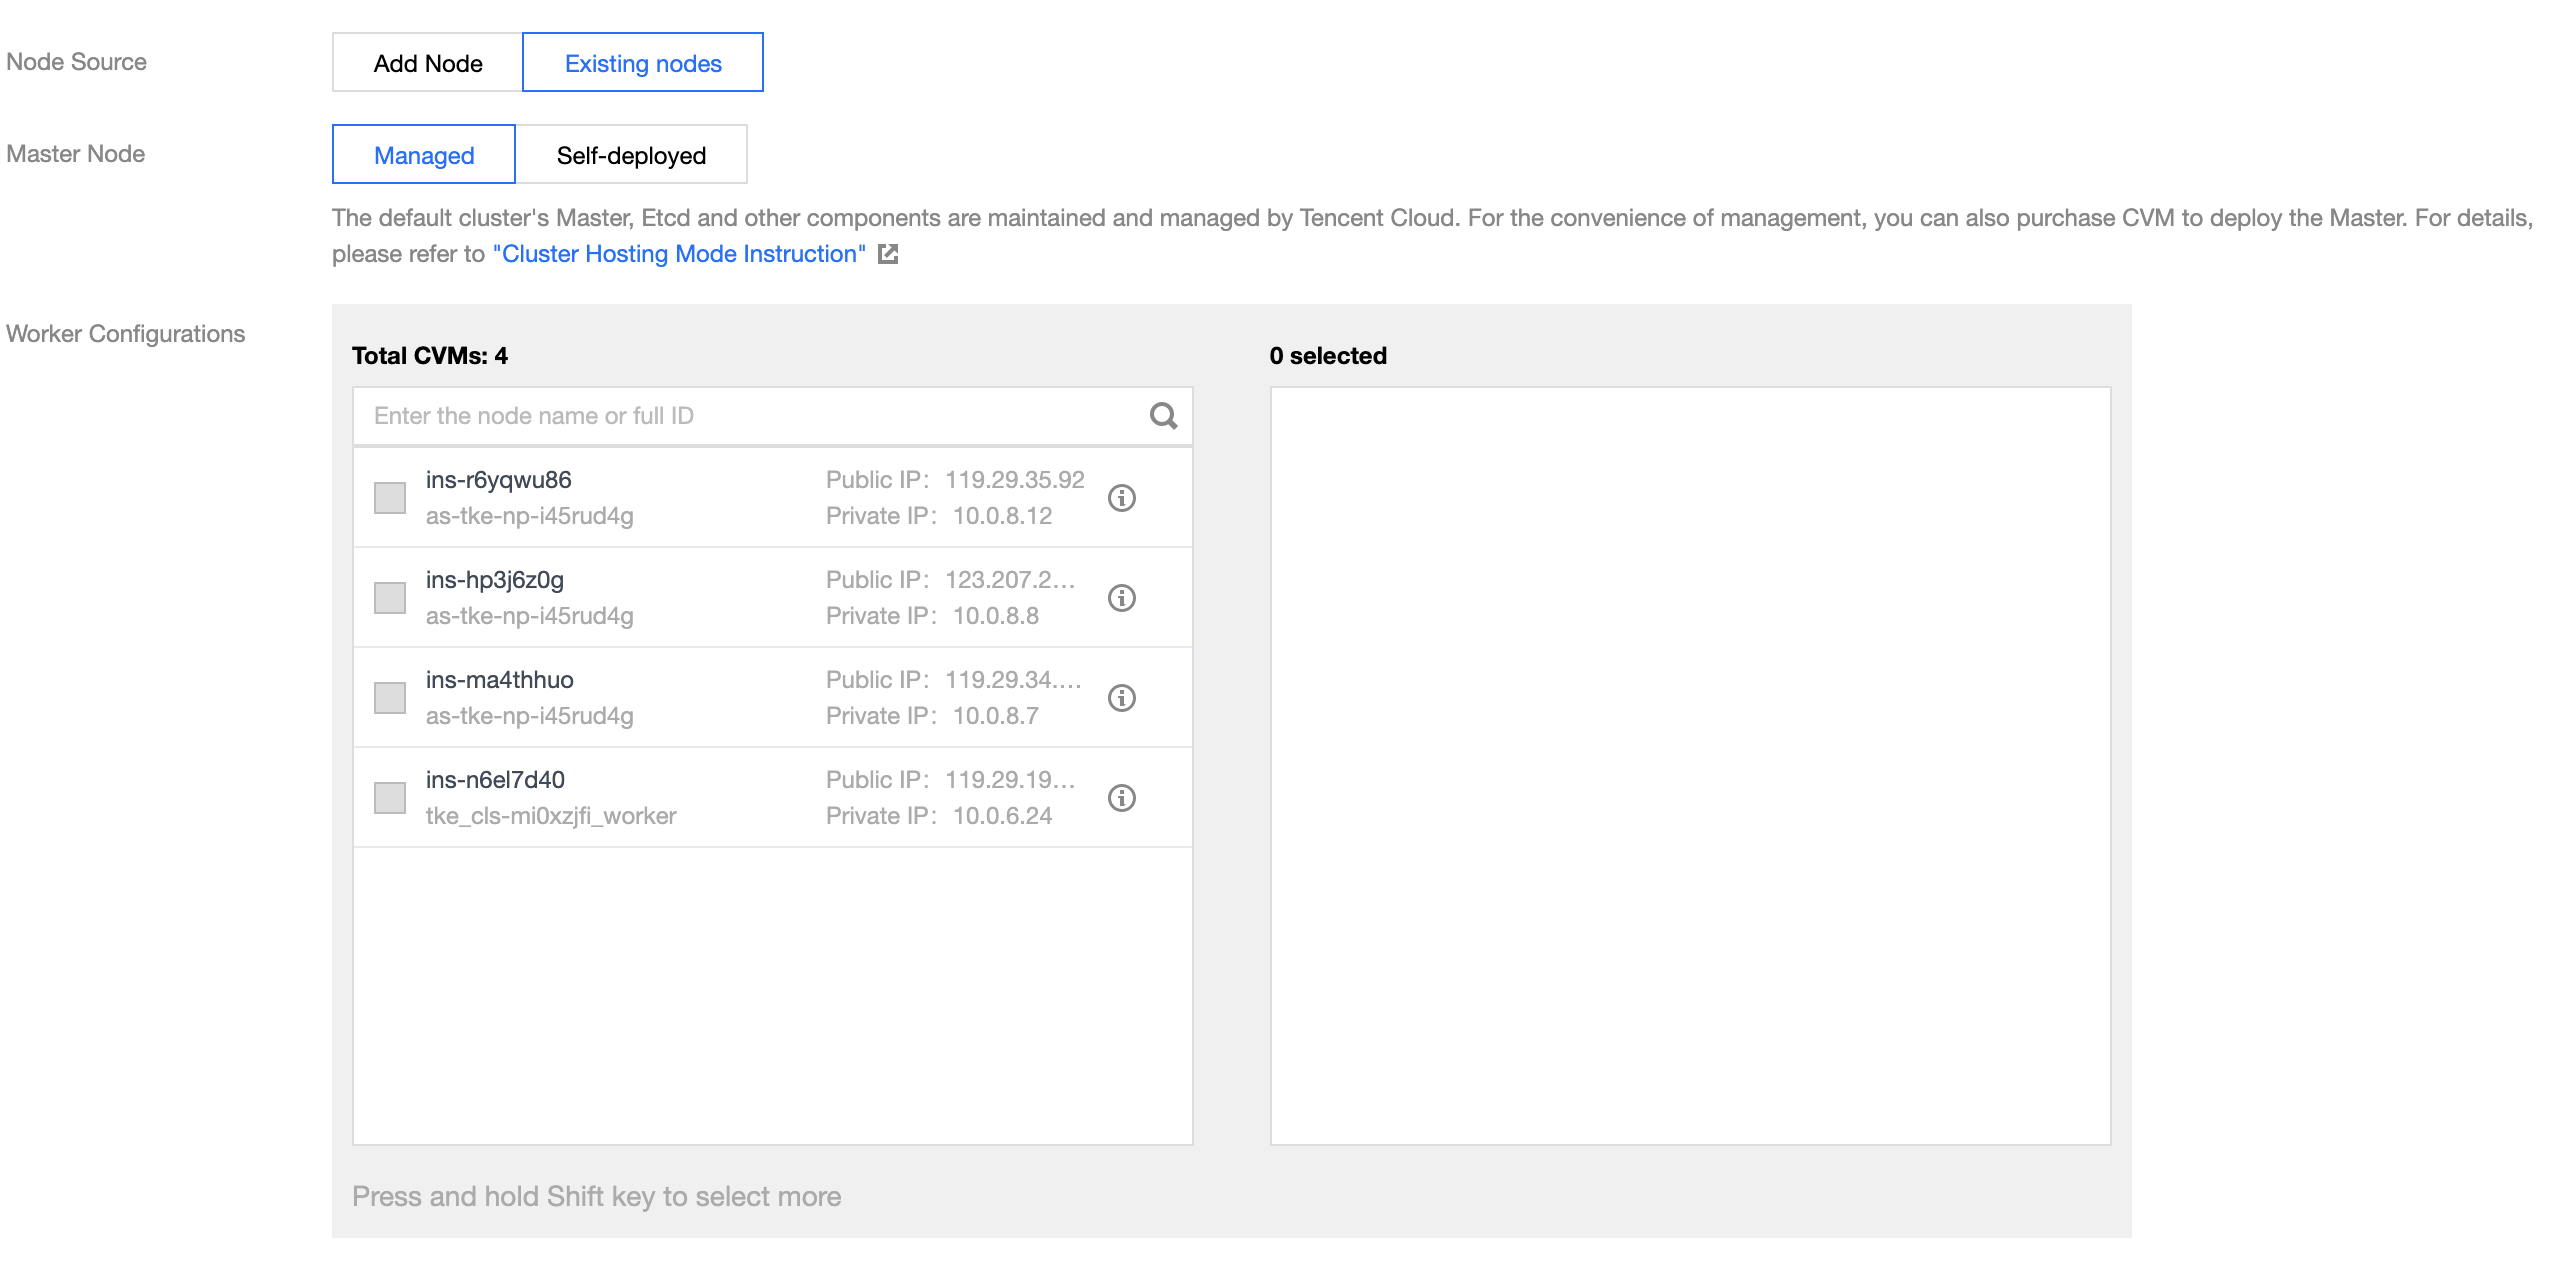
When selecting a model, set Node Source to Existing nodes and Master Node to Managed, and select the CVM created in Step 2 in the Worker Configurations area.
Retain the default values for the other parameters.
Step 4: Create a nginx service in the TKE cluster
1. Log in to the TKE console. In the left sidebar, click Cluster to access the TKE cluster list page.
2. Click the ID of the TKE cluster created in Step 3 to access the cluster details page.
3. In the left sidebar, click Workload -> Deployment to access the deployment list page.
4. Click Create at the top of the deployment list page to access the workload creation page.
2. In the left sidebar, click Service to access the service list page.
3. Click Create at the top of the service list. In the pop-up dialog box, create an API Gateway service by following the instructions in Creating Services.
Step 6: Create an API in the API Gateway service
1. In the API Gateway console, click Service in the left sidebar to access the service list page.
2. Click the name of the created API Gateway service to access the service details page.
3. Click the Manage API tab, and then click Create to access the API creation page.
4. Enter the frontend configuration, the backend configuration, and the response result, and click Complete to finish creating the API.
Note:
When entering the backend configuration, set Backend Type to HTTP, VPC Info to the VPC created in Step 1, VPC resources to CLB, and Backend Path to /.
Step 7: Open the private IP ranges of API Gateway to the internet
1. Log in to the CVM console. In the left sidebar, click Security Groups to access the security group list page.
2. Select a region and click + New. In the pop-up dialog box, set the parameters and click OK to create a security group.
3. In the security group list, click the name of the created security group to access the security group details page. Click the Security Group Rule tab and then the Inbound rule tab to access the inbound rule list.
4. Click Add a Rule. In the pop-up dialog box, enter the following 5 private IP ranges of API Gateway: 9.0.0.0/8, 10.0.0.0/8, 100.64.0.0/10, 11.0.0.0/8, and 30.0.0.0/8. Set Protocol port to ALL and Policy to Allow for the 5 private IP ranges, and click Completed to add the 5 inbound rules.
5. Return to the security group details page. Click the Associate with Instance tab and then the Cloud Virtual Machine tab. Click Add Instances. In the pop-up dialog box, associate the created security group with the CVM created in Step 2 to open the private IP ranges of API Gateway to the internet.
Step 8: Publish and test the API Gateway service
1. In the API Gateway console, click Service in the left sidebar to access the service list page.
2. Click the name of the created API Gateway service to access the service details page.
3. Click the Basic Configuration tab, and click Publish in the upper right corner of the page to publish the service to the Publish environment.
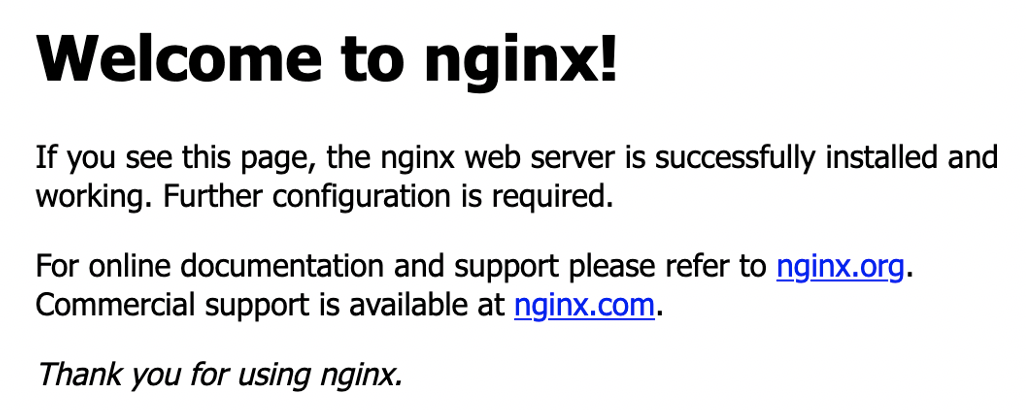
4. Request the API created in Step 6. If the nginx page is displayed, the access is successful.


 Yes
Yes
 No
No
Was this page helpful?