When you need to migrate and synchronize the source environment, such as the system on a server or virtual machine, to the target Lighthouse image without system downtime due to business requirements, you can refer to this document to perform the migration using the online migration feature.
Prerequisites
Ensure that the source to be migrated is in a normal running state. The migration source refers to the source host to be migrated.
You have understood the custom image considerations.
Notes
Currently, only the system disk data of CVM instances can be migrated.
The online migration tool itself is free of charge. However, the migration creates a custom image in the target region, which occupies the custom image quota of that region and incurs fees according to the custom image billing rules. For billing details, see Custom Image Billing.
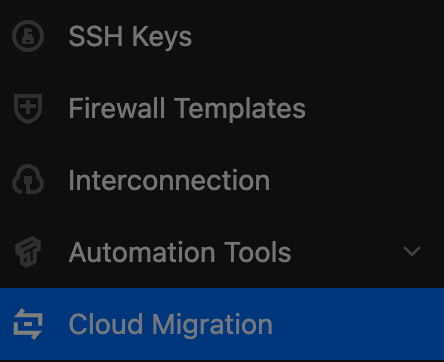
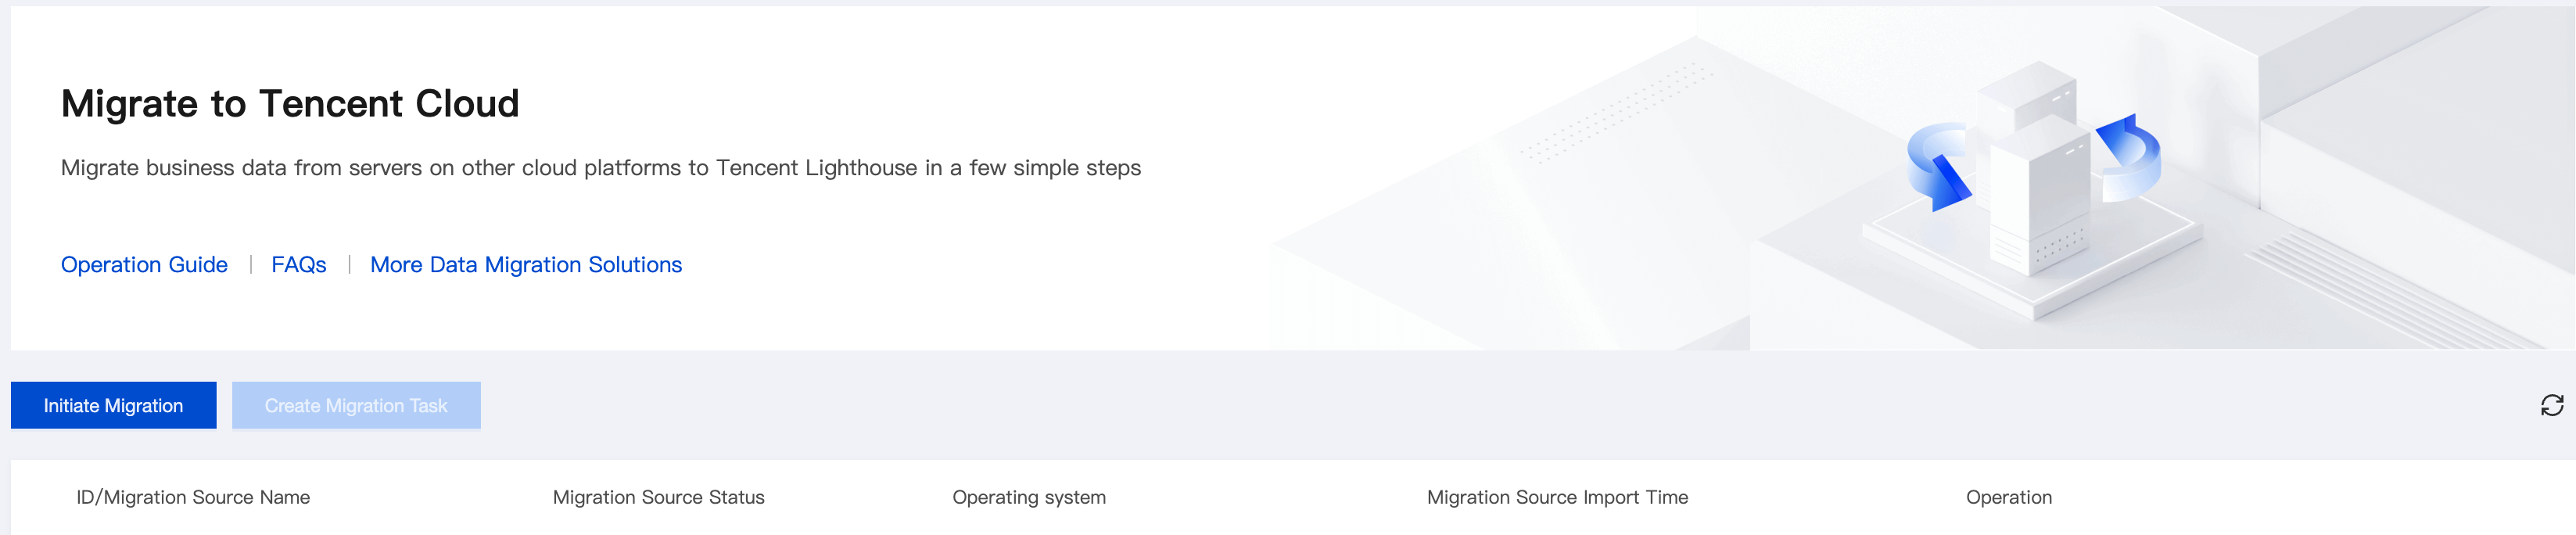
2. On the Migration to Cloud page, click Start Migration in the upper-left corner to enter the migration process pop-up window.
Migration Process
Step 1: Preparations Before Migration
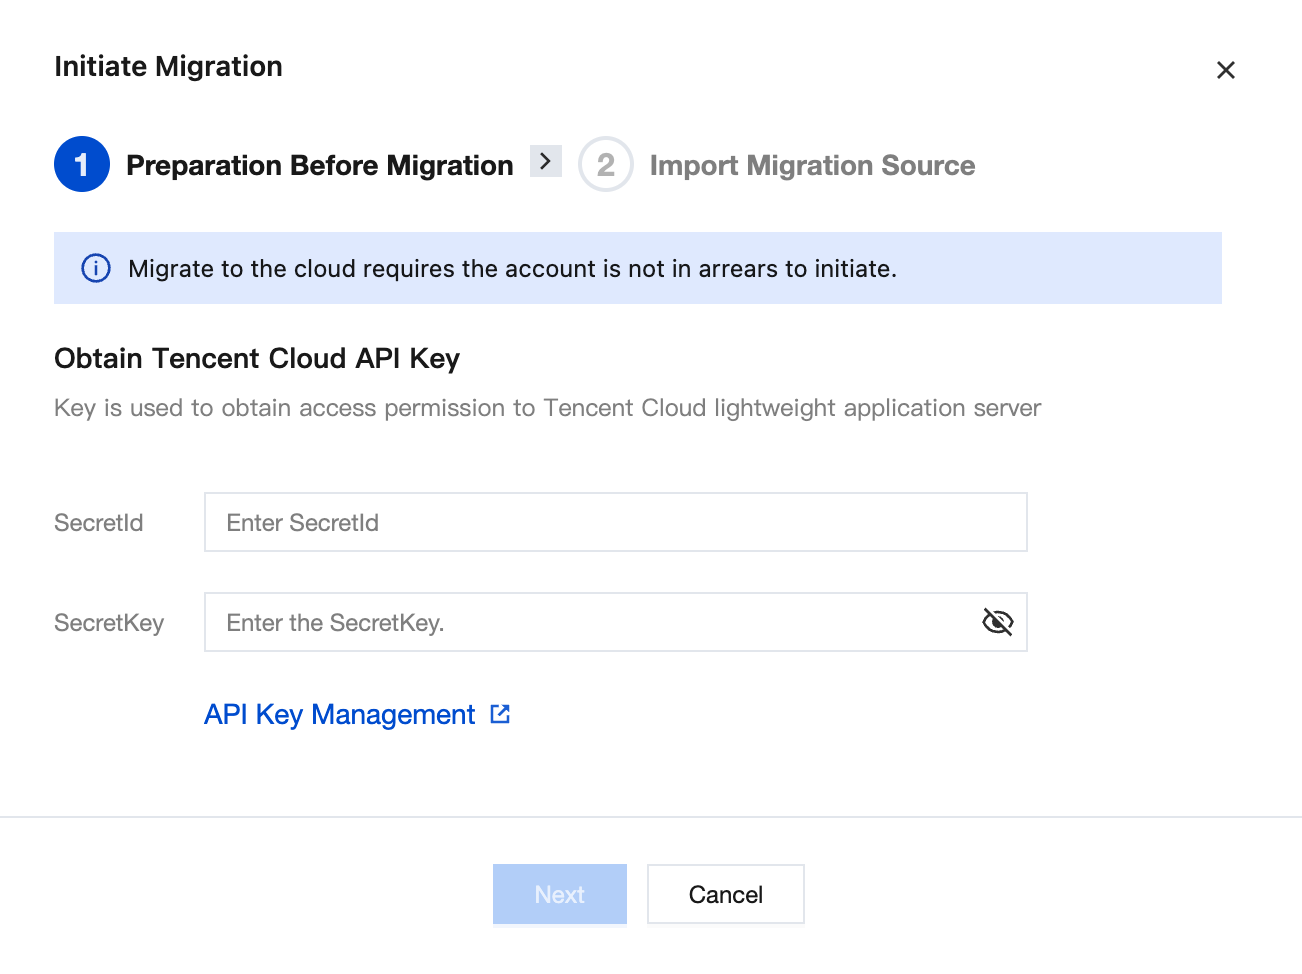
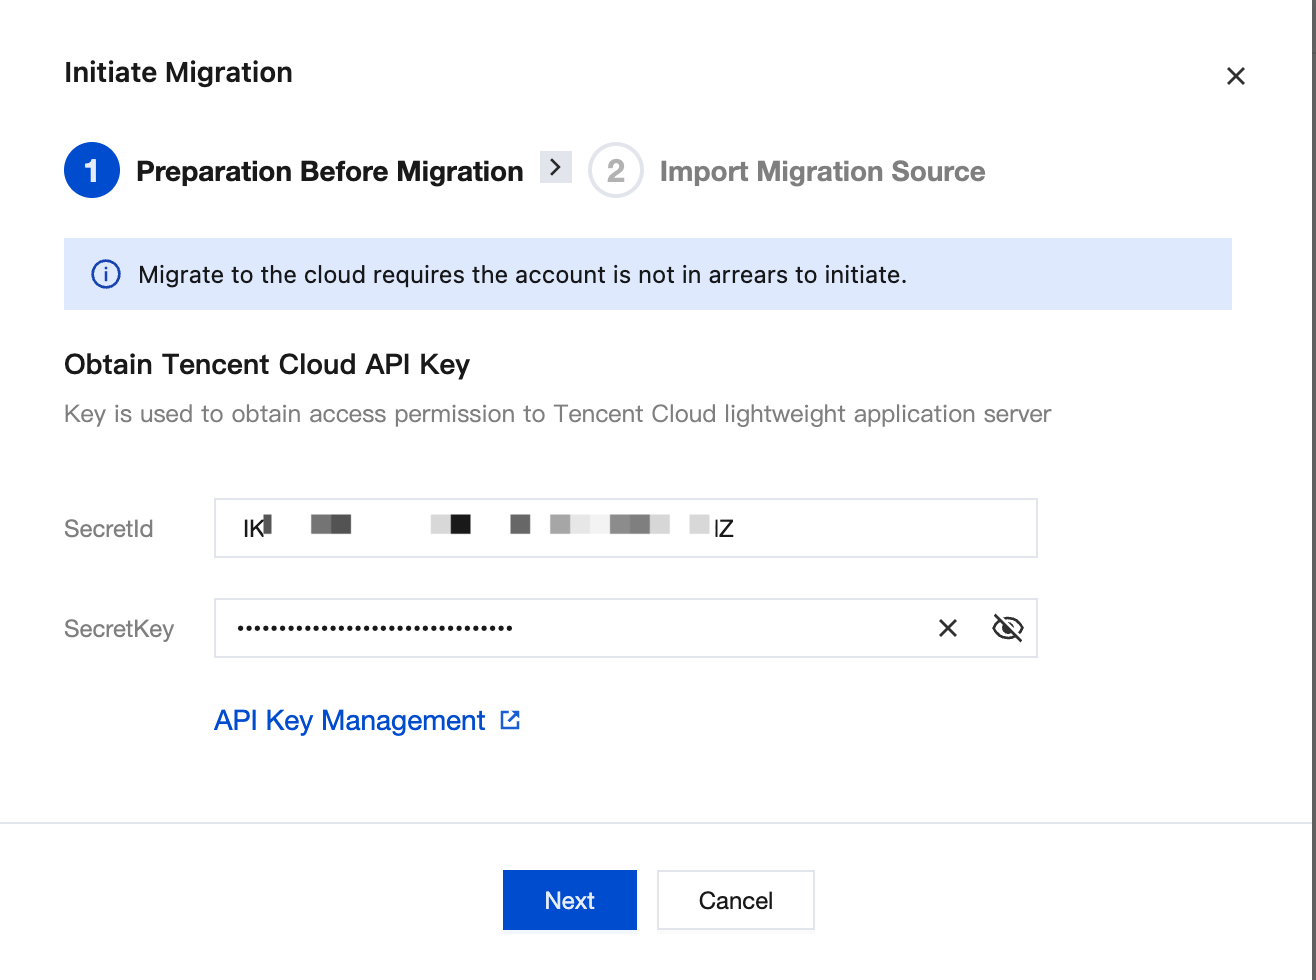
1. On the API Key Management page, create and obtain the SecretId and SecretKey of the API key (which is used to obtain access permissions for Tencent Cloud Lighthouse), and then enter the corresponding information in the pop-up window.
2. After completing the form, click Next to go to Step 2.
Before the migration source is imported, we recommend that you check the actual status of the migration source based on your source system, pause the applications on the source host, and back up data to avoid impacting existing applications during migration. You can back up data using methods such as the source server snapshot feature. The source host refers to the host to be migrated.
For details, refer to the following steps based on the operating system of your migration source host.
Linux Migration Preparations
Windows Migration Preparations
Checking the Migration Source Host
After you initiate a migration request to the TencentCloud API, the TencentCloud API checks the generated Token using the current UNIX time. Ensure that your current system time is accurate.
Notes
If you use a sub-account for console migration and the migration target is a Lighthouse image, the sub-account is required to have the QcloudCSMFullAccess, QcloudCVMFullAccess, and QcloudCVMFinanceAccess permissions. You can log in to the CAM console with your root account to grant these permissions.
It is recommended to temporarily disable the antivirus software to avoid mistakenly killing the migration tool, which could cause migration failure.
Notes
If you use a sub-account for console migration and the migration target is a Lighthouse image, the sub-account is required to have the QcloudCSMFullAccess, QcloudCVMFullAccess, and QcloudCVMFinanceAccess permissions. You can log in to the CAM console with your root account to grant these permissions.
Note:
The source host check can be automatically checked using tool commands, such as sudo ./go2tencentcloud_x64 --check.
The go2tencentcloud migration tool performs an automatic check by default when it starts. If you need to skip the check and force migration, set the Client.Extra.IgnoreCheck field in the client.json file to true.
Step 2: Importing a Migration Source
Perform the corresponding operations based on your migration source operating system.
Migration Source with Linux OS
Migration Source with Windows OS
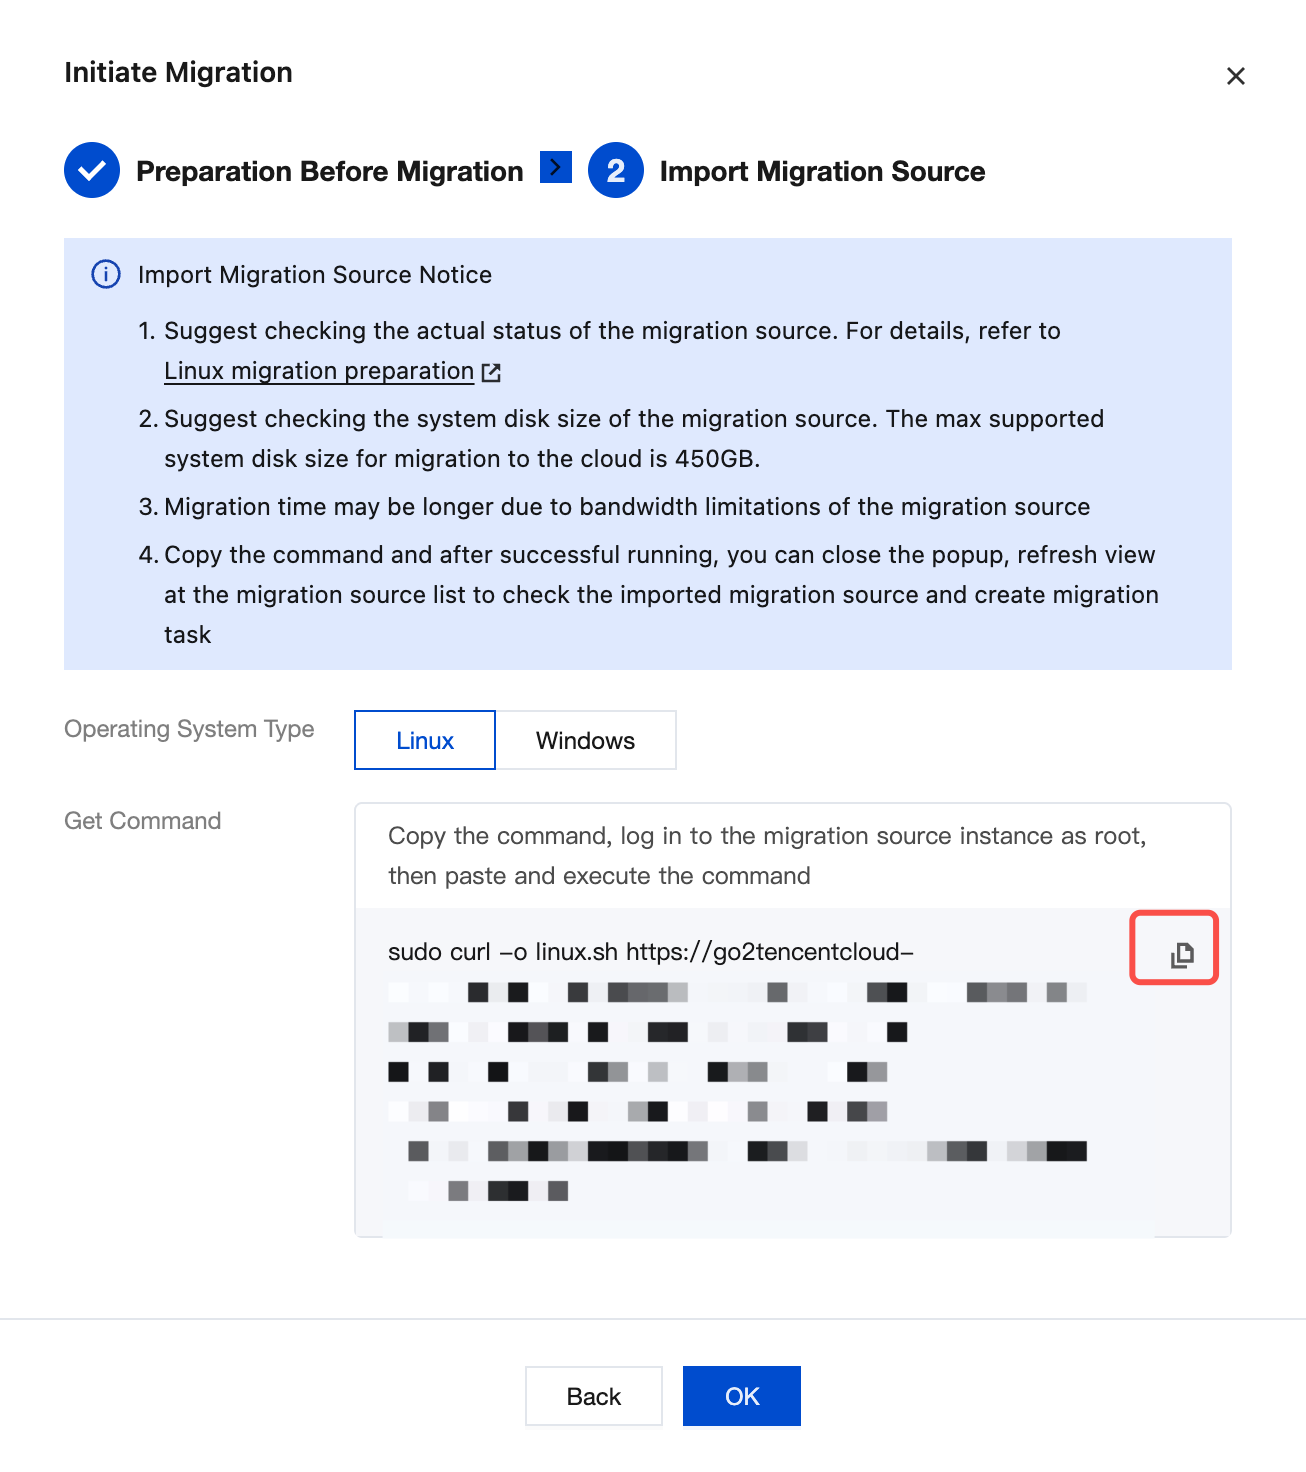
1. To obtain the command: In the pop-up window, select Linux as the operating system type, click the Copy button, and copy the command.
2. Log in to the migration source instance as root and execute the command copied in the previous step.
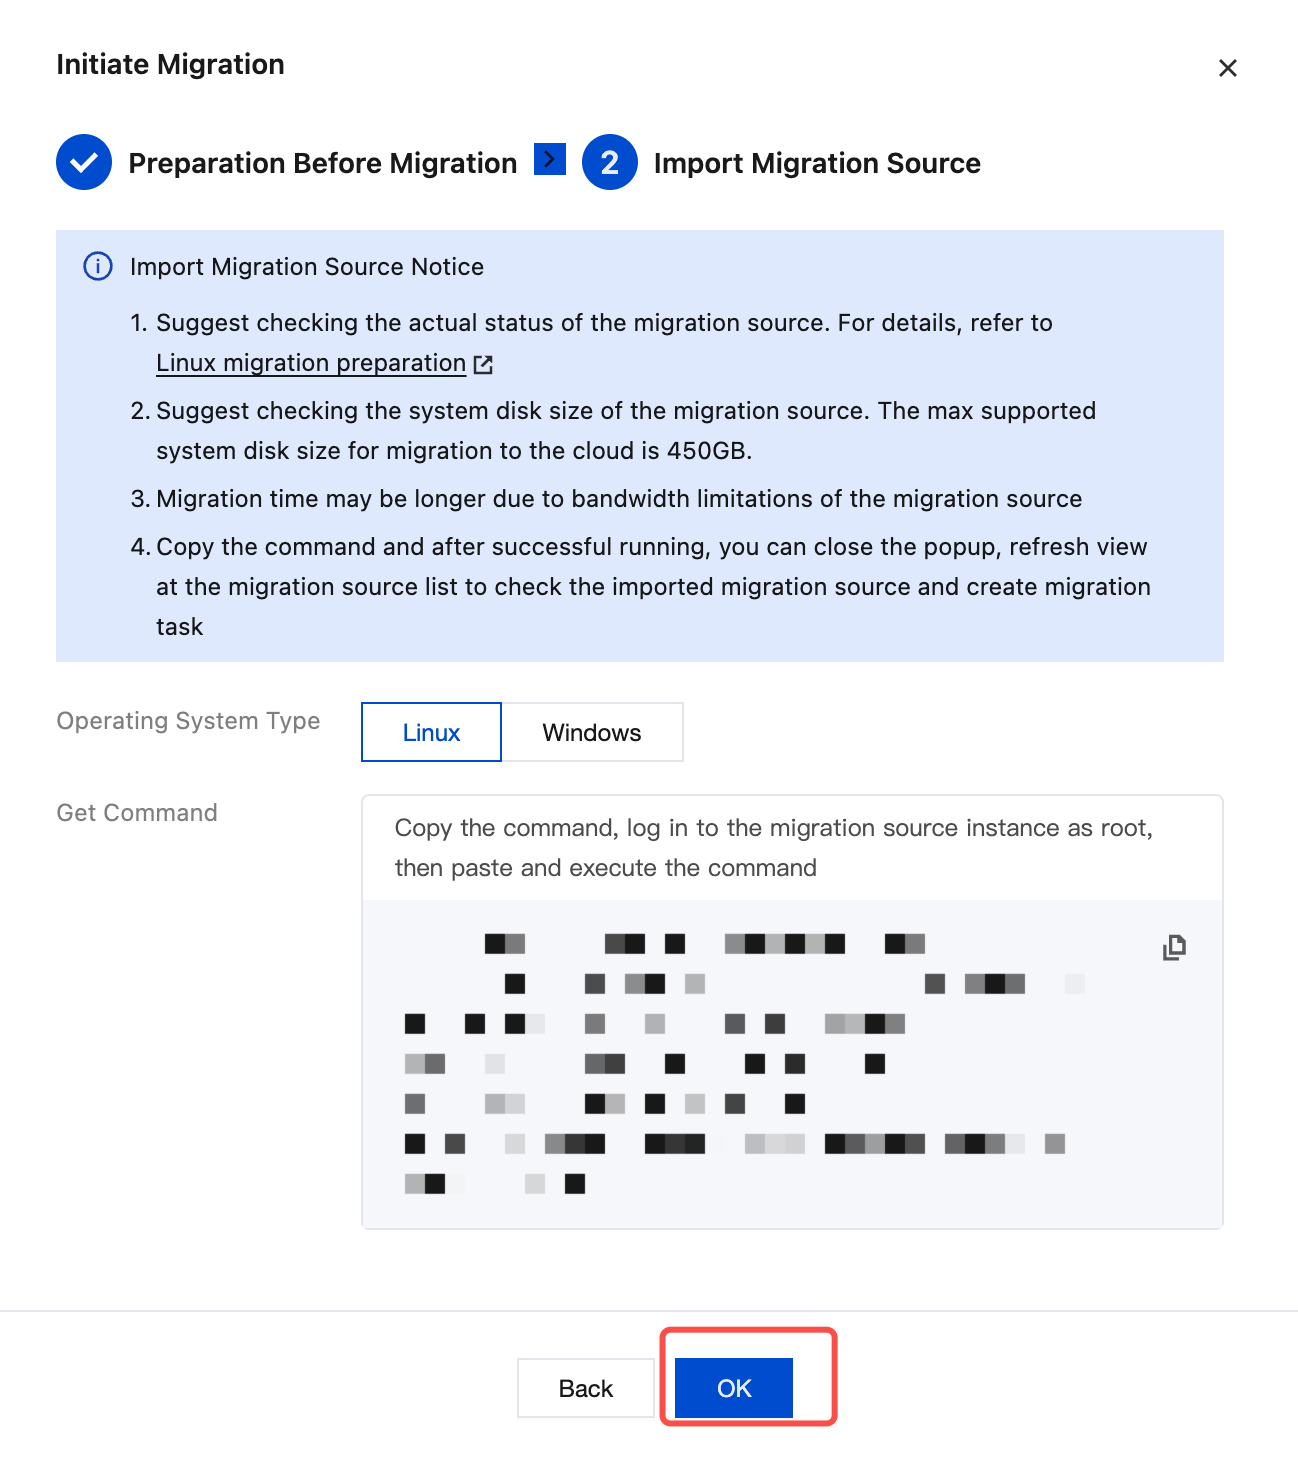
When the migration source execution information page displays the information shown in the figure below, it indicates that the migration source has been successfully imported into the console. You can then go to the console, click OK, and close the Start Migration pop-up window.
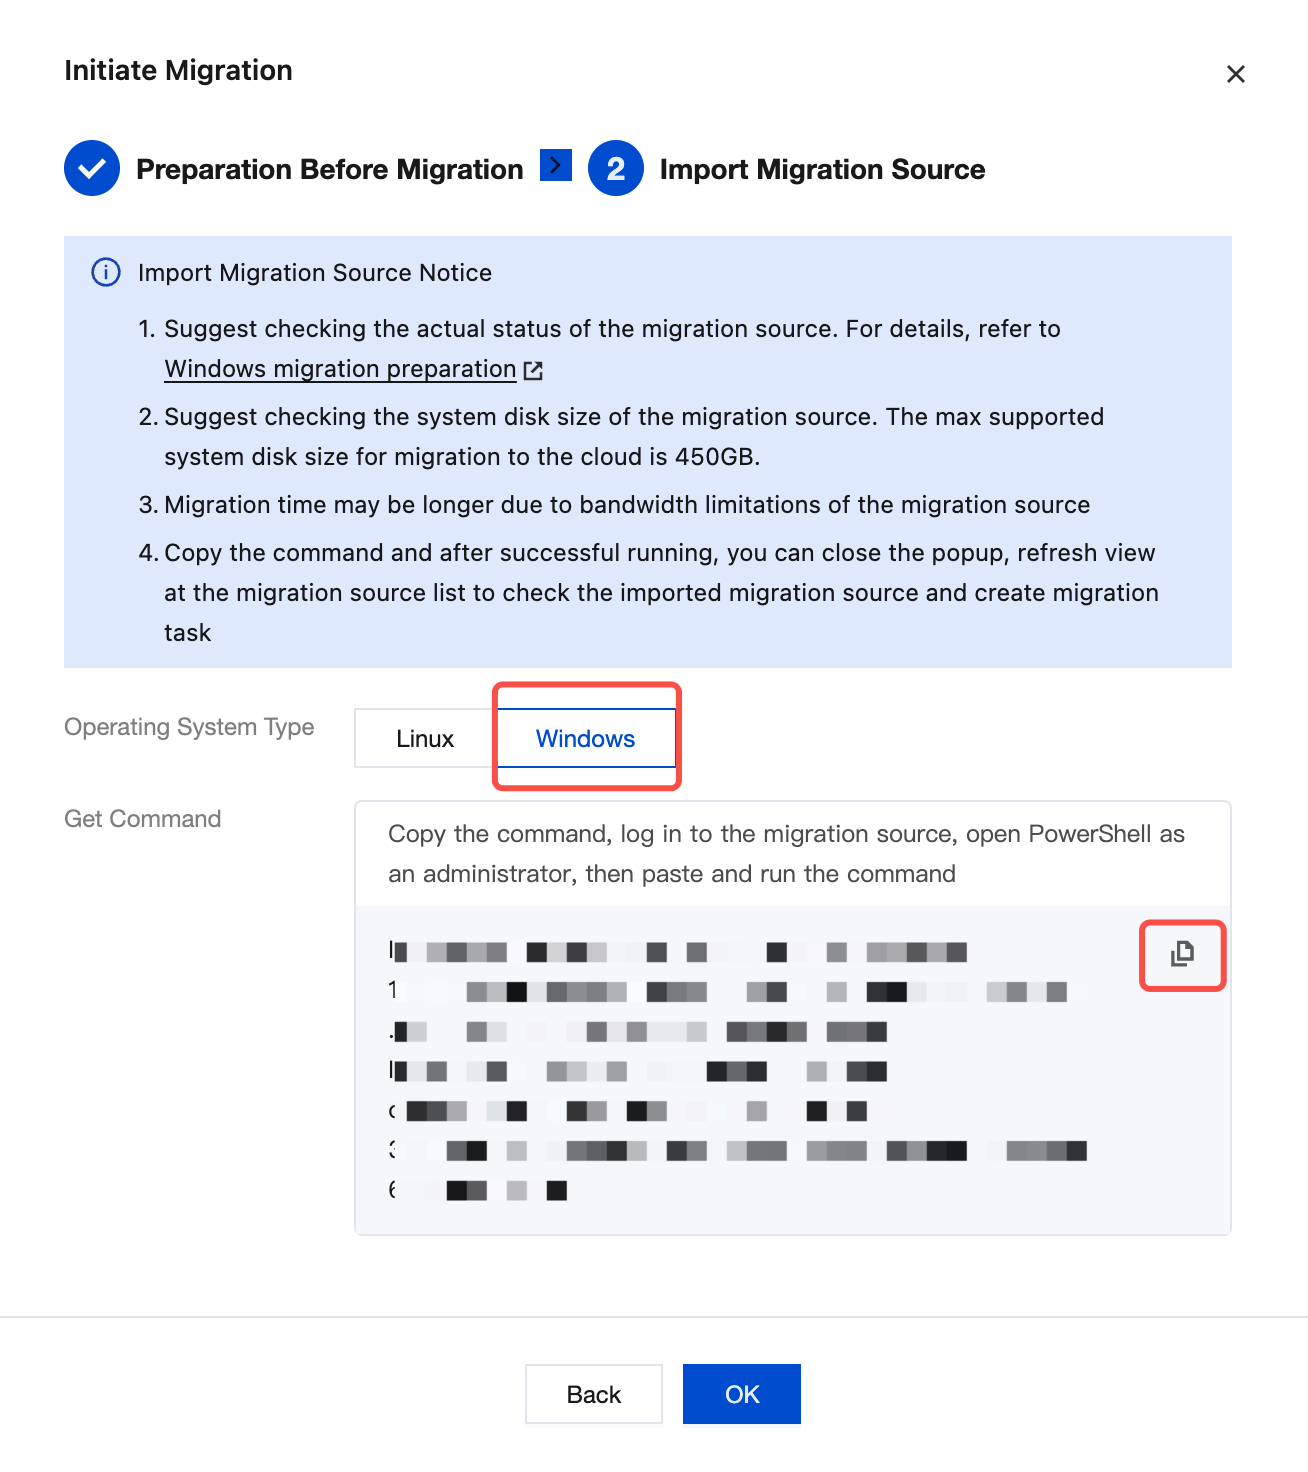
1. To obtain the command: In the pop-up window, select Windows as the operating system type, click the Copy button, and copy the command.
2. Log in to the migration source instance as an administrator, open PowerShell, and execute the command copied in the previous step.
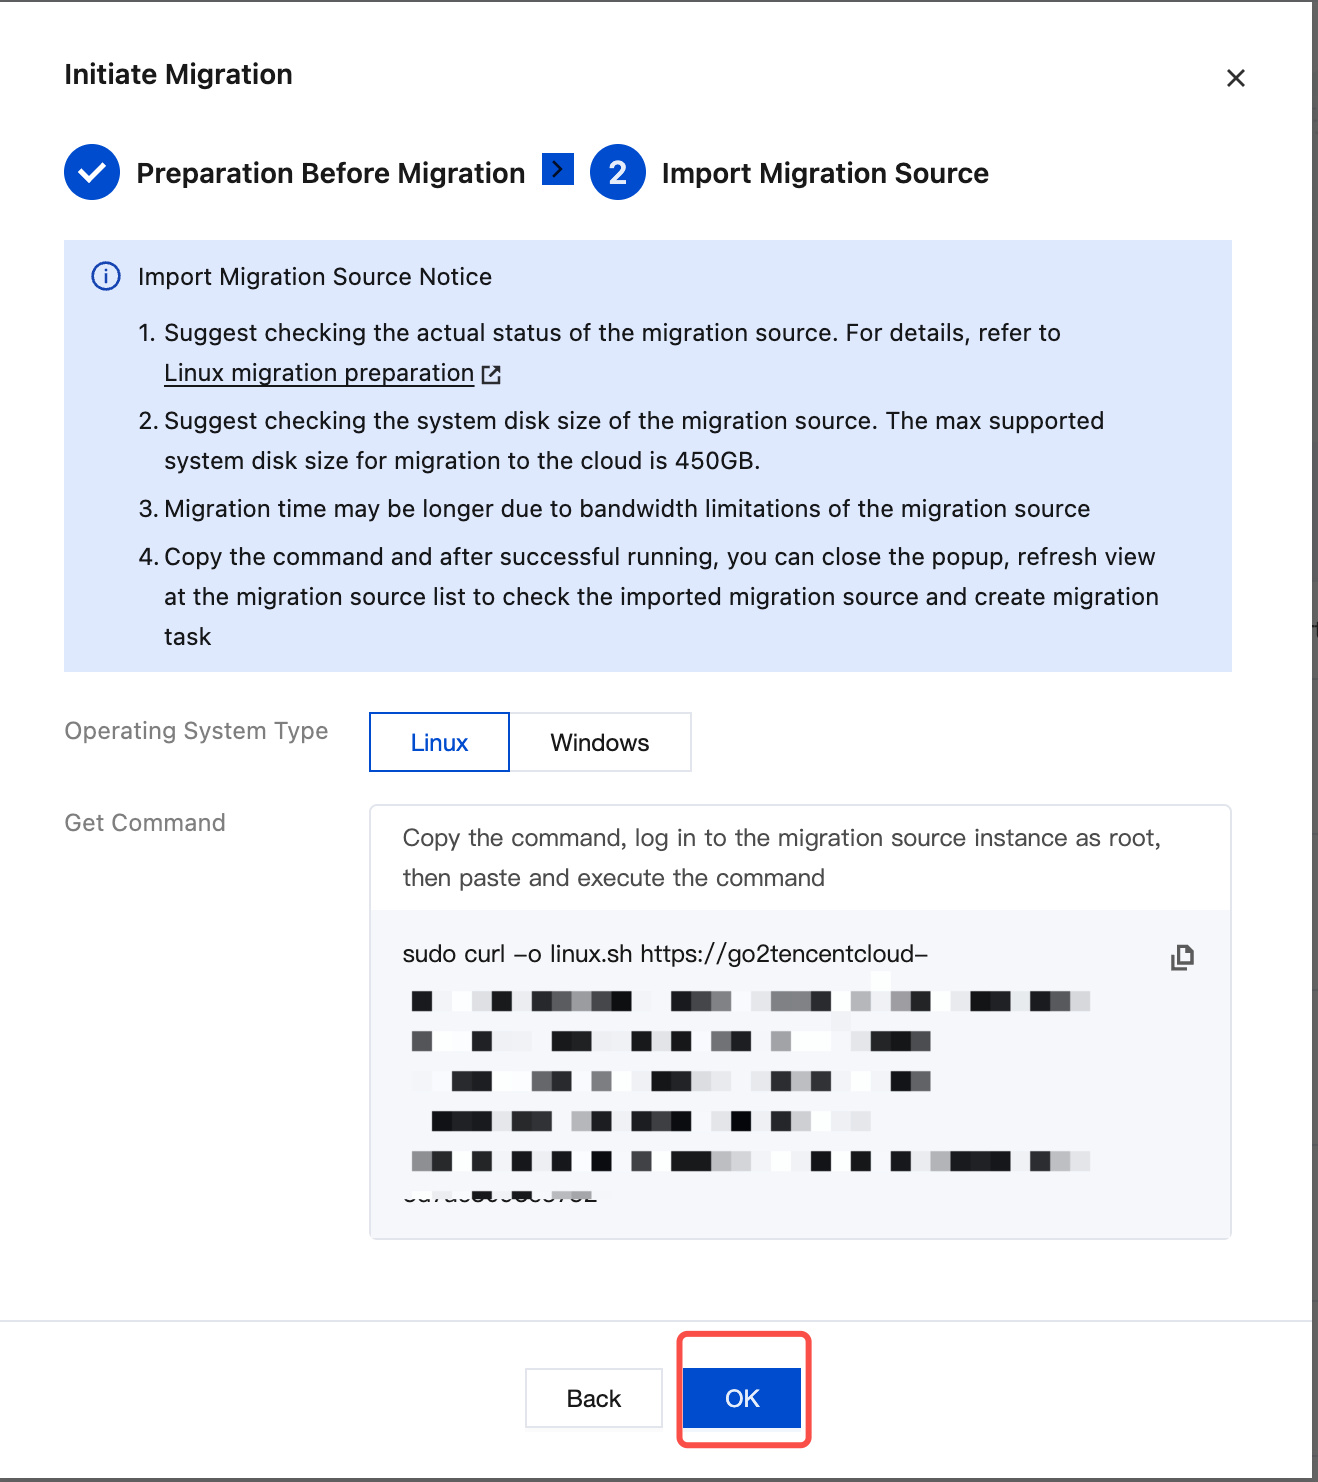
When the migration source execution information page displays the information shown in the figure below, it indicates that the migration source has been successfully imported into the console. You can then go to the console, click OK, and close the Start Migration pop-up window.
Confirm the migration source: After the migration source is successfully imported, you can see the newly created migration source in the migration source list. After confirming the migration source information, click Create Migration Task to go to Step 3.
Note:
If the corresponding migration source is not visible in the migration source list after this step, click the refresh button in the upper-right corner to refresh the page, or check whether the command has run successfully in the terminal.
If the message Import source server successfully is not displayed, it indicates that importing the migration source has failed. You can check the logs (by default, the logs/log file in the migration tool directory) to resolve the issue, and then rerun the command to import the migration source.
Step 3: Creating a Migration Task
Attention:
Do not close the migration tool in the instance until the migration task is completed after the migration source is successfully imported. Otherwise, the migration task cannot be completed after the migration source goes offline.
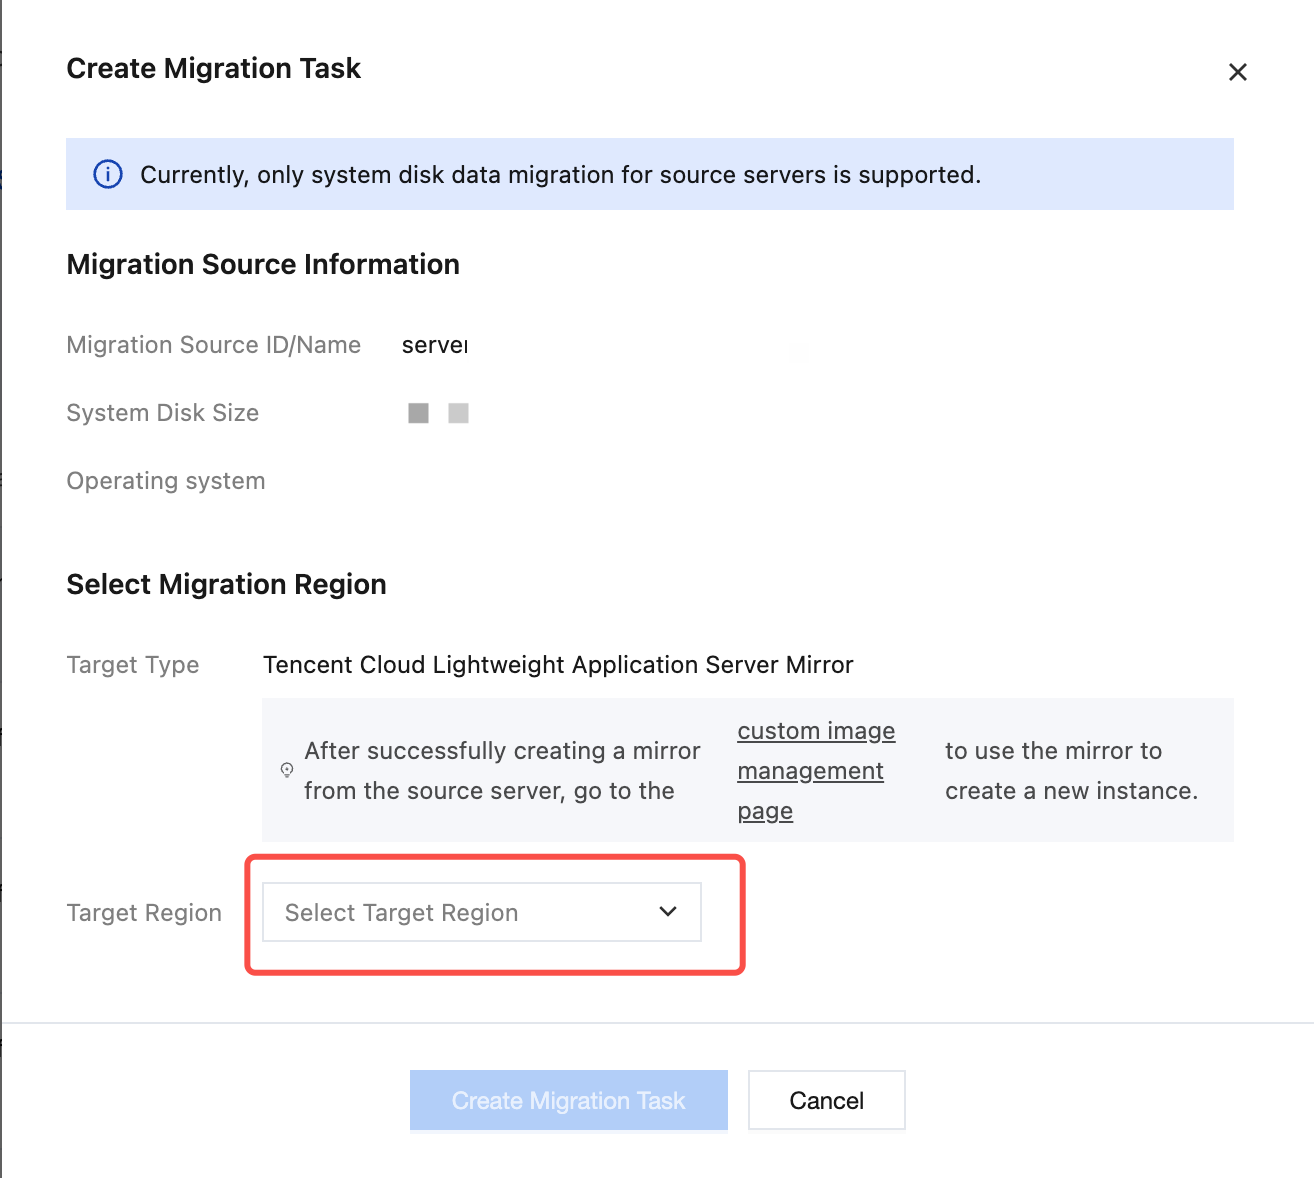
Select the target region to which you want to migrate under the target region. The system will create a custom image in this region. If the custom image quota in the target region is full, you cannot select to migrate the source machine to that region. For details, see the Custom Image notes.
Step 4: Viewing Migration Tasks
After creating a migration task, you can view the imported migration source in the Lightweight Migration to Cloud console, with its status being Migrating. The following figure shows an example:
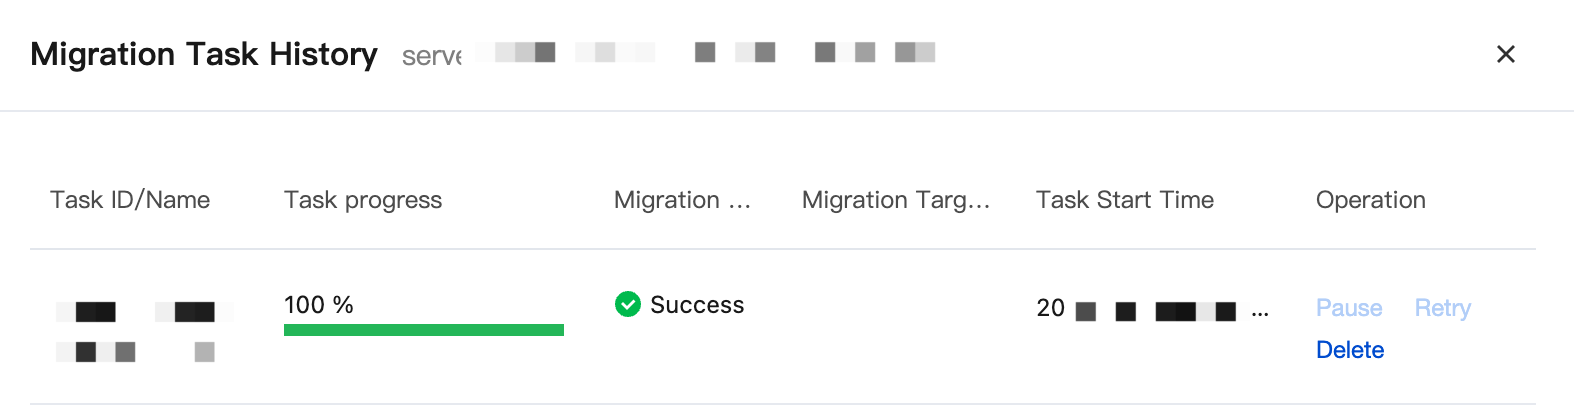
Click View Migration Task to view the newly created migration task record. If the migration task status is Successful, it indicates that the target Lighthouse image has been created and the migration has been completed successfully. The following figure shows an example:
Note:
The time required for data transfer is affected by factors such as the size of the source data and network bandwidth. Please wait patiently for the migration process to complete.
A migration source can only be assigned one incomplete migration task.
If the migration process takes too long and you need to stop this migration, you can first pause the migration task and then click Delete to cancel this migration task.
Creating an Instance After Migration
After the migration is successful, go to the Lighthouse Image page, switch to the corresponding target migration region, and view the image information. You can then use this image to create a Lighthouse instance.