The routing policies in a route table can be managed in real time. For example, you can add, delete, query, and export routing policies, publish routing policies to CCN, withdraw routing policies from CCN, and enable or disable routing policies. This document describes operations related to routing policies.
Adding a Routing Policy
1. Log in to the VPC console, and access the Route Table page.
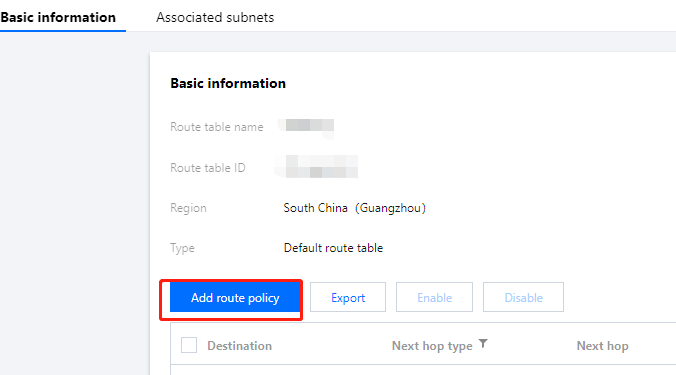
2. Click the ID/Name of the route table to modify to go to its details page.
3. Click + Add routing policies.
4. In t
he pop-up
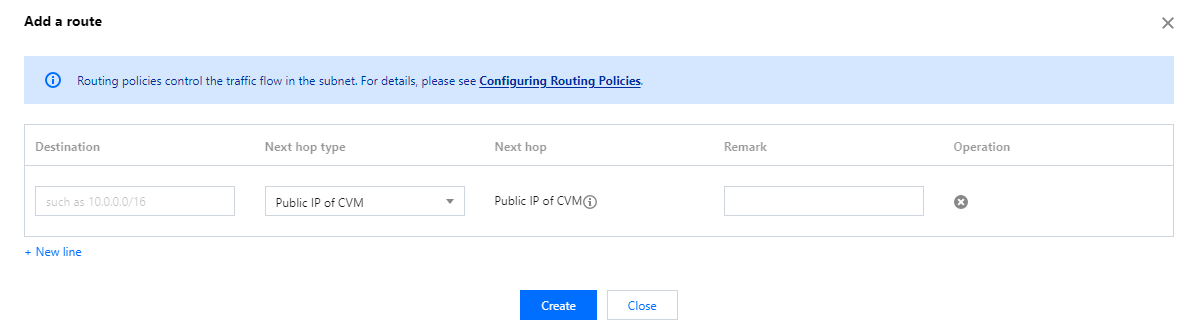
window, configure the routing policy.
Note:
If you have deployed a TKE service in the VPC, the destination you configure in the routing policy of the VPC subnet cannot fall within the VPC CIDR block or contain the TKE IP range. For example, if the VPC CIDR block is 172.168.0.0/16 and the TKE CIDR block is 192.168.0.0/16, the destination IP range cannot fall within 172.168.0.0/16, or contain 192.168.0.0/16 when you configure routing policy for a VPC subnet.
Parameter
Description
Destination
Specify the destination IP range to which you want to forward outbound traffic of the subnet. Requirements for a destination are as follows:
The destination must be an IP range. If you want to enter a single IP, set the mask to `32` (for example, `172.16.1.1/32`).
The destination cannot be an IP range of the VPC where the route table resides, because the local route already allows private network interconnection in this VPC.
Next hop type
Indicates the egress of data packets for the VPC. Supported types:
NAT gateway: The traffic directed to a destination IP range is forwarded to a NAT gateway.
Peering Connections: the traffic directed to a destination IP range is forwarded to the VPC peer of a peering connection.
Direct Connect Gateway: the traffic directed to a destination IP range is forwarded to a direct connect gateway.
High Availability Virtual IP: the traffic directed to a destination IP range is forwarded to an HAVIP.
VPN Gateway: the traffic directed to a destination IP range is forwarded to a VPN gateway.
Public IP of CVM: the traffic directed to a destination IP range is forwarded to the public IP (including EIPs) of a CVM instance in the VPC.
CVM: the traffic directed to a destination IP range is forwarded to a CVM instance in the VPC.
CDC local gateway: Tencent Cloud CDC communicates with the customer IDC by using a CDC local gateway.
Next hop
Specify the next hop instance to which the traffic is redirected, such as a gateway or CVM IP.
Notes
Enter the route description for resource management. This parameter is optional.
New Line
You can click + New line to configure multiple routing policies, or click the deletion icon in the Operation column to delete the unnecessary routing policies.
5. Click Create.
Editing a Routing Policy
1. Log in to the VPC console, and access the Route Table page.
2. In the list, click the ID/Name of the target route table to go to its details page.
3. Click Edit in the Operation column of the routing policy to modify it.
4. Click OK to confirm the modification or Cancel to cancel the modification.
Publishing a Routing Policy to CCN or Withdrawing a Routing Policy from CCN
Routes of a VPC associated with a CCN are published to the CCN by default. For the new custom routing policies that are not published, you need to manually publish them. You can also withdraw a routing policy from CCN.
Currently, only the routing policies whose Next hop type is High availability virtual IP or CVM in the default or custom route tables can be manually published to or withdrawn from CCN.
Prerequisites
The VPC where the HAVIP or CVM resides is associated with a CCN instance.
Directions
1. Log in to the VPC console, and access the Route Table page.
2. Click the ID/Name of the route table to modify to go to its details page.
3. Perform the following operations as needed:
Click Publish to CCN to manually publish a custom routing policy to CCN.
Click Withdraw from CCN to withdraw a custom routing policy that has been published to CCN.
Note:
A disabled routing policy cannot be published to CCN.
A routing policy cannot be disabled once being published to CCN.
Querying and Exporting a Routing Policy
1. Log in to the VPC console, and access the Route Table page.
2. Click the ID/Name of the target route table to go to its details page. On this page, you can view the routing policies in this route table.
3. In the top-right search box, query the routing policies by entering a destination address.
4. Click Export to save the search result in the .csv format.
Enabling/Disabling a Routing Policy
A custom routing policy can be enabled or disabled.
Directions
1. Log in to the VPC console, and access the Route Table page.
2. Click the ID/Name of the target route table to enter its details page. Check the routing policy status:
: enabled
: disabled
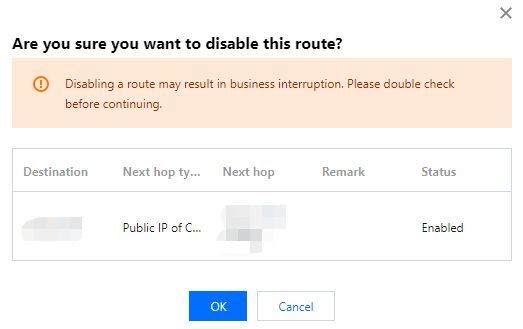
3. Disable a routing policy: click the
icon next to a routing policy to disable it.
Note:
Disabling a route may result in business interruption. Please double check before continuing.
4. Enable a routing policy: click the
icon next to a routing policy to enable it.
Note:
Once enabled, the route with the longest mask will be used. This may affect your current business. Please double check before continuing.
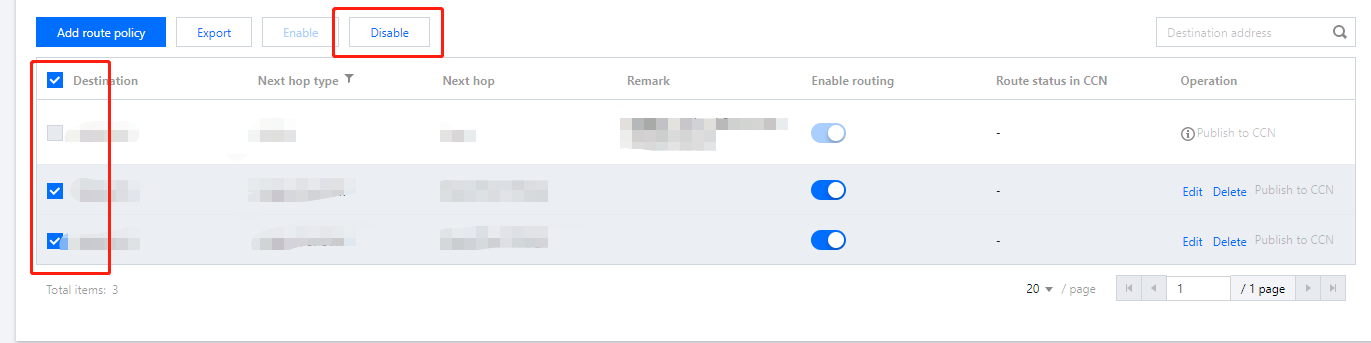
5. Enable or disable multiple routing policies: select the target routing policies and click Enable or Disable above the list.
Deleting a Routing Policy
You can delete the unused routing policies. Only the custom routing policies can be deleted.
1. Log in to the VPC console, and access the Route Table page.
2. Click the ID/Name of the route table to modify to go to its details page.
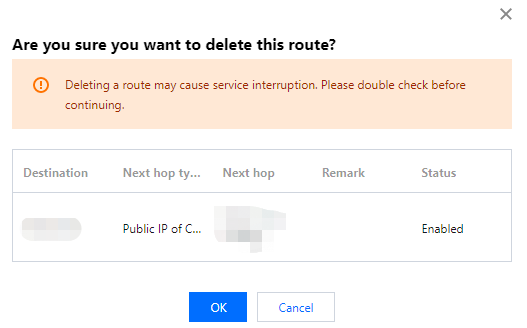
3. Select the routing policy to be deleted, and click Delete in the Operation column.