Release Notes
Broker Release Notes
Announcement
pip install kafka-python
yum install -y python3-pippip3 install kafka-python
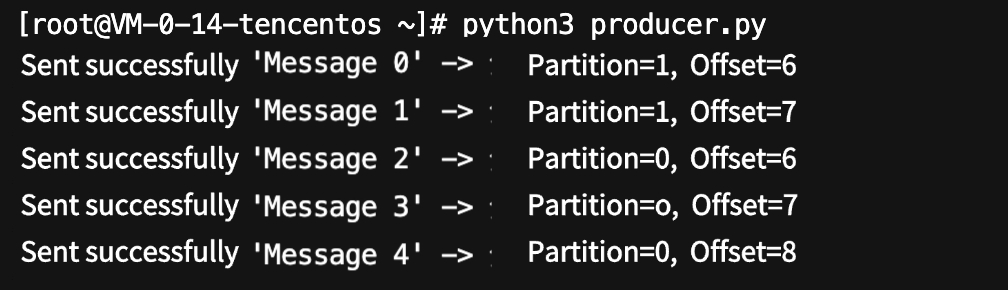
from kafka import KafkaProducer# Create a producer.producer = KafkaProducer(bootstrap_servers='$domainName:$port', # Replace with your Kafka address.api_version=(2, 8, 0), # Explicitly specify the protocol version (to be adjusted based on the cluster instance).retries=2147483647, # Set the number of retries to the maximum value for integer data type (infinite retries).retry_backoff_ms=1000, # Retry interval of 1 second.acks=1 # Wait for the acknowledgment only from the leader, but not all replicas.)# Send messages.for i in range(5):msg = f"Message {i}"future = producer.send('$topic_name', value=msg.encode('utf-8')) # $topic_name needs to be created in the console in advance, and be sure to replace it.result = future.get(timeout=10)print(f"Sent successfully: '{msg}' -> Partition={result.partition}, Offset={result.offset}")producer.close()
Parameter | Description |
bootstrap_servers | Access network. On the Basic Info page of the instance in the console, select the Access Mode module and copy the network information from the Network column. |
topic_name | Topic name. Copy the name on the Topic List page in the console. |
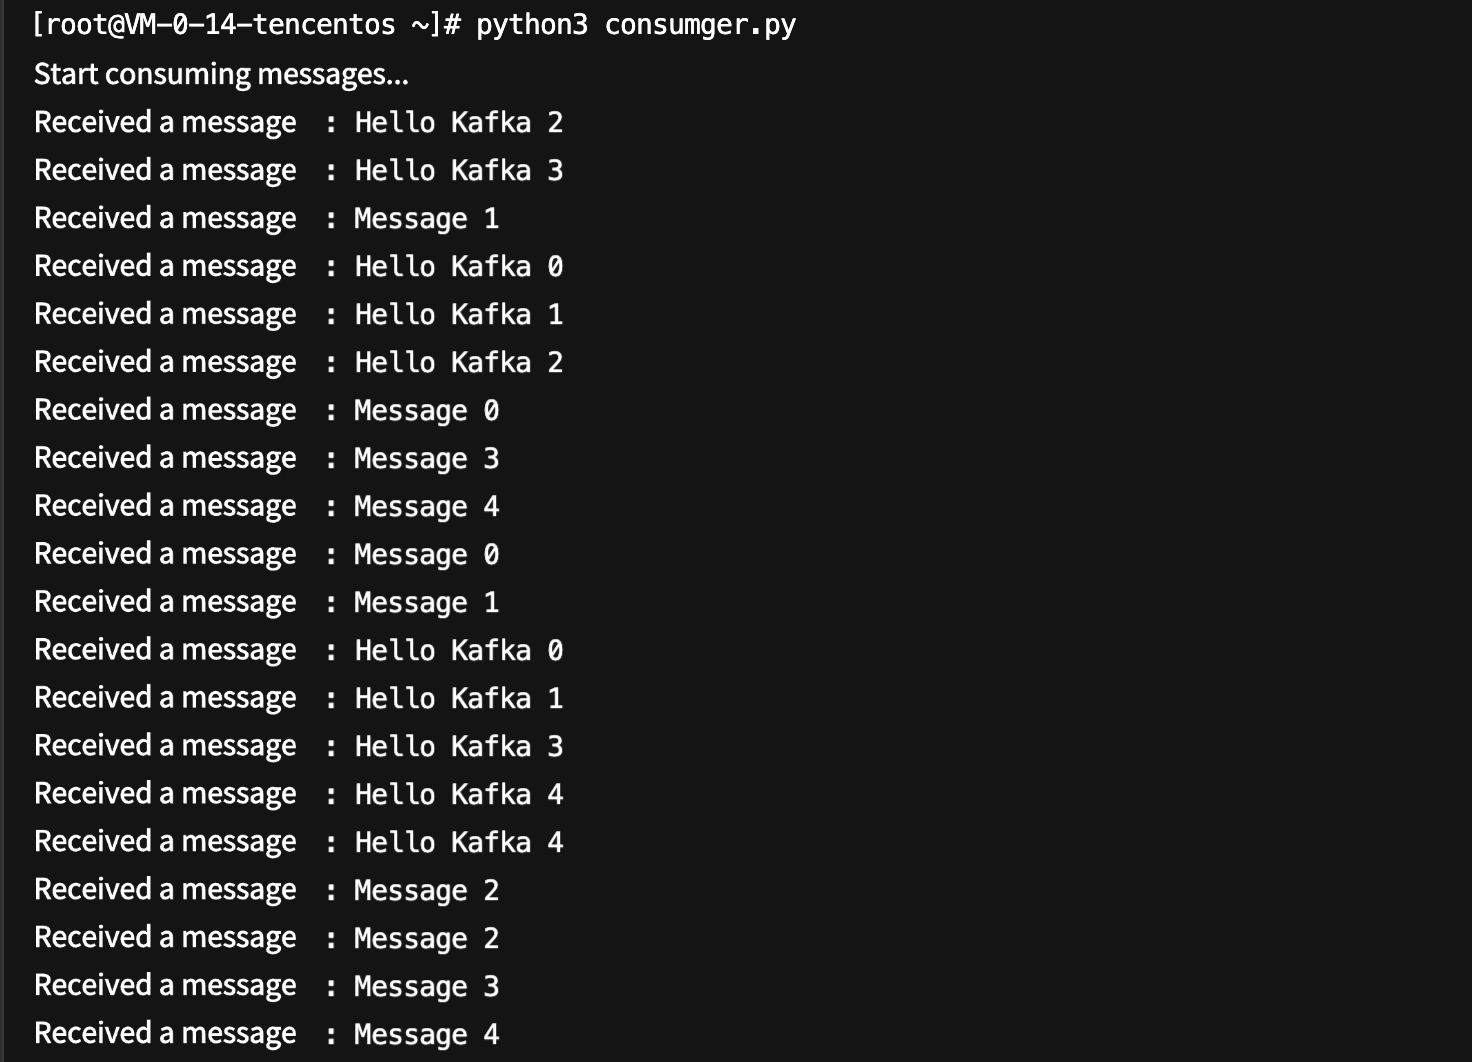
from kafka import KafkaConsumer# Create a consumer.consumer = KafkaConsumer('$topic_name', # Topic name.bootstrap_servers='$domainName:$port', # Replace with your Kafka address.group_id='$group_id', # Specify the consumer group name.auto_offset_reset='earliest', # Start reading from the earliest message.api_version=(2, 8, 0), # Explicitly specify the protocol version.enable_auto_commit=True)print("Start consuming messages...")try:for msg in consumer:value = msg.value.decode('utf-8')print(f"Received the message: {value}")except KeyboardInterrupt:print("Consumers have stopped.")finally:consumer.close()
Parameter | Description |
bootstrap_servers | Access network. On the Basic Info page of the instance in the console, select the Access Mode module and copy the network information from the Network column. |
group_id | Consumer group ID. Define the group ID according to business requirements. |
topic_name | Topic name. Copy the name on the Topic List page in the console. |
フィードバック