tencent cloud

Tencent Cloud Organization

  • Product Introduction
  • Purchase Guide
  • Operation Guide
    • Console Overview
    • Organization Settings
    • Department Management
    • Member Account Management
    • Member Finance Management
    • Member Access Management
    • Resource Management
    • Member Audit
    • Identity Center Management
  • API Documentation
    • History
    • Introduction
    • API Category
    • Making API Requests
    • Organization Settings APIs
    • Department and Member Management APIs
    • ListOrganizationIdentity
    • Unified Member Login APIs
    • Organization Service Management APIs
    • Organization Management Policy APIs
    • Resource Sharing APIs
    • Identity Center Management APIs
    • Identity Center User Management APIs
    • Identity Center User Group Management APIs
    • Identity Center Management SCIM Synchronization APIs
    • Identity Center Single Sign-On Management APIs
    • Identity Center Permission Configuration Management APIs
    • Identity Center Multi-Account Authorization Management APIs
    • Identity Center Sub-User Synchronization Management APIs
    • Data Types
    • Error Codes
    • TCO API 2018-12-25
  • Related Agreement
  • FAQs
  • Glossary

Configuring Message Subscription for Created Member

Download
Modo Foco
Tamanho da Fonte
Última atualização: 2024-03-06 18:43:09

Overview

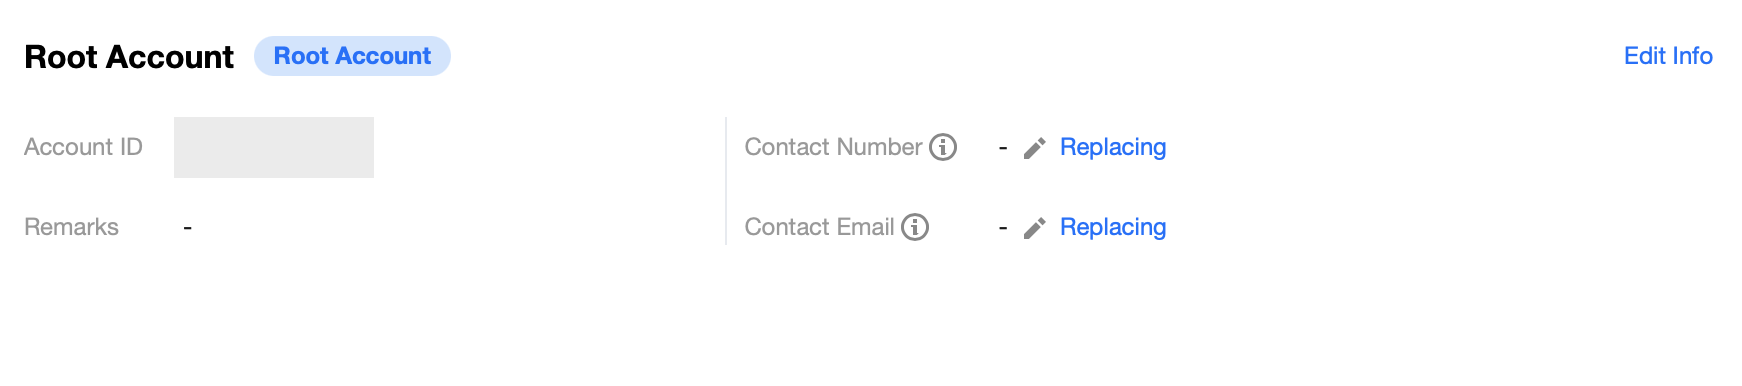
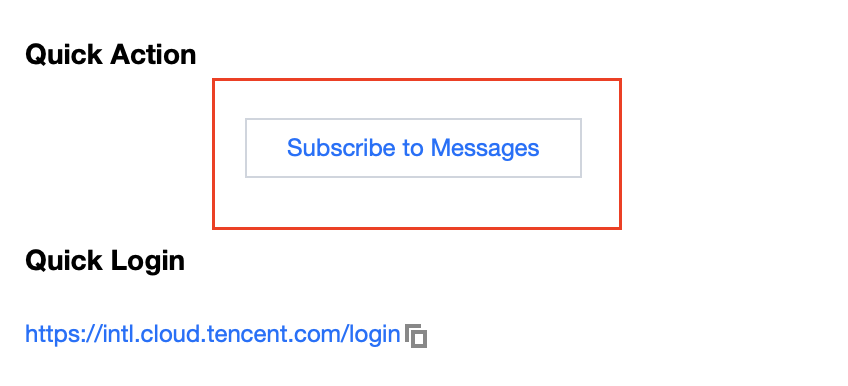
By default, members created in the TCO console do not have contact information and therefore cannot receive notification messages via SMS or email. This document describes how to configure message subscription for created members.

Directions

1. Log in to the TCO console as instructed in Granting Member Account Access.
2. Log in to the CAM console and select Users > User List on the left sidebar.
3. On the User List page, click a username to enter the user details page.
4. Click the
img

icon next to each contact method and add the mobile number and email for the member as prompted.
img


5. After that, click Subscribe to Messages in the Quick Action module on the right.

img


6. In the pop-up window, select the message types as needed.
Note:
You can also create a sub-user under the member account and receive messages via the sub-user as instructed above.

Ajuda e Suporte

Esta página foi útil?

comentários