Android (Compose)
ダウンロード
フォーカスモード
フォントサイズ
This guide shows you how to create a Group using TUIKit Compose.
Development Environment Requirements
Android Studio Ladybug (2024.2.1) or later, and JDK 17.
A physical device or emulator running Android 6.0 (API 23) or later.
Prerequisites
Before you start building the interface, make sure you have completed the following steps:
1. Create an application in the console.
2. Create at least two user accounts in the console.
3. Integrate
TUIKit Compose.4. Call the
login interface of LoginStore to authenticate the component.Note:
You only need to log in once each time the app is launched.
Please make sure that login is successful. We recommend performing the following operations in the login success callback.
If you have not completed the above steps, refer to the relevant sections in the Quick Start guide. Otherwise, you may encounter issues when implementing the following features.
If you have already completed these steps, proceed below.
Creating a Group
To create a Group, you must first select contacts. Please add contacts to your account before proceeding. For more information, see Add Contacts.
TUIKit Compose provides the
AddNewChatBottomSheet component, which streamlines the Group creation workflow. This component combines views such as the contact picker (UserPicker) and Group settings (GroupSettingsBottomSheet) in a single flow. Once you create a Group, you can start sending messages to it.Note: If you are using the sample code provided below, you must pre-populate the following parameters:
sdkAppID: The sdkAppID you obtained earlier.userID: The user ID of the operator, such as user1 created in Quick Start.userSig: The userSig of the operator, which is the userSig for user1 as described in Quick Start.When the app starts, it will display the contact selection interface for Group creation. The sample implementation is shown below:
// CreateGroupActivity.ktimport android.os.Bundleimport androidx.activity.compose.setContentimport androidx.appcompat.app.AppCompatActivityimport androidx.compose.runtime.getValueimport androidx.compose.runtime.mutableStateOfimport androidx.compose.runtime.rememberimport androidx.compose.runtime.setValueimport io.trtc.tuikit.chat.uikit.components.contactlist.ui.addnewchat.AddNewChatBottomSheetimport io.trtc.tuikit.chat.uikit.components.contactlist.viewmodel.ChatTypeimport io.trtc.tuikit.atomicxcore.api.CompletionHandlerimport io.trtc.tuikit.atomicxcore.api.login.LoginStoreclass CreateGroupActivity : AppCompatActivity() {private val sdkAppID: Int = 1234567890 // TODO: Fill in your sdkAppID hereprivate val userID = "" // TODO: Fill in your userID hereprivate val userSig = "" // TODO: Fill in your generated userSig hereoverride fun onCreate(savedInstanceState: Bundle?) {super.onCreate(savedInstanceState)login()}private fun login() {LoginStore.shared.login(this, sdkAppID, userID, userSig, object : CompletionHandler {override fun onSuccess() {showCreateGroupPage()}override fun onFailure(code: Int, desc: String) {// Handle login failure}})}private fun showCreateGroupPage() {setContent {var showSheet by remember { mutableStateOf(true) }var createdConversationID by remember { mutableStateOf<String?>(null) }if (createdConversationID != null) {// Group created successfully, navigate to chat page// Use createdConversationID to open ChatPage}if (showSheet) {AddNewChatBottomSheet(chatType = ChatType.GROUP,onDismiss = { showSheet = false },onCreateChat = { conversationId ->showSheet = falsecreatedConversationID = conversationId})}}}}
At runtime, the effect is as follows:
Select Contacts | Group Settings |
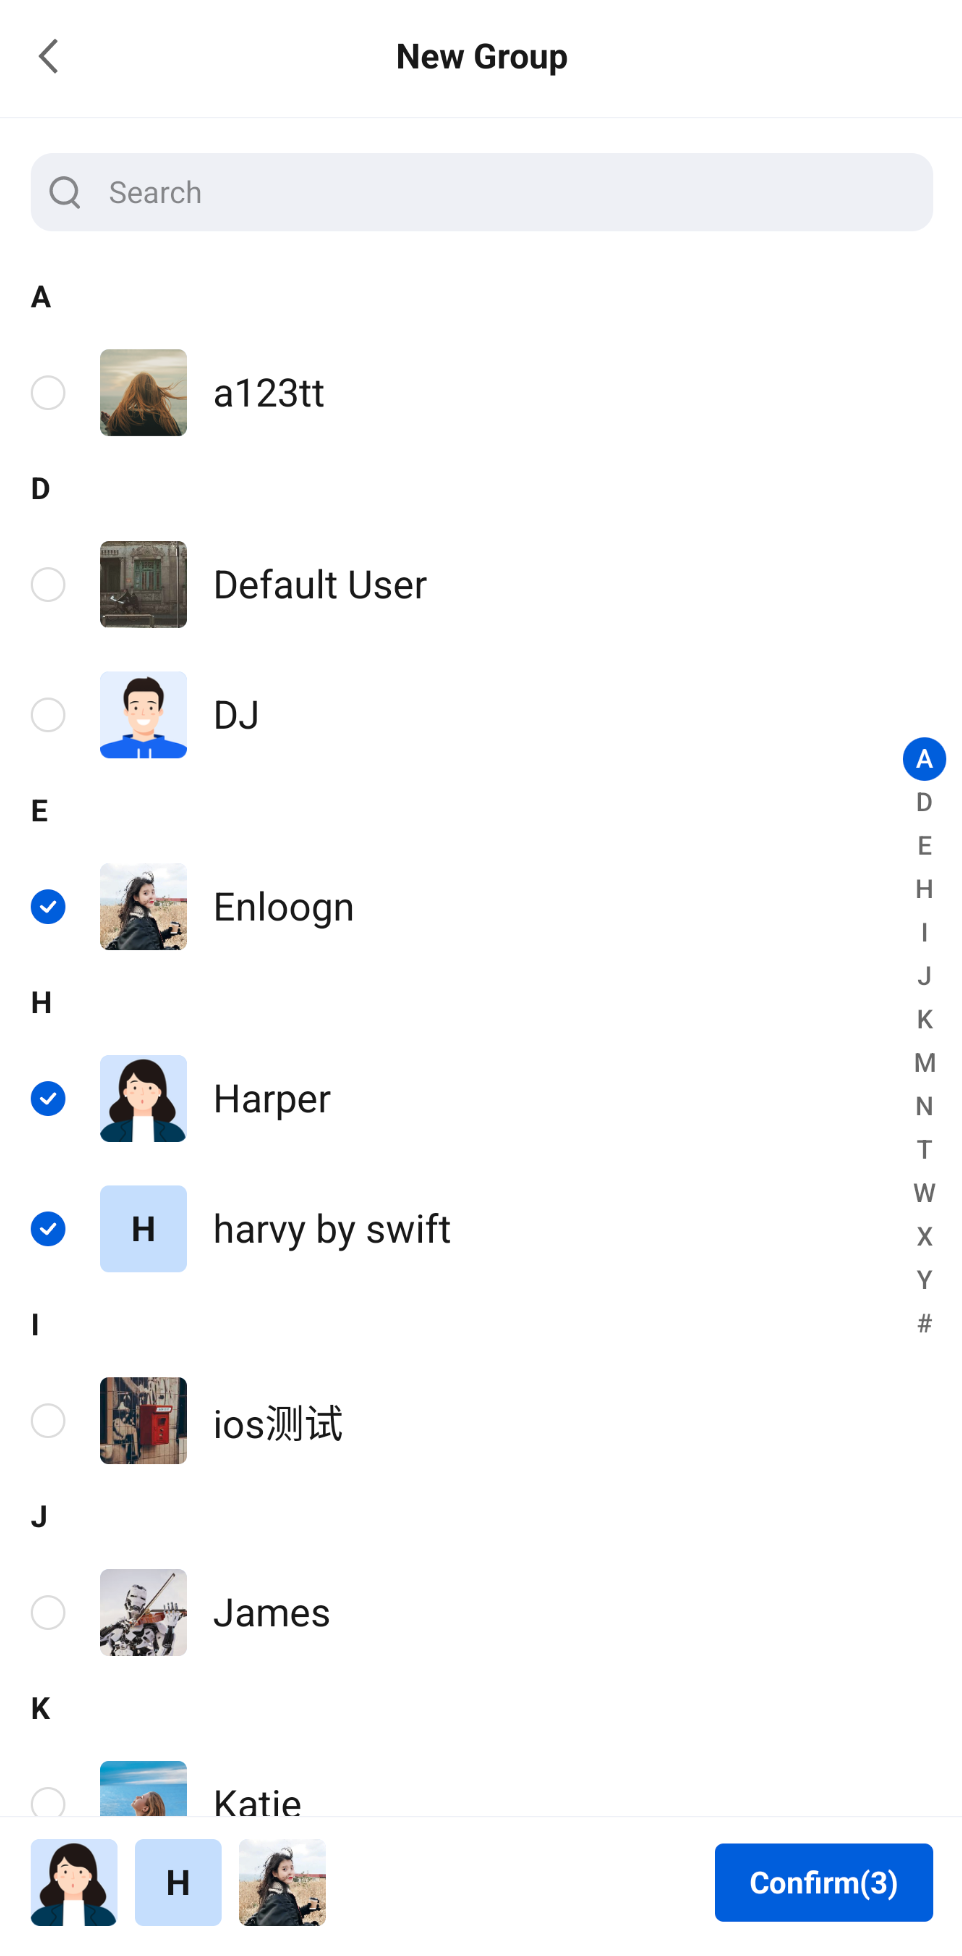 | 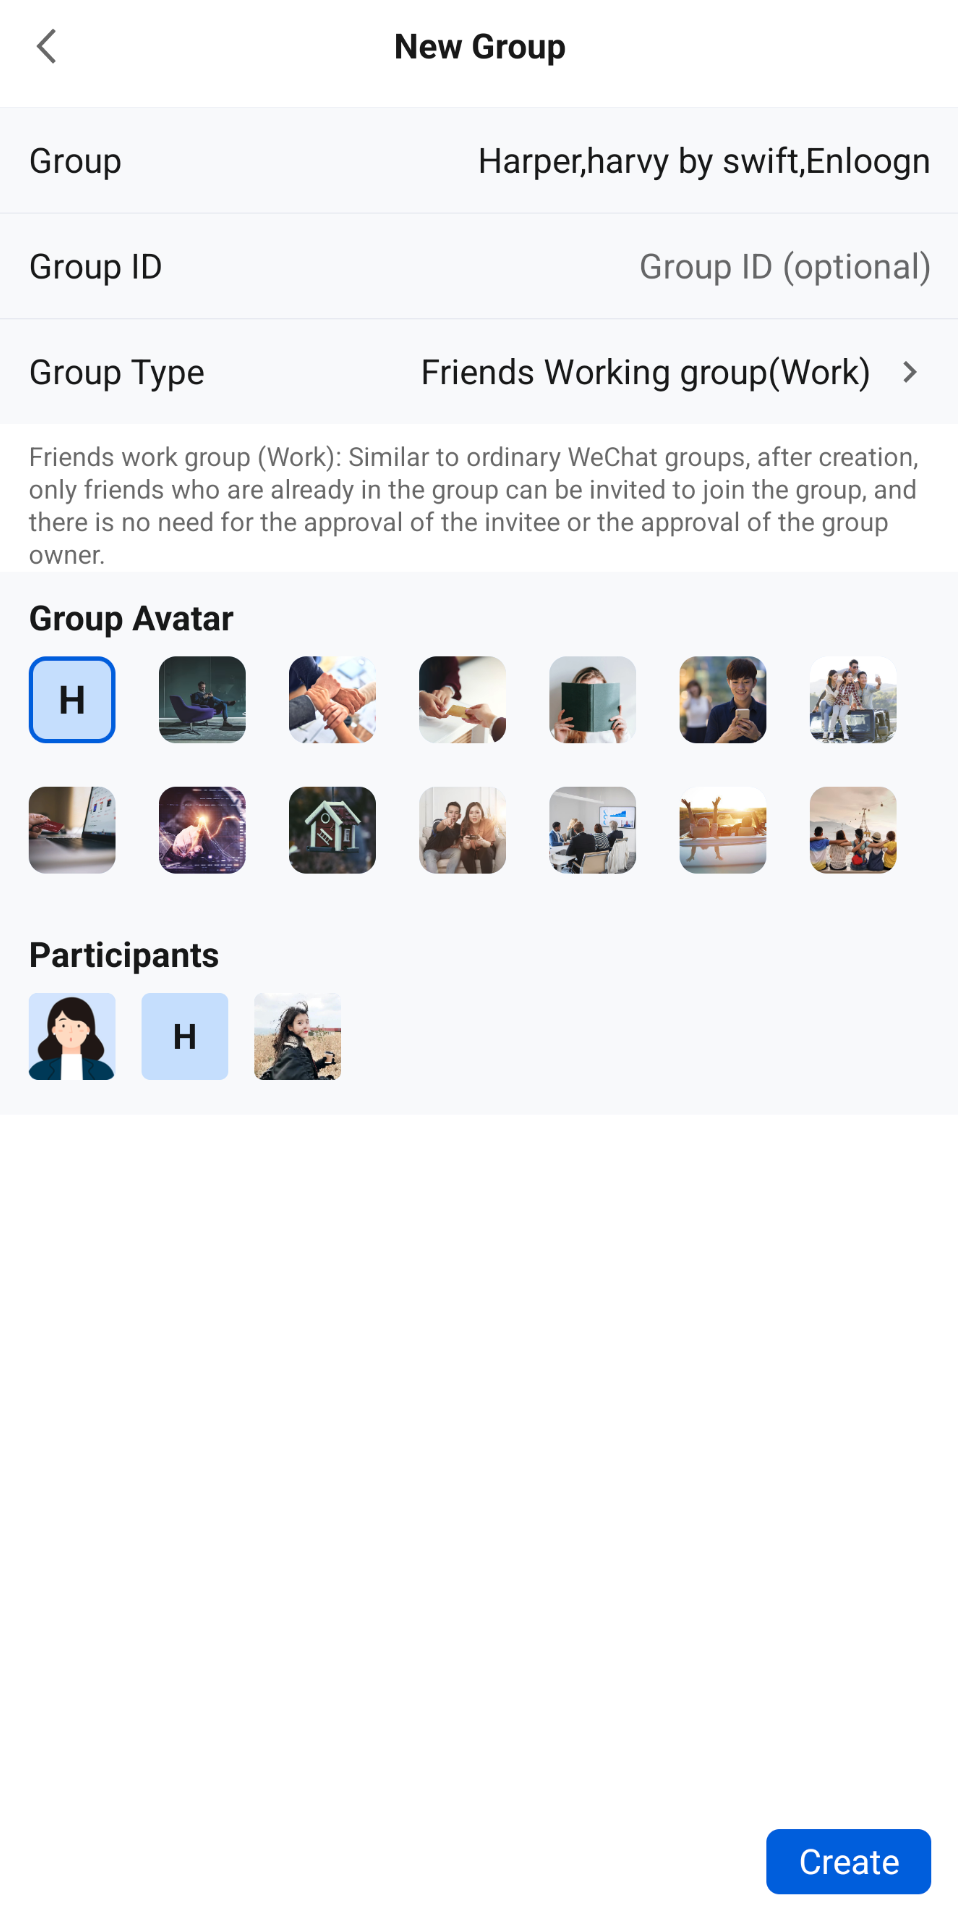 |
More Practice
Contact Us
フィードバック