Okta シングルサインオン Tencent Cloud ガイド
ダウンロード
フォーカスモード
フォントサイズ
操作シナリオ
Oktaはアイデンティティおよびアクセス管理ソリューション・プロバイダです。Tencent CloudはSAML 2.0(セキュリティアサーションマークアップ言語2.0)に基づいたフェデレーション認証をサポートしています。SAML 2.0は多くの認証プロバイダ(Identity Provider, IdP)が使用するオープン標準です。お客様はSAML 2.0フェデレーション認証に基づいてOktaとTencent Cloudを統合することで、Oktaアカウントでの自動ログイン(シングルサインオン)によりTencent CloudコンソールからTencent Cloudのリソースを管理でき、企業または組織の各メンバーごとにCloud Access Management (CAM)サブユーザーを作成する必要がありません。
操作手順
Oktaアプリケーションの作成
説明:
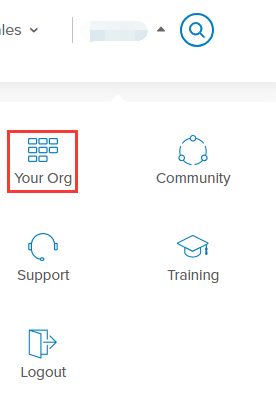
1. ログインして Oktaウェブサイトにアクセスし、右上のユーザー名>Your Orgをクリックします。以下の図のように:
2. Oktaホームページで、右上の管理者をクリックし、
管理者画面
に移動します。3. 管理者ページで、Applicationsを選択し、
アプリケーション管理ページ
に移動します。以下の図のように:
4. アプリケーション管理ページで、Add Applicationをクリックします。アプリケーション追加ページに進みます。
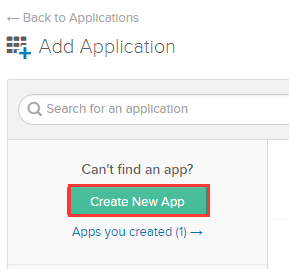
5. アプリケーション追加ページで、Create New APPをクリックします。以下の図のように:
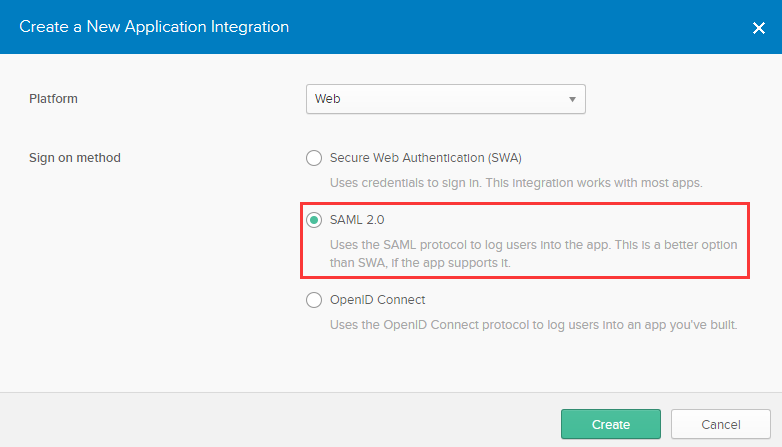
6. ポップアップ表示されるアプリケーション作成/Create a New Application Integrationウィンドウで、PlatformおよびSign on methodを選択し、Sign on methodはSAML 2.0に設定してCreateをクリックします。以下の図のように:
7. 一般設定/General Settingsページで、App name、App logo(オプション)、App visibility(オプション)情報を入力し、Nextをクリックします。このアプリケーションはTencent Cloudとの統合に使用でき、OktaアカウントによるTencent Cloudコンソールへのシングルサインオンを実現し、Tencent Cloudのリソースを管理できます。
OktaアプリケーションのSAML設定
説明:
お客様はこの手順で、Oktaアプリケーションの属性をTencent Cloudの属性にマッピングし、OktaとTencent Cloudの間の信頼関係を確立して相互信頼を実現できます。
Oktaアプリケーションの作成を参考にして作成したアプリケーションの場合、直接 ステップ3 の操作を行うことができます。
1. アプリケーション管理ページにアクセスし、作成したアプリケーション名をクリックします。
2. 一般/GENERALページで、SAML Settings欄の下にあるEditをクリックします。現在のApp name、App logo(オプション)、App visibility(オプション)情報を確認し、Nextをクリックすると、SAML設定/Configure SAMLページに移動します。
3. 設定 SAML/Configure SAMLページでは、GENERALセクションのSingle sign on URLとAudience URL(SP Entity ID)を以下の情報に設定します。以下の図のように:
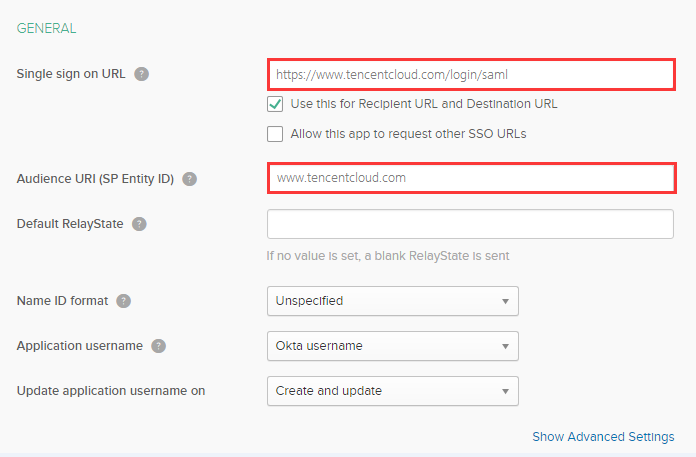
サイト所在地 | Single sign on URL | Audience URL(SP Entity ID) |
国際サイト | https://www.tencentcloud.com/login/saml | www.tencentcloud.com |
4. 設定 SAML/Configure SAML ページで、GENERAL の下の ATTRIBUTE STATEMENTS を以下の情報に設定します。以下の図のように:
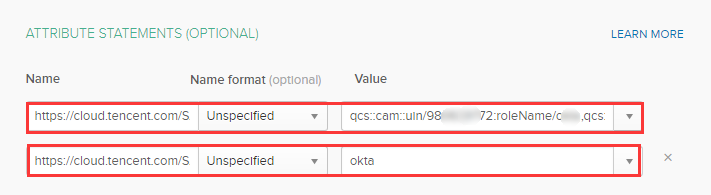
Name | Name format | Value |
https://cloud.tencent.com/SAML/Attributes/Role | Unspecified | qcs::cam::uin/{AccountID}:roleName/{RoleName},qcs::cam::uin/{AccountID}:saml-provider/{ProviderName} |
https://cloud.tencent.com/SAML/Attributes/RoleSessionName | Unspecified | okta |
説明:
Value において、{AccountID}、{RoleName}、{ProviderName} をそれぞれ以下の内容に置き換えます:
{AccountID} をご利用のTencent CloudアカウントIDに置き換えます。アカウント情報 - コンソールで閲覧できます。
{RoleName}を、Tencent Cloudで身分プロバイダのために作成したロール名に置き換えます(クリックして、Tencent Cloudで身分プロバイダのためのロール作成方法を確認)。ロール名はロール - コンソールで閲覧できます。さらに追加する必要がある場合は、次の形式に従って追加できます:qcs::cam::uin/{AccountID}:roleName/{RoleName}、セミコロン(;)で区切ります。
{ProviderName} を、Tencent Cloudで作成したSAML身分プロバイダの名称に置き換えます。身分プロバイダ - コンソールに移動して閲覧できます。
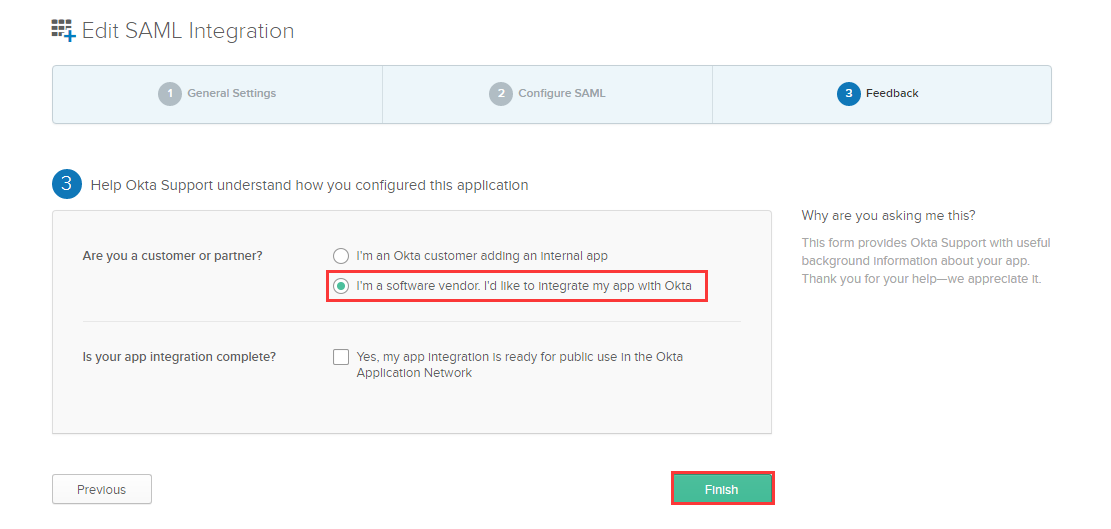
5. Nextをクリックし、フィードバック/Feedbackページに進みます。以下の情報を選択した後、Finishをクリックすると、CAM操作の設定が完了します。以下の図のように:
OktaアプリケーションのSAML連携設定
説明:
お客様はこの手順でOktaとTencent Cloudの間の信頼関係を設定し、相互に信頼できるようにします。
1. ログインして管理者インターフェースに移動し、Applications を選択してアプリケーション管理ページに入ります。
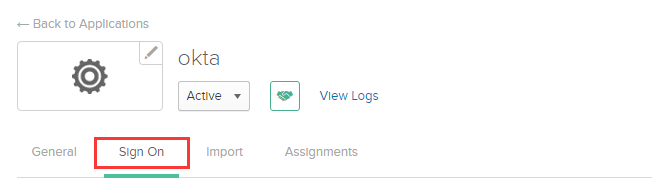
2. アプリケーション管理ページで、作成したアプリケーション名をクリックし、アプリケーション詳細ページに移動します。Sign Onをクリックします。以下の図のように:
3. Sign On ページで、Identity Provider metadataをクリックして身分プロバイダのメタデータを閲覧します。以下の図のように:
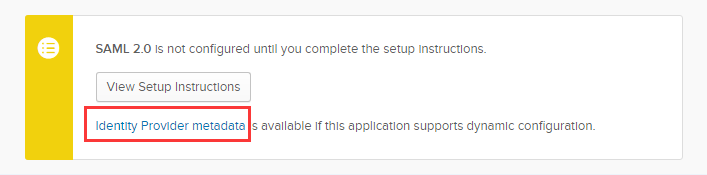
4. 身分プロバイダのメタデータを取得後、表示ページで右クリックしてローカルに保存できます。
5. Tencent CloudでSAML身分プロバイダおよびロールを作成します。詳細な操作については、身分プロバイダの作成をご参照ください。
Oktaユーザーの設定
説明:
お客様はこの手順でユーザーのアクセス権限を割り当て、OktaユーザーにTencent CloudのSSOアクセス権限を割り当てることができます。
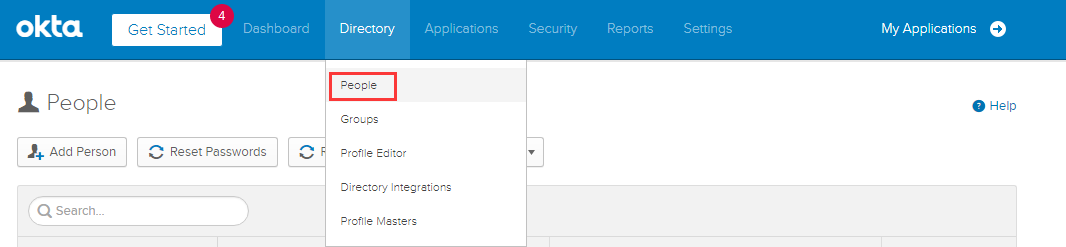
1. ログインして管理者インターフェースに移動し、Directory の下にあるpeopleをクリックすると、ユーザー管理ページに入ります。以下の図のように:
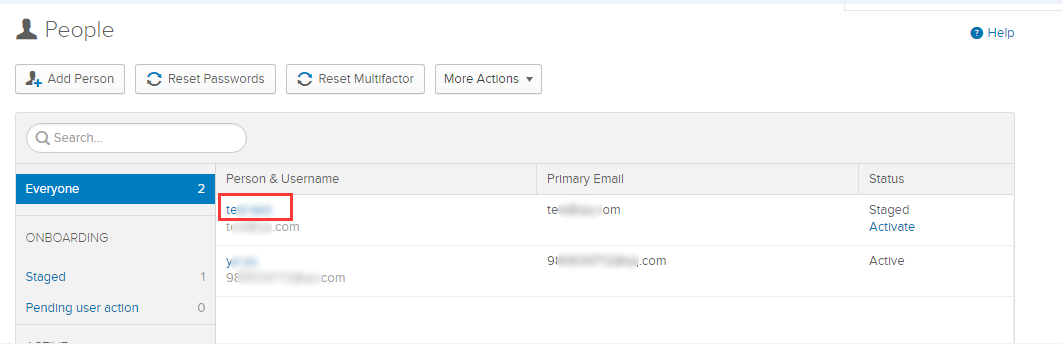
2. ユーザー管理ページで、左上のEveryoneをクリックし、権限付与が必要なユーザーを見つけます。以下の図のように:
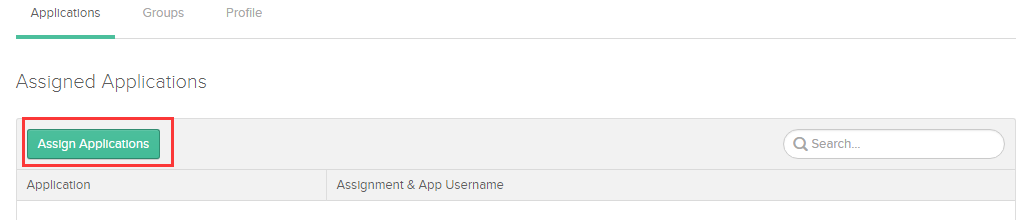
3. ユーザー名をクリックしてユーザー詳細ページに移動し、左上のAssigned Applicationsをクリックします。以下の図のように:
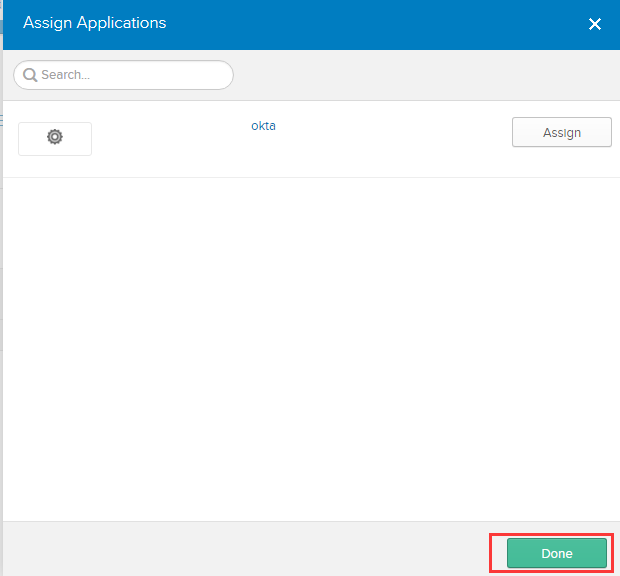
4. ポップアップ設定ウィンドウで、Doneをクリックし、Oktaユーザー操作の設定を完了します。以下の図のように:
5. アプリケーション管理ページに移動し、作成したアプリケーション名をクリックして、アプリケーション詳細ページに入ります。
6. アプリケーション詳細ページで、GENERAL を選択し、App Embed Link 欄の EMBED LINK をコピーして、Tencent Cloudコンソールにログインします。
フィードバック