Creating Custom Polices through Tag Authorization
Download
포커스 모드
폰트 크기
Overview
This document describes the process of creating customized policies through tag authorization. After the policy is generated, it will possess the authority over a category of tag attribute resources. For definitions related to the policy, please refer to Concepts.
Directions
1. On the Policies page of the Cloud Access Management Console, click Create Custom Policy in the upper left corner.
2. In the pop-up window for selecting the creation method, click Authorize by Tag to navigate to the page for tag-based authorization.
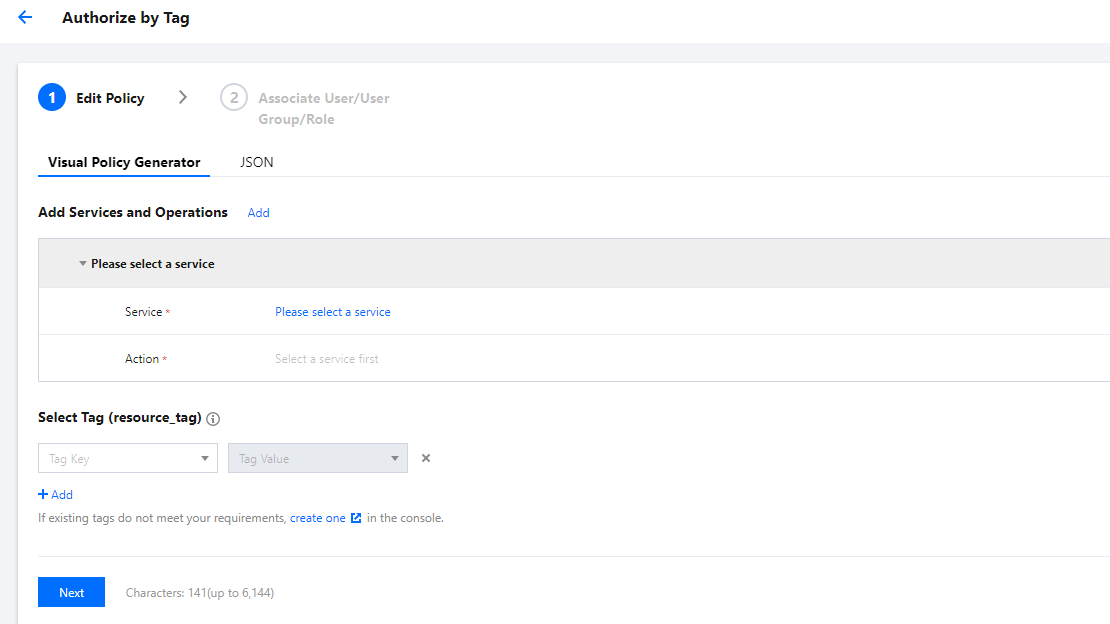
3. In the service and action addition area of the Visual Policy Generator, enter the following information, and edit an authorization statement.
Service (Required): Select the product to be authorized.
Action (required): Select the actions you want to authorize.
Note
The operation involves all interfaces of the service. You can filter and view whether an interface supports tag-based authorization by using the "Supports Authorization by Tag" filter.
Yes: Supports tag-based authorization, which will include operation permissions for resources associated with corresponding tags.
No: Does not support tag-based authorization, which will include operation permissions for all resources.
To support the authorization of multiple services, click "Add" in the upper left corner to continue adding multiple authorization statements and configure authorization policies for other services.
Multiple statements can be added to one policy.
4. In the Select Tag section, choose the tag information that needs to be authorized. You can add multiple tags. Click Next to proceed to the Associate User/User Group/Role page.
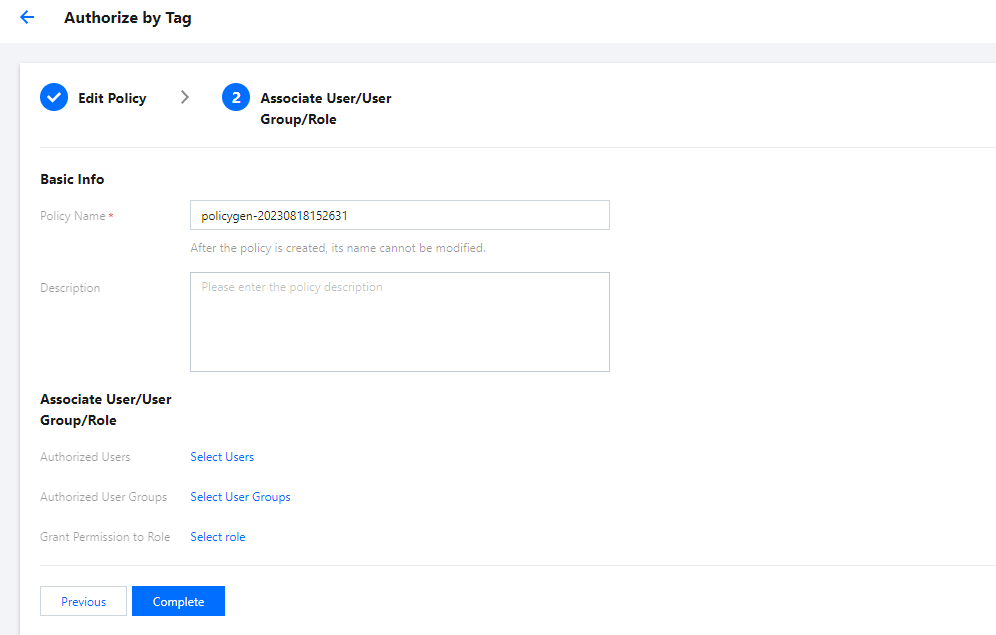
5. On the Associate User/User Group/Role page, enter the policy name and description information. You can also associate users/user groups/roles for quick authorization.
Note
The policy name is automatically generated by the console, with the default prefix "policygen" and a suffix number according to the creation date. You can customize the name as needed.
6. Click Complete to finish creating the customized policy.
Subsequent Procedures
피드백