This document describes how to submit a job with the BatchCompute Console. The steps are detailed below.
Preparations
Prepare a COS bucket. If you have not created a bucket, create one as instructed in Creating Bucket.
Logging in to the Console
Log in to the BatchCompute console. If you have not activated the BatchCompute service, activate it as prompted on the homepage.
Creating a Task Template
1. Click Task Template in the left sidebar, and select a target region, such as Guangzhou, at the top of the Task Template page.
2. Click Create. On the New task template page, create a template, as shown below:
The main parameters are described as follows:
Name: Enter a custom name, such as hello.
Description: Enter a custom description, such as hello demo.
Compute environment type:
Existing compute environment: Select an existing compute environment.
Auto compute environment: You do not need to create a fixed compute environment in advance. After the job is submitted, a CVM instance is automatically created to run the job. After the job is completed, the CVM instance is automatically terminated.
Image: Select an image as needed.
Resource quantity: Example: 1.
Timeout threshold and Number of retry attempts: Keep the default values.
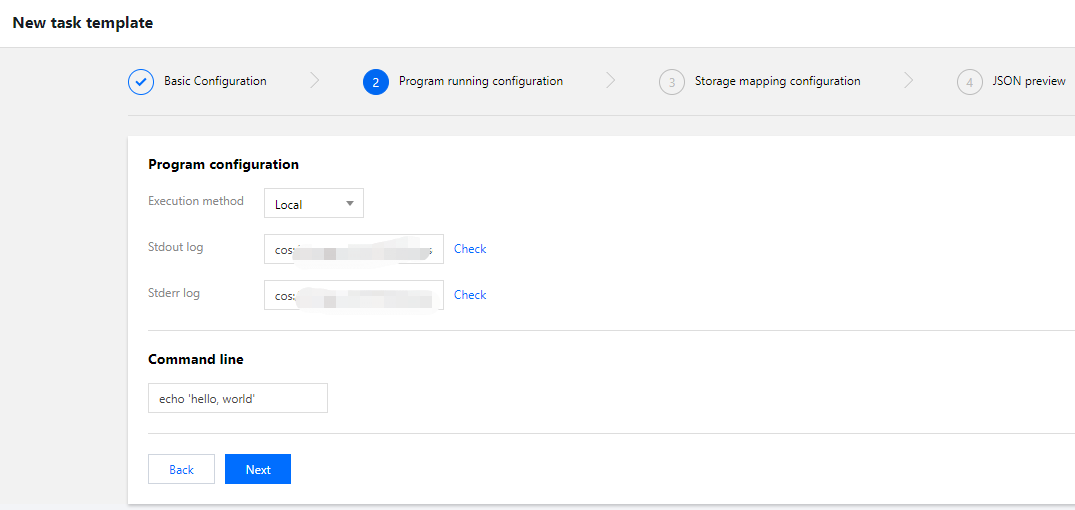
3. Click Next. Configure application information, as shown below:
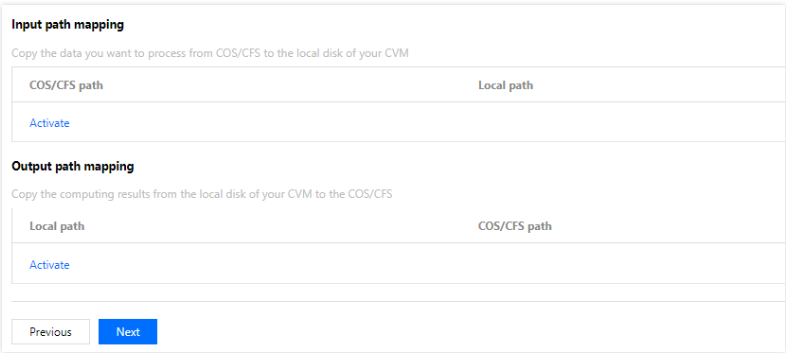
4. Click Next. Configure the storage mapping, as shown below:
5. Click Next. Preview the JSON file of the task, and click Save after confirmation, as shown below:
6. View the created template on the Task Template page, as shown below:
Submitting a Job
1. Click Jobs in the left sidebar, and select a target region, such as Guangzhou, at the top of the Jobs page.
2. Click Create. On the New job page, create a job, as shown below:
Job name: Enter a custom name, such as hello.
Priority: Keep the default value.
Description: Enter a custom description, such as hello demo.
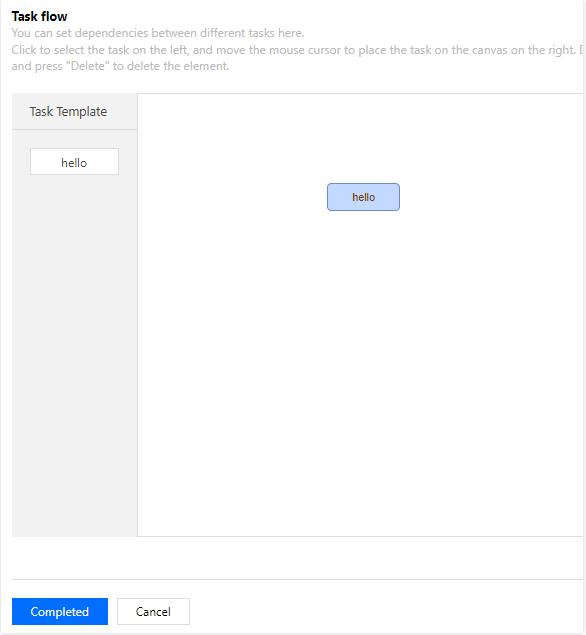
3. On the left side of the Task flow page, find the hello task and drag it to the canvas on the right, as shown below:
4. Confirm the configurations in the task details area on the right side of the Task flow page and click Completed.
5. Check the running status of the created job on the Jobs page, as shown below:
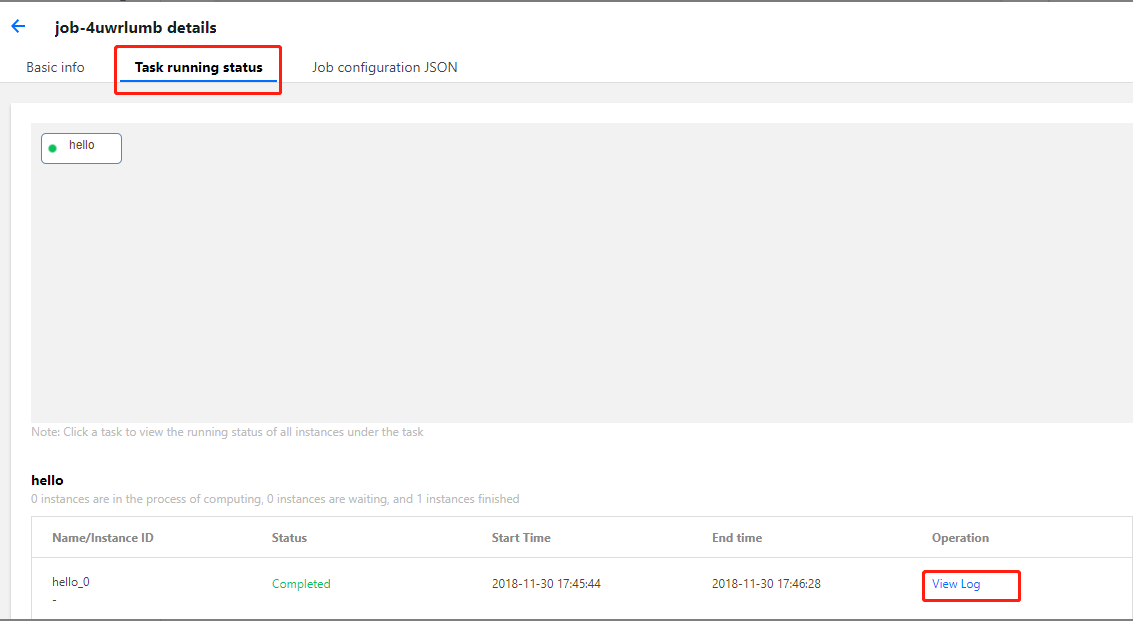
Click the job ID and check the running status of job instances on the Task running status tab.
Click View Log to check the standard outputs and errors of job instances, as shown below:
Subsequent Operations
This document only provides a simple example of single-task job, without using the remote storage mapping, and only showing the most basic capabilities to users. You can continue to test the higher-level capabilities of BatchCompute according to the console user guide:
Various CVM configurations: BatchCompute provides a variety of CVM configuration options. You can customize your own CVM configuration based on your business scenario.
Executable remote code package: Technically, BatchCompute can fully satisfy your business needs by combining the custom image, remote code package, and command line features.
Remote storage mapping: BatchCompute optimizes storage access and simplifies access to remote storage services into operations in the local file system.


 Yes
Yes
 No
No
Was this page helpful?