TUIKit is a UI component library built on the Chat SDK. It enables rapid implementation of chat, conversation, search, relationship chain, group, and other features through UI components. This document describes how to quickly integrate TUIKit and implement core features.
Key Concepts
TUIKit provides a complete set of instant messaging UI components. It depends on the AtomicXCore data layer and can be used to build various functional pages.
Page layer: Complete functional pages built on TUIKit components, including ChatPageView, ContactsPageView, and ConversationsPageView. You can use them directly.
TUIKit (UI component layer): View UI components, not Compose components, built on AtomicXCore. You can embed them into your existing app pages.
AtomicXCore (data layer): Provides data management and business logic, including various stores and managers.
Prerequisites
Android Studio 2022.3.1 or later, JDK 17.
A physical device or emulator running Android 6.0 or later.
Your project must support Kotlin, because TUIKit is developed in Kotlin.
minSdk >= 23.
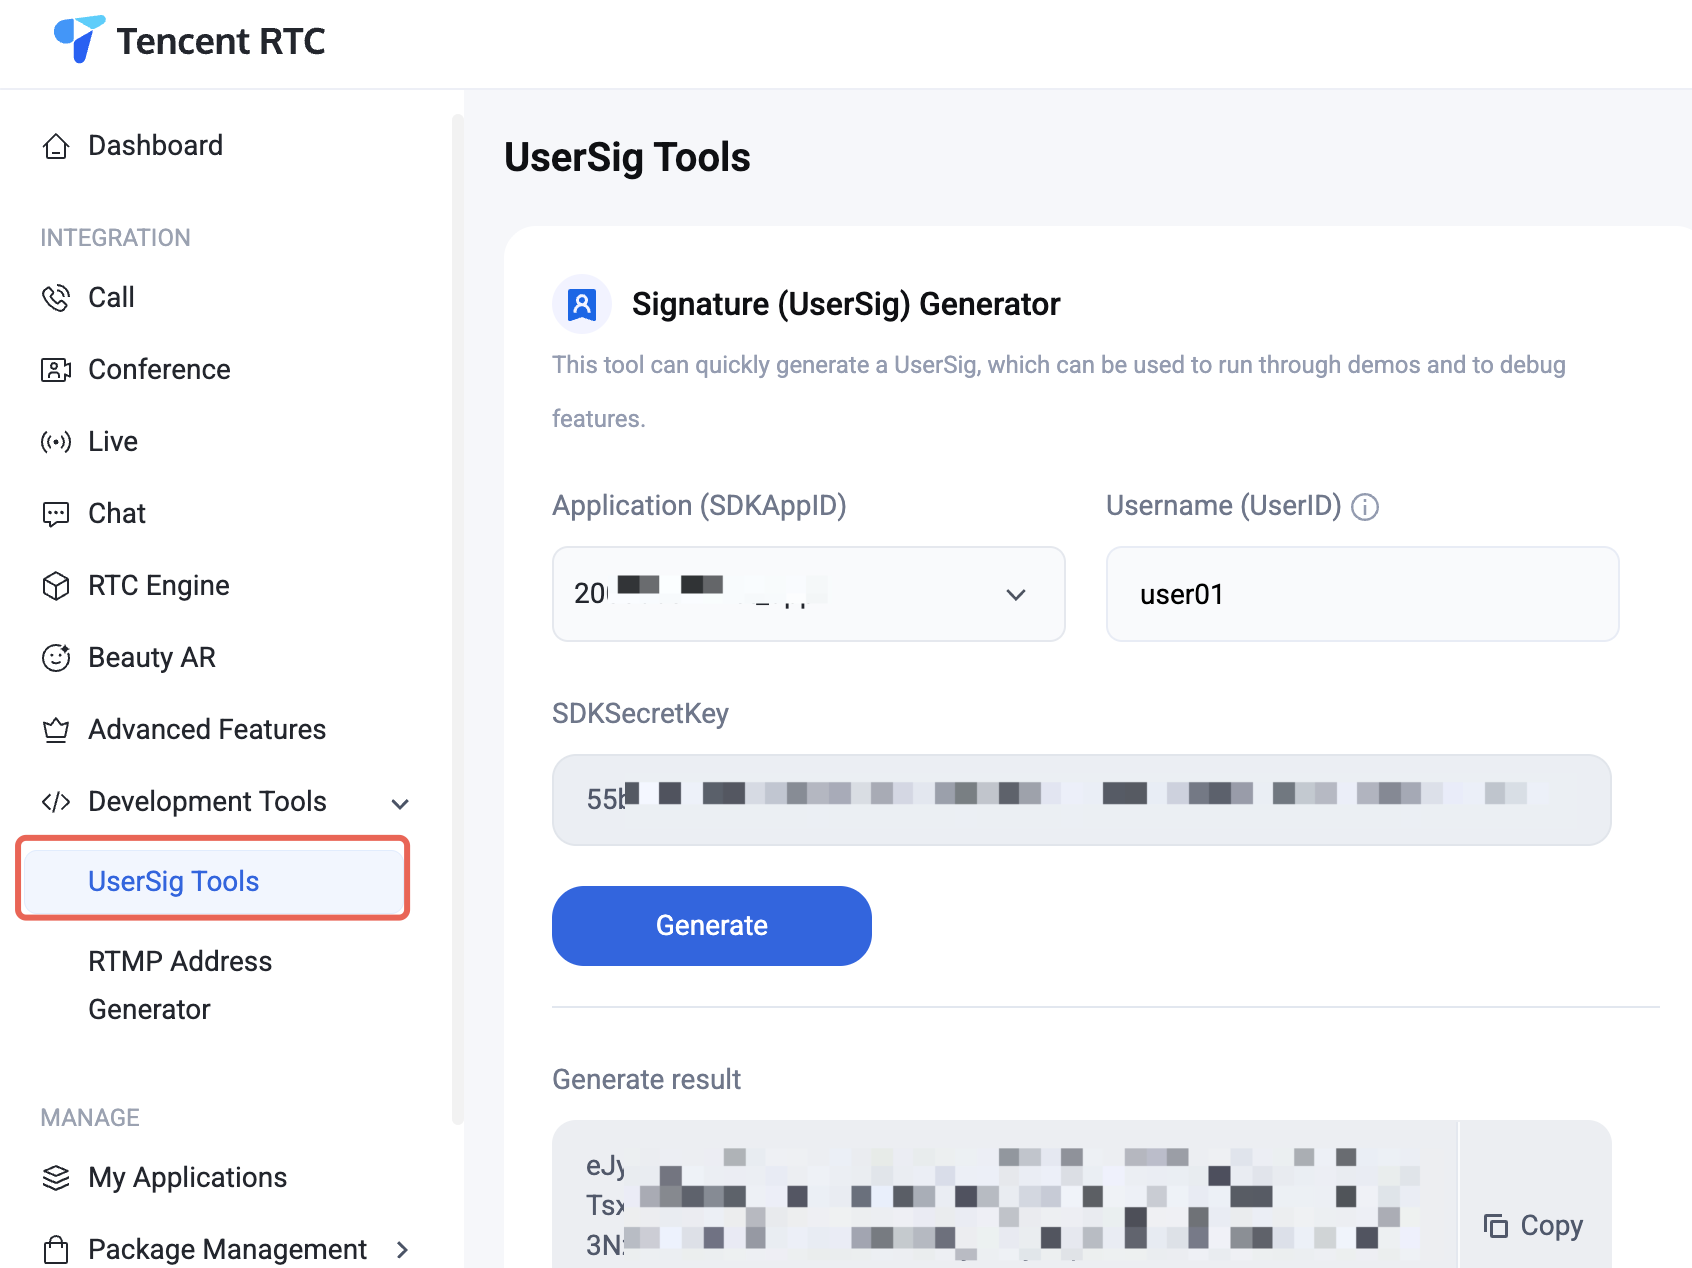
A valid Tencent Cloud account and Chat application. See Activate the Service to obtain the following information from the Console:
SDKAppID: The ID of the Chat application obtained from the Console. It is the unique identifier of the application.
SDKSecretKey: The application secret key.
Version Compatibility Notice:
To ensure a stable build environment, strictly follow the official compatibility requirements:
For compatibility between Gradle, Android Gradle Plugin, JDK, and Android Studio, see the Android official documentation: Release Notes
For the mapping between Kotlin, Android Gradle Plugin, and Gradle versions, see the Kotlin official documentation: Kotlin-Gradle Plugin Compatibility
We recommend selecting a version combination that fully matches your project requirements according to these guidelines.
Integrate the TUIKit
Download the Source Code
Download the source code from the GitHub repository Tencent-RTC/TUIKit_Android. The project directory structure is as follows:
TUIKit_Android/
├── atomic_x/ # Base UI component library (required by Chat)
├── call/
│ └── tuicallkit-kt/ # Audio/video call component (required by Chat)
└── chat/
├── demo/ # Chat View Demo project
└── uikit/ # Chat View UI component library
Integrate Components
1. Copy the chat, atomic_x, and optionally call folders from the repository root to your project root directory. The directory structure after copying is as follows:
YourApplication/
├── app/ # Your app module
├── atomic_x/ # Base UI component library (required)
3. Add dependencies to the app module's build.gradle.kts:
Kotlin DSL
Groovy DSL
// app/build.gradle.kts
dependencies {
// TUIKit component library (required)
implementation(project(":uikit"))
implementation(project(":atomic_x"))
// Audio/video call (optional)
implementation(project(":tuicallkit-kt"))
}
// app/build.gradle
dependencies {
// TUIKit component library (required)
implementation project(':uikit')
implementation project(':atomic_x')
// Audio/video call (optional)
implementation project(':tuicallkit-kt')
}
Implementation Steps
After completing the integration above, follow these steps to quickly build core UIs such as the conversation list, chat, and contacts with only a few lines of code.
You must log in before using component features. Call the login API of LoginStore and pass in the sdkAppID, userID, and userSig obtained above for login authentication:
userSig,// String, generated in the Console or on your server
object :CompletionHandler{
override fun onSuccess(){
// Login succeeded. You can navigate to the conversation list or chat page.
}
override fun onFailure(code:Int, desc:String){
// Login failed. You can show an error dialog.
}
}
)
Note:
In a production environment, we recommend generating UserSig on your server. When needed, your app should request a dynamic UserSig from your business server for authentication. For details, see Generating UserSig on the Server.
Step 3. Build the Conversation List UI
To build a conversation list, create ConversationsPageView and add it to your layout. It automatically reads recent conversations from local storage. When a conversation is tapped, the onConversationClick callback returns the conversation's conversationID, which you can use to navigate to the chat UI.
// Navigate to your chat UI and pass in conversationID. See ChatActivity in Step 4.
}
// Optional callbacks for search, starting one-to-one chats, and creating groups.
conversationsPage.onSearchClick ={/* Navigate to the search page */}
conversationsPage.onStartChatClick ={/* Start a one-to-one chat */}
conversationsPage.onCreateGroupClick ={/* Create a group */}
// Set the conversation list as the page content.
setContentView(conversationsPage)
}
}
Step 4. Build the Chat UI
Use ChatPageView to display and send or receive messages. Pass conversationID through setup. The conversationID format is c2c_<peer UserID> for one-to-one chats and group_<GroupID> for group chats.
The Activity that hosts the chat page must use a Material Components theme, such as setTheme(com.google.android.material.R.style.Theme_MaterialComponents_Light_NoActionBar). Otherwise, Material controls used inside ChatPageView may crash at runtime because required theme attributes are missing.
Description:The Demo project provides ChatActivity, a chat page encapsulated based on ChatPageView with a title bar, unread badges, group event handling, and more. You can reuse it directly or refer to its implementation for customization: ChatActivity.start(context, conversationID).
Step 5. Build the Contacts UI
Use ContactsPageView to display friend lists, group lists, and more. Set click callbacks through setup. When a contact or group is tapped, navigate to the corresponding chat UI.
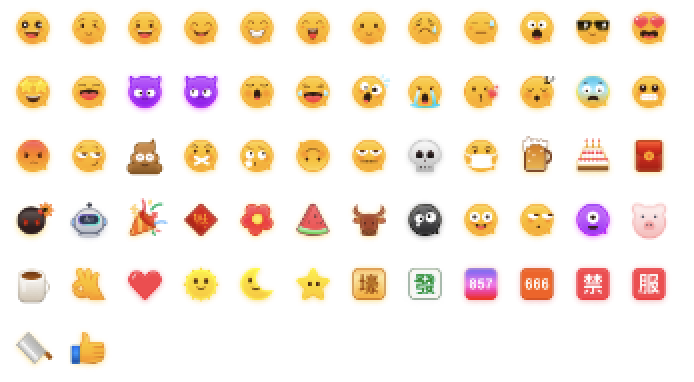
To respect emoji design copyrights, the Chat Demo/TUIKit project does not include large emoji image assets. Before commercial release, replace them with emoji packs designed by you or otherwise licensed to you. The default smiley emoji pack shown below is copyrighted by Tencent Cloud, and you can use it for free by upgrading to Chat Pro Plus or Enterprise Edition.
Contact Us
If you have any questions or suggestions during integration or use, contact us to submit feedback.