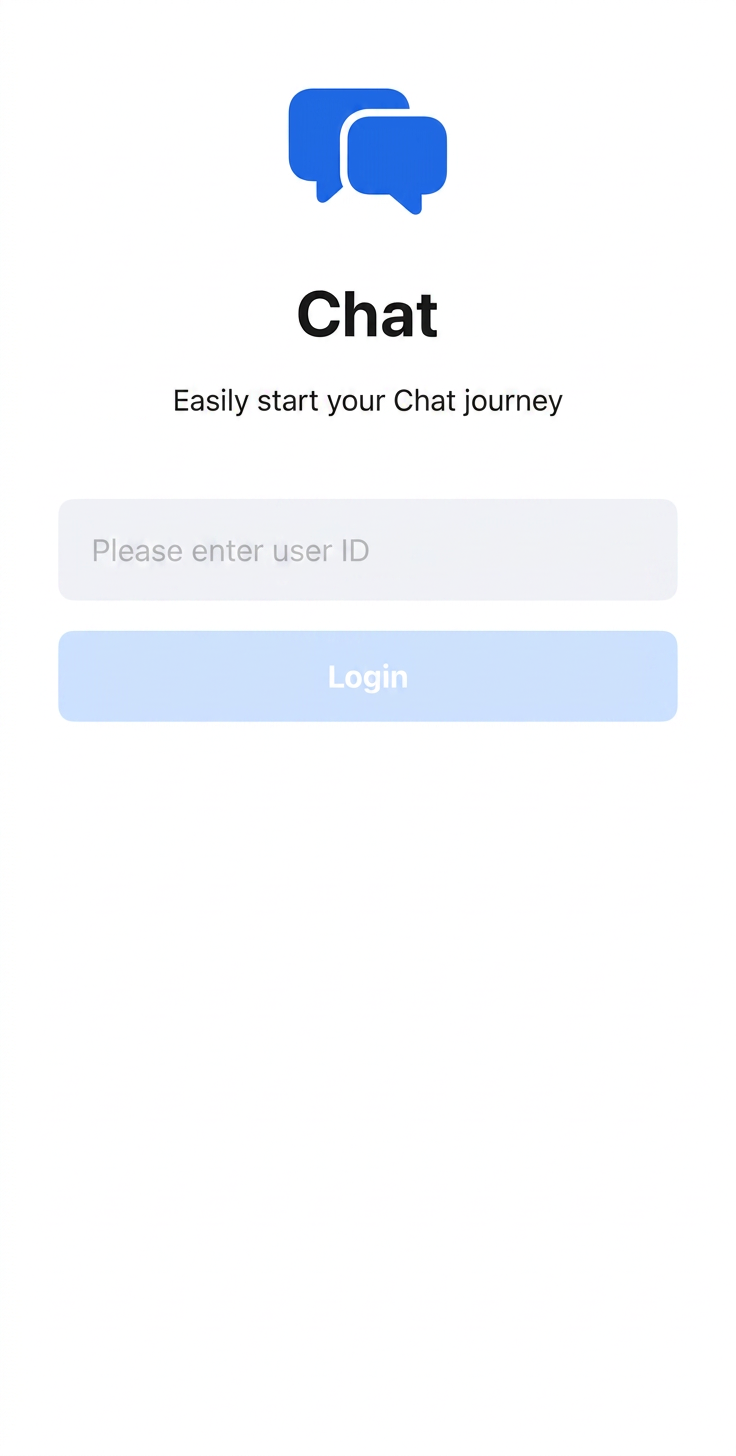
This document describes how to quickly set up and run the Chat Demo built with Jetpack Compose to experience text, voice, and video message sending features. Once set up, the demo will appear as shown below:
Login Page
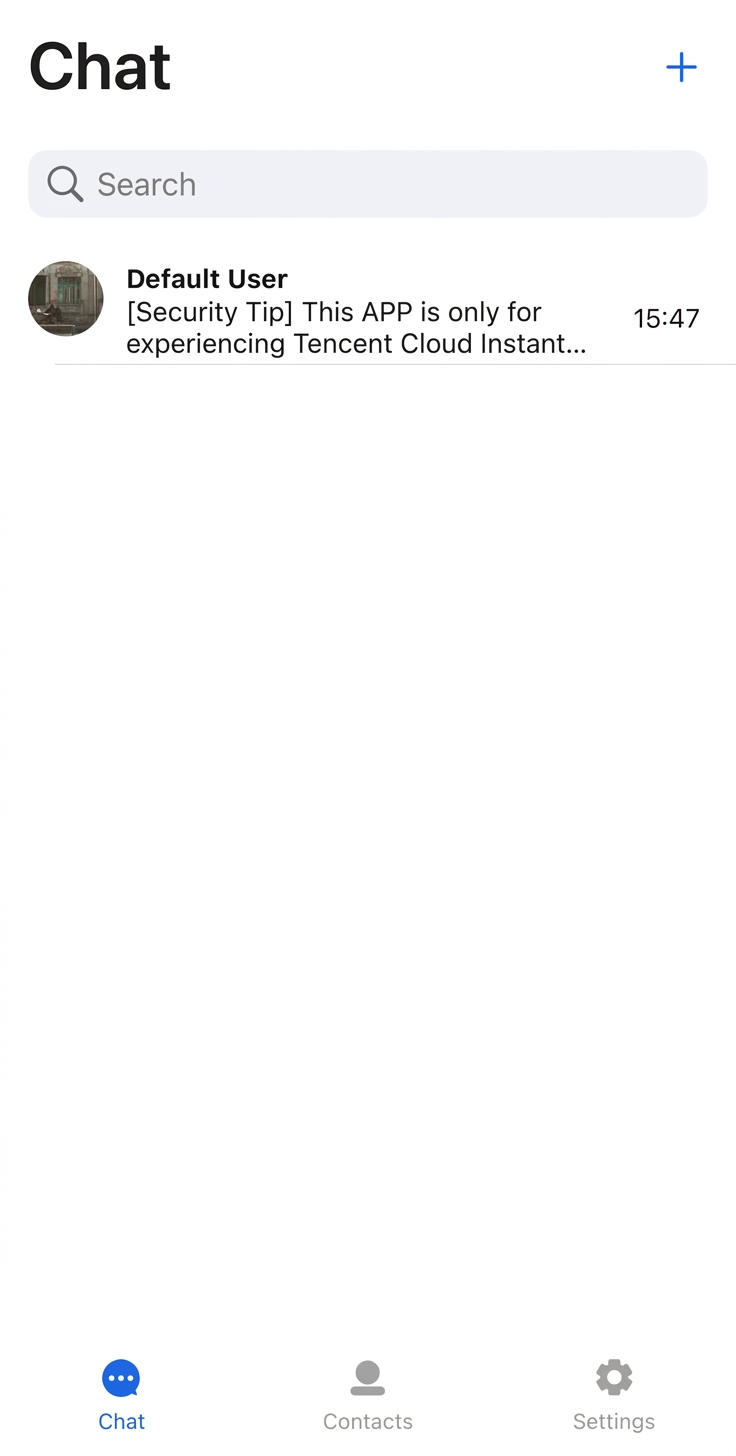
Conversation List Page
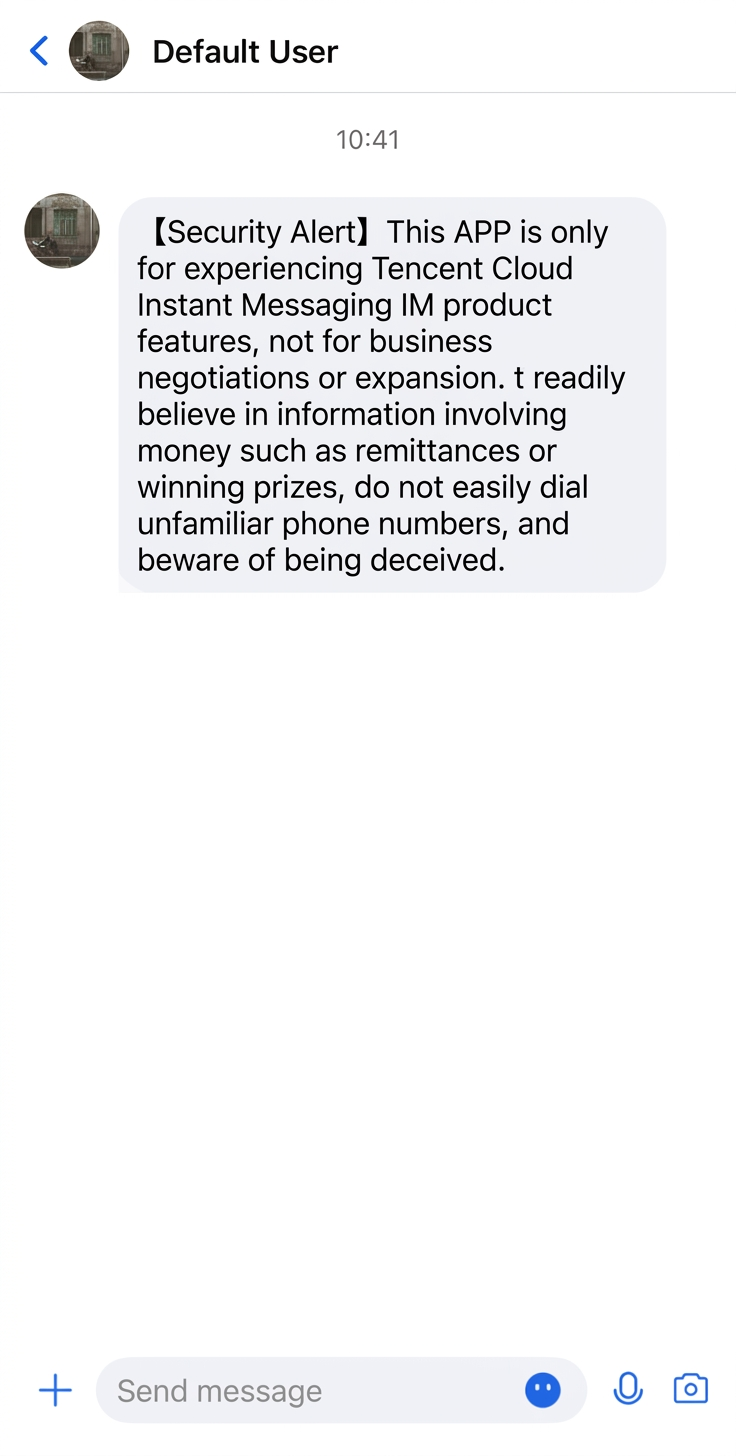
Chat Page
Prerequisites
Enabling the Service
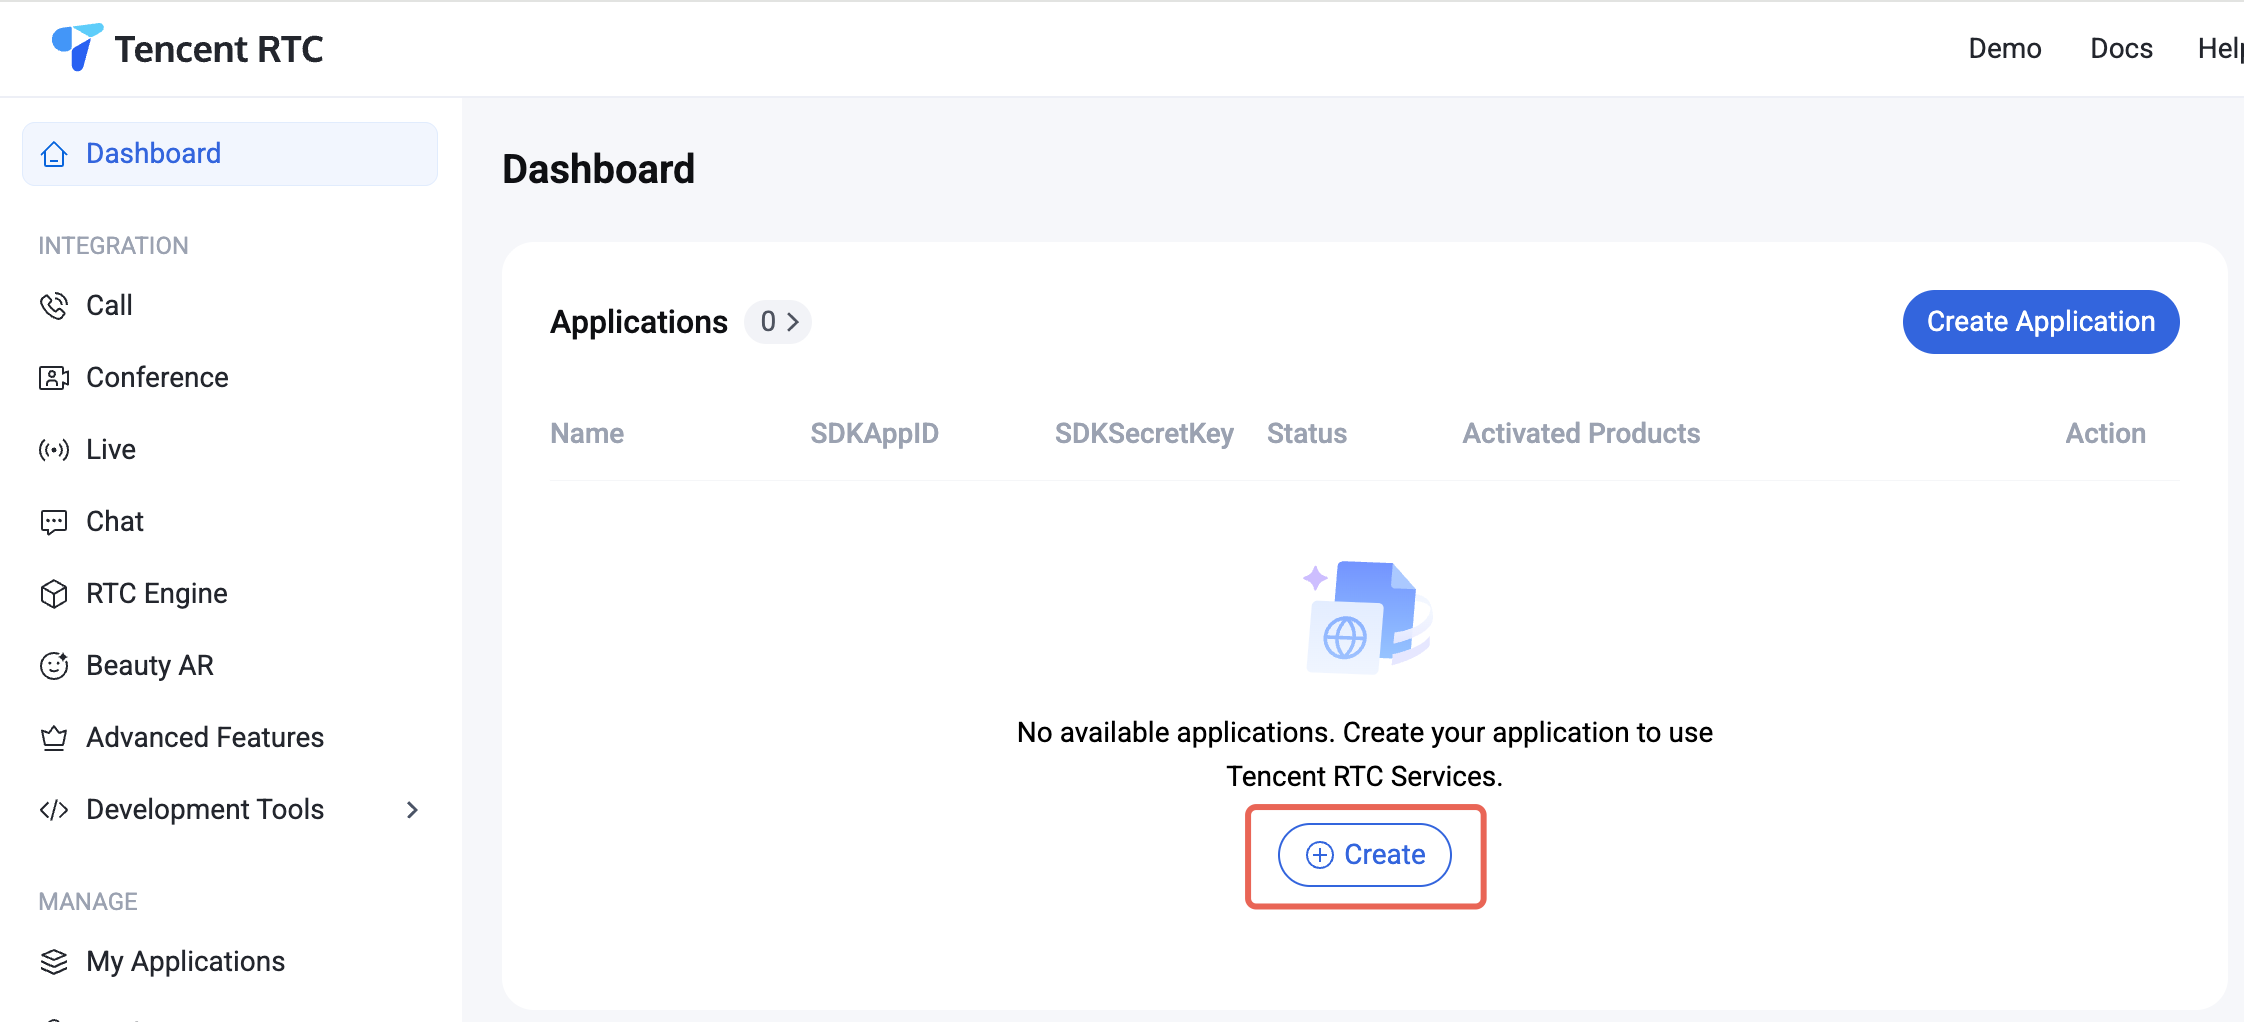
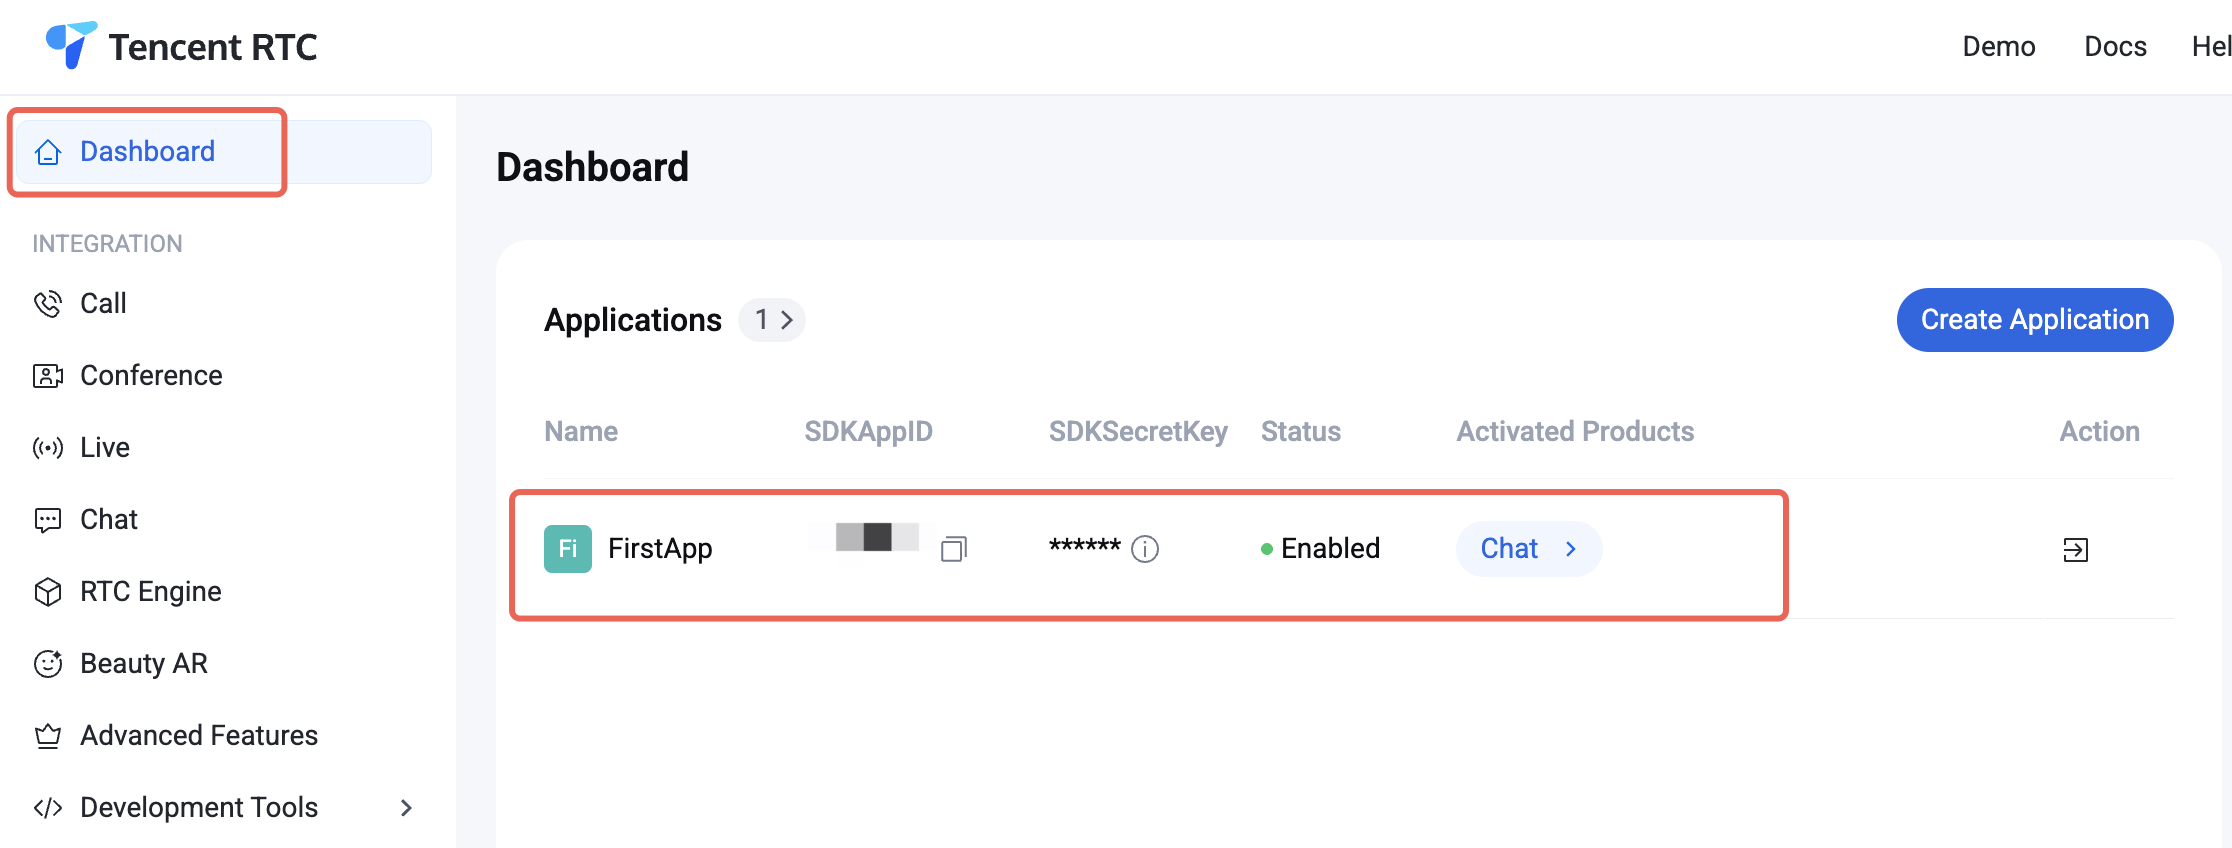
1. Log in to the Console. If you already have an application, note down its SDKAppID and SDKSecretKey, then proceed to the next section.
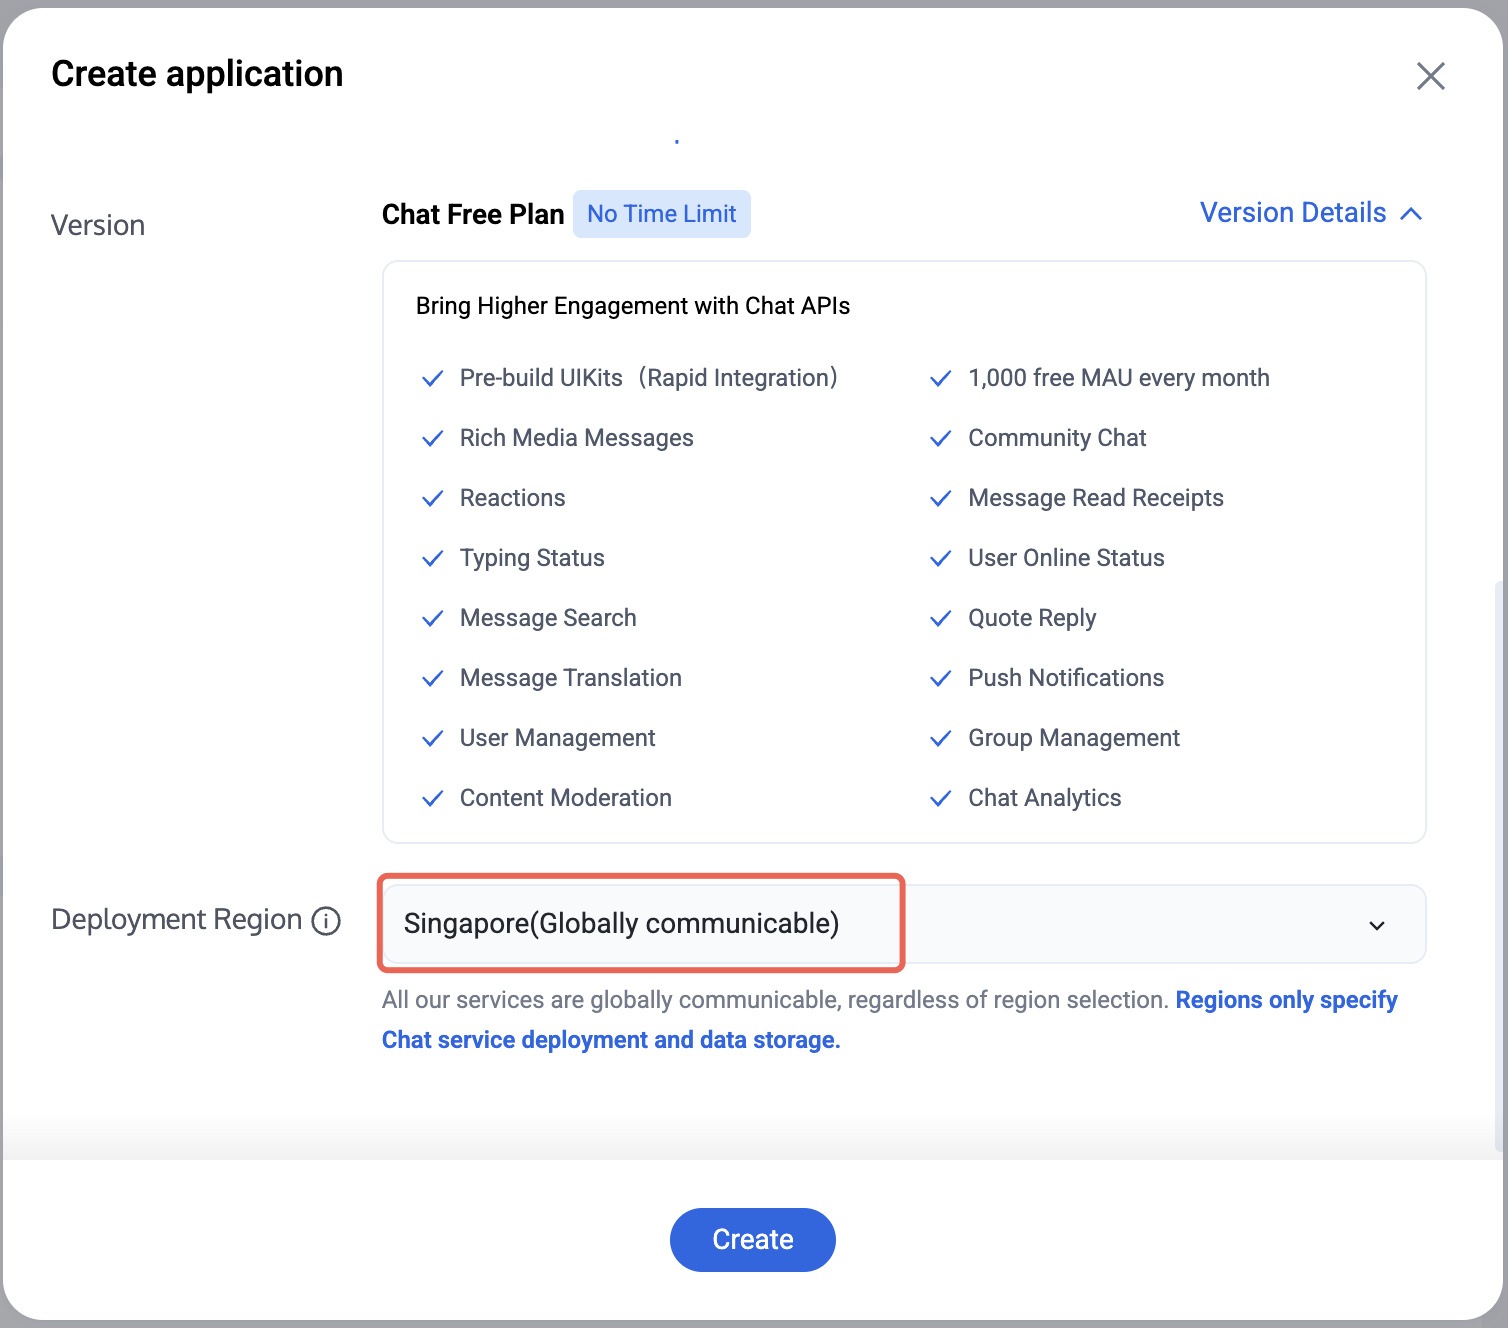
2. Click Create in the overview panel to start a new application.
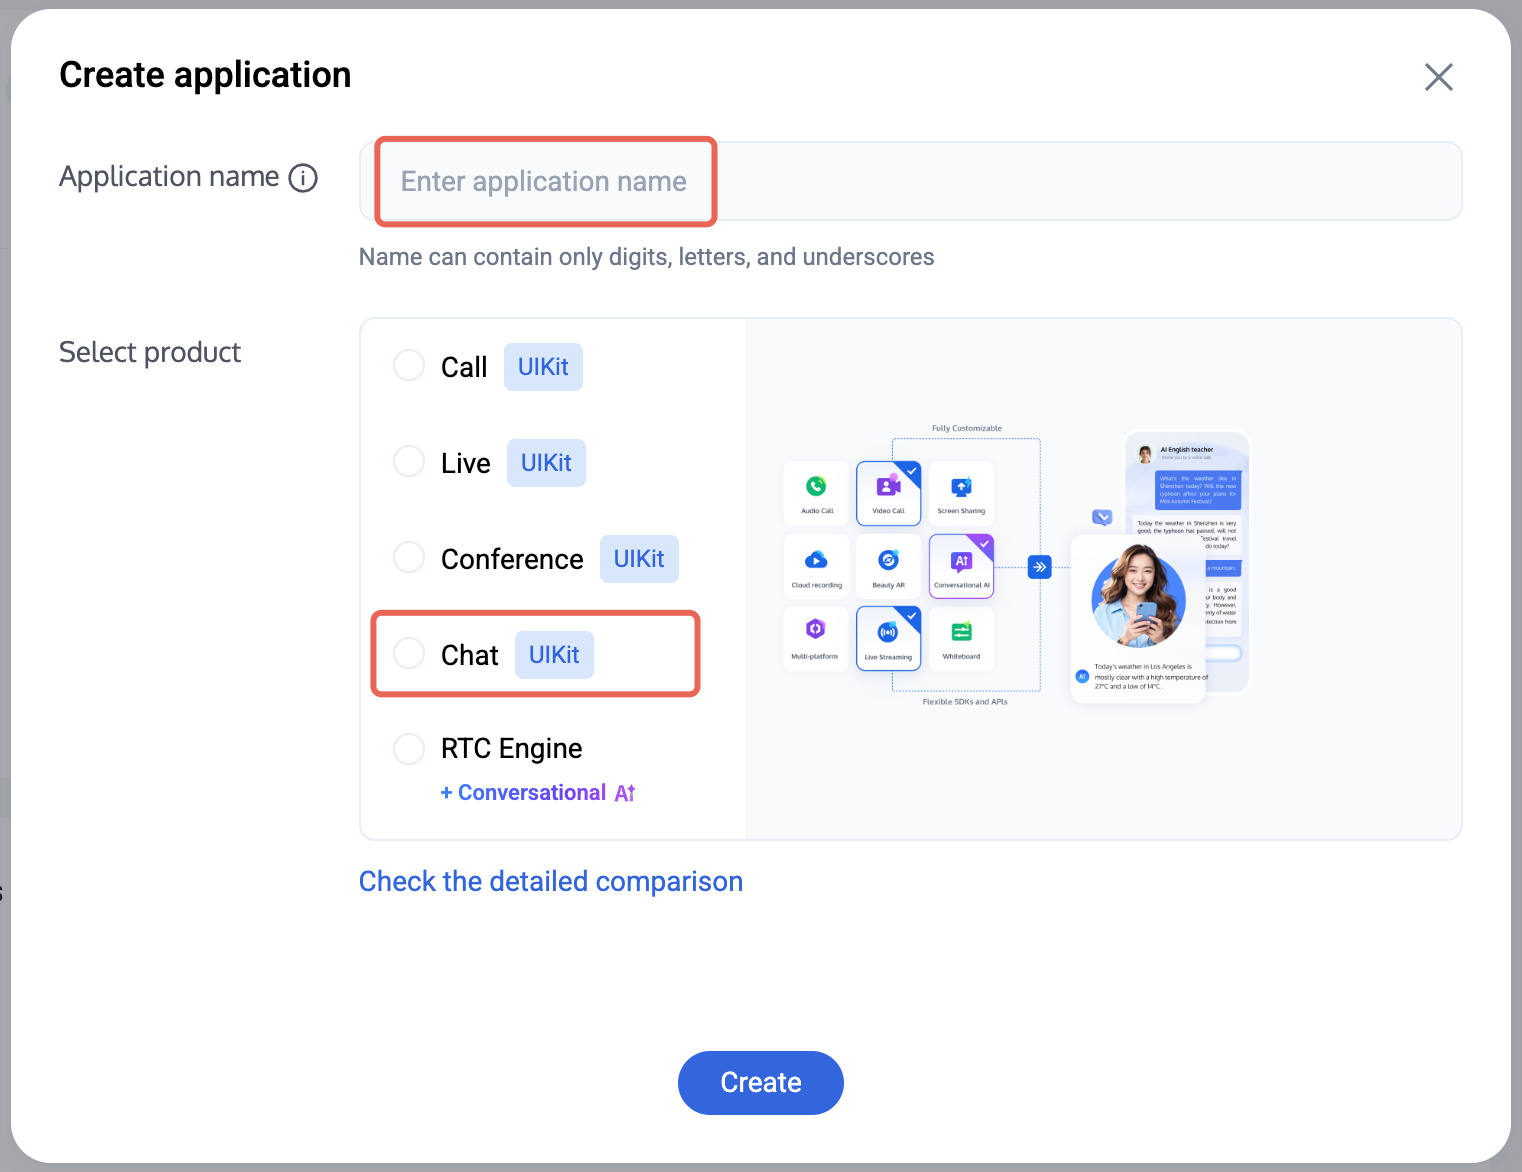
3. In the application creation dialog, enter the Application Name and select Chat as the product.
4. After choosing the product, select the Deployment Region as needed.
5. After the application is created, locate the SDKAppID and SDKSecretKey in the console overview panel. You will need both to run the Demo.
Prohibited:
Keep your SDKSecretKey secure, do not disclose it!
Environment Preparation
Android Studio Ladybug | 2024.2.1 or later
Android 5.0 or later
Gradle 8.9 or later
Android Gradle Plugin 8.6 or later
JDK 17 or later
Kotlin 1.9.0 or later
Version Compatibility Notice:
To ensure a stable build environment, strictly follow the official compatibility requirements:
For compatibility between Gradle, Android Gradle Plugin, JDK, and Android Studio, refer to the official Android documentation: Release Notes.
For the mapping between Kotlin, Android Gradle Plugin, and Gradle versions, refer to the official Kotlin documentation: Kotlin-Gradle Plugin Compatibility.
We recommend selecting a version combination that precisely matches your project requirements according to the above guidelines.
2. Open the TUIKit_Android_Compose/chat/demo project in Android Studio and locate the GenerateTestUserSig.java file at: chat/demo/app/src/main/java/io/trtc/tuikit/chat/signature/GenerateTestUserSig.java
3. Set the following parameters in the GenerateTestUserSig.java file:
SDKAPPID: Enter the actual SDKAppID you obtained earlier.
SECRETKEY: Enter the actual SecretKey you obtained earlier.
Forbidden:
1. In this demo, authentication is performed by configuring the SDKSecretKey in the client code. However, the SECRETKEY can be easily reverse-engineered and decompiled. If the SecretKey is leaked, attackers can steal your Tencent Cloud traffic. This method is only suitable for local demo testing and feature debugging.
2. In production environments, generate the UserSig on your server. When a UserSig is needed, your app should request a dynamic UserSig from your business server for authentication. See Server-side UserSig Generation for details.
Setup
After opening the TUIKit_Android_Compose/chat/demo project in Android Studio, Gradle Sync will run automatically. If the sync fails, check your network connection and Gradle configuration.
Note:
The first time you import the demo project, many dependencies will be downloaded. Please wait for the download and synchronization to complete before running the demo.
Build and Run the Demo
Using an Android device as an example:
1. Connect your Android device to your computer, enable Developer Mode on the device, turn on USB debugging, and select "File Transfer" for USB mode (if applicable).
2. Set the Gradle JDK:
In Android Studio, go to Settings > Build, Execution, Deployment > Build Tools > Gradle.
In the Gradle JDK dropdown, select JDK 17 (if not listed, install JDK 17 first), then execute File > Sync Project with Gradle Files to verify the configuration.
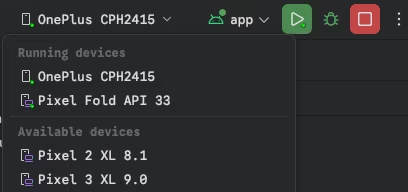
3. In the top bar of Android Studio, select your test device from the Running devices dropdown.
4. Click the Run button to start building. Once the build succeeds, the app will be automatically installed on your device.
5. Open the app and enter any UserID to create and log in to a user account.
Experience Basic Features
If you have successfully run the demo, you can try the basic features as follows.
Create a User Account
First, create a user account. You can register via the demo client or create one in the Console. Choose any of the following methods.
Client Registration
Console Registration
When logging in to TUIKit, provide a new UserID. TUIKit automatically registers the UserID for you.
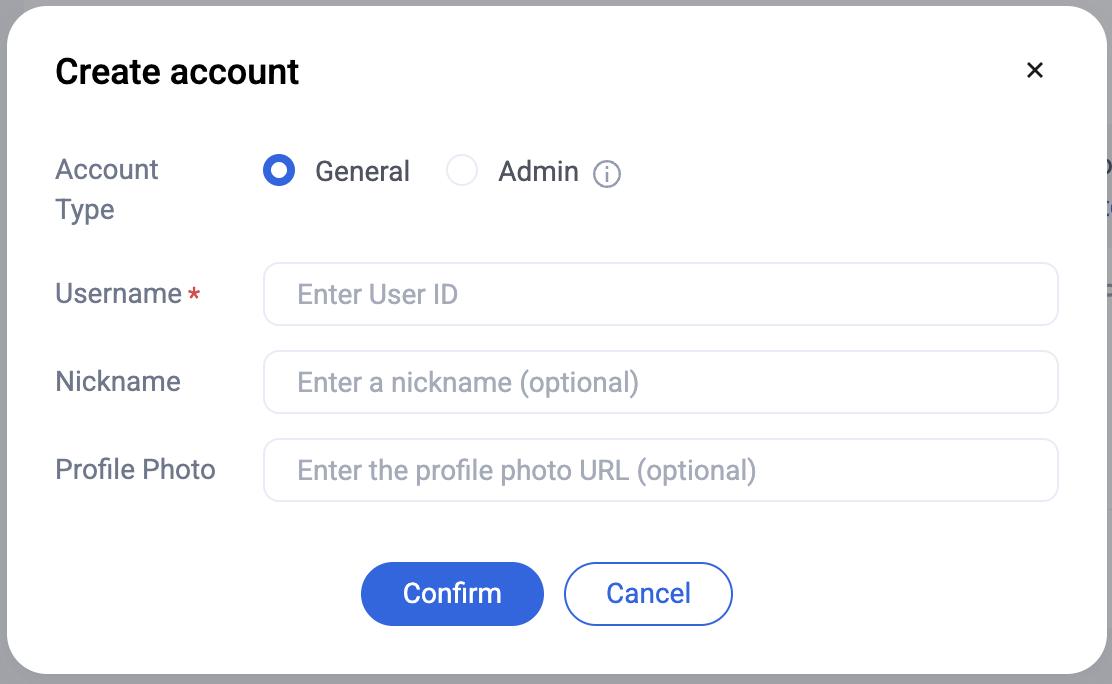
2. Click "Create Account" to open the account creation dialog.
3. For regular users, select "Regular Account". We recommend setting a nickname to help display users distinctly in the UI.
Note:
You need at least two users to send messages. Create at least two accounts at this step, and record their userIDs for use in later steps.
Add Contacts
After switching to the Contacts interface:
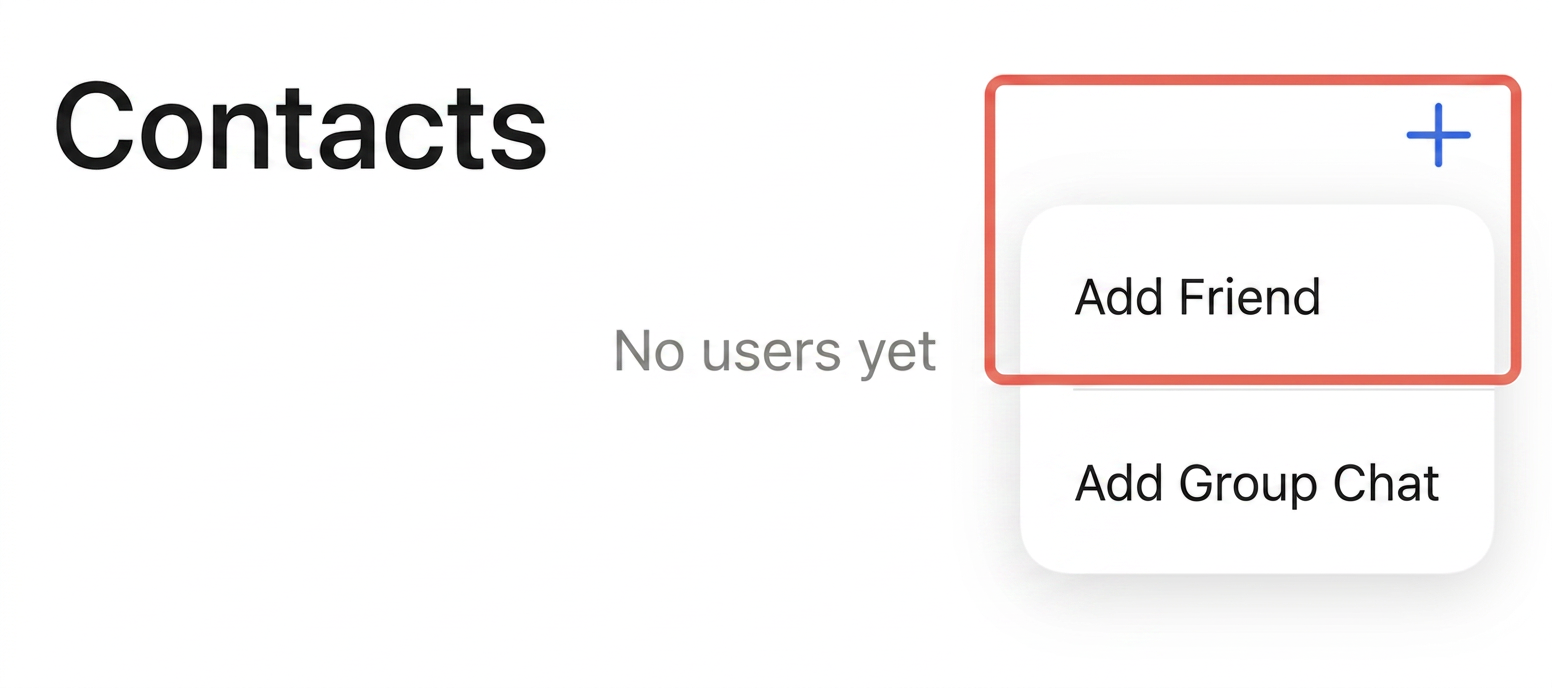
1. Click the + button in the upper right corner, and select "Add Friend" from the submenu.
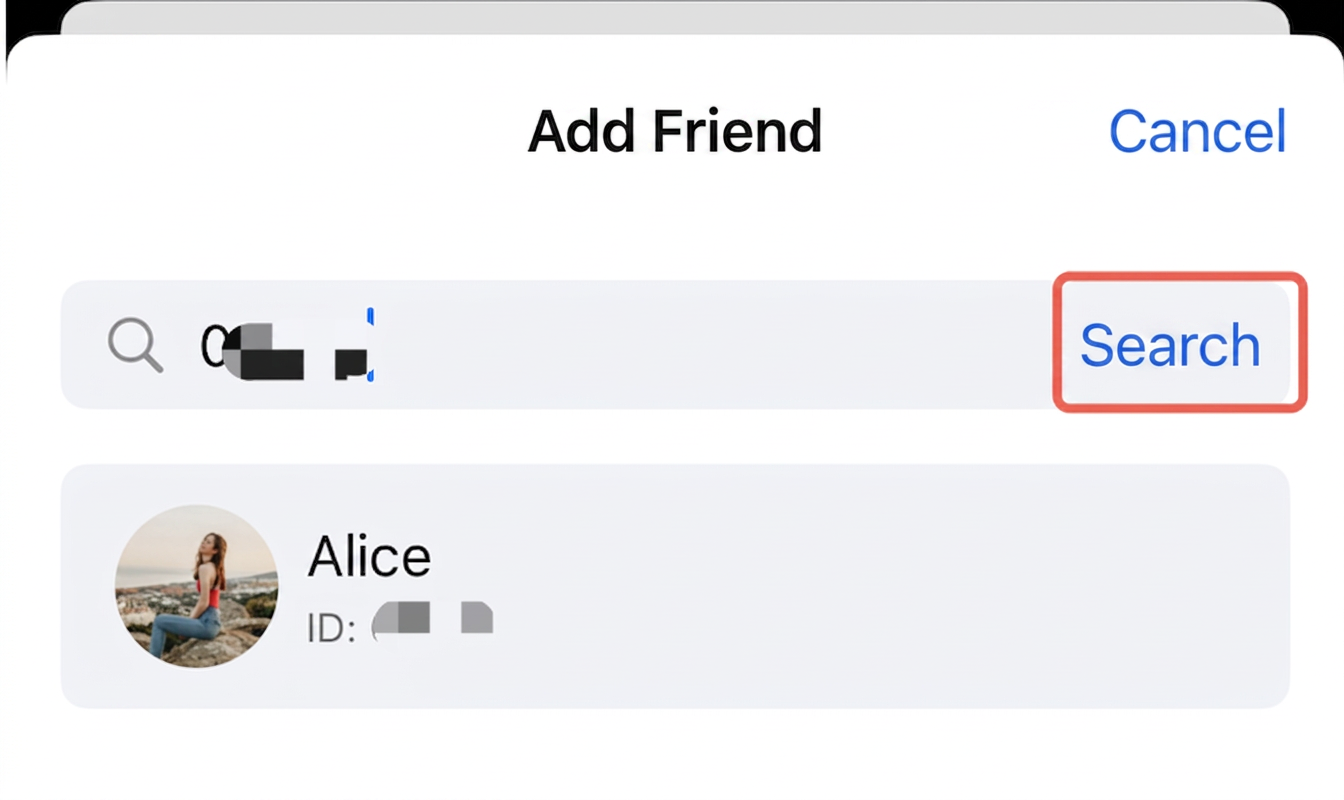
2. Enter a valid UserID to search for the user. If you have already created accounts in the Console, you can get valid UserIDs from Console > Chat > Account Management.
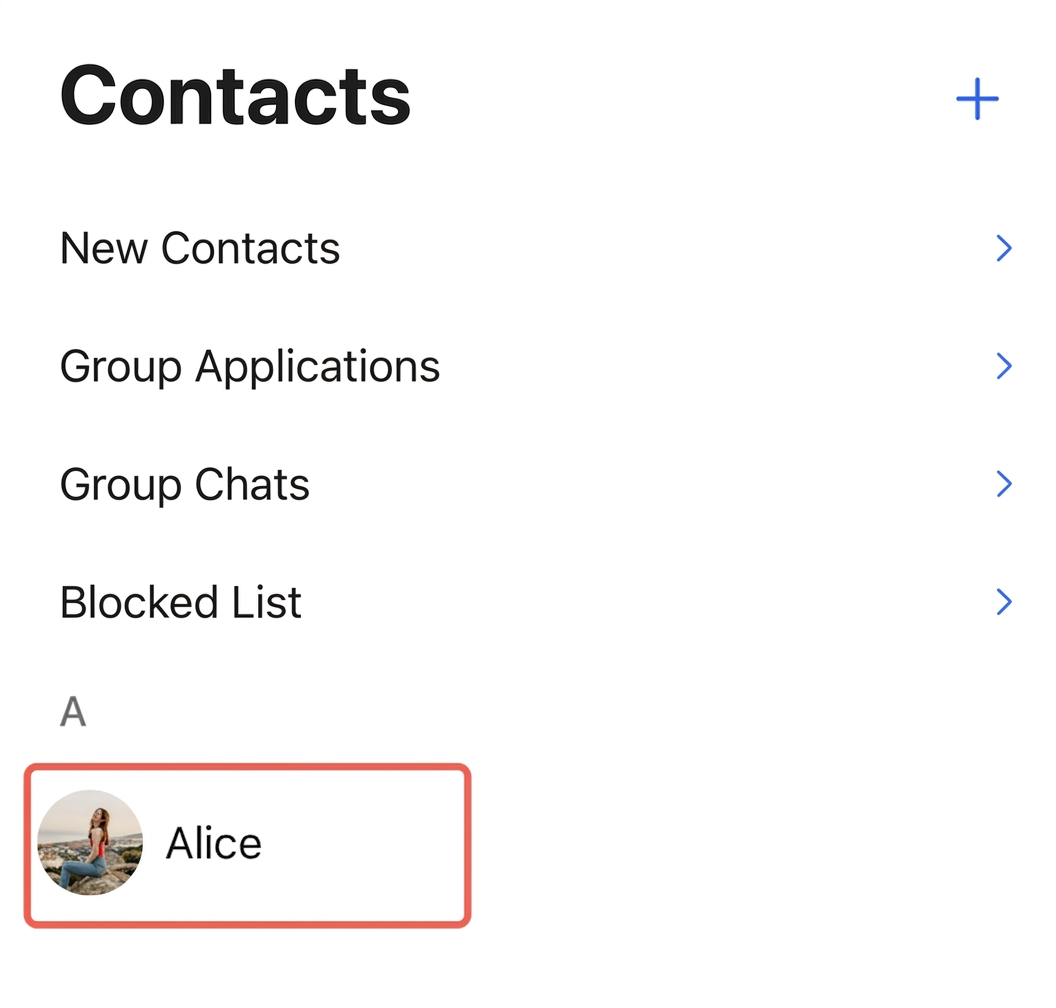
3. Add the user as a contact. Once added, the contact list will display the newly added user:
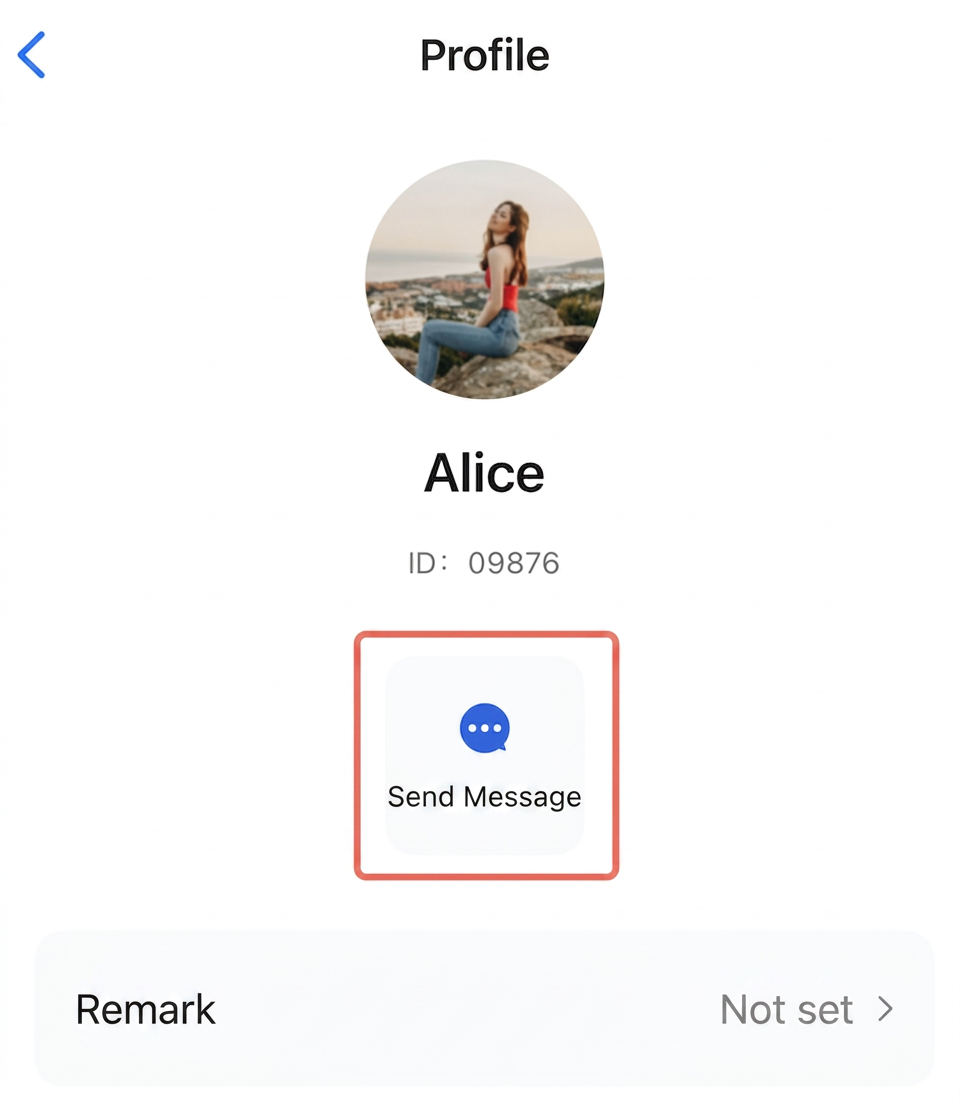
Send Messages
Select a user, click to send a message, and enter the chat interface:
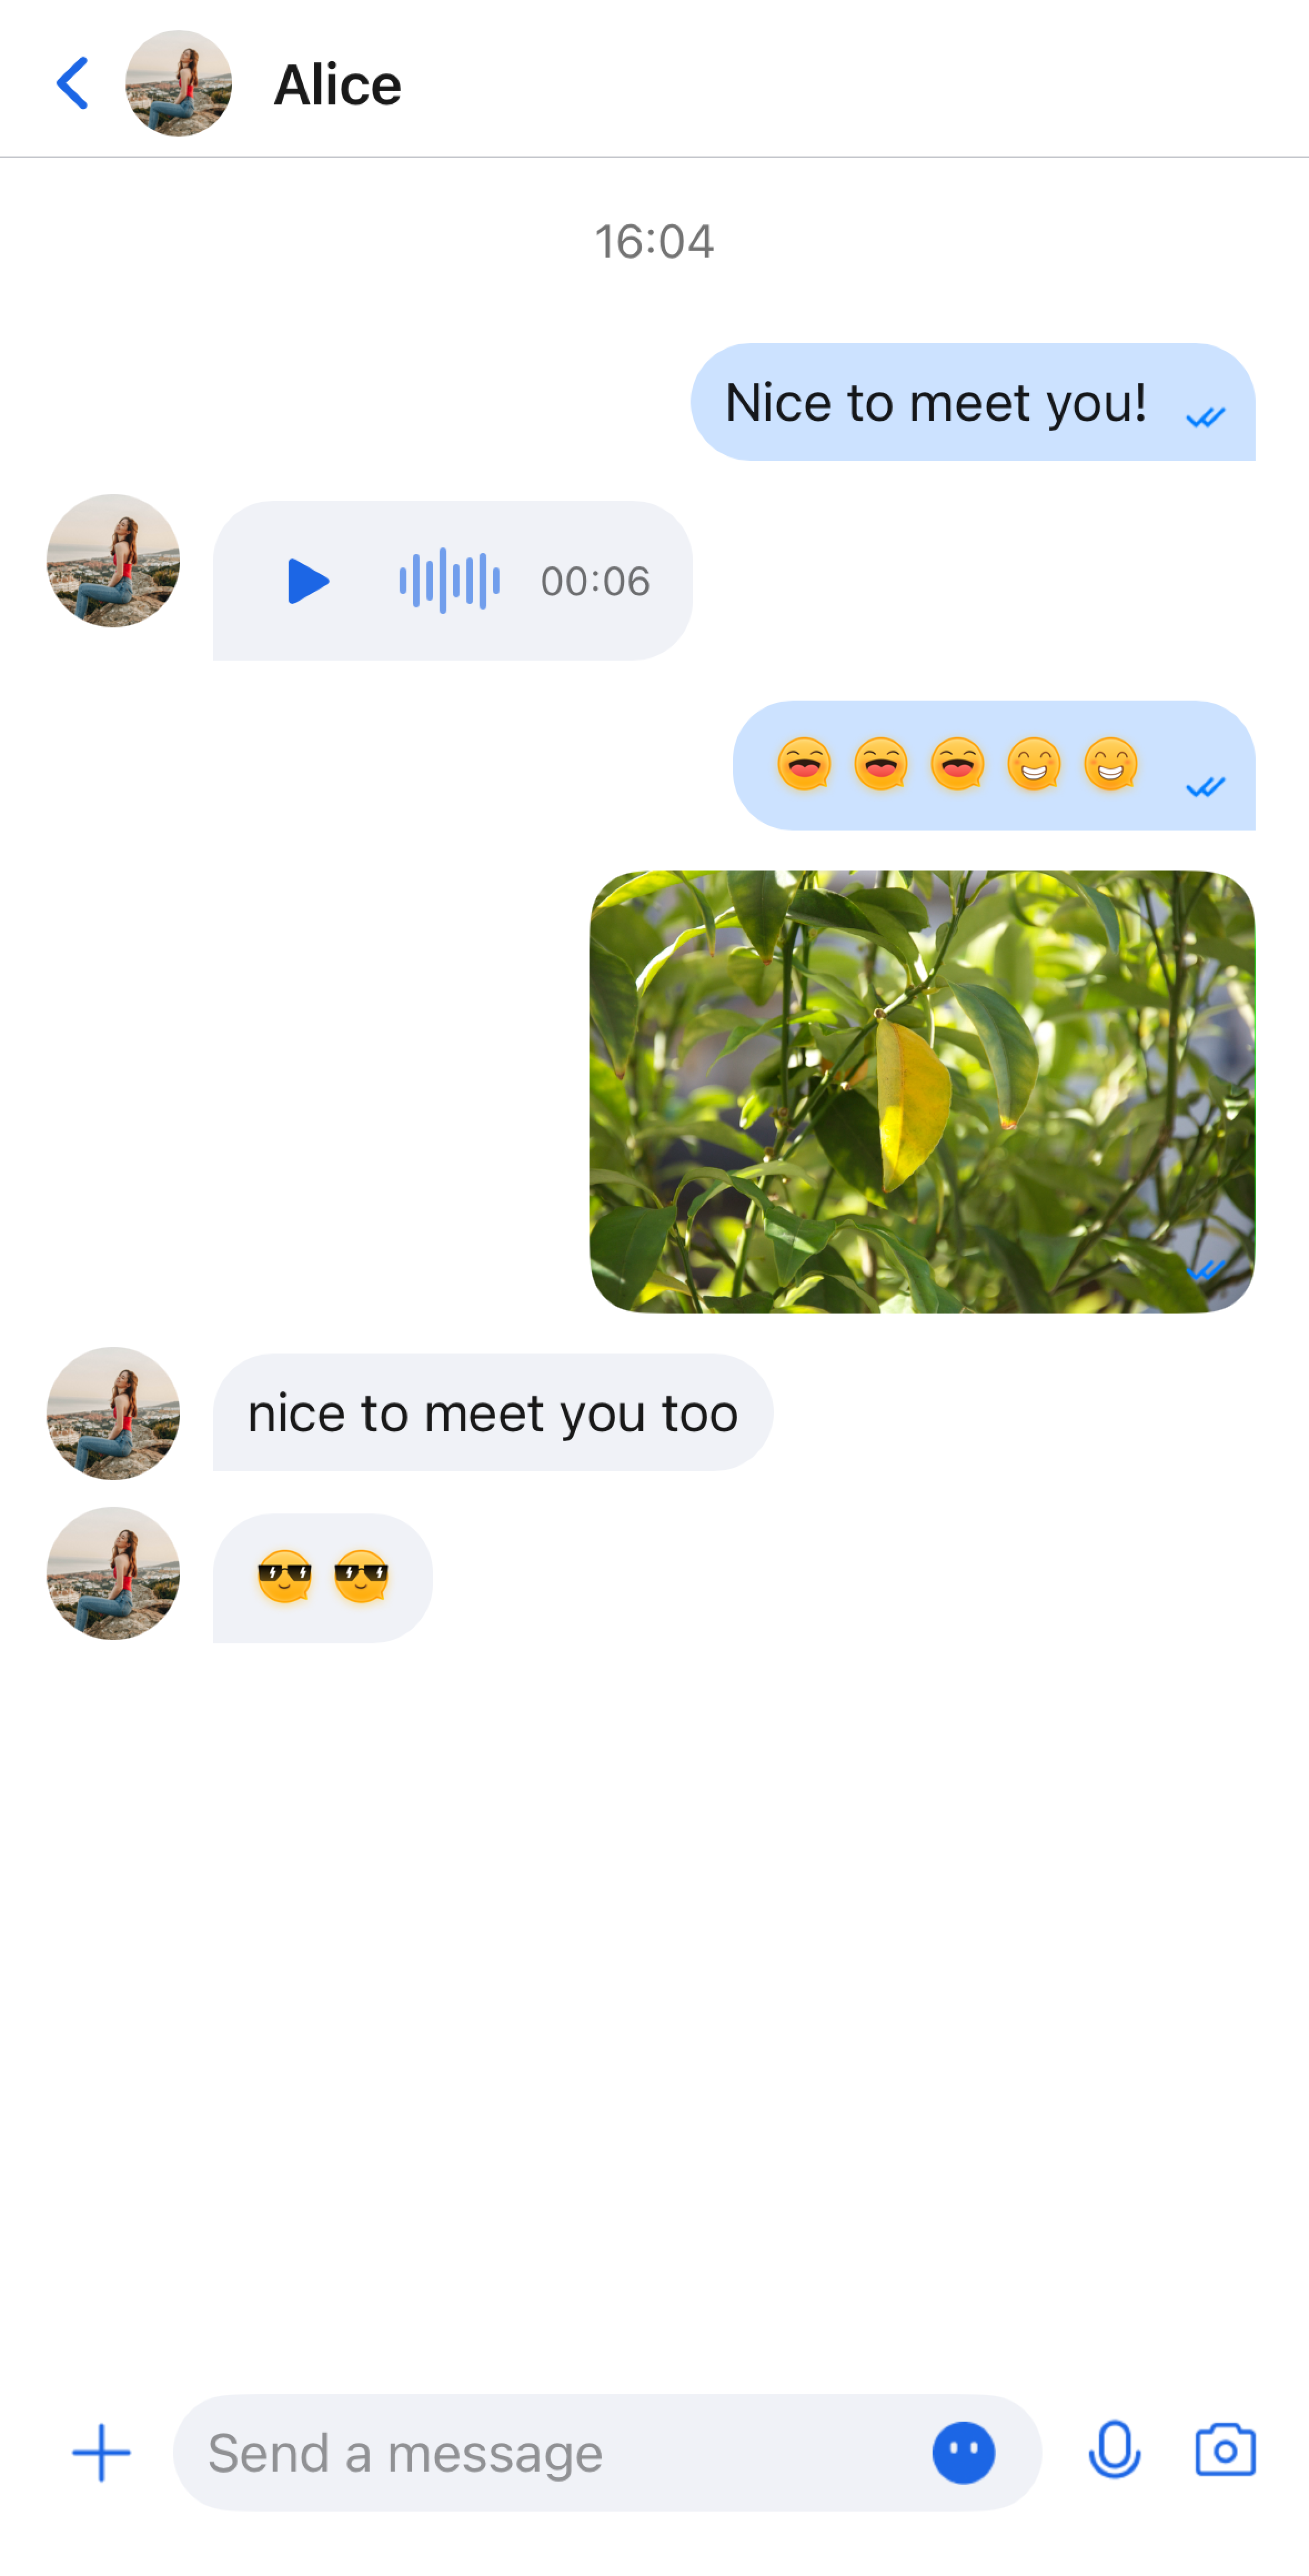
You can now send text, voice, and image messages to this user in the chat interface:
FAQs
Emoji Usage
To comply with emoji copyright requirements, the Chat Demo/TUIKit project does not include large emoji element images. Before releasing your product for commercial use, be sure to replace the default emoji set with your own designs or emoji sets for which you hold the copyright. The "Little Yellow Face" emoji set shown below is copyrighted by TRTC. You may use this emoji set for free by upgrading to the Chat Pro edition Plus or Enterprise edition.
Contact Us
If you have any questions or suggestions during integration or usage, please feel free to Contact Us for feedback.