Live Video Caster (LVC) allows you to create schedules and set automated broadcasting. This enables input sources or layouts to be published in a planned way.
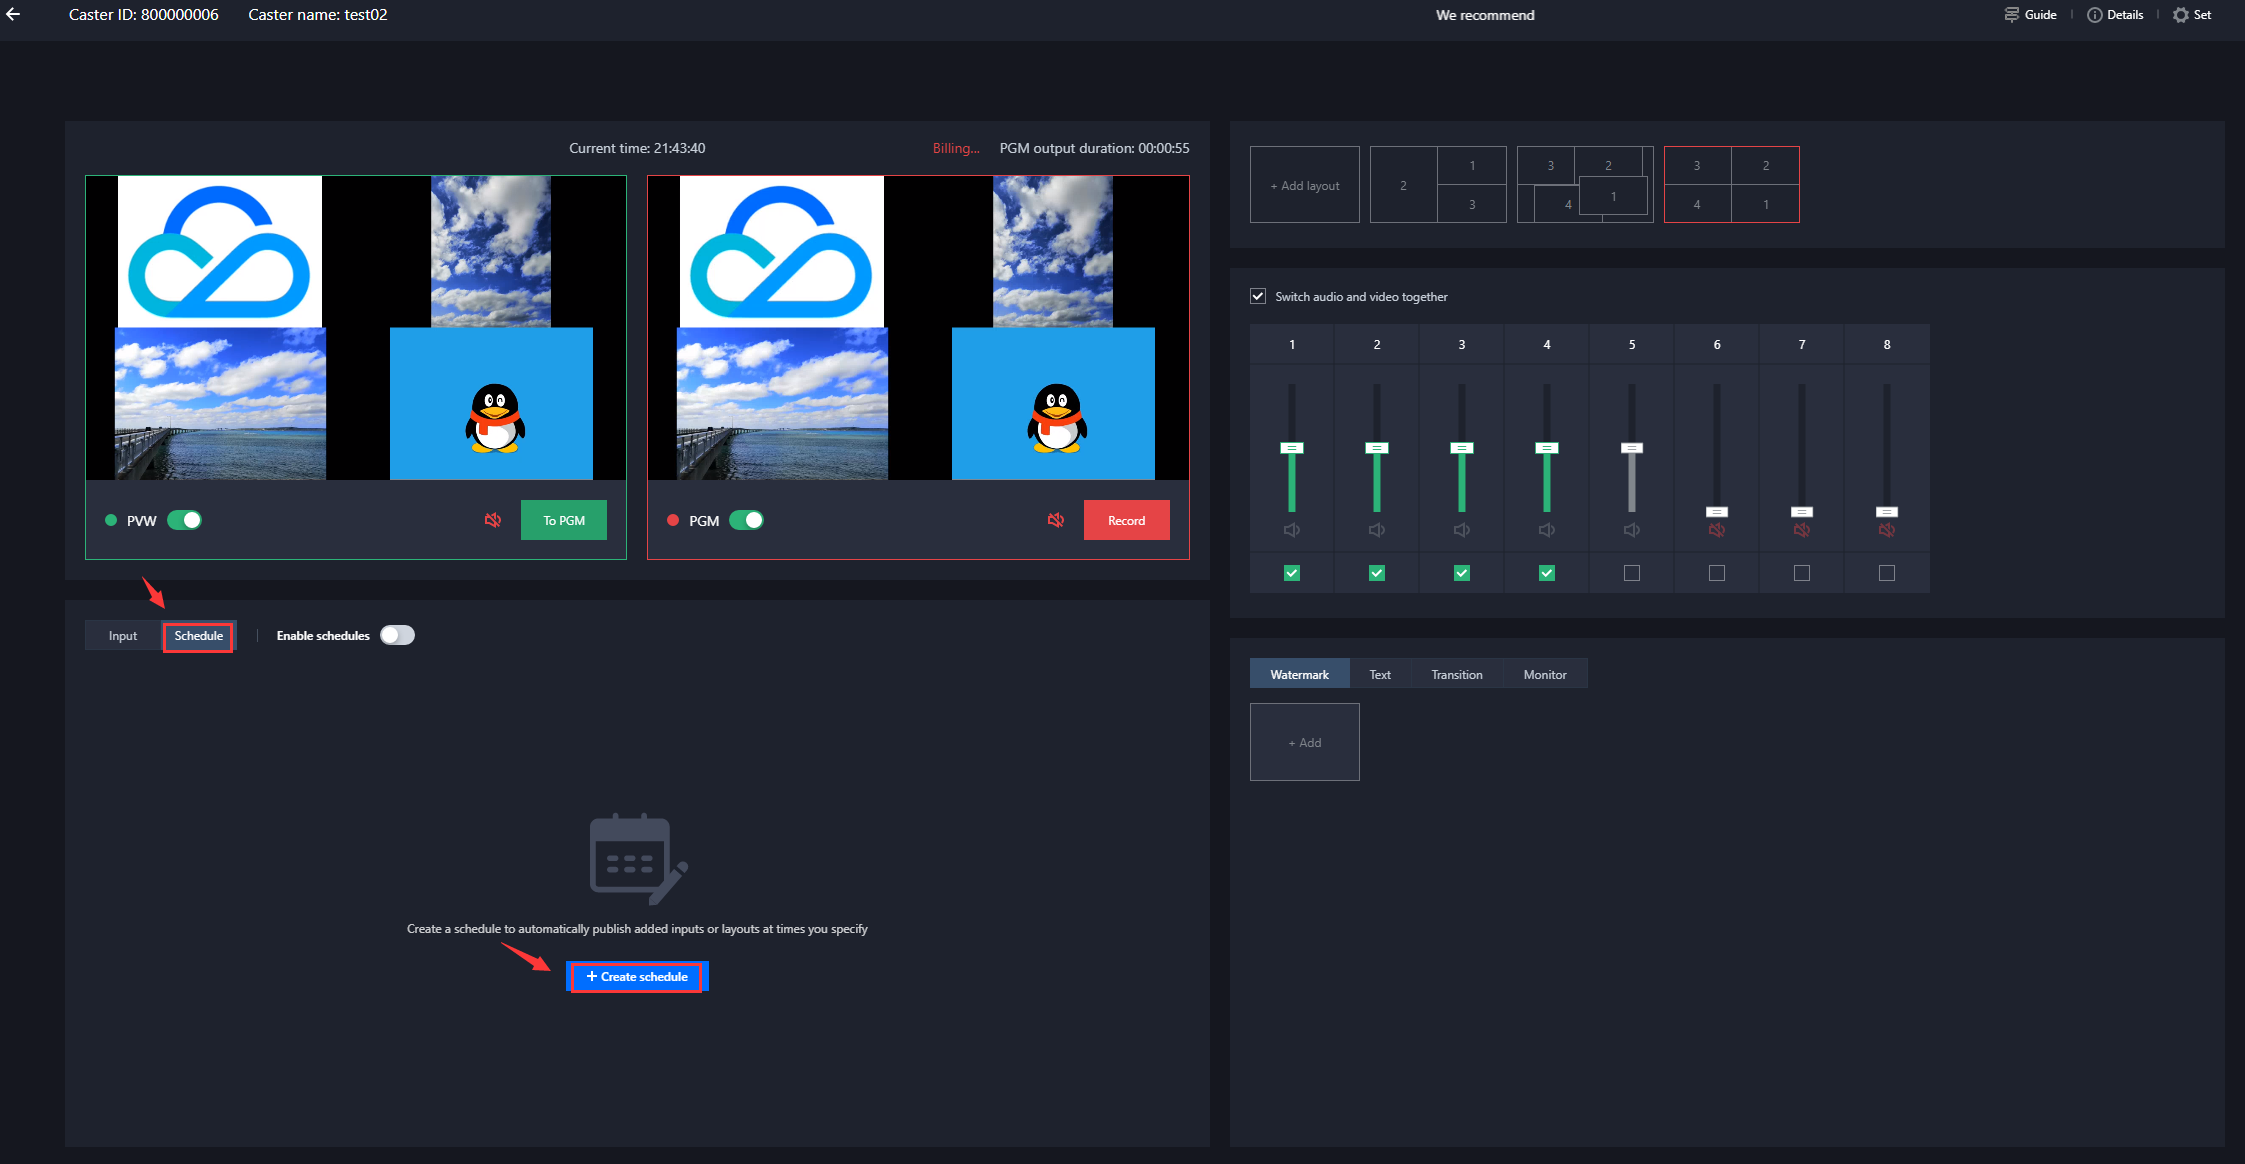
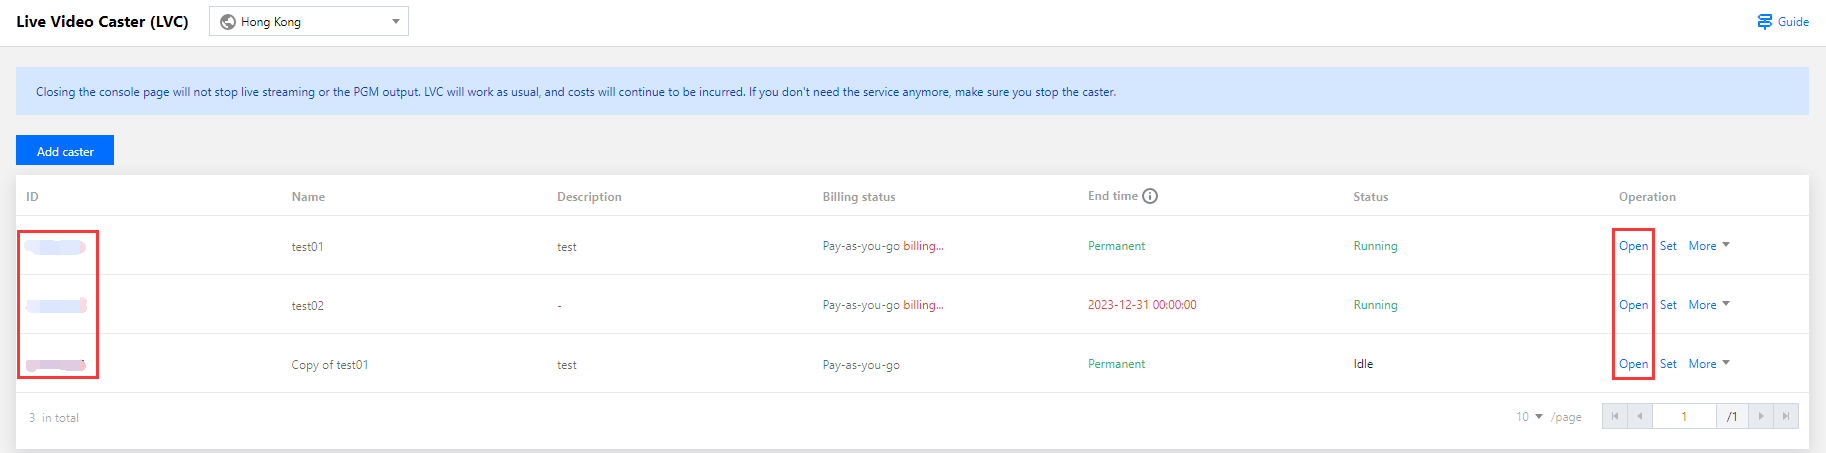
1. In the Live Video Caster list, find the target caster and click its ID or click Open on the right to enter the caster editing page.
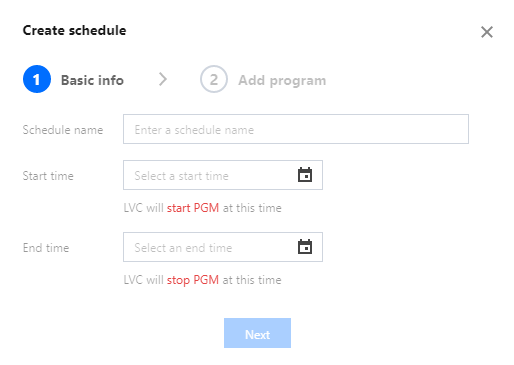
2. Select Schedule, click Create schedule, and proceed with the following configurations:
Set the schedule name, which can consist of up to 10 characters.
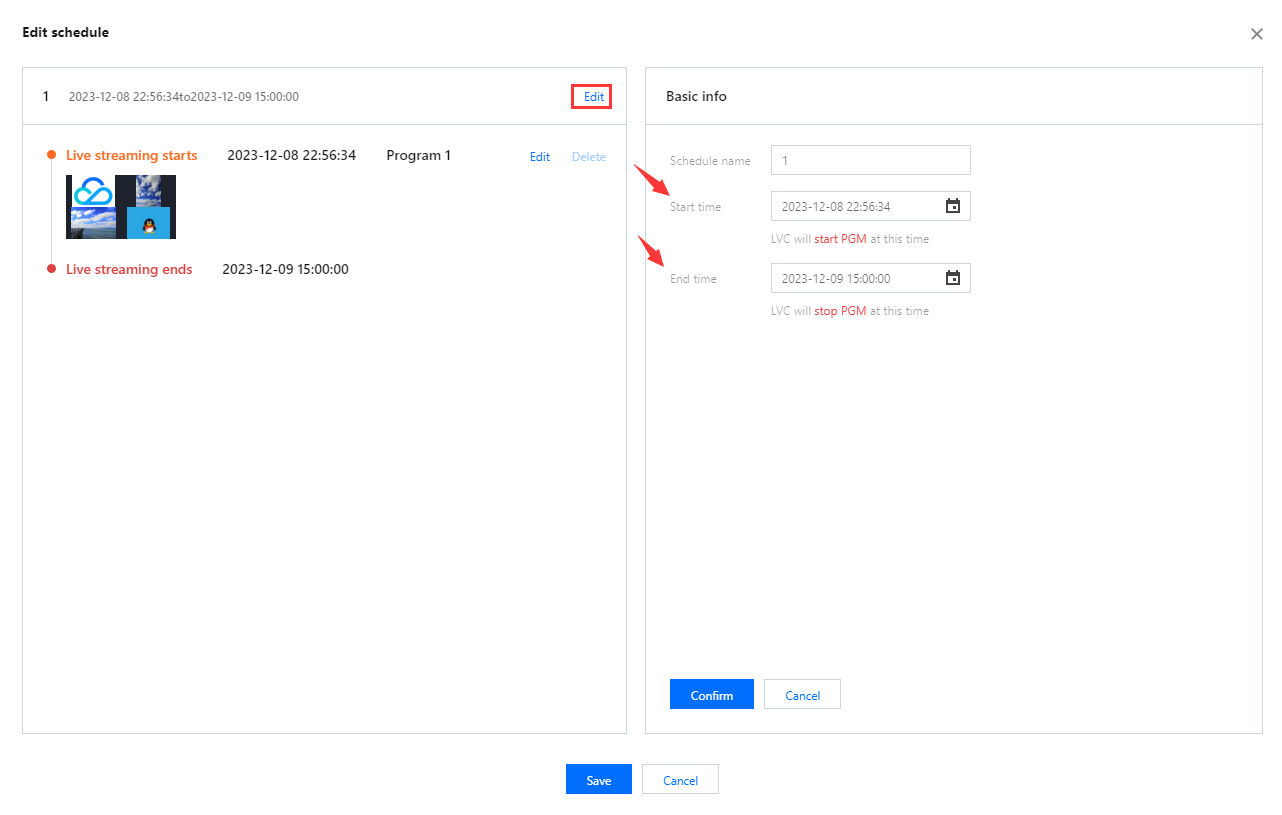
Set the start time of the schedule, which should be later than the time the schedule is saved. If automated broadcasting is enabled, at the start time, LVC automatically turns on the main monitor (PGM) to start streaming and starts billing.
Set the end time of the schedule, which must be later than the start time and not exceed the expiration time of the caster. If automated broadcasting is enabled, at the end time, LVC automatically stops the PGM to stop streaming and stops billing.
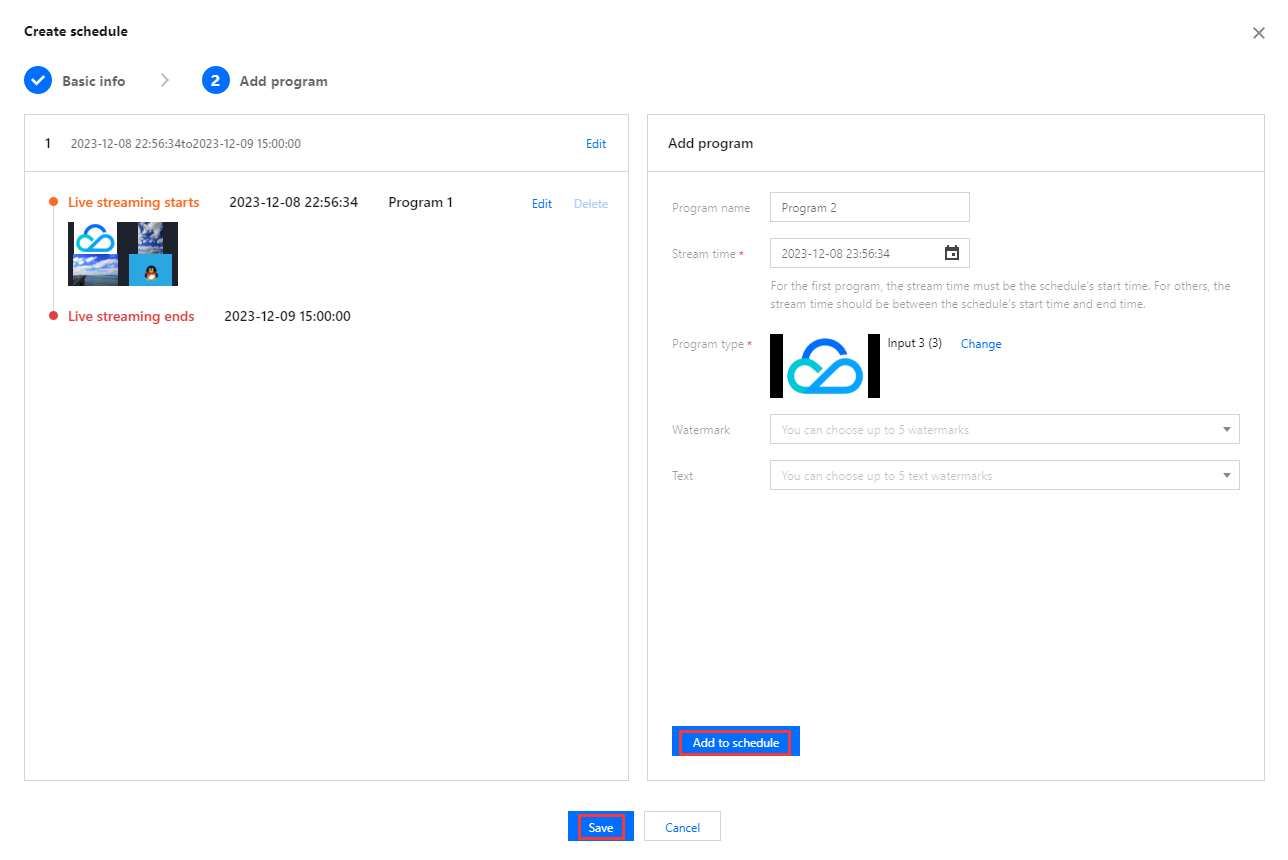
3. Click Next and configure the following items in the Add program area:
Configuration Item
Description
Program name
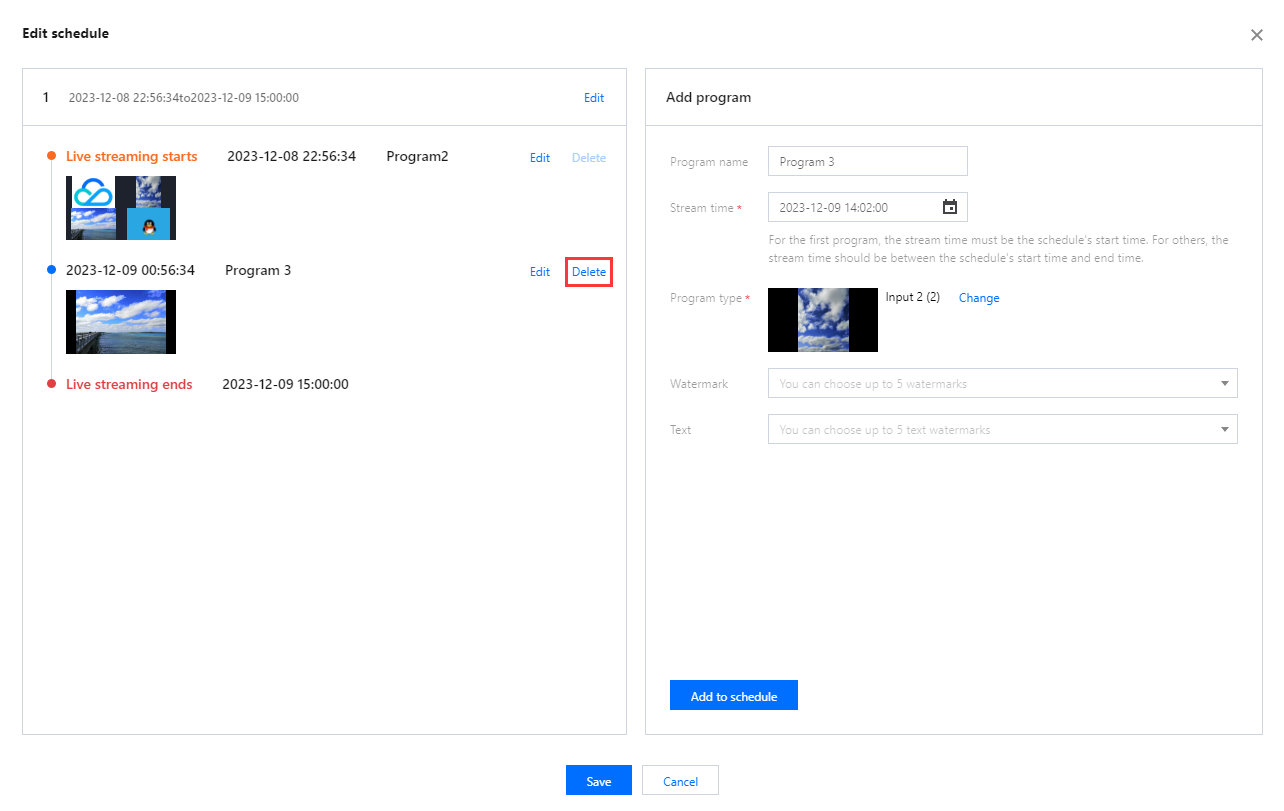
Enter a program name, which can consist of up to 10 characters.
Stream time
For the first program, the stream time must be the schedule's start time. For others, the stream time should be between the schedule's start time and end time.
Program type
You can choose pre-configured sources or layouts.
Watermark
You can choose up to five watermarks.
Text
You can choose up to five texts.
4. Click Add to schedule to add the program. You may add multiple programs to a single schedule.
5. After adding programs, click Save to complete the creation of the schedule.
Note:
The stream time you set for an inserted program should be later than the current time.
Editing a Schedule
1. In the Live Video Caster list, find the target caster and click its ID or click Open on the right to enter the caster editing page.
2. Select a successfully created schedule, and click Edit on the right to enter the schedule editing page.
Note:
Expired schedules cannot be edited.
If automated broadcasting is enabled, the ongoing schedule's start time cannot be changed, though the end time can be changed.
Click Schedule to navigate to the ongoing program.
3. Click Edit on the right of the schedule to edit the start time and end time of the schedule.
4. Select the program you want to edit, and click Edit on the right to edit the program.
5. Select the program you want to delete, and click Delete on the right to delete the program.
6. Click Change to change the program content.
7. After the editing, click Save to save the modifications.
Deleting a Schedule
Note:
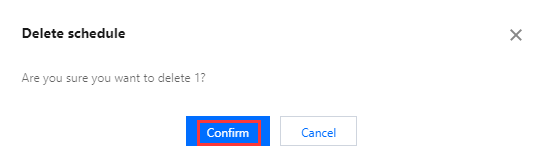
Schedules cannot be recovered once deleted. Exercise utmost caution when deleting a schedule.
The system automatically clears each schedule seven days after its end time.
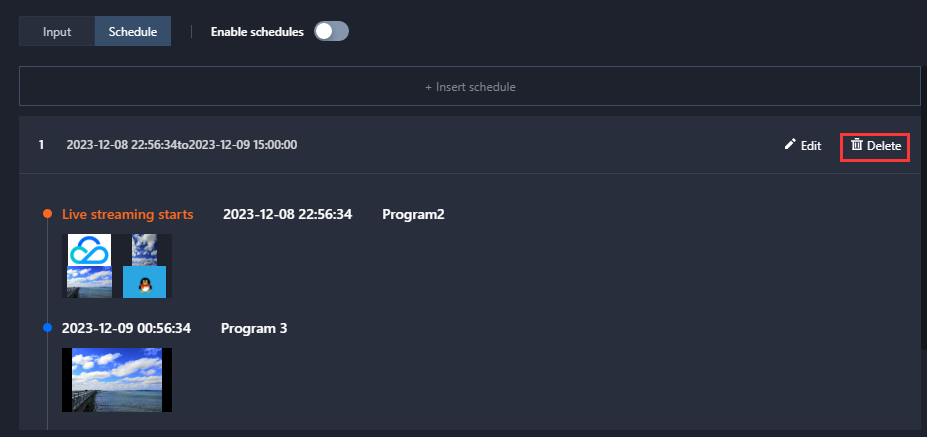
1. On the Schedule tab page, select the target schedule, and click Delete on the right.
2. Click Confirm to delete the schedule.
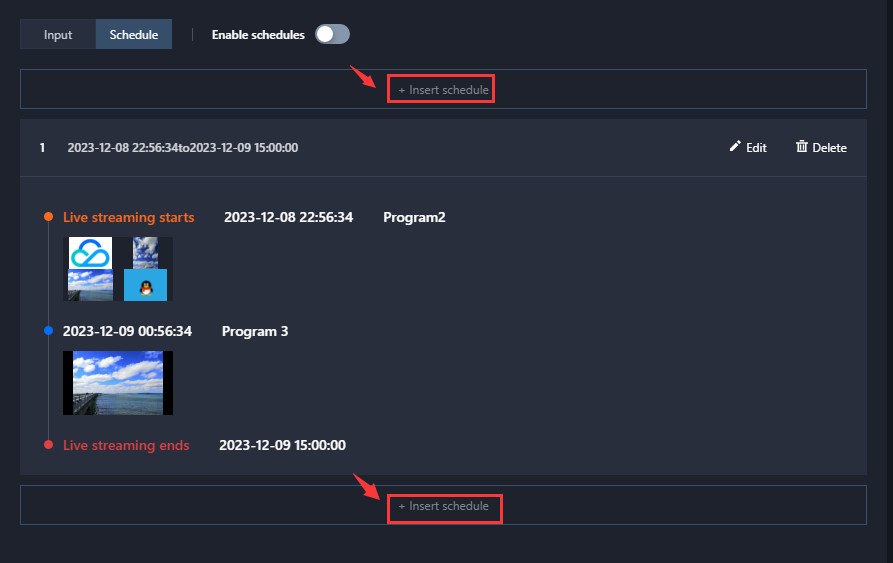
Inserting a Schedule
1. Click
to insert a newly created schedule based on business needs.
Note:
The time period you set for an inserted schedule should not be earlier than the current time.
2. Repeat the previous step to insert more schedules, or edit or delete existing schedules.
Configuring Automated Broadcasting
Enabling Automated Broadcasting
1. After configuring schedules, you may opt to enable automated broadcasting.
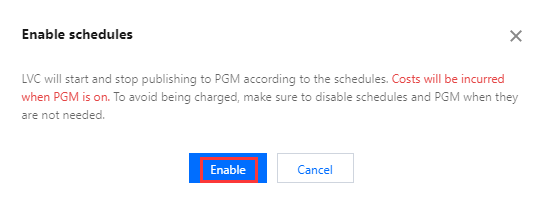
2. Click
to enable automated broadcasting. If this function is enabled, LVC will automatically start and stop the PGM output according to the start and end time of the schedules. The caster will run and incur charges while the PGM output is on. To stop the current and future billing, ensure that both automated broadcasting and PGM are turned off.
3. Click Enable to enable automated broadcasting.
Schedule start time (when live broadcast starts): If automated broadcasting is enabled, at the schedule start time, LVC automatically turns on the PGM to output the first program and starts billing.
Program stream time (excluding the first program): If automated broadcasting and the PGM are both enabled, at the stream time of a program, LVC automatically switches to the program and push it to the PGM.
Note:
If the PGM or automated broadcasting is disabled midway in the schedule broadcasting, program switching will not take effect.
Schedule end time (when live broadcast ends): If automated broadcasting is enabled, at the schedule end time, LVC automatically turns off the PGM and stops billing.
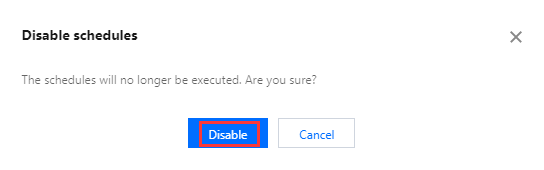
Terminating Automated Broadcasting
Note:
After automated broadcasting is disabled, LVC will no longer start and end live broadcasts according to the schedules' start and end time. To avoid incurring unnecessary charges, ensure that the main monitor (PGM) is also turned off.
1. To terminate automated broadcasting, click
.
2. Consider your actual business needs before deciding to turn off automated broadcasting; proceed with caution. Click Disable to turn off automated broadcasting.


 Yes
Yes
 No
No
Was this page helpful?