- News and Announcements
- Product Introduction
- Purchase Guide
- Development Guidelines
- Demo Zone
- Download
- Chat Interaction (UI Included)
- Video Call (UI Included)
- Desk
- Quick Start
- Integration Guide
- Configure Channels
- Admin Operation Manual
- Configure Agent to Proactively Contact Chat Users
- Login to Management End
- Third-party extension
- Agent Management
- Agent Role Permission Management
- Online Status and Reasons for Short Break
- Skill Group Management
- Session Service Flow Management
- Satisfaction Evaluation
- Quick Reply
- Session Routing and Reception Settings
- Agent Operation Manual
- AI Chatbot
- More Practices
- Live Room
- AI Chatbot
- End-to-end encrypted chat with Virgil
- Super Large Entertainment and Collaboration Community
- How to integrate Tencent IM with Salesforce
- How to integrate Tencent IM with Zendesk
- How to integrate chat widget to your Shopify online store
- Discord Implementation Guide
- How to Integrate Chat into Games
- No UI Integration
- SDK Integration
- Initialization
- Login and Logout
- Message
- Message Overview
- Sending Message
- Receiving Message
- Historical Message
- Forwarding Message
- Modifying Message
- Message Inserting
- Deleting Message
- Clearing Messages
- Recalling Message
- Online Message
- Read Receipt
- Querying Message
- Group @ Message
- Targeted Group Message
- Notification Muting
- Message Extension
- Message Reaction
- Message Translation
- Message Pinning
- Conversation
- Group
- Community Topic
- User Profile and Relationship Chain
- Offline Push
- Local Search
- Signaling
- Client APIs
- Server APIs
- Generating UserSig
- RESTful APIs
- RESTful API Overview
- RESTful API List
- Message Related
- Session Related
- Group Related
- Group Management
- Group Information
- Group Member Management
- Group Member Information
- Group Custom Attributes
- Live Group Management
- Setting Live Streaming Group Robots
- Deleting Live Streaming Group Robots
- Setting/Deleting Live Streaming Group Administrators
- Obtaining the List of Live Streaming Group Administrators
- Checking Whether Users Are in a Live Streaming Group
- Getting the Number of Online Users in an Audio-Video Group
- Getting the List of Online Members in Audio-Video Group
- Setting Audio-Video Group Member Marks
- Getting the List of Banned Group Members
- Community Management
- Group Counter
- User Management
- Global Mute Management
- Operations Management
- Chatbots
- Webhooks
- Webhook Overview
- Webhook Command List
- Operations Management Callbacks
- Online Status Webhooks
- Relationship Chain Webhooks
- One-to-One Message Webhooks
- Group Webhooks
- Before a Group Is Created
- After a Group Is Created
- Before Applying to Join a Group
- Before Inviting a User to a Group
- After a User Joins a Group
- After a User Leaves a Group
- Before Group Message Is Sent
- After a Group Message Is Sent
- After a Group Is Full
- After a Group Is Disbanded
- After Group Profile Is Modified
- Callback After Recalling Group Messages
- Webhook for Online and Offline Status of Audio-Video Group Members
- Webhook for Exceptions When Group Messages Are Sent
- Before a Topic Is Created
- After a Topic Is Created
- After a Topic Is Deleted
- Topic Profile Change Webhook
- Callback After Group Member Profile Changed
- Callback After Group Attribute Changed
- Callback After Read Receipt
- Callback After the Group Owner Changed
- Webhook Mutual Authentication Configuration Guide
- Chatbot webhooks
- Plugin Marketplace
- Console Guide
- FAQs
- Security Compliance Certification
- Chat Policies
- Migration
- Error Codes
- Contact Us
Video Call | Audio Call |
 |  |
Step 1: Activate Audio and Video Calling Capability
Before using Tencent Cloud's audio and video services, you need to go to the Console and activate the audio and video service for your application. For specific steps, please refer to Activate the Service.
Step 2: Download the TUICallKit Component
npm i @tencentcloud/call-uikit-vue
Step 3: Import the TUICallKit Component
In main.ts, you only need to add two lines of code to try the call feature.
Import TUICallKit and mount it to TUIKit.
// import TUICallKitimport { TUICallKit } from '@tencentcloud/call-uikit-vue';// TUIKit add TUICallKitTUIKit.use(TUICallKit);
Step 4: Invoke the TUICallKit Component
Note:
The TUICallKit component needs to be placed inside a dom node to display and control its position, width, height, and other styles.
On the page where you want to display it, simply call the TUICallKit component for use. The main components of TUICallKit include:
<TUICallKit/>: Call UI component body | <TUICallKitMini/>: Call UI floating window component, providing a minimize feature |
 |  |
For example: On the App.vue page, on top of the chat interface already set up, use TUICallKit to quickly build a call interface.
<template><div class="home-TUIKit-main"><div:class="env?.isH5 ? 'conversation-h5' : 'conversation'"v-show="!env?.isH5 || currentModel === 'conversation'"><TUISearch class="search" /><TUIConversation @current="handleCurrentConversation" /></div><div class="chat" v-show="!env?.isH5 || currentModel === 'message'"><TUIChat><h1>Welcome to Tencent Cloud Instant Messaging (IM)</h1></TUIChat></div><!-- TUICallKit Component: Call UI Component Body --><TUICallKit:class="!showCallMini ? 'callkit-drag-container' : 'callkit-drag-container-mini'":allowedMinimized="true":allowedFullScreen="false":beforeCalling="beforeCalling":afterCalling="afterCalling":onMinimized="onMinimized":onMessageSentByMe="onMessageSentByMe"/></div></template><script lang="ts">import { defineComponent, reactive, toRefs } from "vue";import { TUIEnv } from "./TUIKit/TUIPlugin";import { handleErrorPrompts } from "./TUIKit/TUIComponents/container/utils";export default defineComponent({name: "App",setup() {const data = reactive({env: TUIEnv(),currentModel: "conversation",showCall: false,showCallMini: false,});const TUIServer = (window as any)?.TUIKitTUICore?.TUIServer;const handleCurrentConversation = (value: string) => {data.currentModel = value ? "message" : "conversation";};// beforeCalling: Execute before making a call and before receiving a call invitationconst beforeCalling = (type: string, error: any) => {if (error) {handleErrorPrompts(error, type);return;}data.showCall = true;};// afterCalling: Execute after ending the callconst afterCalling = () => {data.showCall = false;data.showCallMini = false;};// onMinimized: Execute when the component switches to minimized stateconst onMinimized = (oldMinimizedStatus: boolean,newMinimizedStatus: boolean) => {data.showCall = !newMinimizedStatus;data.showCallMini = newMinimizedStatus;};// onMessageSentByMe: Execute when sending messages during the entire callconst onMessageSentByMe = async (message: any) => {TUIServer?.TUIChat?.handleMessageSentByMeToView(message);return;};return {...toRefs(data),handleCurrentConversation,beforeCalling,afterCalling,onMinimized,onMessageSentByMe,};},});</script><style scoped>.home-TUIKit-main {display: flex;height: 100vh;overflow: hidden;}.search {padding: 12px;}.conversation {min-width: 285px;flex: 0 0 24%;border-right: 1px solid #f4f5f9;}.conversation-h5 {flex: 1;border-right: 1px solid #f4f5f9;}.chat {flex: 1;height: 100%;position: relative;}.callkit-drag-container {position: fixed;left: calc(50% - 25rem);top: calc(50% - 18rem);width: 50rem;height: 36rem;border-radius: 16px;box-shadow: rgba(0, 0, 0, 0.16) 0px 3px 6px, rgba(0, 0, 0, 0.23) 0px 3px 6px;}.callkit-drag-container-mini {position: fixed;width: 168px;height: 56px;right: 10px;top: 70px;}</style>
Step 5. Launch the Project
npm run serve
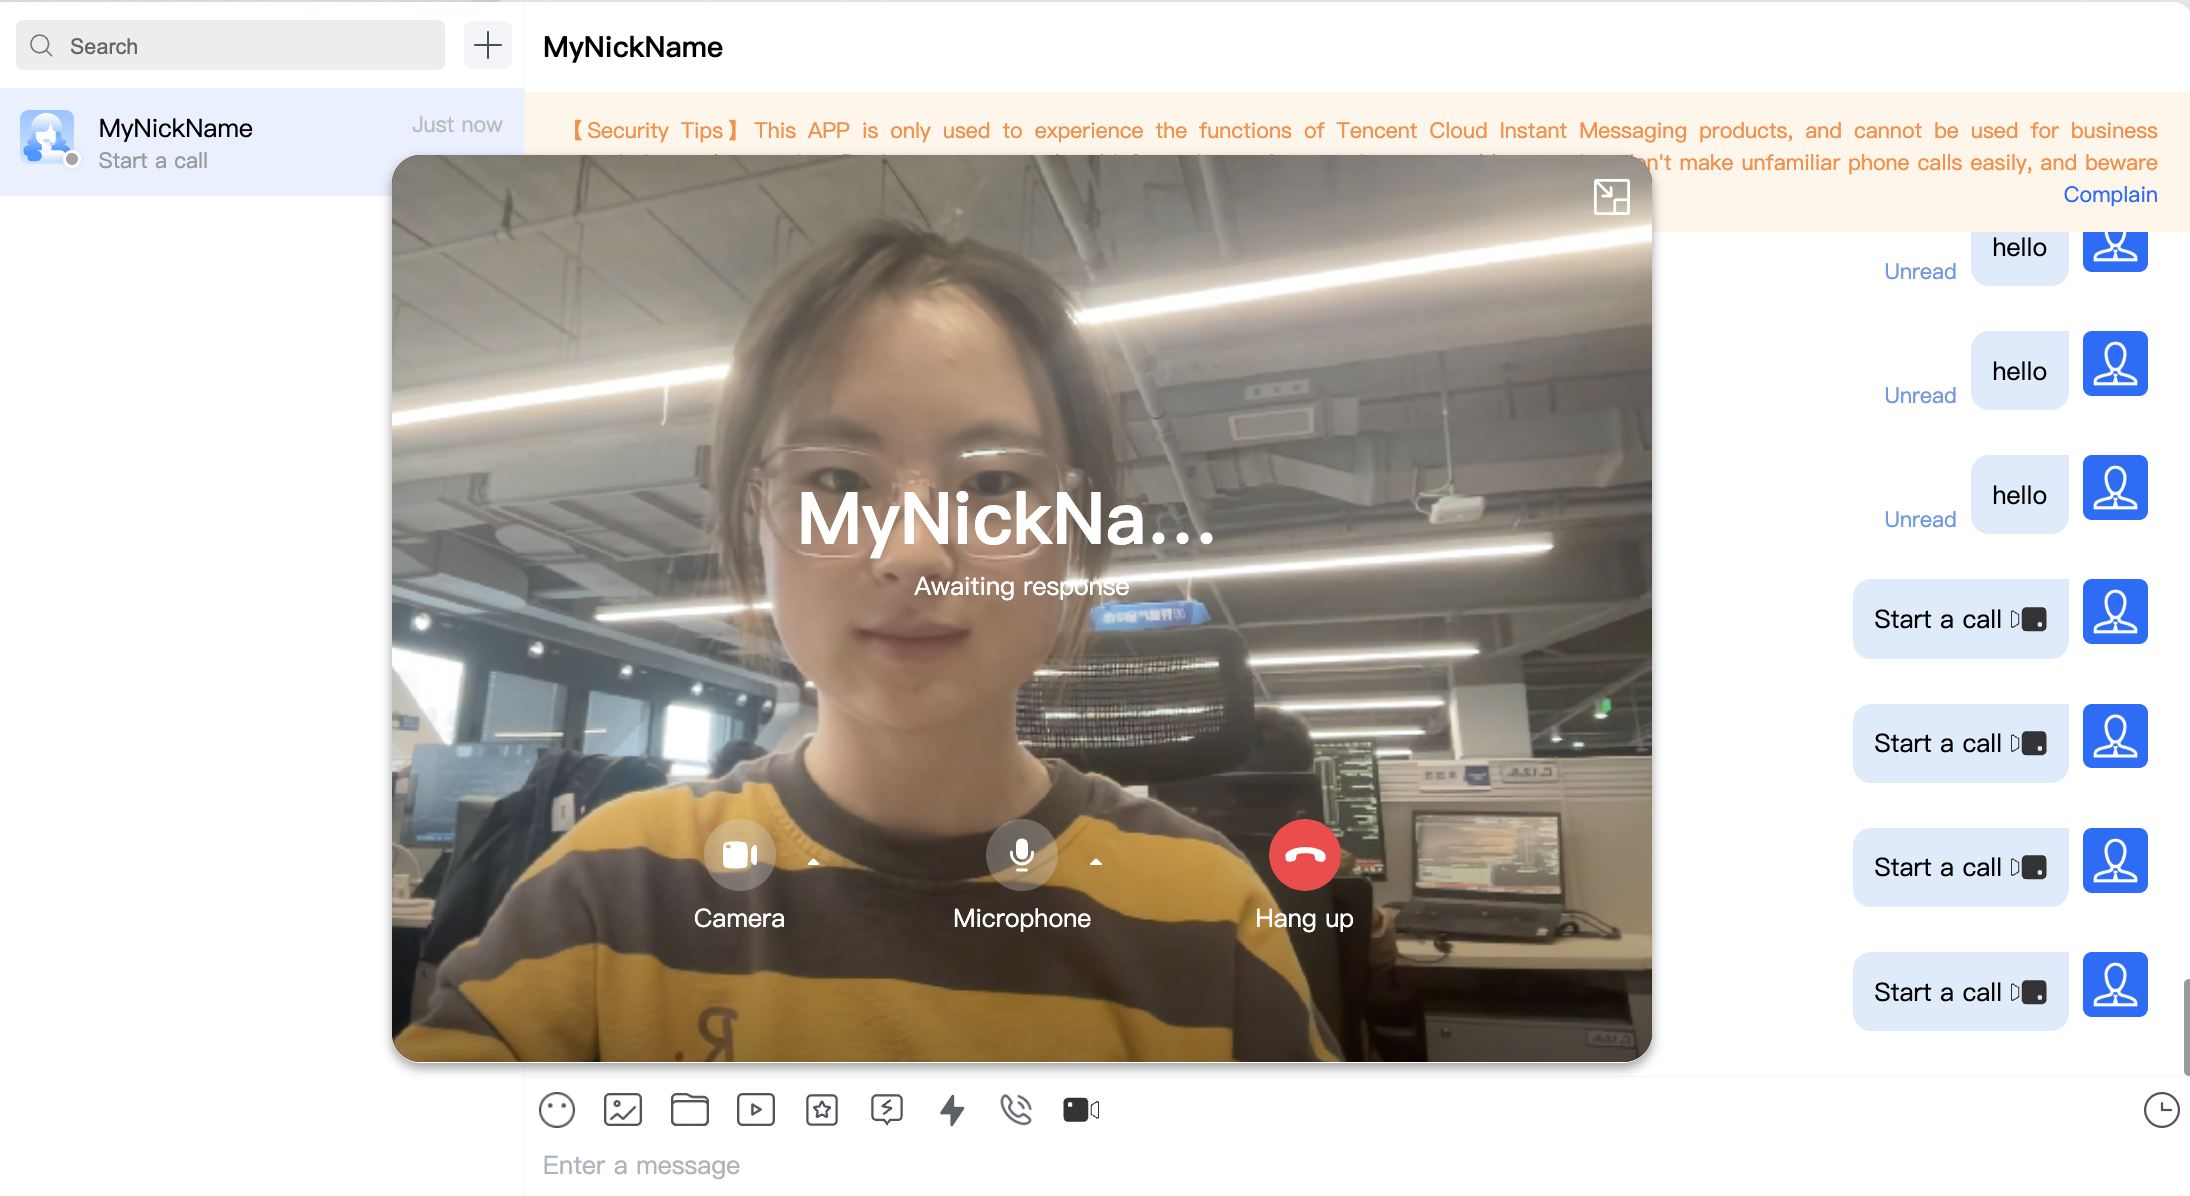
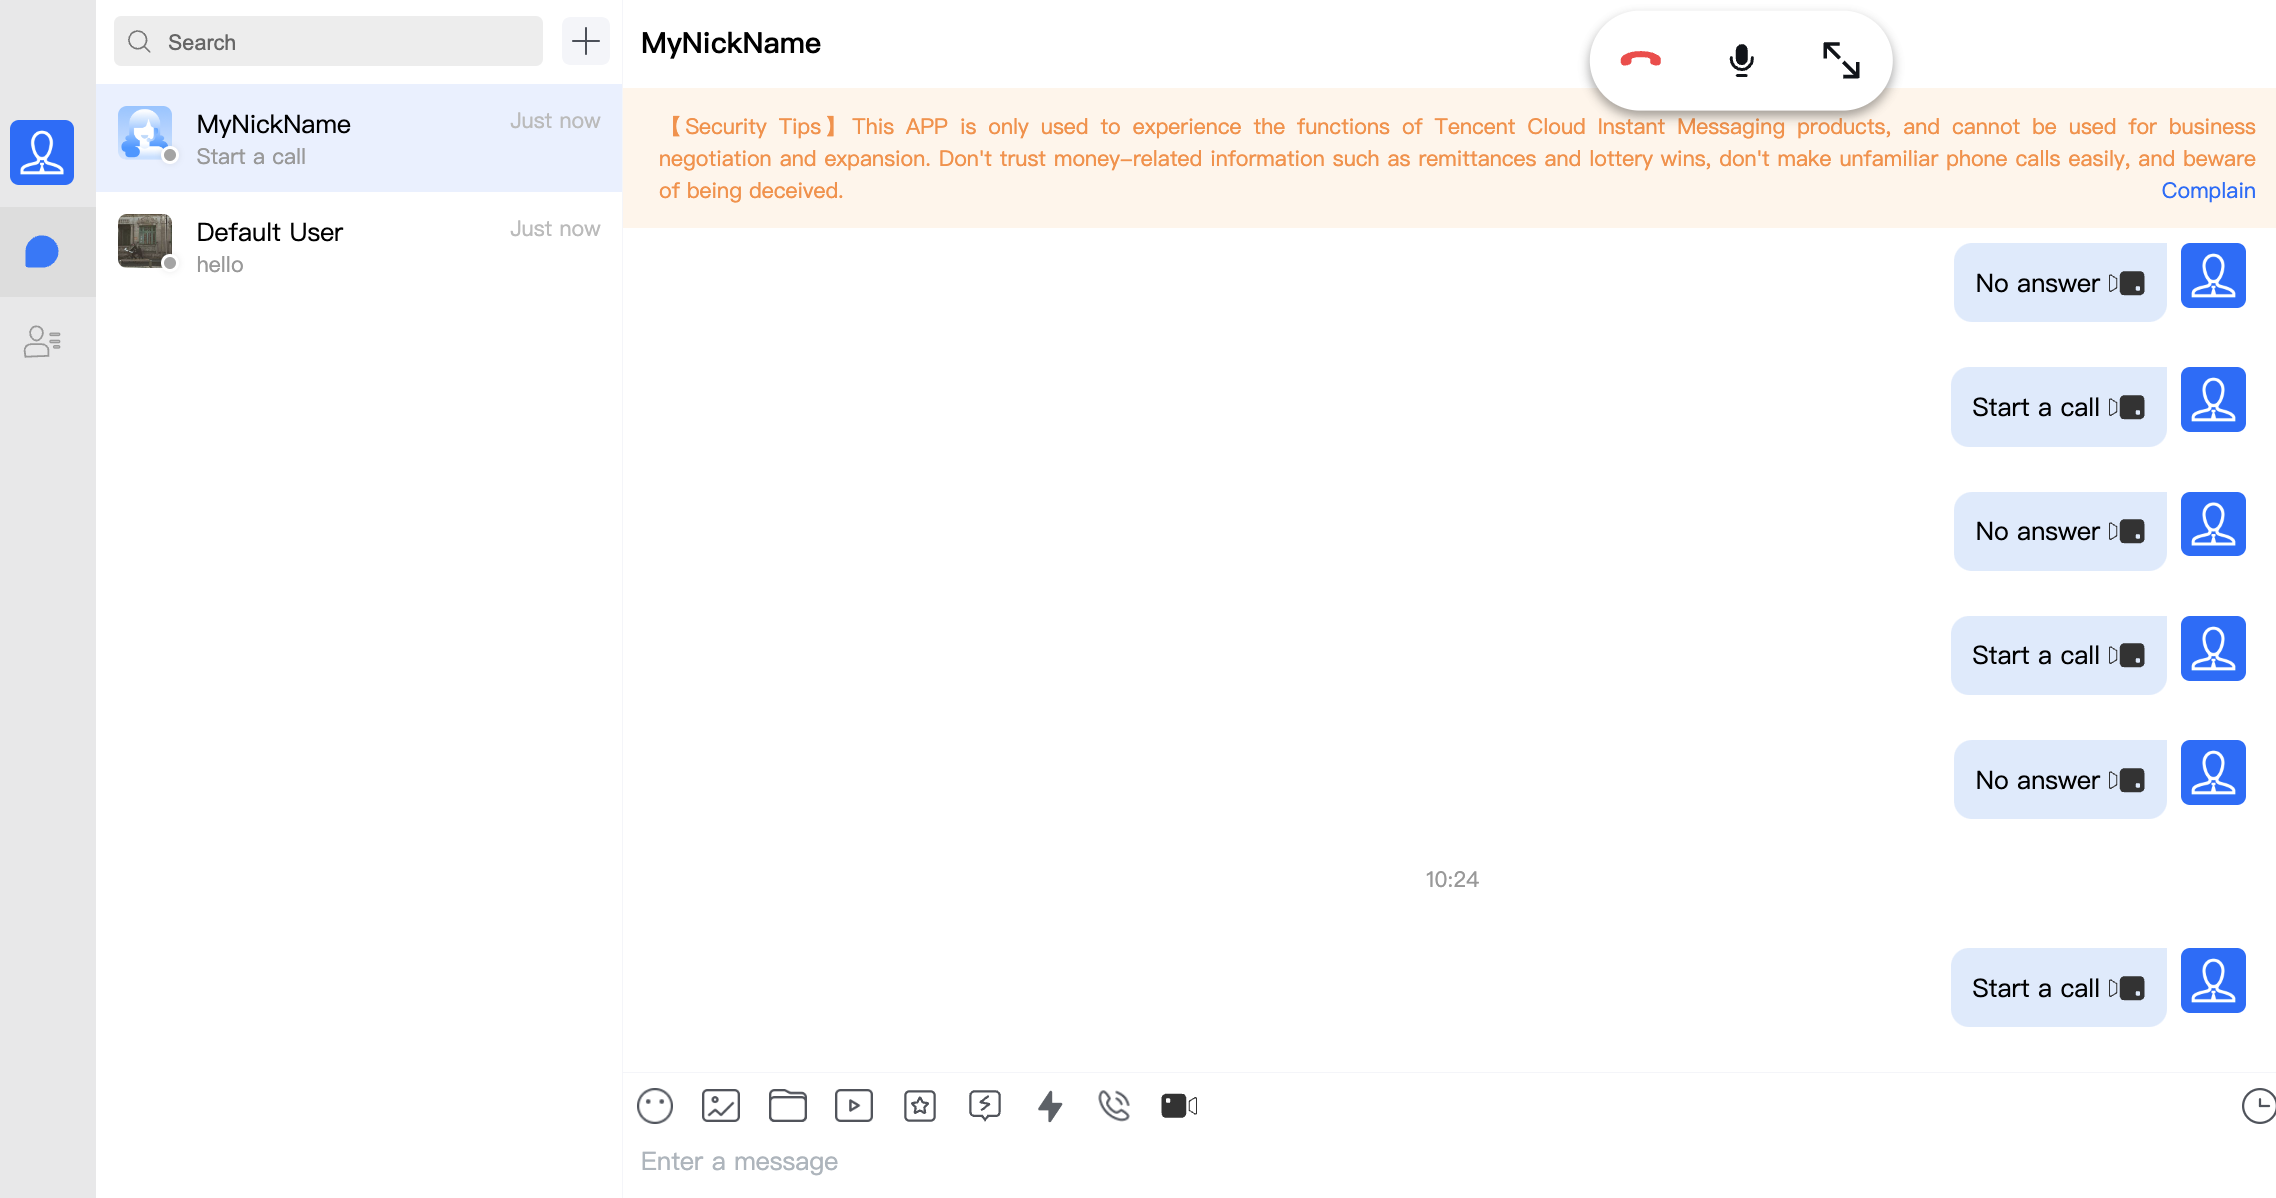
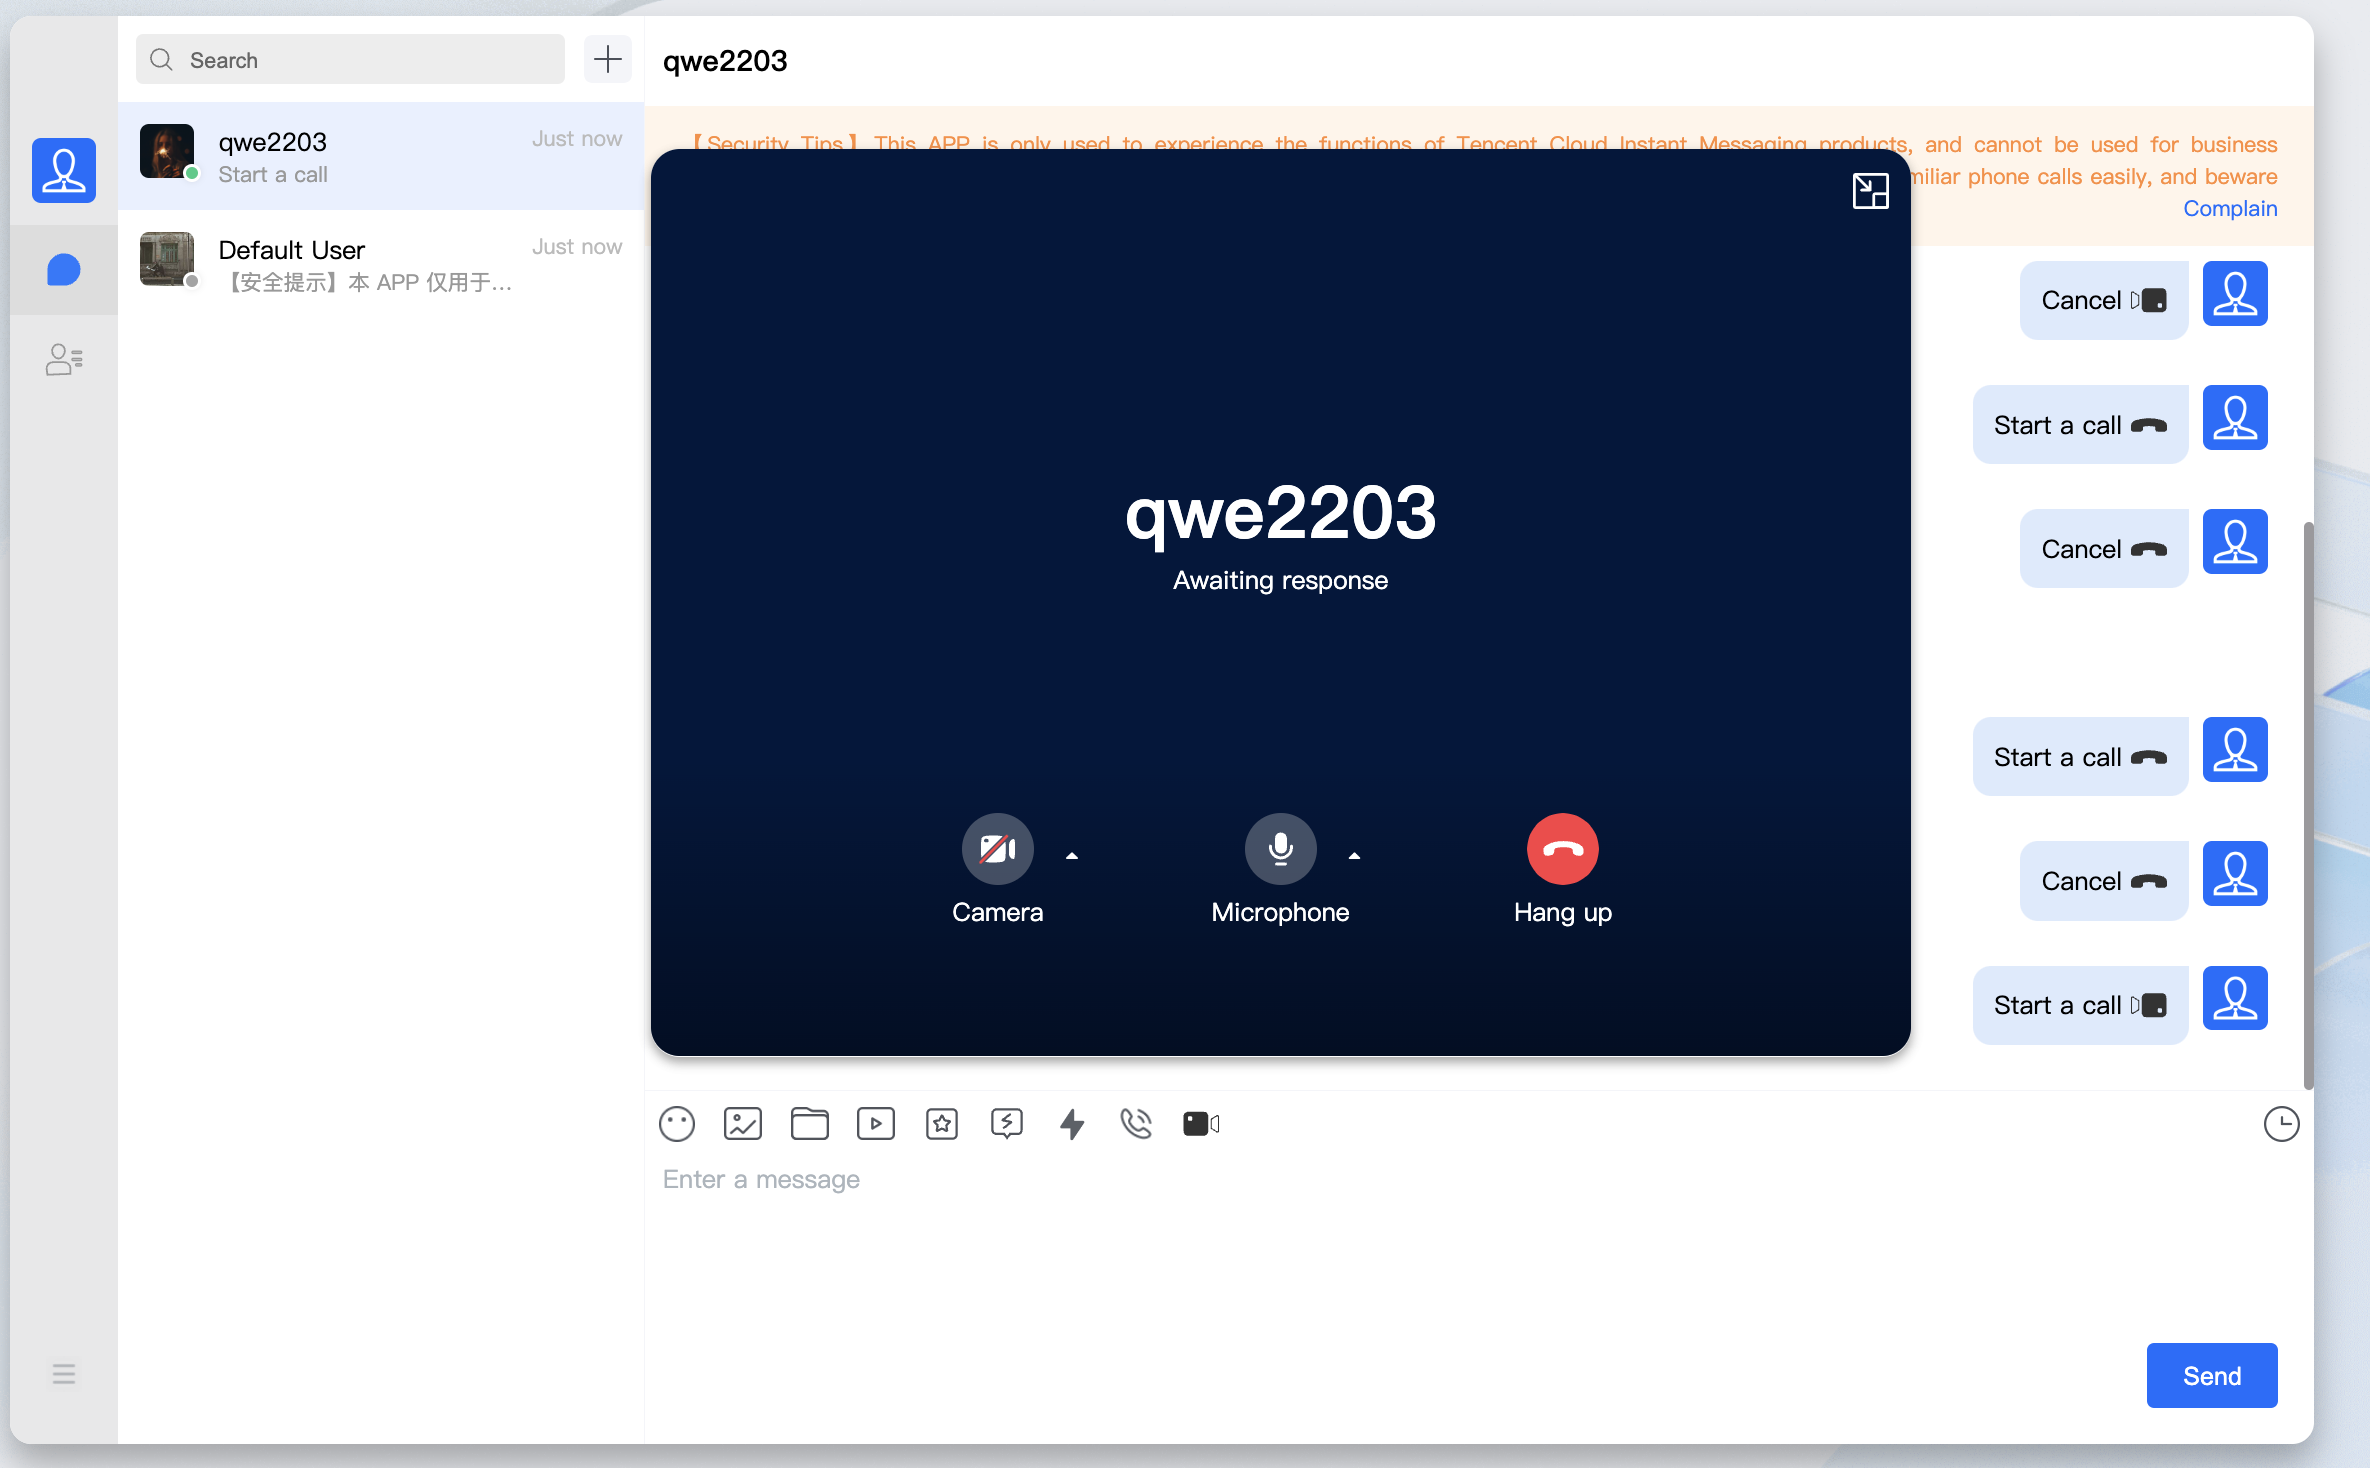
Step 6: Make Your First Call
Technical Support
If you have any requirements or feedback, contact info_rtc@tencent.com.

 Yes
Yes
 No
No
Was this page helpful?