- Release Notes and Announcements
- Release Notes
- TRTC Live (TUILiveKit) Product Launch Announcement
- TRTC Conference Official Editions Launched
- The commercial version of Conference is coming soon
- Terms and Conditions Applicable to $9.9 Starter Package
- Rules for the "First Subscription $100 Discount" Promotion
- Announcement on the Start of Beta Testing for Multi-person Audio and Video Conference
- TRTC Call Official Editions Launched
- License Required for Video Playback in New Version of LiteAV SDK
- TRTC to Offer Monthly Packages
- Product Introduction
- Purchase Guide
- Billing Overview
- RTC-Engine Packages
- TRTC Call Monthly Packages
- TRTC Conference Monthly Packages
- TRTC Live Monthly Packages
- Pay-As-You-Go
- Billing Explanation for Subscription Package Duration
- Billing of On-Cloud Recording
- Billing of MixTranscoding and Relay to CDN
- Free Minutes
- FAQs
- Billing of Monitoring Dashboard
- Billing of Recording Delivery
- Overdue and Suspension Policy
- Refund Policies
- User Tutorial
- Free Demo
- Video Calling (Including UI)
- Overview (TUICallKit)
- Activate the Service(TUICallKit)
- Run Demo(TUICallKit)
- Integration (TUICallKit)
- UI Customization (TUICallKit)
- Offline Call Push (TUICallKit)
- AI Noise Reduction (TUICallKit)
- Virtual Background (TUICallKit)
- On-Cloud Recording (TUICallKit)
- Additional Features(TUICallKit)
- Server APIs (TUICallKit)
- Client APIs (TUICallKit)
- ErrorCode
- Release Notes (TUICallKit)
- FAQs(TUICallKit)
- Multi-Participant Conference (with UI)
- Overview (TUIRoomKit)
- Activate the Service (TUIRoomKit)
- Run Demo(TUIRoomKit)
- Integration (TUIRoomKit)
- UI Customization (TUIRoomKit)
- Virtual Background (TUIRoomKit)
- Conference Control (TUIRoomKit)
- Cloud Recording (TUIRoomKit)
- AI Noise Reduction (TUIRoomKit)
- API Documentation(TUIRoomKit)
- In-Conference Chat (TUIRoomKit)
- Robot Streaming (TUIRoomKit)
- Enhanced Features (TUIRoomKit)
- FAQs (TUIRoomKit)
- Error Code (TUIRoomKit)
- SDK Update Log (TUIRoomKit)
- Live Streaming (Including UI)
- Voice Chat Room (with UI)
- Overview (TUILiveKit)
- Activating the Service (TUILiveKit)
- Integration (TUILiveKit)
- Interactive Bullet Comments (TUILiveKit)
- Interactive Gifts (TUILiveKit)
- Client APIs (TUICallKit)
- Error Codes (TUILiveKit)
- Release Notes(TUILiveKit)
- FAQs(TUILiveKit)
- Integrating TUIVoiceRoom (Android)
- Integrating TUIVoiceRoom (iOS)
- TUIVoiceRoom APIs
- Integration (No UI)
- SDK Download
- API Examples
- Integration Guide
- Client APIs
- Advanced Features
- Relay to CDN
- Enabling Advanced Permission Control
- RTMP Streaming with TRTC
- Utilizing Beautification Effects
- Testing Hardware Devices
- Testing Network Quality
- On-Cloud Recording
- Custom Capturing and Rendering
- Custom Audio Capturing and Playback
- Sending and Receiving Messages
- Event Callbacks
- Access Management
- How to push stream to TRTC room with OBS WHIP
- Server APIs
- Console Guide
- Solution
- FAQs
- Legacy Documentation
- Protocols and Policies
- TRTC Policy
- Glossary
This article will guide you through the quick integration of the TUICallKit component. You will complete several key steps within 10 minutes, ultimately obtaining a video call feature with a complete UI interface.
1v1 Video Call | Group call |
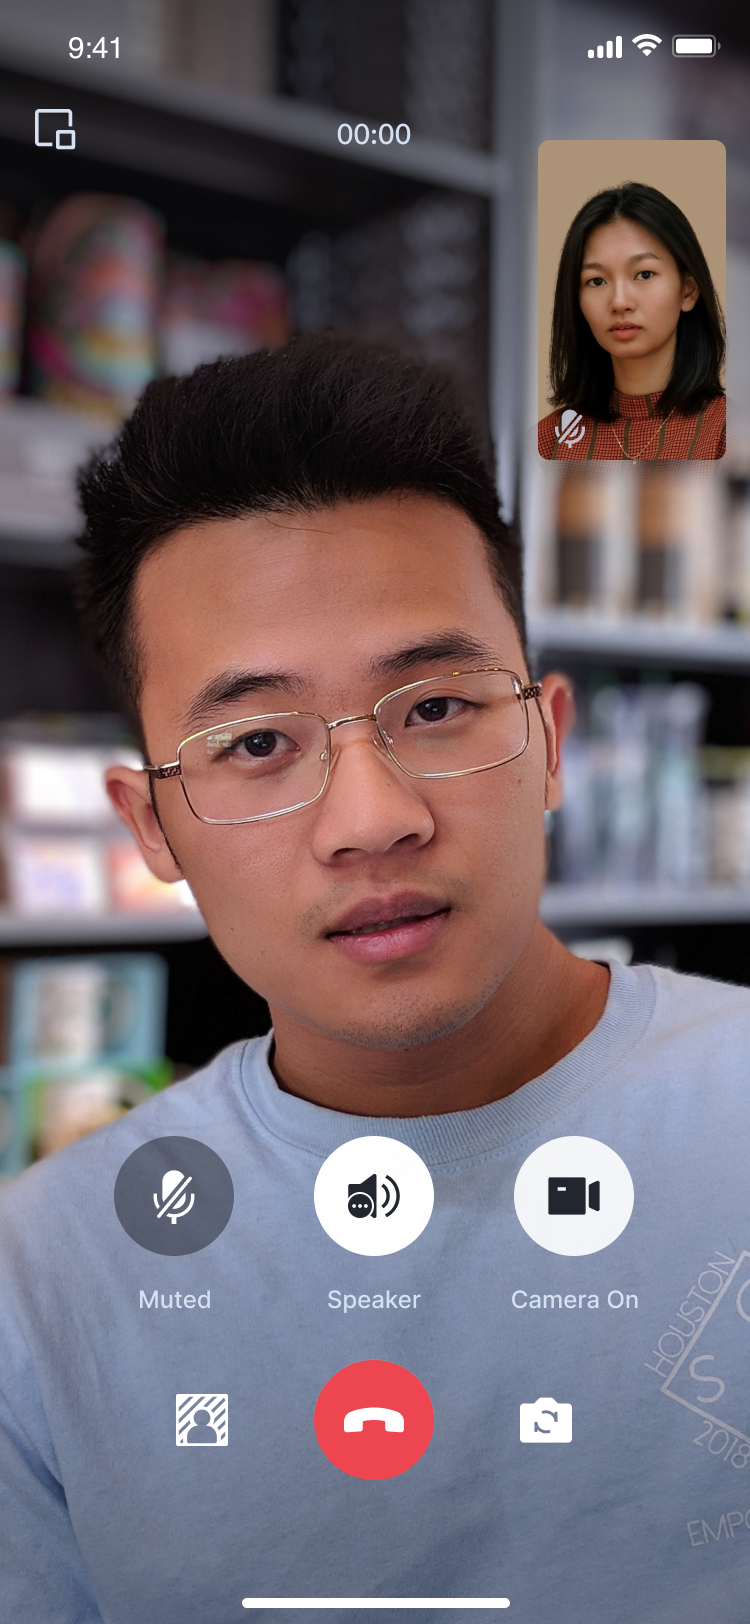 | 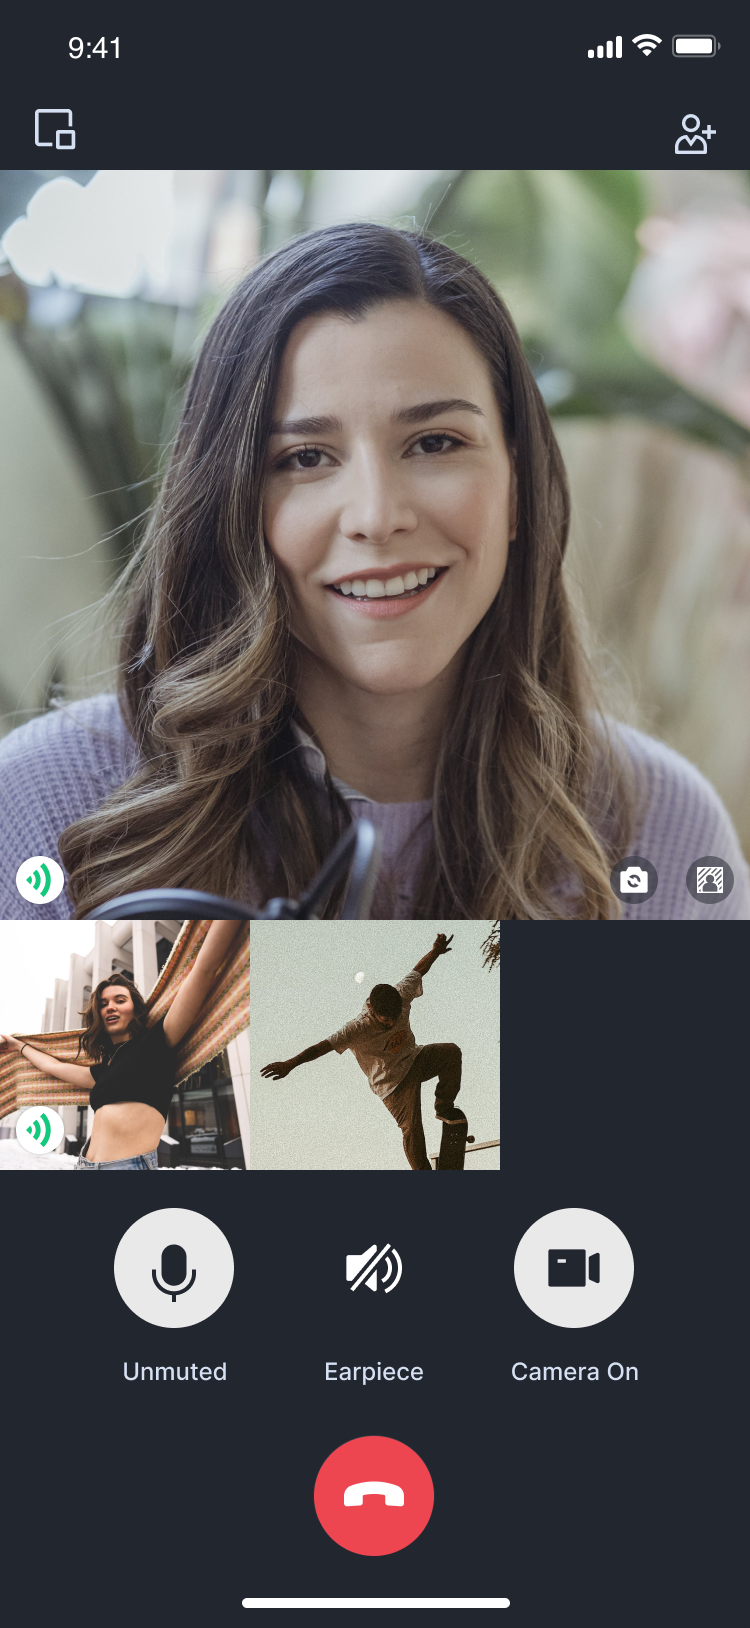 |
Environment Preparations
Android 5.0 (SDK API level 21) or later.
Gradle 4.2.1 or later
Mobile phone on Android 5.0 or later.
Step 1. Activate the service
Before using the Audio and Video Services provided by Tencent Cloud, you need to go to the Console and activate the service for your application. For detailed steps, refer to Activate Service. Please record the
SDKAppID and SDKSecretKey, they will be used for the following steps.Step 2. Download and import the component
Go to GitHub, clone or download the code, and copy the
tuicallkit-kt subdirectory in the Android directory to the directory at the same level as app in your current project, as shown below.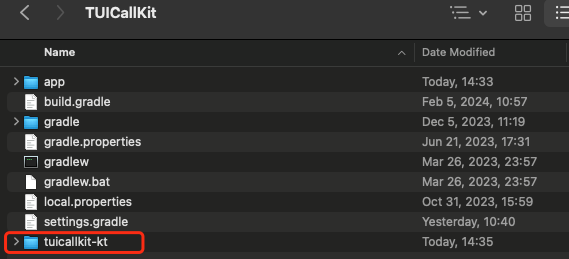
Step 3. Configure the project
1. Find the
settings.gradle.kts(or settings.gradle) file in the project root directory and add the following code to import the tuicallkit-kt component.include(":tuicallkit-kt")
include ':tuicallkit-kt'
2. Find the
build.gradle.kts(or build.gradle) file in the app directory, add the following code to its dependencies section. This is to declare the current app's dependency on the newly added components.dependencies {api(project(":tuicallkit-kt"))}
dependencies {api project(':tuicallkit-kt')}
Note:
The
TUICallKit project depends on TRTC SDK, Chat SDK, tuicallengine, and the tuicore public library internally by default. To upgrade the version, modify the version in tuicallkit-kt/build.gradle file.3. Since the SDK uses Java's reflection feature internally, you need to add certain classes in the SDK to the obfuscation allowlist. Therefore, you should add the following code to the
proguard-rules.pro file in the app directory. After adding, click on the upper right corner "Sync Now" to synchronize the code.-keep class com.tencent.** { *; }
4. In the app directory, find the
AndroidManifest.xml file and add tools:replace="android:allowBackup" within the application node to override the settings inside the components, using your own settings.// app/src/main/AndroidManifest.xml<application android:name=".DemoApplication" android:allowBackup="false" android:icon="@drawable/app_ic_launcher" android:label="@string/app_name" android:largeHeap="true" android:theme="@style/AppTheme" tools:replace="android:allowBackup">
5. We suggest you compile and run once. If you encounter any issues, you may try our Github demo. By comparison, you can identify potential differences and resolve encountered issues. During integration and use, if any issues arise, you are welcome to provide feedback to us.
Step 4. Log in to the TUICallKit component
Add the following code to your project. It works by calling the relevant interfaces in TUICore to complete the login to TUI Component. This step is very important, only after successfully logging in, you can normally use the features offered by TUICallKit.
import com.tencent.qcloud.tuicore.TUILogin import com.tencent.qcloud.tuicore.interfaces.TUICallbackimport com.tencent.qcloud.tuikit.tuicallkit.debug.GenerateTestUserSigclass MainActivity : ComponentActivity() { override fun onCreate(savedInstanceState: Bundle?) { super.onCreate(savedInstanceState)// beginval userID = "denny" // Please replace with your UserIdval sdkAppID = 0 // Please replace with the SDKAppID obtained from the console in step 1val secretKey = "****" // Please replace with the SecretKey obtained from the console in step 1val userSig = GenerateTestUserSig.genTestUserSig(userId, sdkAppId, secretKey)TUILogin.login(this, sdkAppId, userId, userSig, object : TUICallback() {override fun onSuccess() {}override fun onError(errorCode: Int, errorMessage: String) {}})// end } }
import com.tencent.qcloud.tuicore.TUILogin; import com.tencent.qcloud.tuicore.interfaces.TUICallback;import com.tencent.qcloud.tuikit.tuicallkit.debug.GenerateTestUserSig;public class MainActivity extends AppCompatActivity { @Override public void onCreate(Bundle savedInstanceState) { super.onCreate(savedInstanceState);//beginString userID = "denny"; // Please replace with your UserIdint sdkAppID = 0; // Please replace with the SDKAppID obtained from the console in step 1String secretKey = "****"; // Please replace with the SecretKey obtained from the console in step 1String userSig = GenerateTestUserSig.genTestUserSig(userId, sdkAppId, secretKey);TUILogin.login(this, sdkAppId, userId, userSig, new TUICallback() {@Overridepublic void onSuccess() {}@Overridepublic void onError(int errorCode, String errorMessage) {}});//end } }
Parameter | Type | Description |
userID | String | your own User ID based on your business. It can only include letters (a-z, A-Z), digits (0-9), underscores, and hyphens. |
sdkAppID | int | |
secretKey | String | |
userSig | String | A security signature for user login to verify identity and prevent unauthorized access to cloud services. |
Note:
Development Environment: During local development and debugging, use the local
GenerateTestUserSig.genTestSig function to create a userSig. But be careful, the SDKSecretKey can be decompiled and reverse-engineered. If leaked, it could allow theft of your Tencent Cloud traffic.Production Environment: If your project is going to be launched, please adopt the method of Server-side Generation of UserSig.
Step 5. Make your first phone call
After user login success, invoke the call method of TUICallKit, specifying the callee's userID and the type of call, to initiate an audio/video call. The callee will receive an incoming call invitation.
import com.tencent.qcloud.tuikit.tuicallengine.TUICallDefineimport com.tencent.qcloud.tuikit.tuicallkit.TUICallKit// Initiating a one-to-one audio call (assuming the callee's userID is mike)TUICallKit.createInstance(context).call("mike", TUICallDefine.MediaType.Audio)
import com.tencent.qcloud.tuikit.tuicallengine.TUICallDefine;import com.tencent.qcloud.tuikit.tuicallkit.TUICallKit;// Initiating a one-to-one audio call (assuming the callee's userID is mike)TUICallKit.createInstance(context).call("mike", TUICallDefine.MediaType.Audio);
Caller initiates an audio call | Callee receives an audio call request |
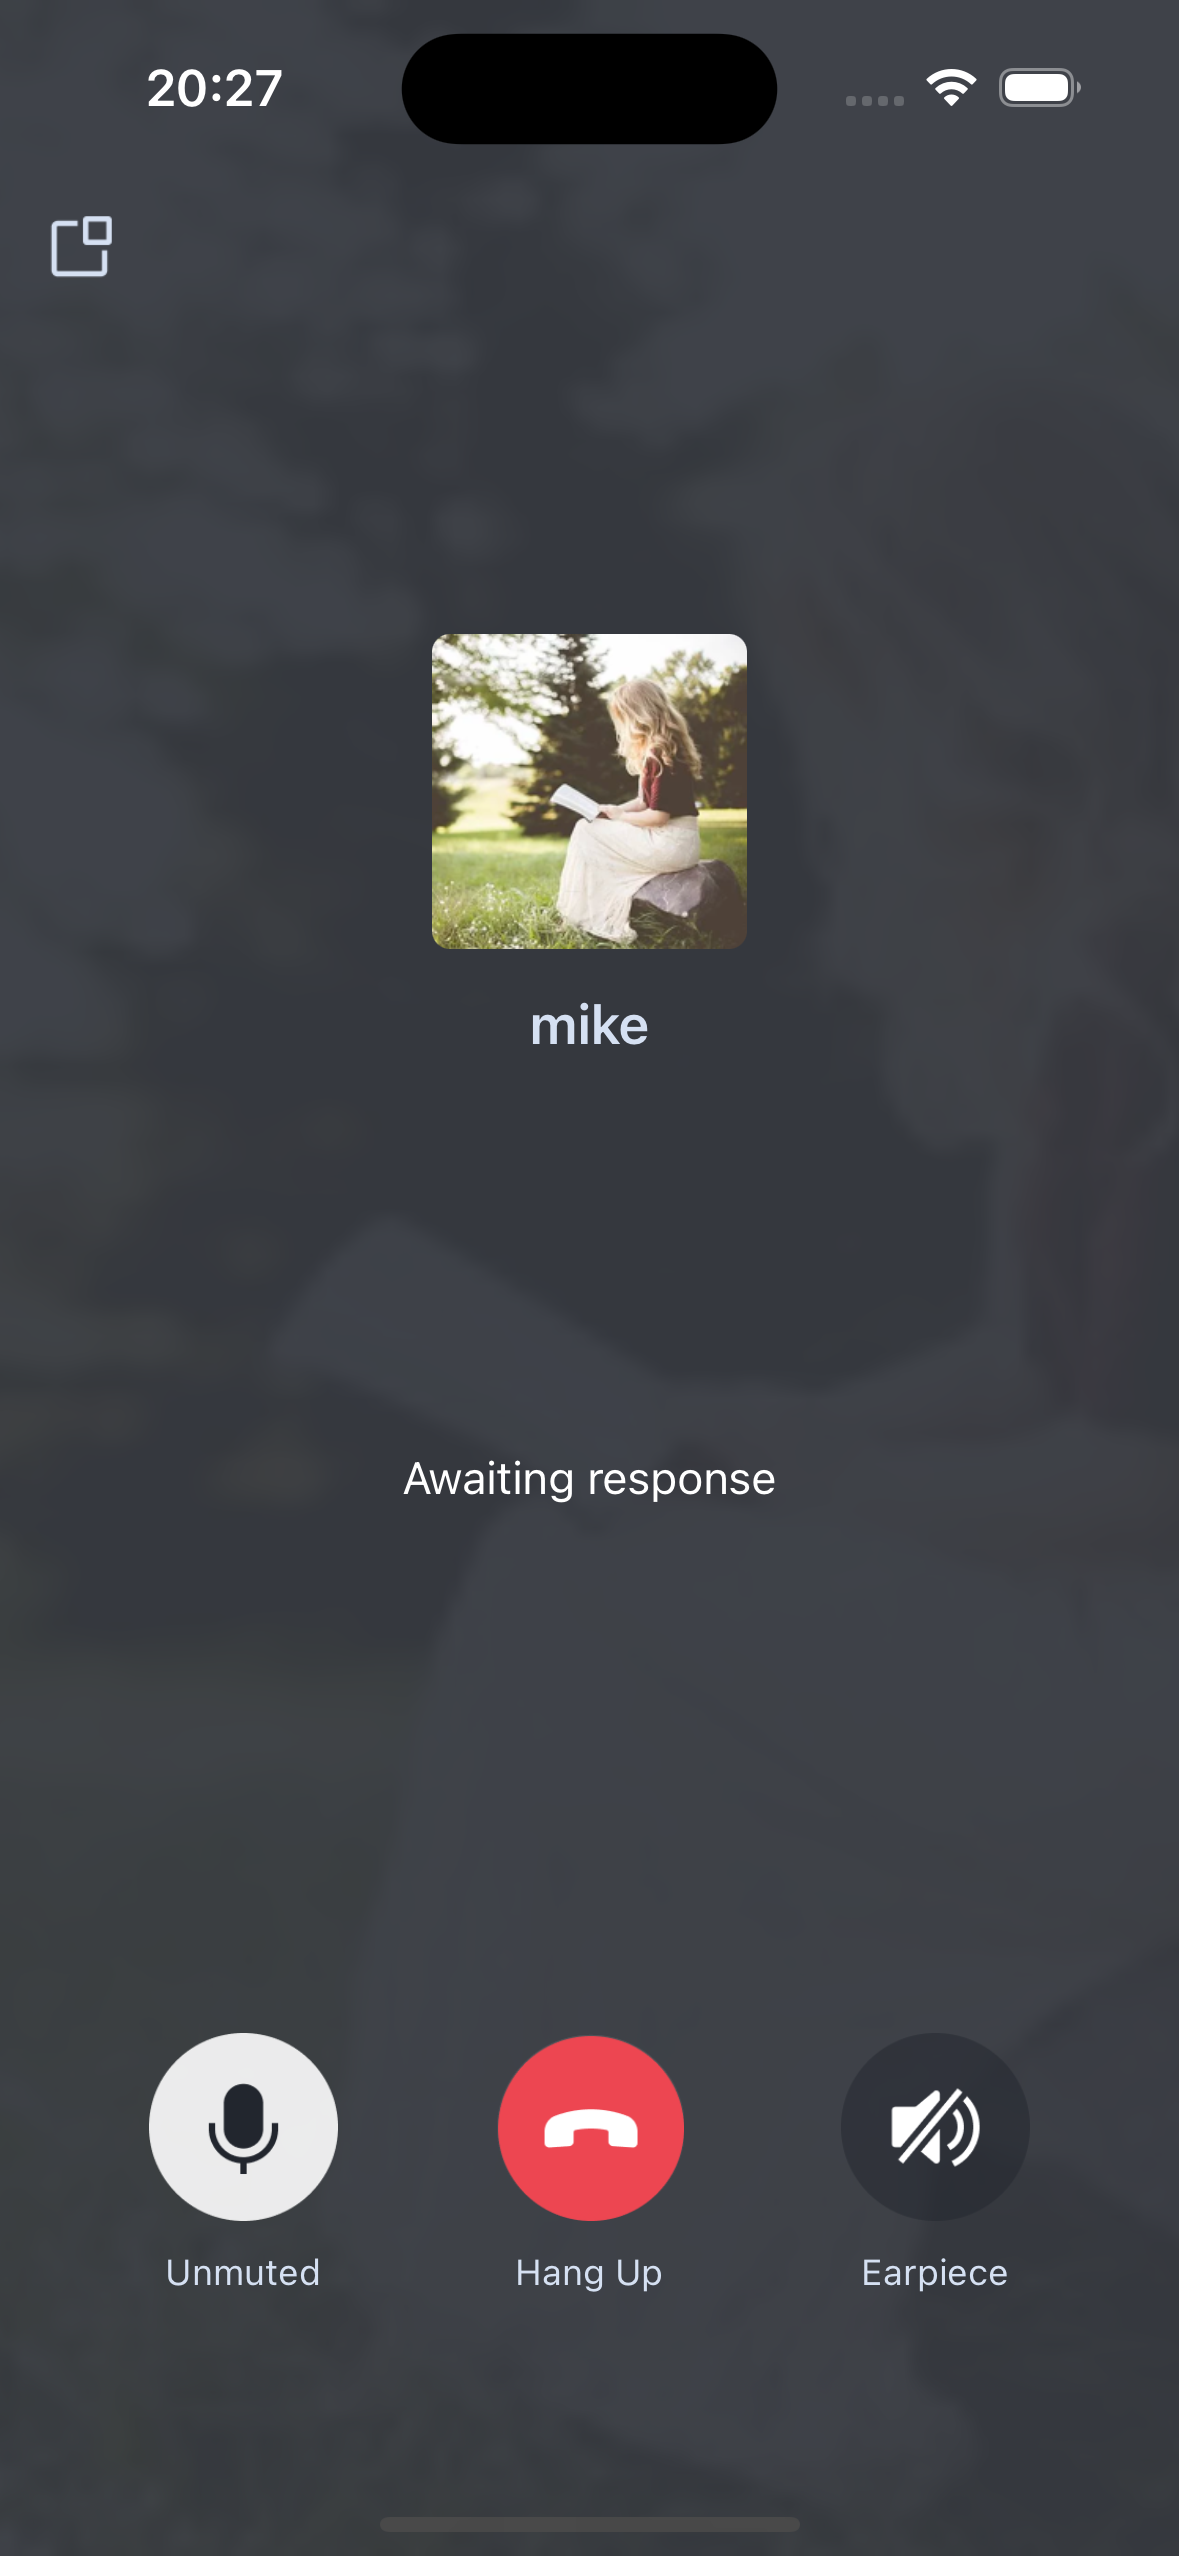 | 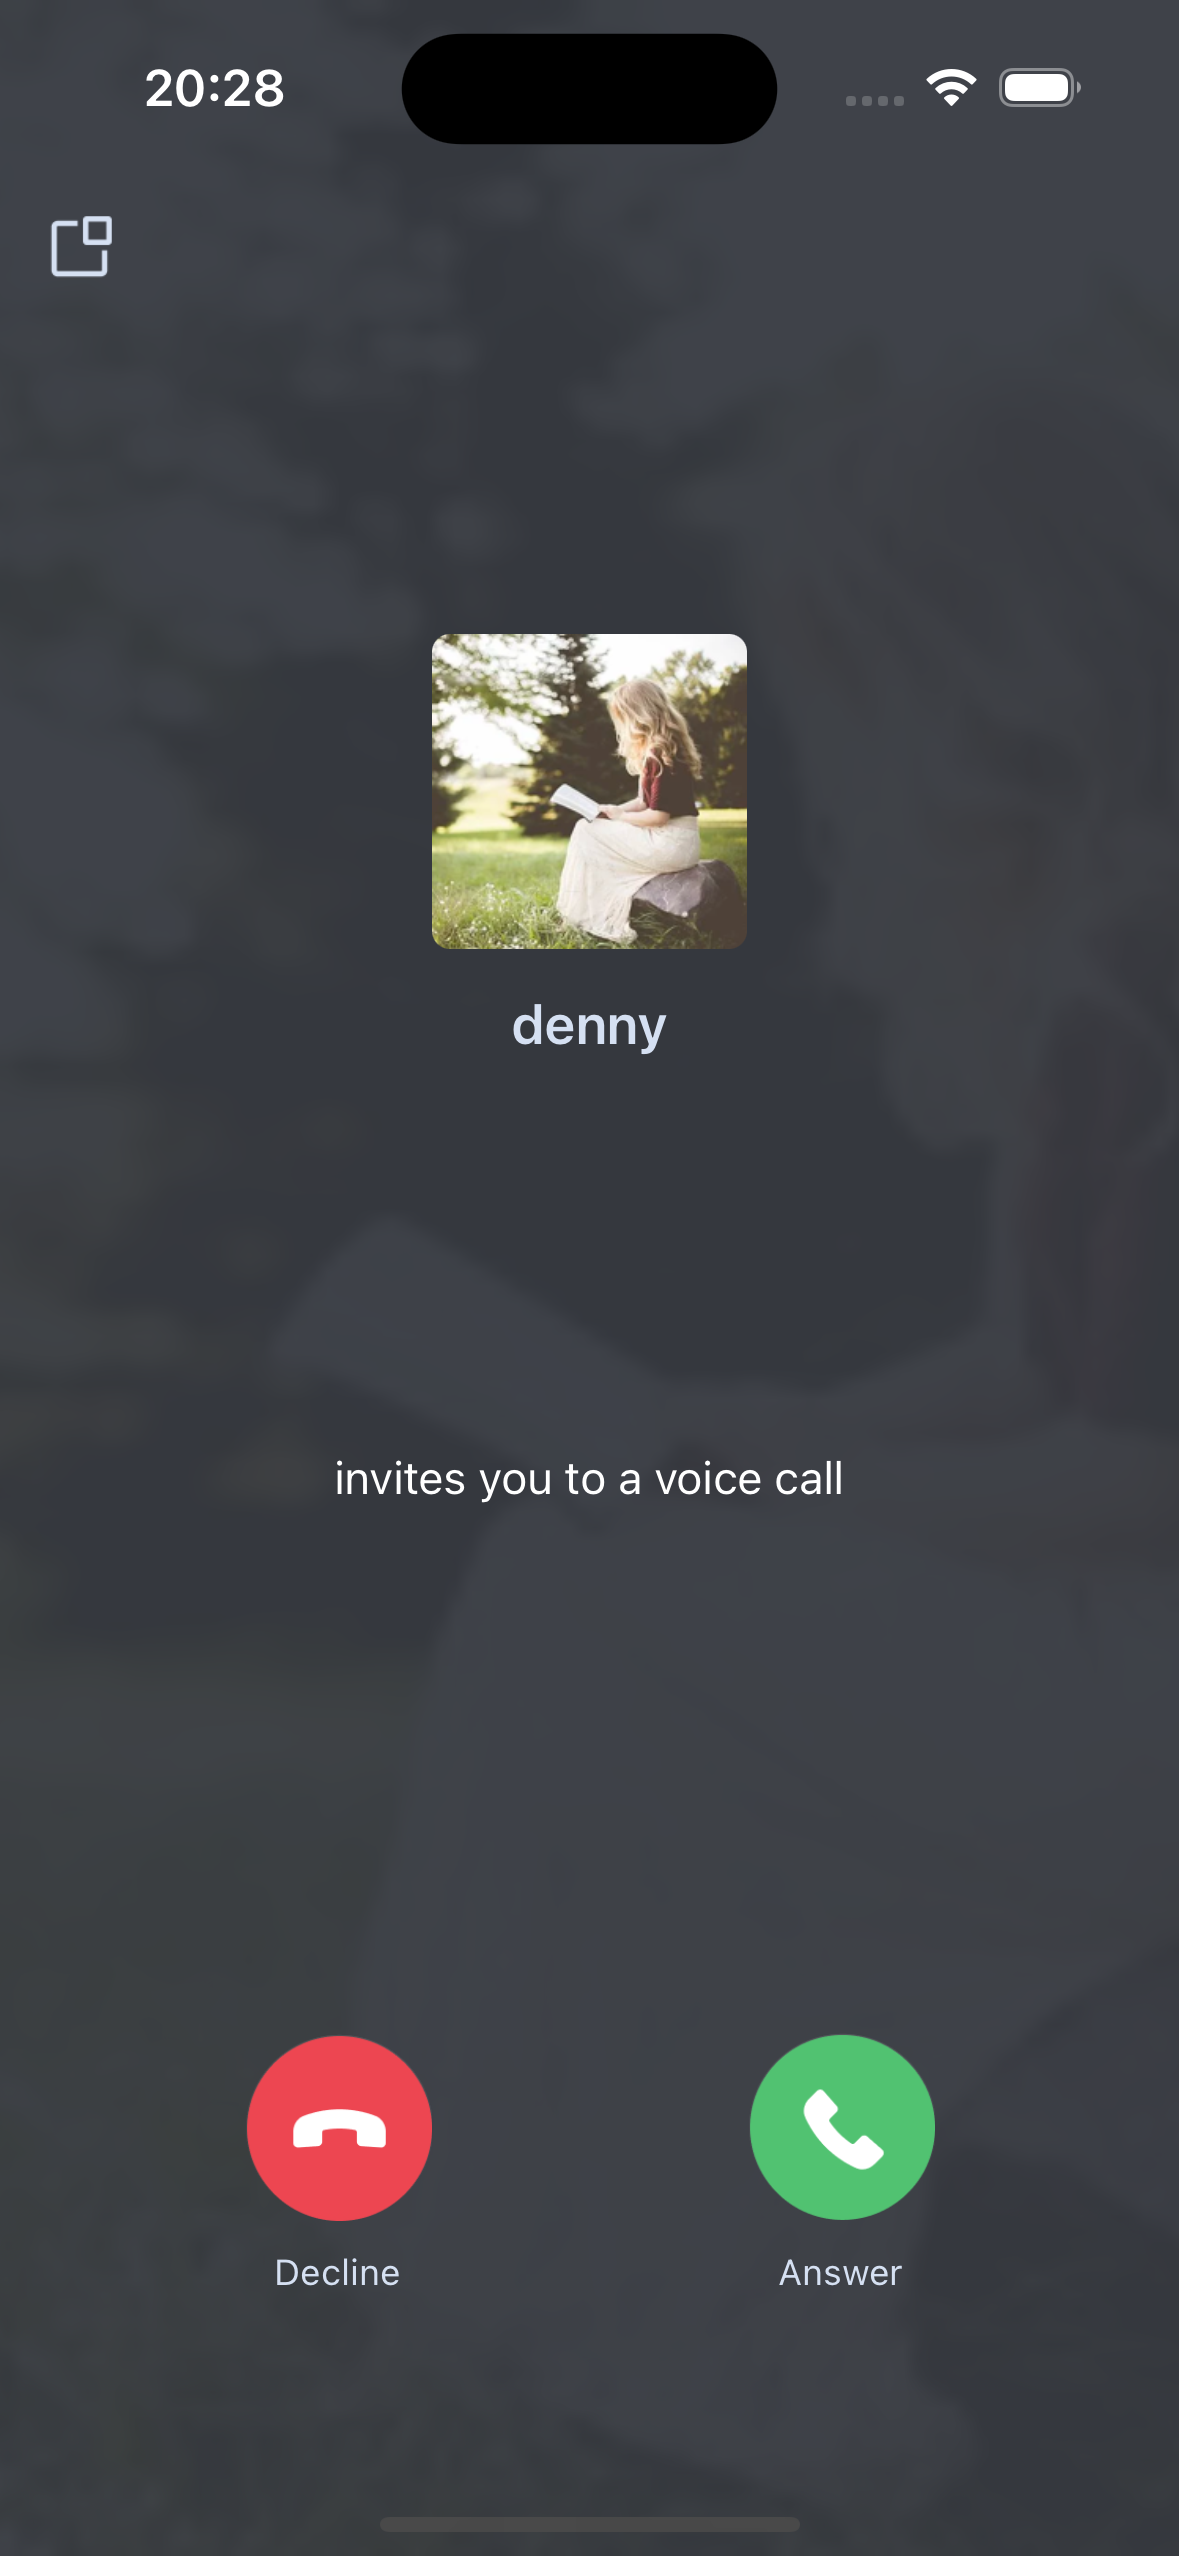 |
Additional Features
FAQs
Suggestions and Feedback
If you have any suggestions or feedback, please contact
info_rtc@tencent.com.
 Yes
Yes
 No
No
Was this page helpful?