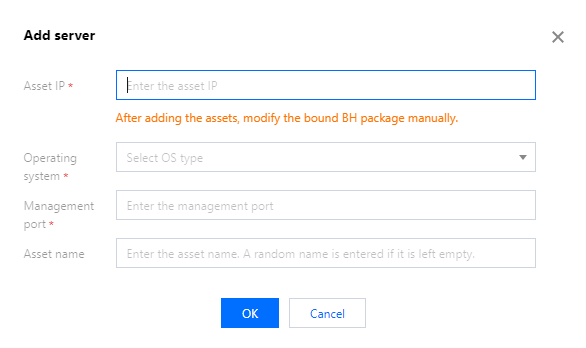
When managing basic network or non-Tencent Cloud host assets, you can achieve this through the Add Host feature.
Note
If you need to access assets across VPCs, IDCs, or other non-Tencent Cloud assets, ensure that the BH is network-accessible to your assets. This can be achieved through methods such as Network Domain, DC, CCN, or Peering Connection. These methods may incur additional fees. For Network Domain pricing, see Billing Overview, and for other methods, see the respective product billing documentation.
2. In the left sidebar, choose Asset Mgmt > Servers.
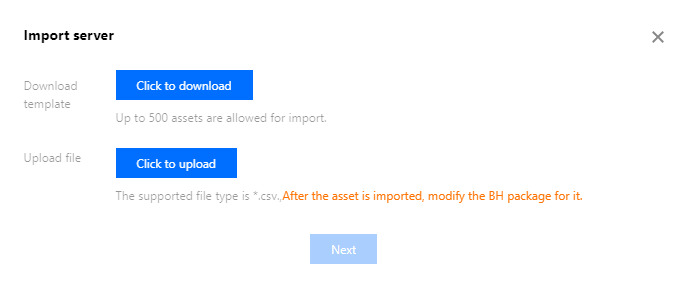
3. On the Host Assets page, click More > Import Assets.
Note
You can create up to 500 assets at a time.
4. In the Import Hosts window, click Click to download to download the template to your local machine.
5. On your local terminal, complete the required host information in the downloaded template.
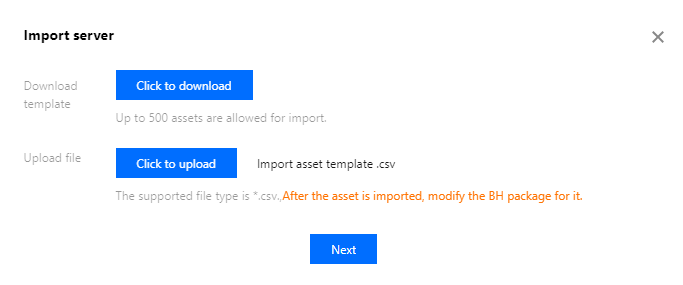
6. In the Import Hosts window, click Click toUpload to upload the completed host template to the BH, and then click Next.
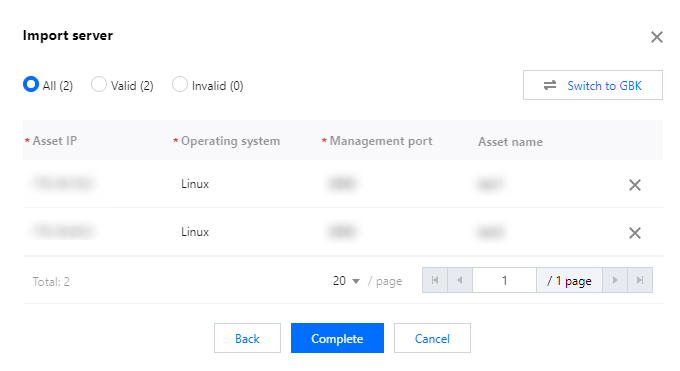
7. Confirm the host information. For any hosts that do not meet the requirements, update their information to ensure compliance. Once all host information is correct, click Complete to successfully import the hosts.