SDK 集成(Android Studio)
Download
聚焦模式
字号
Android 工程配置
系统要求
SDK 建议使用Android 5.0(API Level 21)及以上系统。
开发环境
以下是 SDK 的开发环境,App 开发环境不需要与 SDK 一致,但要保证兼容:
Android NDK:android-ndk-r12b
Android SDK Tools:android-sdk_25.0.2
minSdkVersion:21
targetSdkVersion:26
Android Studio(推荐您使用 Android Studio)
步骤1:集成 SDK
1. 工程配置
1.1 在工程 App 目录下的 build.gradle 中指定依赖。
若使用3.x版本的
com.android.tools.build:gradle工具,请添加如下代码:dependencies {implementation 'com.tencent.liteav:LiteAVSDK_UGC:latest.release'}
若使用2.x版本的
com.android.tools.build:gradle 工具,请添加如下代码:dependencies {compile 'com.tencent.liteav:LiteAVSDK_UGC:latest.release'}
1.2 在 defaultConfig 中,指定 App 使用的 CPU 架构。
defaultConfig {ndk {abiFilters "armeabi-v7a", "arm64-v8a"}}
说明:
目前 SDK 支持 armeabi-v7a 和 arm64-v8a。
2. 单击 Sync Now 等待自动下载 SDK 完毕,然后编译工程。
1. 下载最新的 SDK

2. 工程配置
2.1 在工程 App 目录下的 build.gradle 中,指定依赖(LiteAVSDK_UGC_12.2.0.15065 是示例版本,请指定下载的版本):
若使用3.x版本的
com.android.tools.build:gradle工具,请添加如下代码:dependencies {implementation(name: 'LiteAVSDK_UGC_12.2.0.15065', ext: 'aar')}
若使用2.x版本的
com.android.tools.build:gradle 工具,请添加如下代码:dependencies {compile(name: 'LiteAVSDK_UGC_12.2.0.15065', ext: 'aar')}
2.2 在工程目录下的 build.gradle 中,添加 flatDir,指定本地仓库目录(下载的SDK拷贝到该目录):
allprojects {repositories {jcenter()flatDir {dirs 'libs'}}}
2.3 在 App 工程目录下的 build.gradle 的 defaultConfig 里面,指定 ndk 兼容的架构:
defaultConfig {ndk {abiFilters "armeabi-v7a", "arm64-v8a"}}
3. 最后单击 Sync Now 同步工程,然后编译工程。
1. 下载最新的 SDK
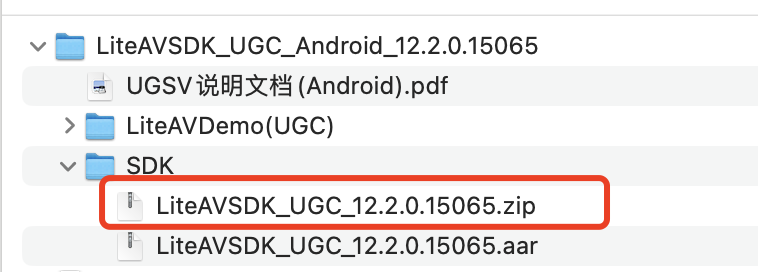
1.1 下载地址:SDK 下载。解压下载包 SDK 目录下的 zip 文件并解压:

1.2 拷贝文件
如果您的工程之前没有指定过 jni 的加载路径,推荐您将刚才得到的 jar 包和对应架构 so 库拷贝到 Demo\\app\\src\\main\\jniLibs 目录下,这是 Android Studio 默认的 jni 加载目录。jar文件放置在libs文件夹下。
2. 工程配置
2.1 在工程 App 目录下的 build.gradle 中,添加引用 jar 包和 so 库的代码。
若使用3.x版本的
com.android.tools.build:gradle工具,请添加如下代码:dependencies {implementation fileTree(dir: 'libs', include: ['*.jar'])// 导入腾讯云短视频SDK jarimplementation fileTree(dir: 'src/main/jniLibs', includes: ['*.jar'])}
若使用2.x版本的
com.android.tools.build:gradle 工具,请添加如下代码:dependencies {compile fileTree(dir: 'libs', include: ['*.jar'])// 导入腾讯云短视频SDK jarcompile fileTree(dir: 'src/main/jniLibs', includes: ['*.jar'])}
2.2 在 App 工程目录下的 build.gradle 的 defaultConfig 里面,指定 ndk 兼容的架构:
defaultConfig {ndk {abiFilters "armeabi-v7a", "arm64-v8a"}}
3. 最后单击 Sync Now 同步工程,编译工程。
步骤2:配置 App 权限
在 AndroidManifest.xml 中配置 App 的权限,音视频类 App 一般需要以下权限:
<uses-permission android:name="android.permission.INTERNET" /><uses-permission android:name="android.permission.ACCESS_NETWORK_STATE" /><uses-permission android:name="android.permission.ACCESS_WIFI_STATE" /><uses-permission android:name="android.permission.WRITE_EXTERNAL_STORAGE"/><uses-permission android:name="android.permission.READ_EXTERNAL_STORAGE"/><uses-permission android:name="android.permission.RECORD_AUDIO" /><uses-permission android:name="android.permission.CAMERA" /><uses-feature android:name="android.hardware.Camera"/><uses-feature android:name="android.hardware.camera.autofocus" />
步骤3:设置 License
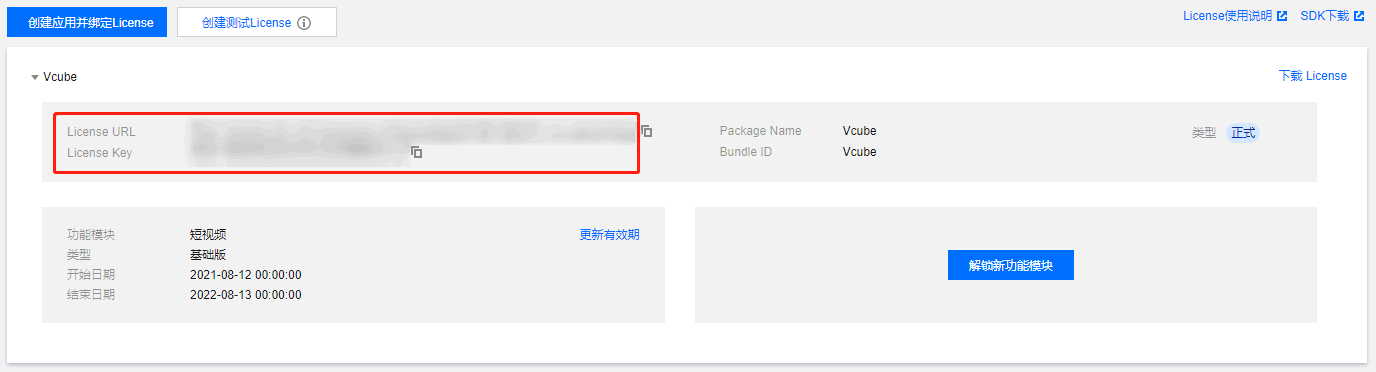
1. 参见 License 申请 的指引申请 License 后,从 云点播控制台 复制 License Key 和 License URL,如下图所示:
2. 在您的应用中使用短视频功能之前,建议在
- Application onCreate()中进行如下设置:public class DemoApplication extends Application {String ugcLicenceUrl = ""; // 填入您从控制台申请的 licence urlString ugcKey = ""; // 填入您从控制台申请的 licence key@Overridepublic void onCreate() {super.onCreate();TXUGCBase.getInstance().setLicence(instance, ugcLicenceUrl, ugcKey);}}
3. 新版本的 SDK 增加了短视频 License 的校验,如果校验没通过,您可以通过该接口来查询 License 中具体信息:
TXUGCBase.getInstance().getLicenceInfo(Context context);
说明:
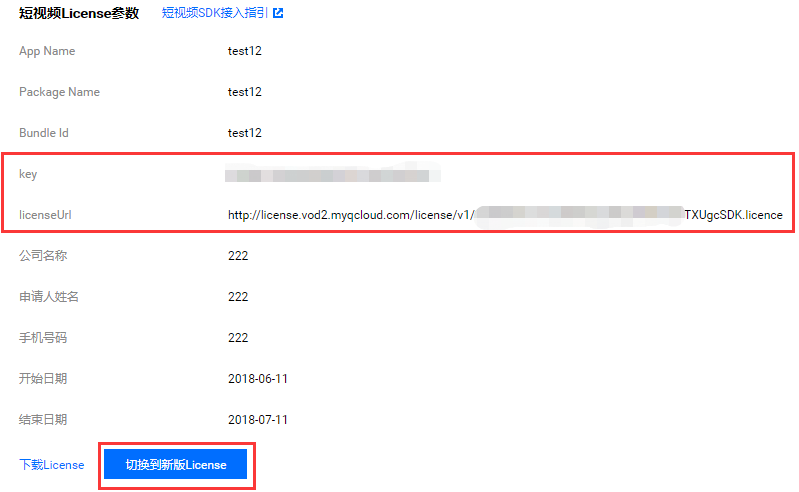
对于使用4.7版本 License 的用户,如果您升级了 SDK 到4.9版本,您可以登录控制台,单击下图的切换到新版 License 按钮生成对应的 License Key 和 License URL,切换后的 License 必须使用4.9及更高的版本,切换后按照上述操作集成即可。
步骤4:打印 log
在 TXLiveBase 中可以设置 log 是否在控制台打印以及 log 的级别,具体代码如下:
setConsoleEnabled
设置是否在 Android Studio 的控制台打印 SDK 的相关输出。
setLogLevel
设置是否允许 SDK 打印本地 log,SDK 默认会将 log 写到 sdcard 上,Android/data/应用包名/files/log/tencent/liteav 文件夹下。如果您需要我们的技术支持,建议将此开关打开,在重现问题后提供 log 文件,非常感谢您的支持。
TXLiveBase.setConsoleEnabled(true);TXLiveBase.setLogLevel(TXLiveConstants.LOG_LEVEL_DEBUG);
问题排查
如果您将 SDK 导入到您的工程,并在编译运行时遇到以下类似的错误:
Caused by: android.view.InflateException:Binary XML file #14:Error inflating class com.tencent.rtmp.ui.TXCloudVideoView
可以按照以下流程来排查问题:
1. 确认是否已经将 SDK 中的 jar 包和 so 库放在 jniLibs目录下。
2. 如果您使用 aar 集成方式的完整版本,在工程目录下的 build.gradle 的 defaultConfig 里面确认下是否将 x64 架构的 so 库过滤掉。
defaultConfig {...ndk {abiFilters "armeabi-v7a", "arm64-v8a"}}
3. 检查下混淆规则,确认已将 SDK 的相关包名加入了不混淆名单。
-keep class com.tencent.** { *; }
4. 配置 App 打包参数。

详细介绍
以下为各模块的详细说明:
视频录制
视频编辑
视频拼接
视频上传
视频播放
文档反馈