The event notification feature is used to send notifications of the diagnosis results in 24/7 Exception Diagnosis module via SMS, call, email, and Message Center. You can configure diagnosis items, notification events, notification channels, and recipients for a notification as needed.
Note:
Event notifications in DBbrain are essentially different from metric alarms in Cloud Monitor. DBbrain sends the diagnosis results generated in Exception Diagnosis, while Cloud Monitor sends alarm notifications when a monitored metric reaches the alarm threshold. If you need to receive notifications for metric monitoring, you can use the alarming system of Cloud Monitor.
If you have configured an event notification trigger policy in DBbrain, we recommend you disable the DBbrain smart alarm feature in Cloud Monitor > Alarm Policy to avoid receiving duplicate notifications from DBbrain and Cloud Monitor.
Currently, the event notification feature is only available to TencentDB for MySQL.
Creating an Event Notification Policy
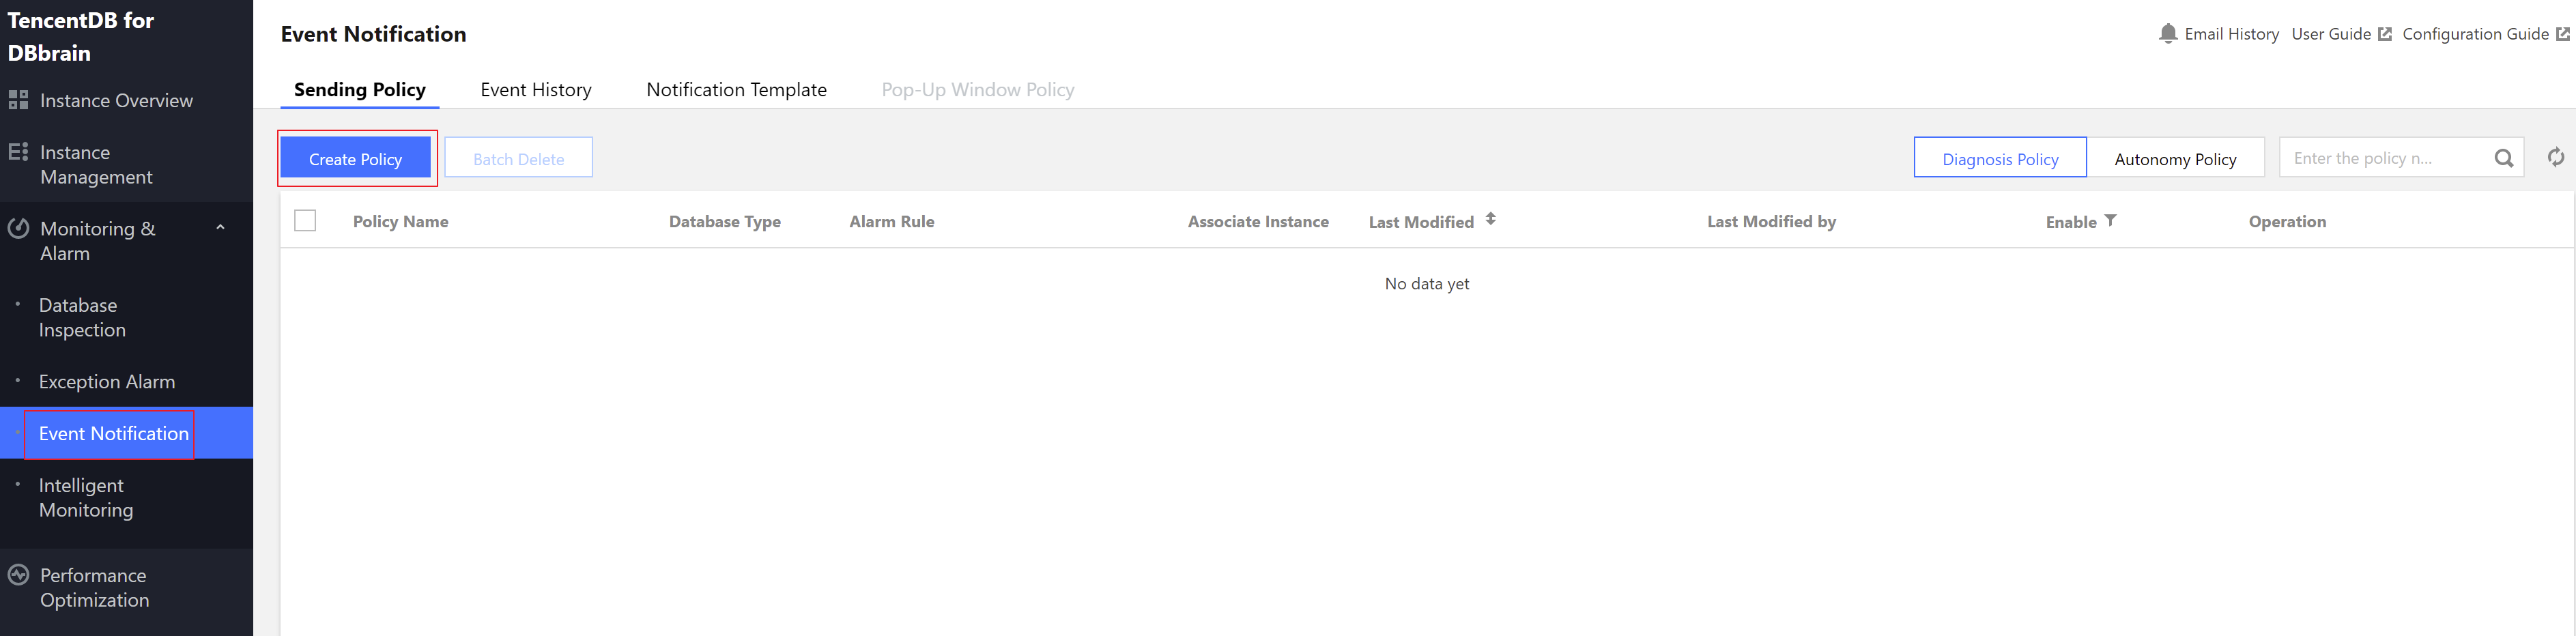
1. Log in to the DBbrain console, select Monitoring and Alarming > Event Notification on the left sidebar, and click Create Policy.
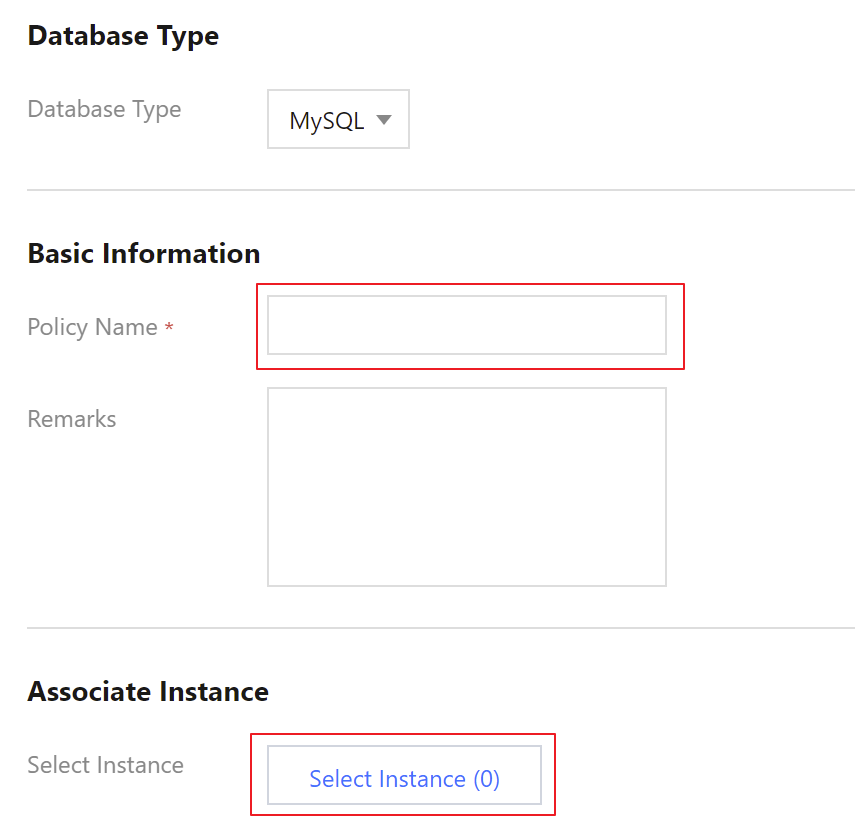
2. On the event notification policy configuration page, select the database type and enter the policy name (which is required and unique).
3. Select a database instance to be associated with the policy.
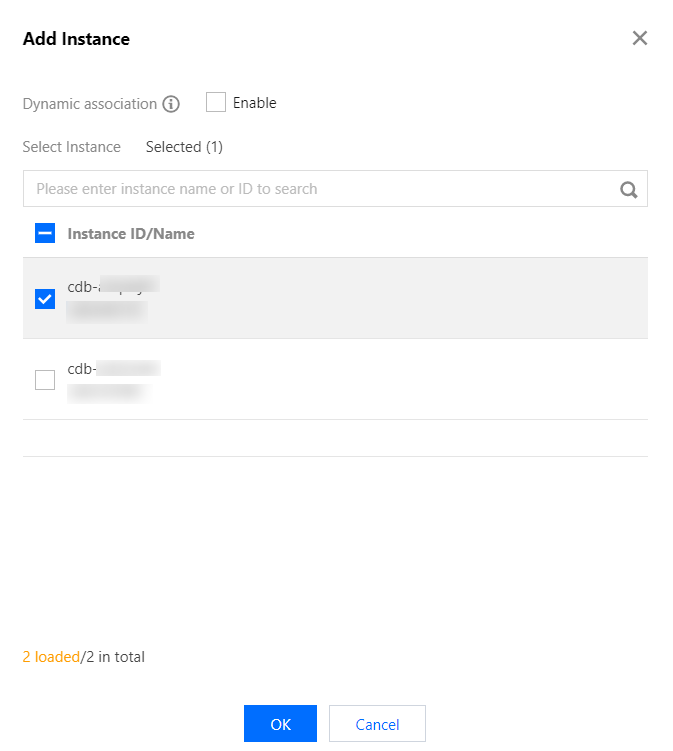
4. In the pop-up dialog box, select a database instance to be associated with the policy.
You can either select an instance directly or enable “Dynamic association”. If you enable “Dynamic association”, all the instances that you have permission to select will be displayed, and the instance information will be dynamically updated when you select more or fewer instances.
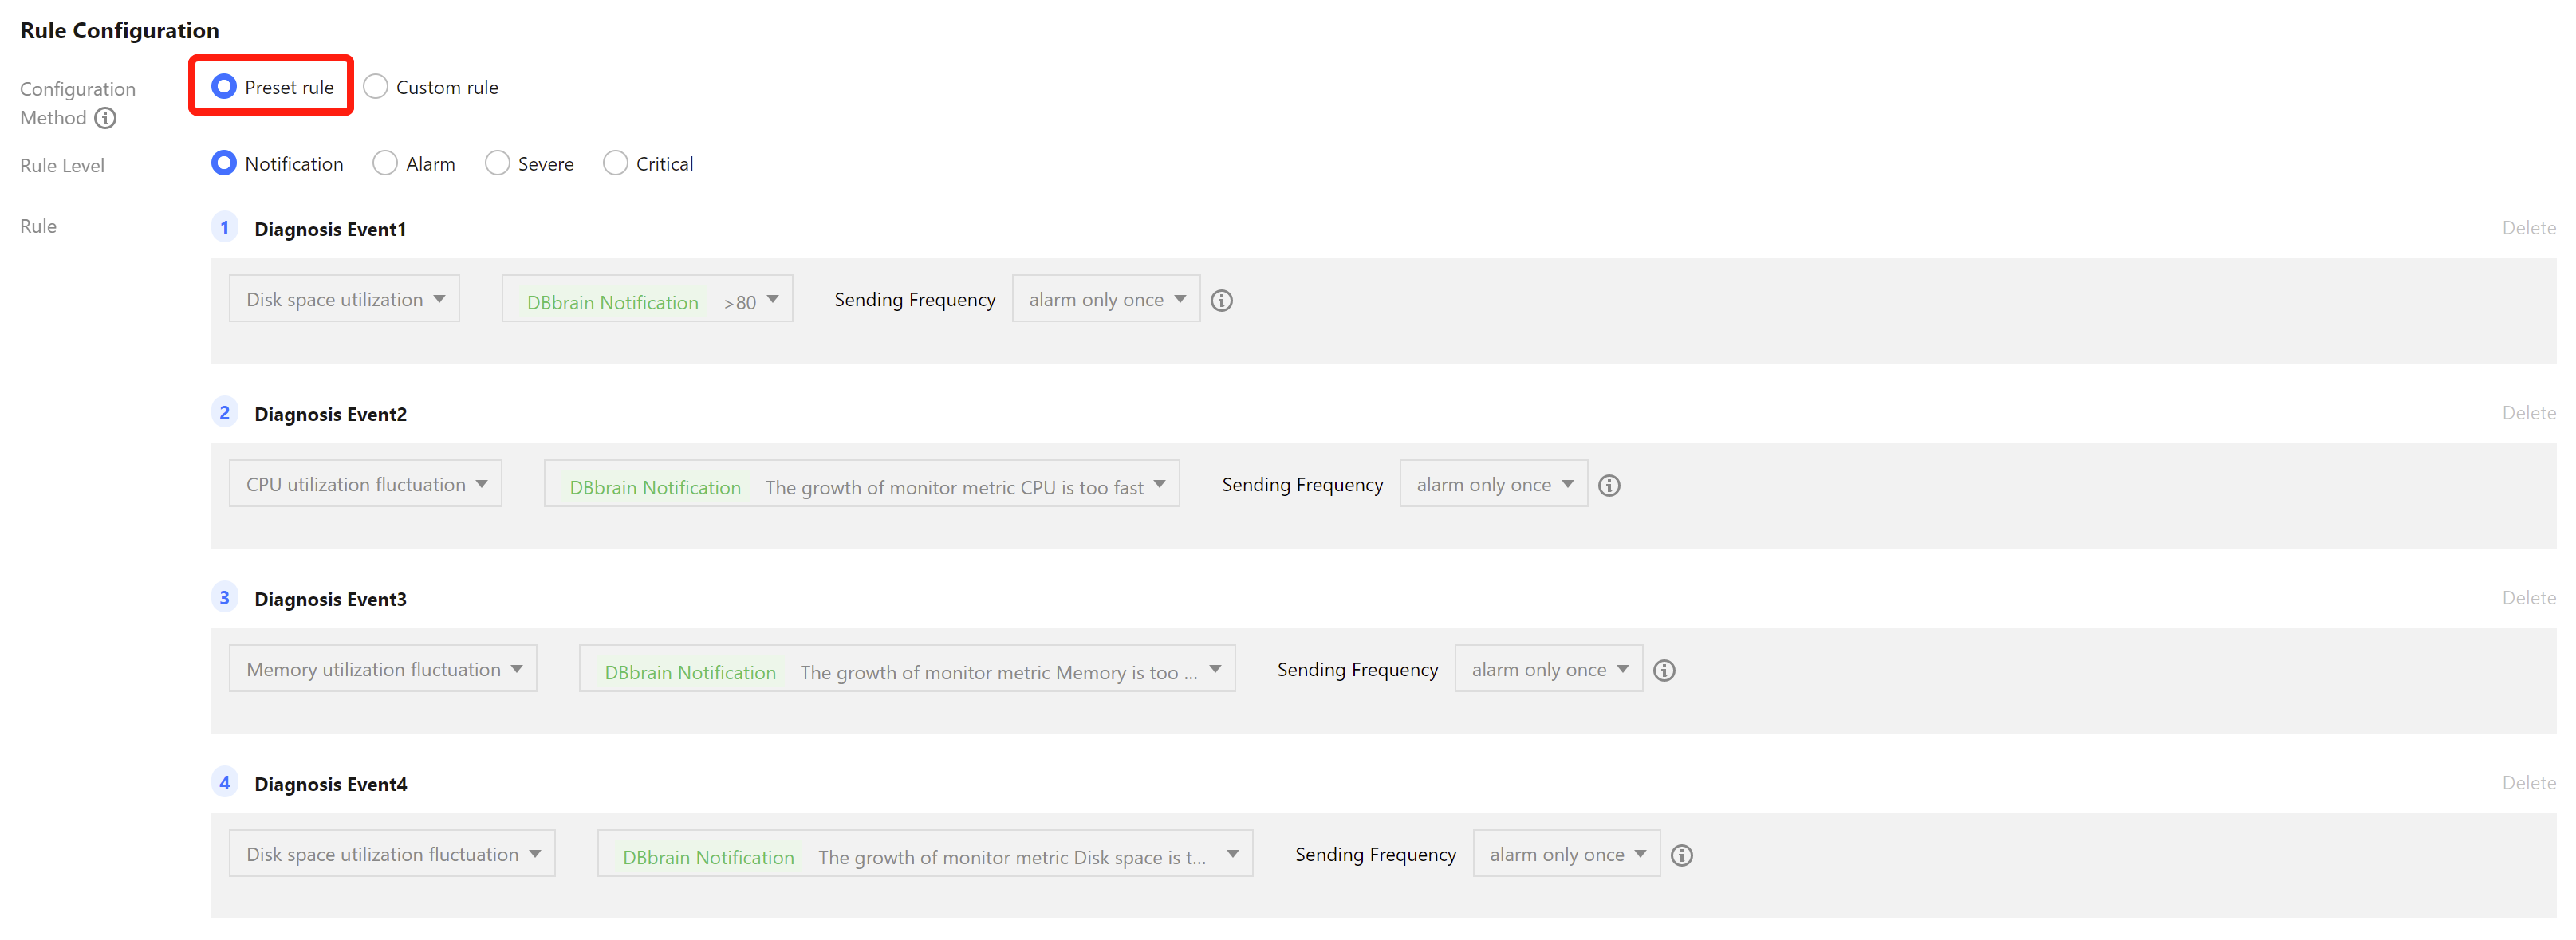
5. Select either “Preset rule” or “Custom rule” as the method of configuring the event notification rule.
Preset rule: You can select one of the four rule levels (notification, alarm, severe, and critical), each containing its specific diagnosis event content that cannot be modified.
Custom rule: If you select this option, you can flexibly select diagnosis events and configure the diagnosis event levels and notification sending frequency as needed.
If you select “Custom rule”, DBbrain will provide recommended event notification rule content by default, based on which you can add or delete rule content. If you don’t need the recommended rule content, you can deselect Reference basic rules, after which all the rule content will be cleared.
6. Configure user notifications.
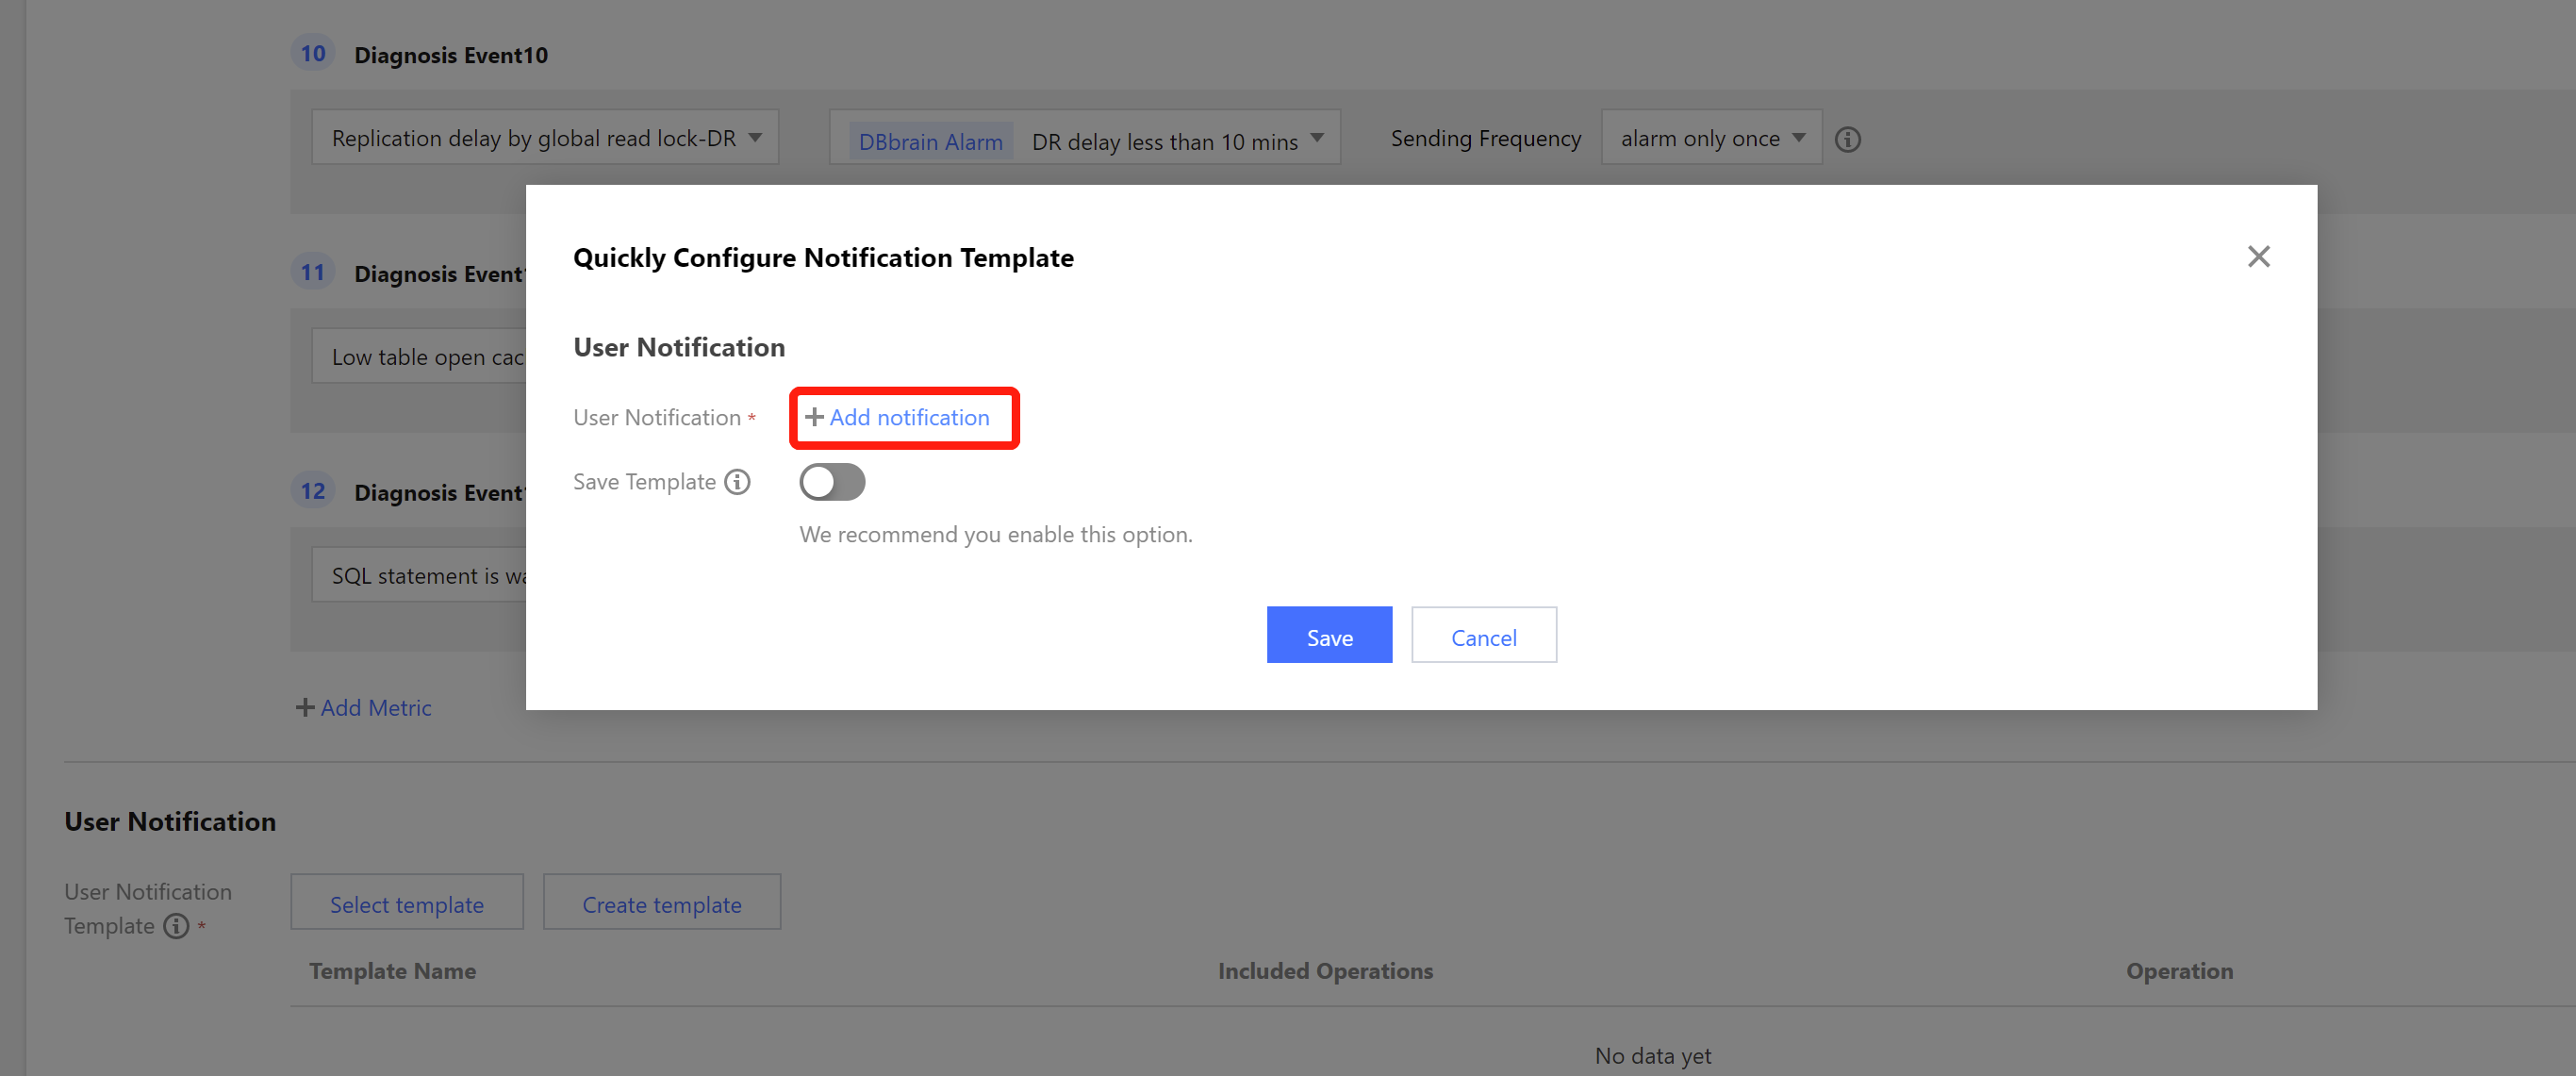
You can use the notification template you have configured or create one by selecting “Create template” as detailed in the example below.
7. Click Add notification.
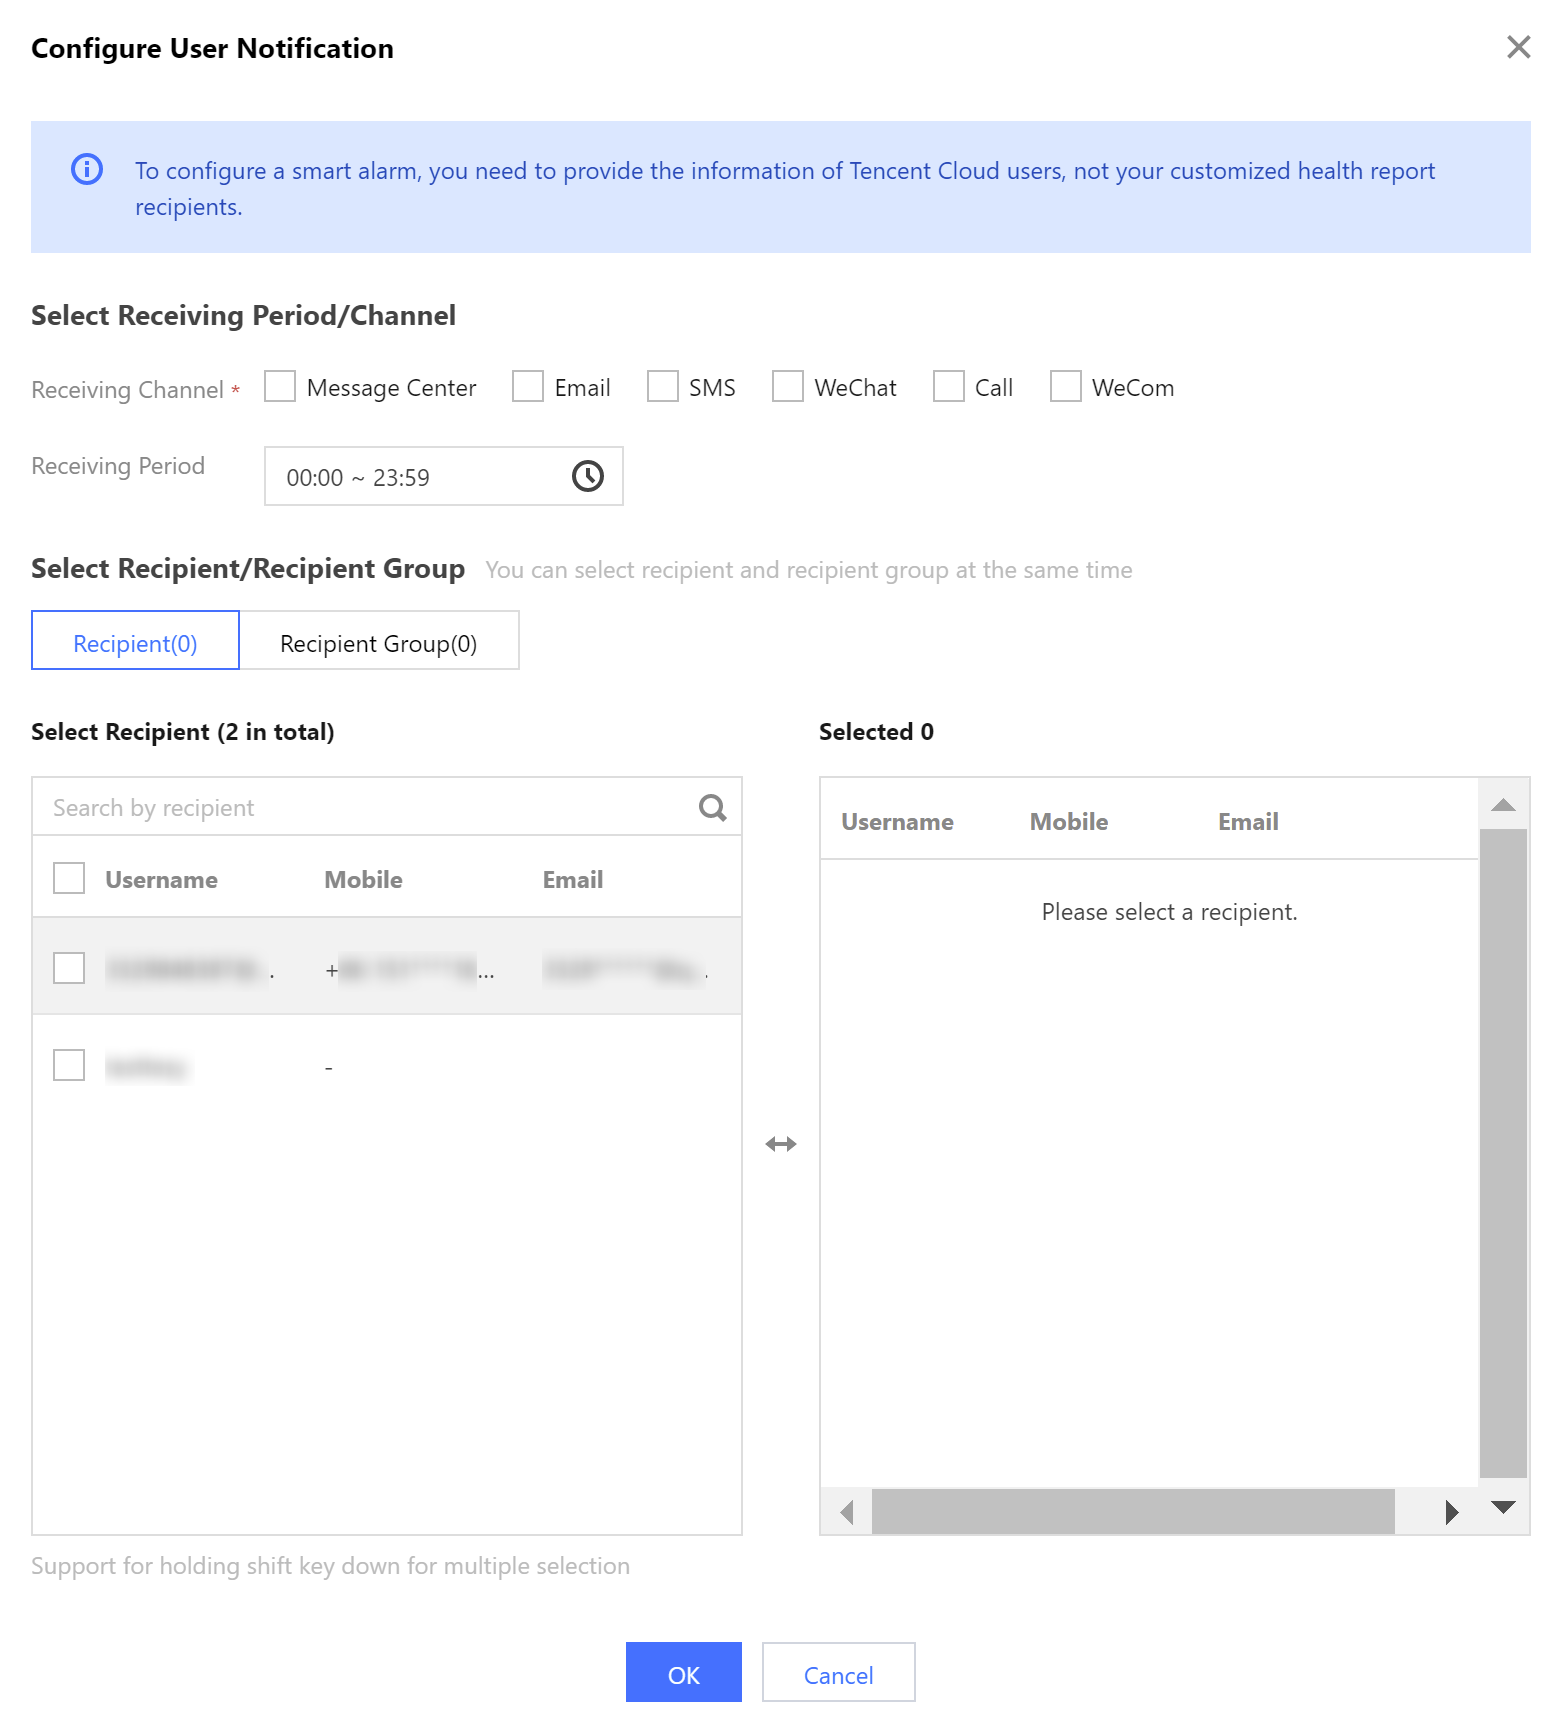
8. In the pop-up dialog box, select the notification receiving period, receiving channels, and recipients, and click OK.
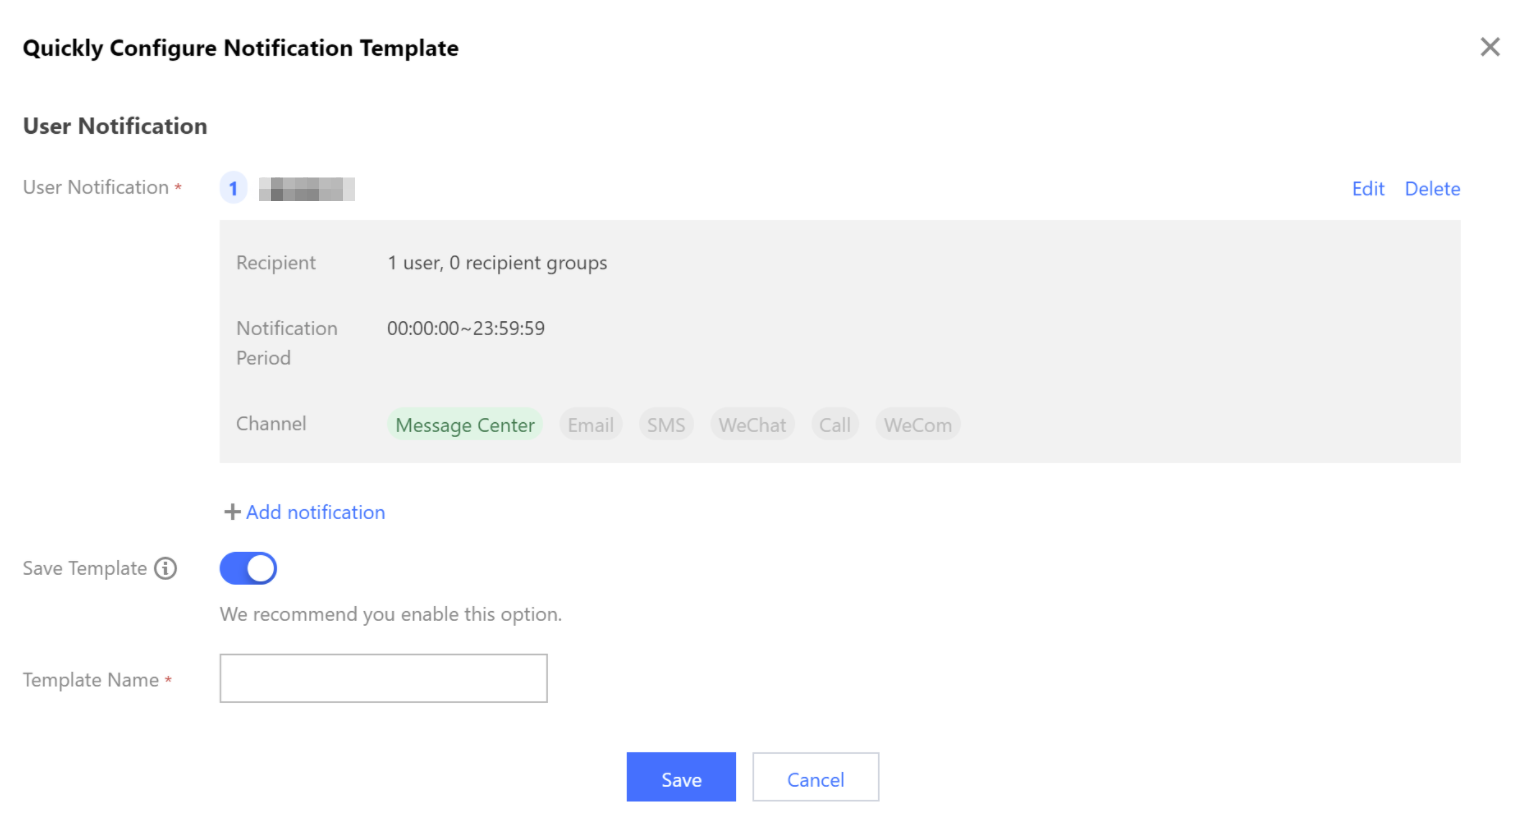
9. We recommend you save the user information and notification receiving channels configured this time as a template so that you can directly use the template next time. Otherwise, the system will consider these configurations as one-time configurations, and you cannot view the user information when viewing the policy details.
10. Click Save to complete the policy configuration.
Managing an Event Notification Policy
Viewing policy details
1. Select the Event Notification > Sending Policy tab to view the configured policy.
2. Click the policy name to view the policy details.
Copying a policy
When you click Copy in the Operation column to copy the selected policy, you will open a policy with the same content yet without a policy name. You can modify the copied policy and rename it, and it will become a new policy.
Editing a policy
You can click Modify in the top-right corner of the policy details page to edit a policy. You can also go to the Sending Policy tab, select a policy, and click Edit in the Operation column to edit the policy.
Deleting a policy
You can delete policies one by one or in batches.
Viewing the Event History
Event notification records are displayed in the Event History module.
In this module, events of “Today” are displayed by default. You can select a new time range in the top-right corner as needed.
If an event alarm is triggered and the notifications are sent constantly, you can block the alarm temporarily (for up to 24 hours at a time).You can click Block Record in the top-left corner to view all the block records.
Managing a Notification Template
The notification period, notification channels, and recipients are configured in a notification template. After you create a template, you can directly use it when creating a policy.
Creating a notification template
1. Select the Notification Template tab and click Create Template to enter the template configuration page.
2. Configure the template name, type, and notification language, and click Add notification.
3. Select the notification channels, period, and recipients as needed, and click OK.
You can edit the notification or add multiple notifications as needed.
4. Click Save to complete the template configuration.
Viewing/Copying/Editing/Deleting a notification template
You can click the template name to view the template details.
In the Operation column of the selected template, you can click Copy, Edit, or Delete to copy, edit, or delete the template.


 Yes
Yes
 No
No
Was this page helpful?