Stamp Management
Unduh
Mode fokus
Ukuran font
Entry
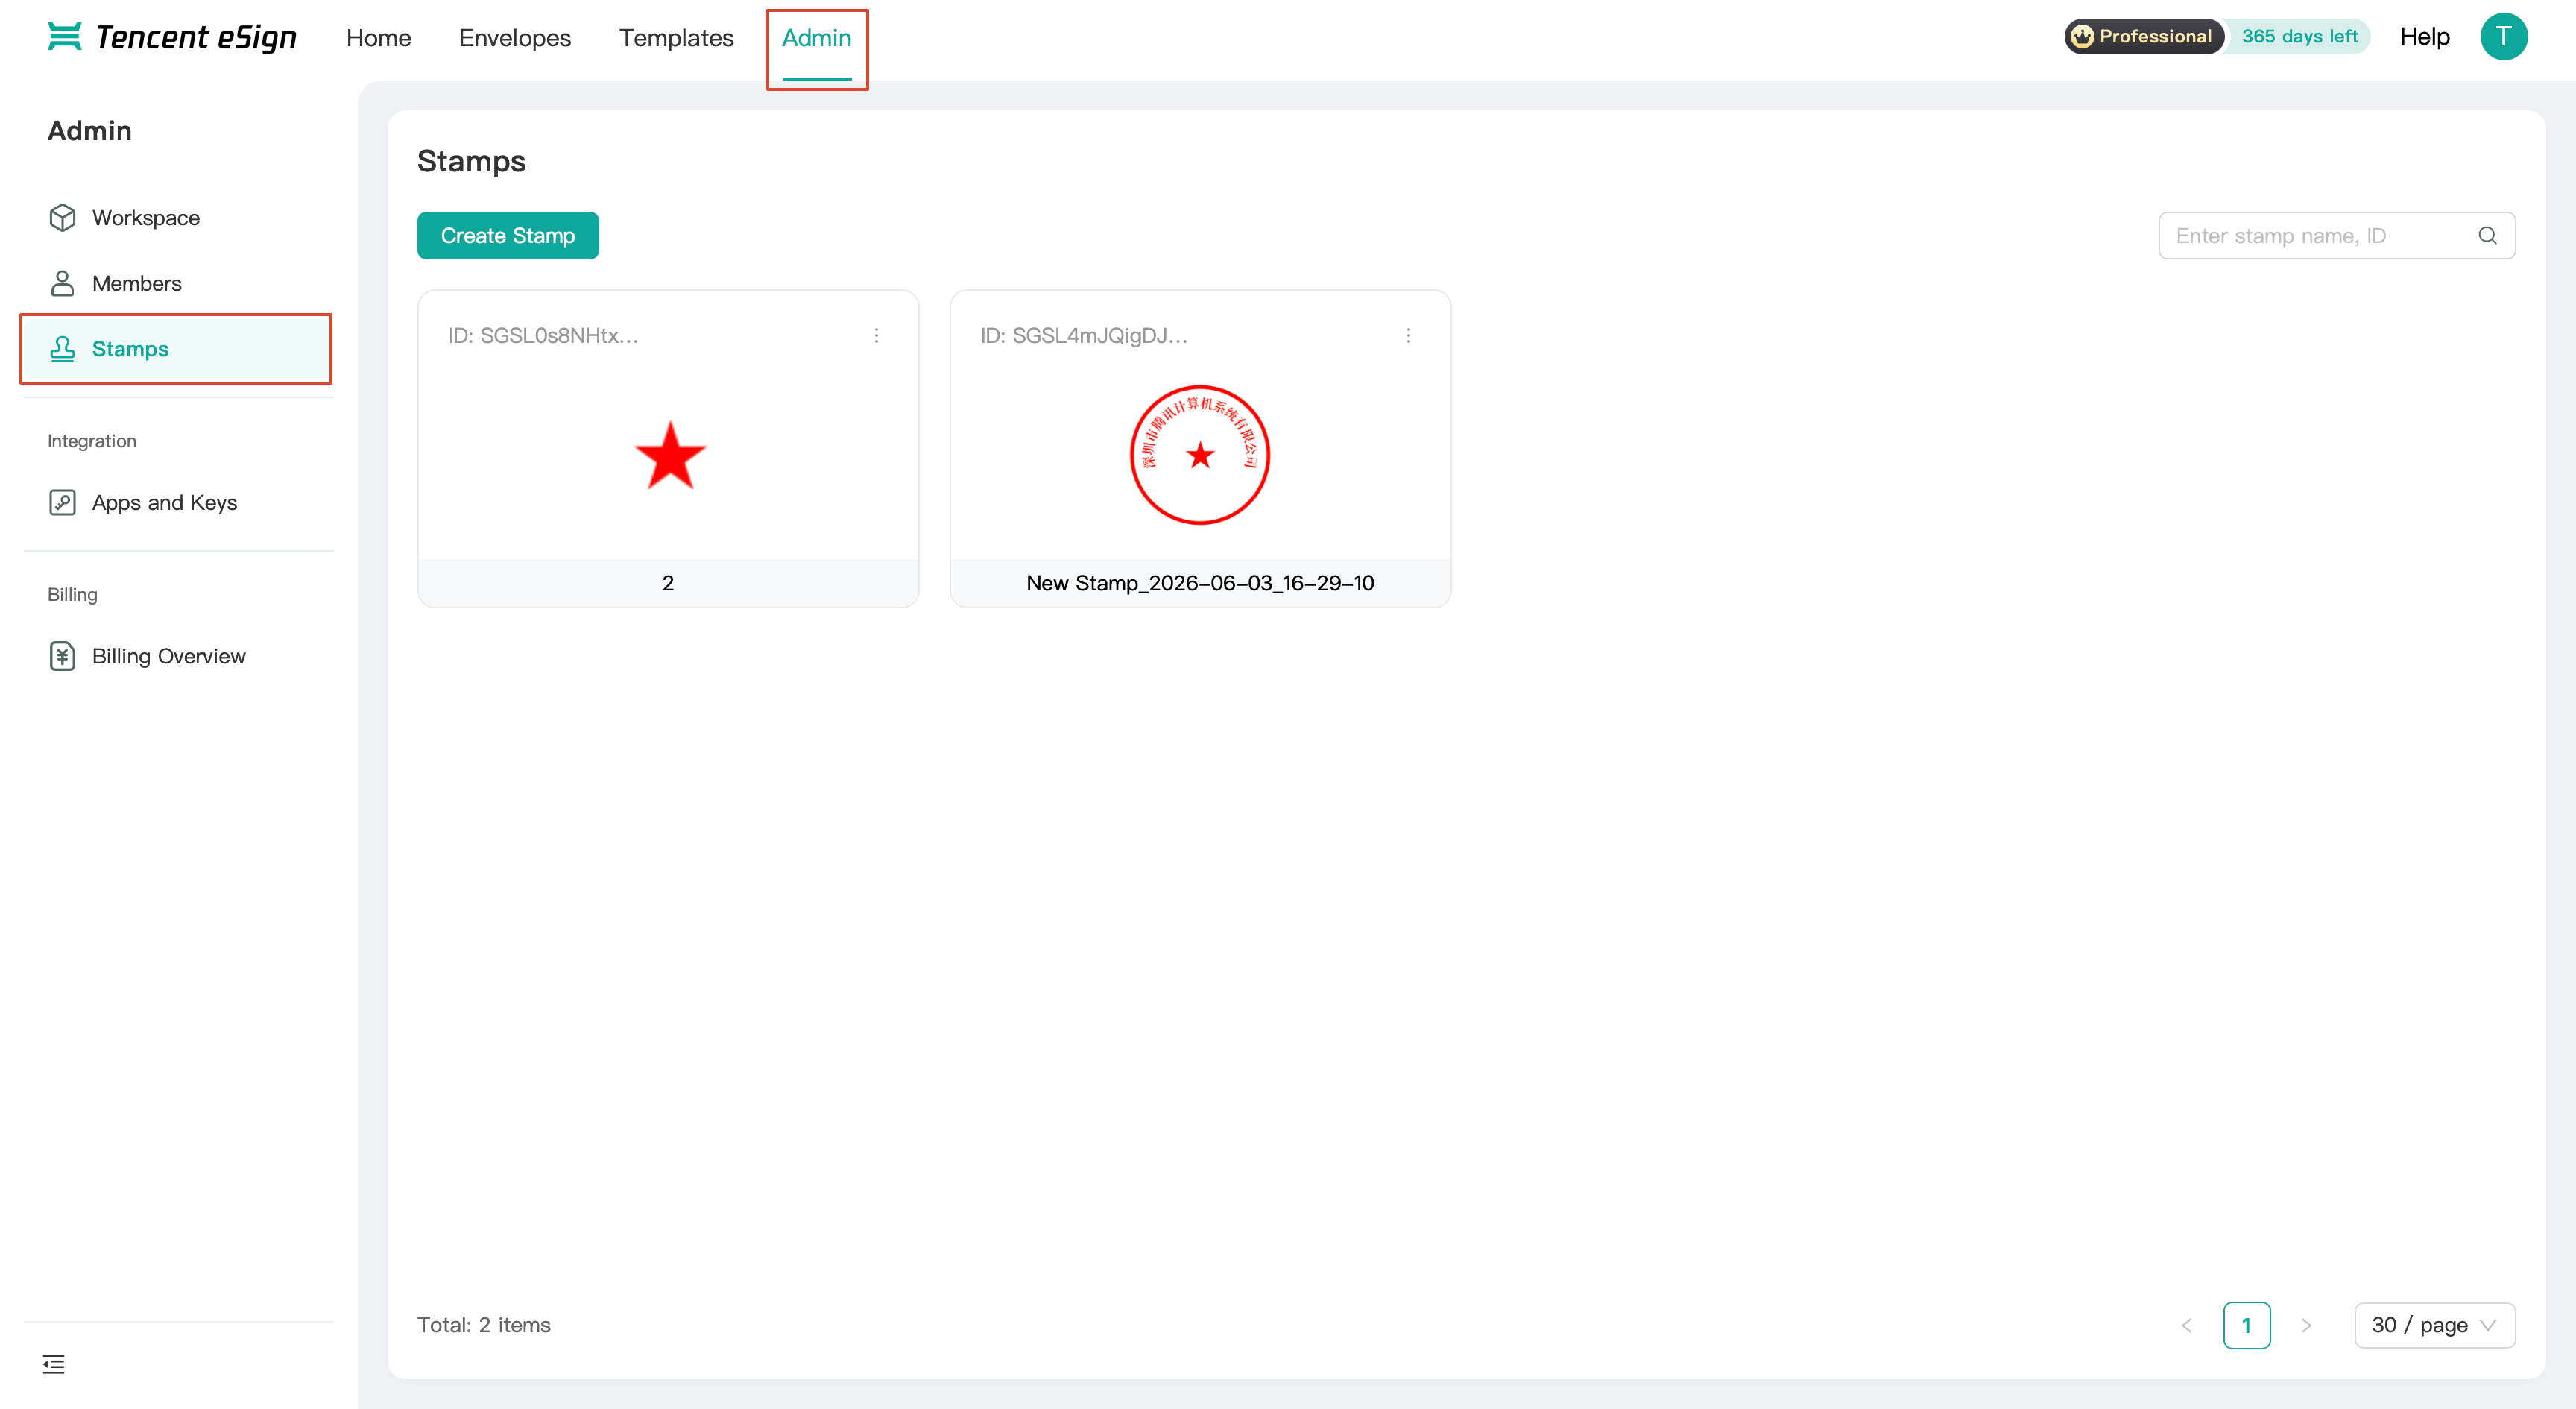
Go to Top Navigation Bar > Admin > Stamps to manage the electronic stamps in the current workspace on this page.
Feature
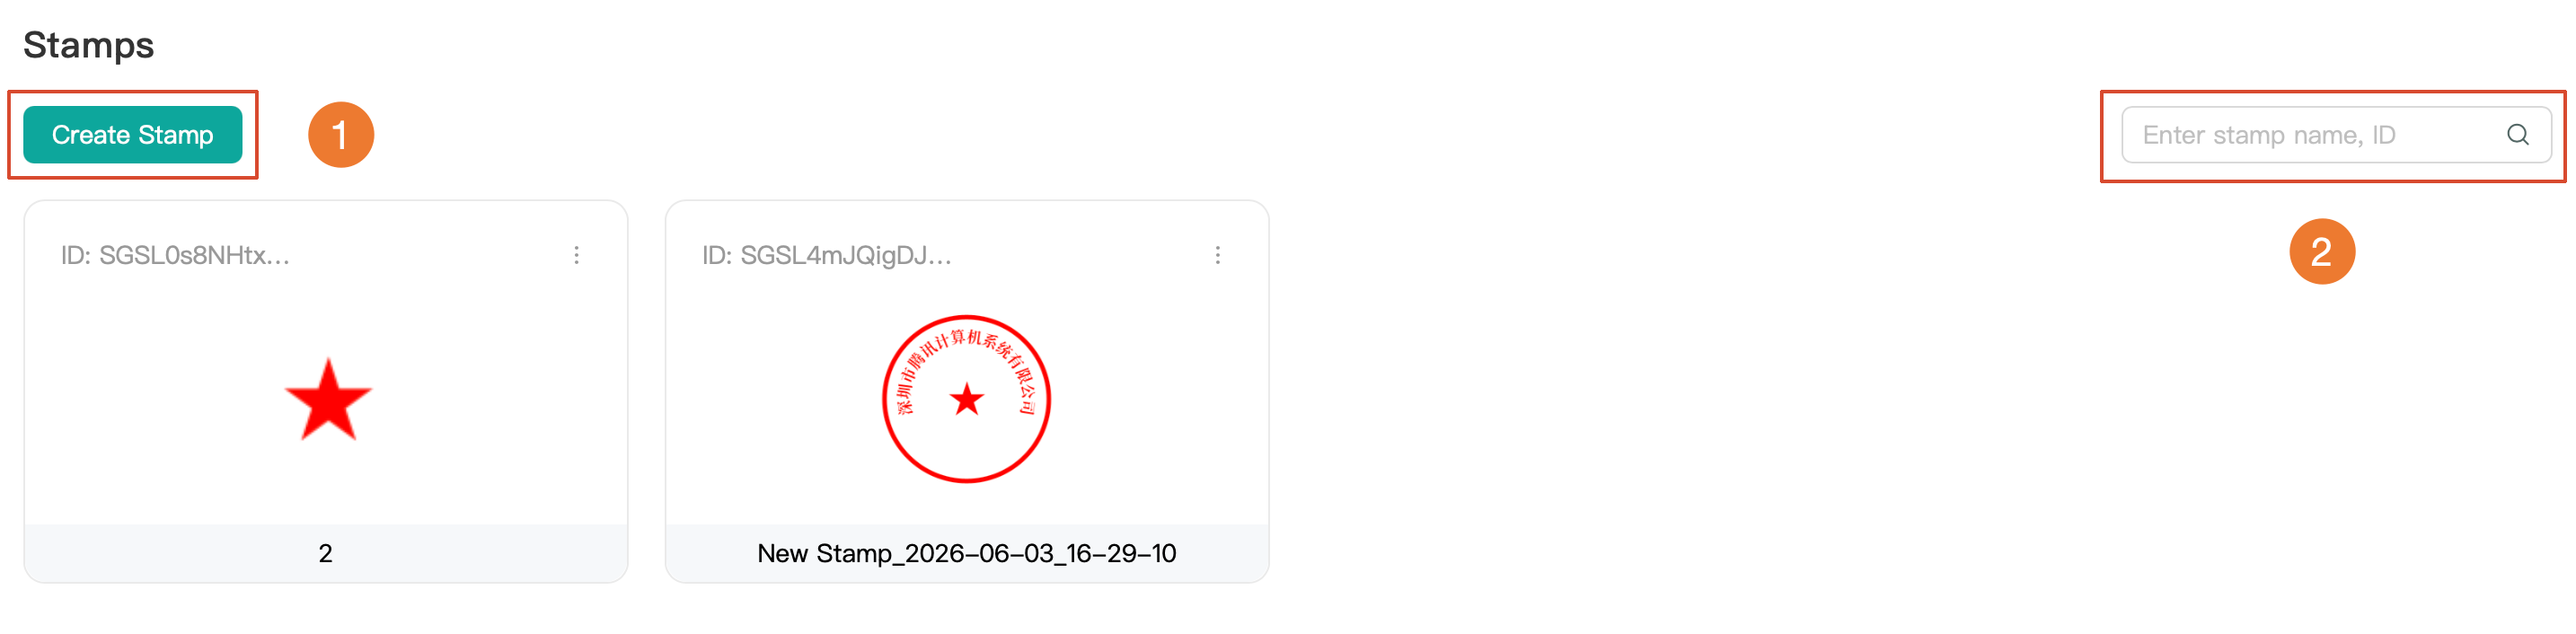
No. | Function | Description |
1 | Create stamp | Initiate the creation of an electronic stamp. |
2 | Search box | Search for stamps name or ID. |
Creating a Stamp
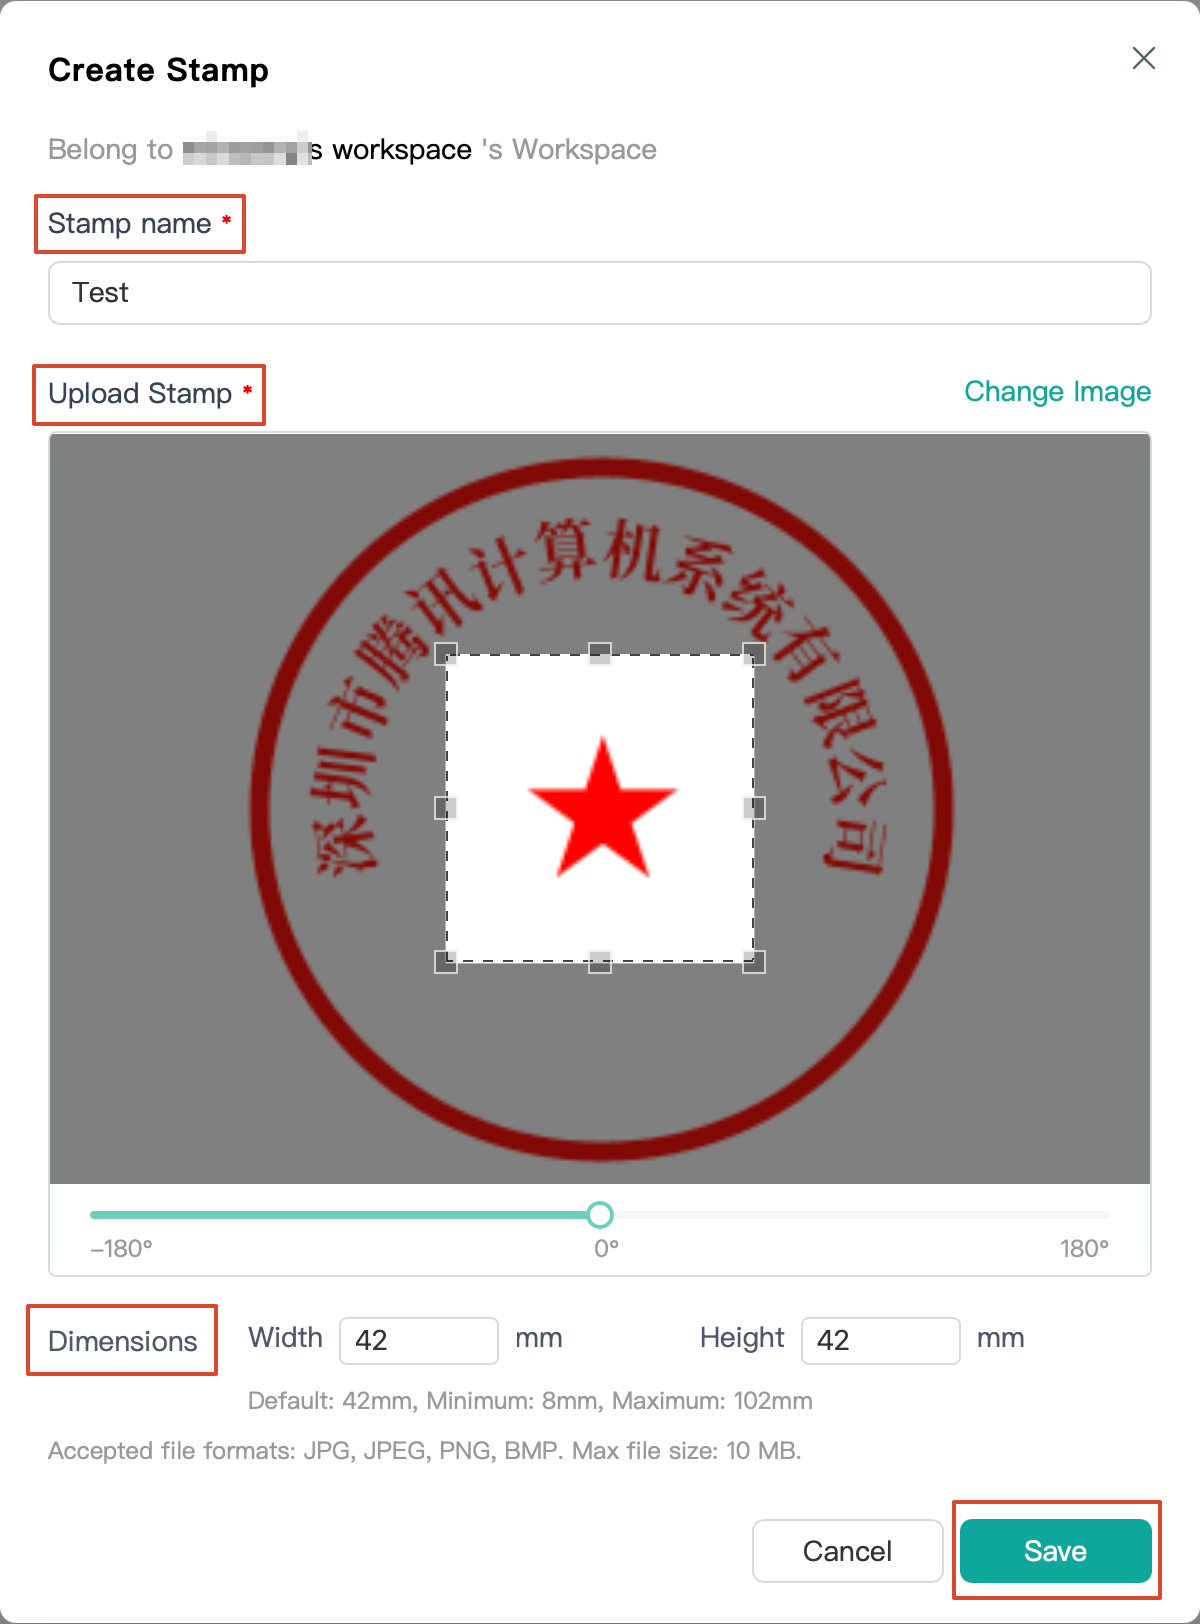
1. Click Create Stamp to open the Create Stamp dialog box.
2. In the dialog box, enter the Stamp Name and upload the Stamp Image file. After the stamp image is uploaded, you can modify the stamp dimensions, which is optional.
3. After completing the required fields, click Save to create the stamp.
Stamp Card Operation Rules
After a stamp is created, it is displayed on the page as a card. Hover the mouse over the three-dot icon in the upper-right corner of the card to expand the four operations: Edit, Grant, Manage, and Delete.
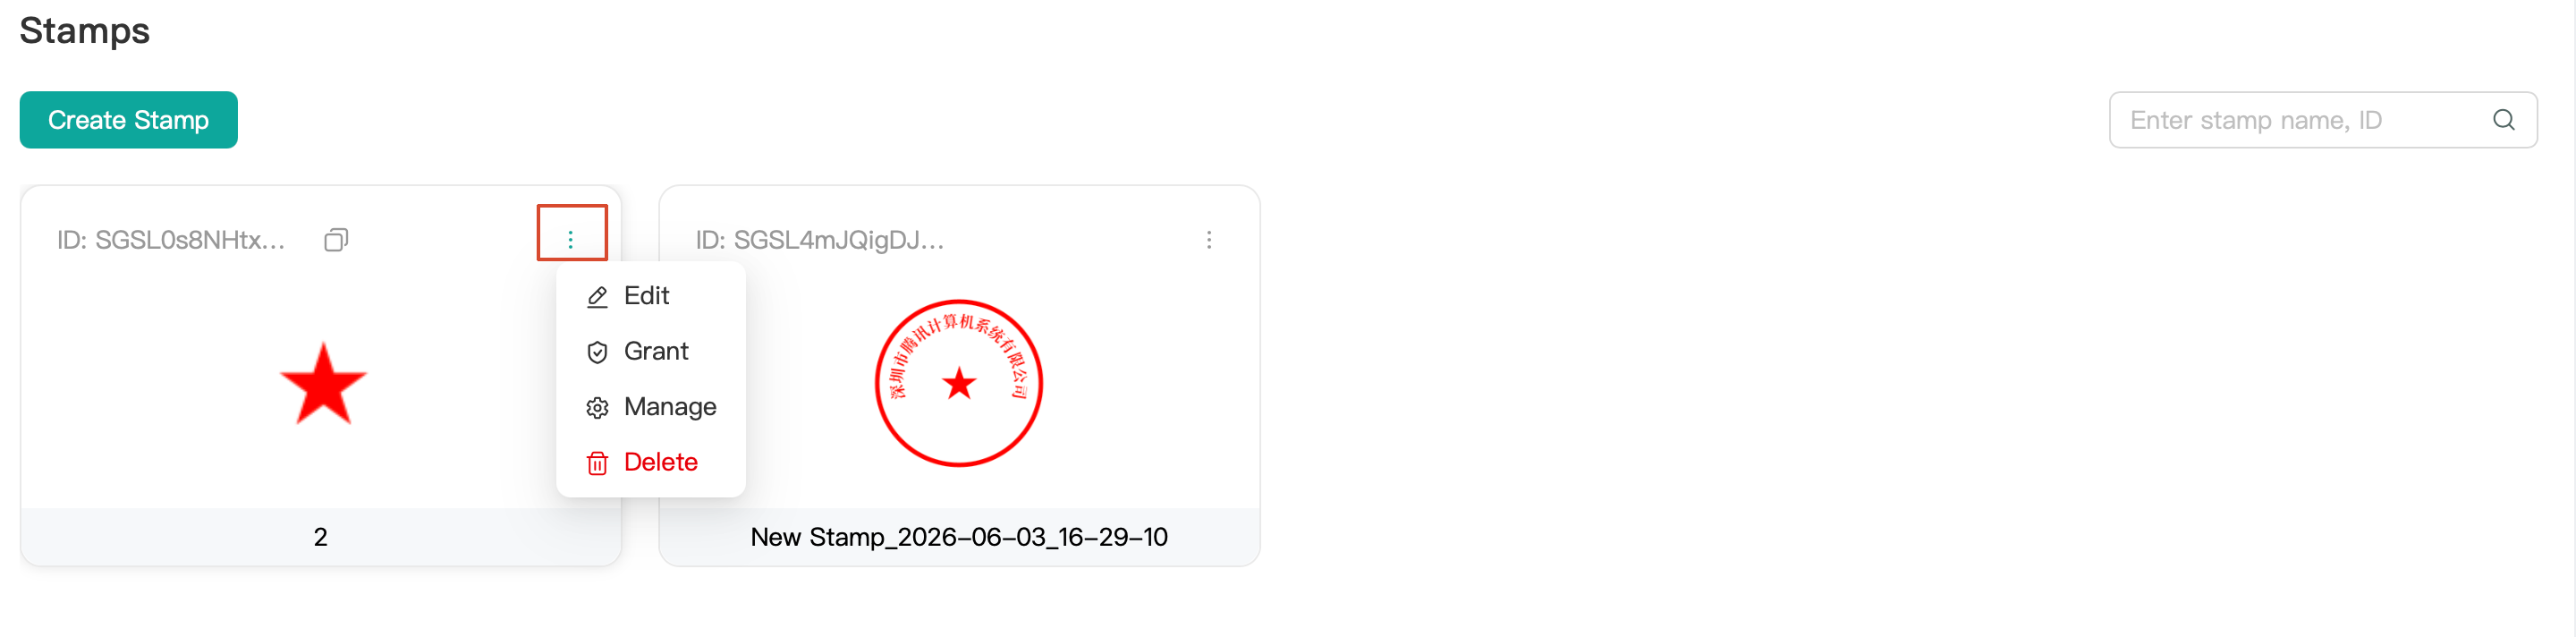
Edit: You can only modify the stamp name and dimensions. You cannot replace the uploaded original stamp image.
Grant: Select team members to grant them the permission to use this stamp.
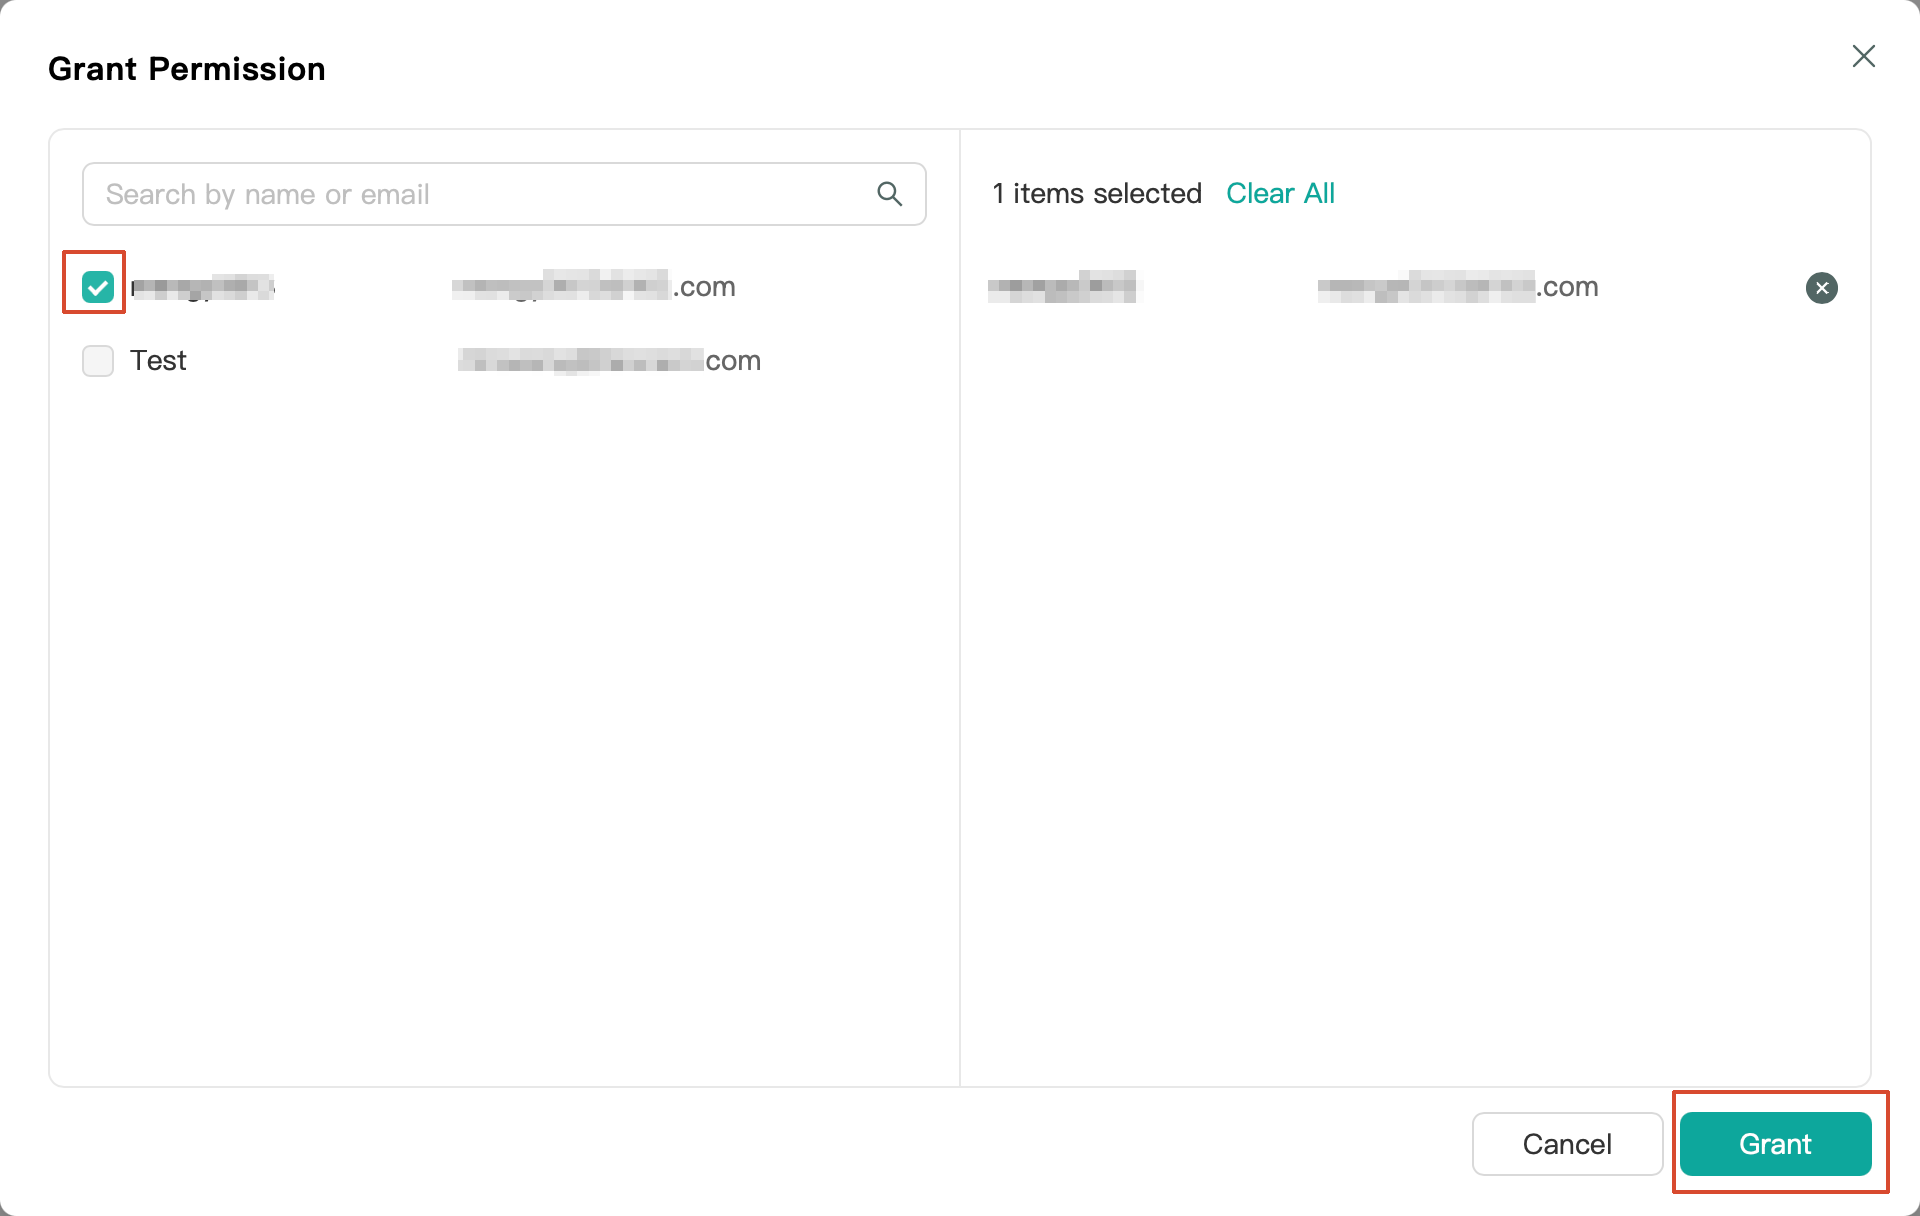
Manage: View the list of all authorized members. You can revoke a member's permission to use the stamp here.
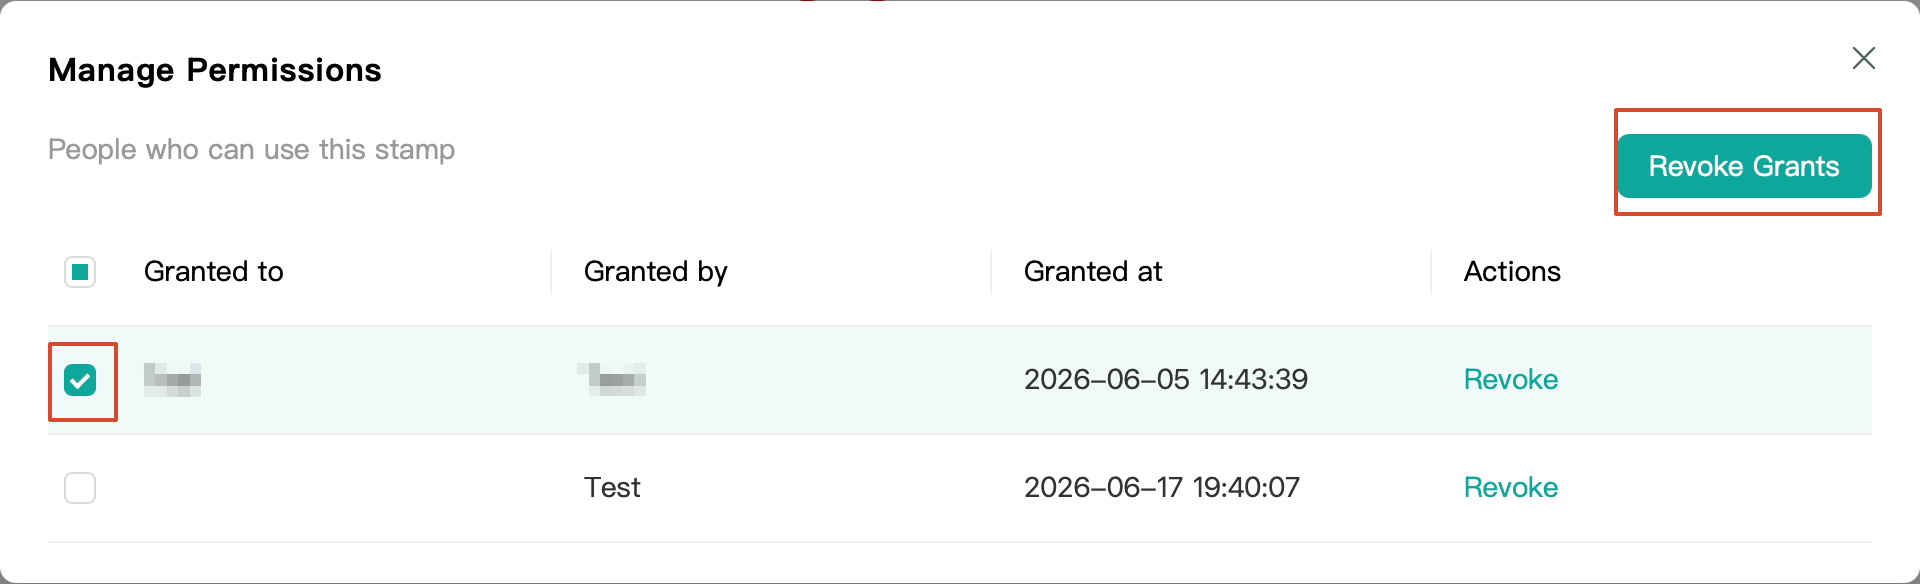
Delete: Remove the stamp material. The stamps on historical envelopes that have been signed remain unchanged.
Note:
The created stamp can be used during envelope signing. The signatory can place the stamp in the Stamp area of the document.
Bantuan dan Dukungan
Apakah halaman ini membantu?
Anda juga dapat Menghubungi Penjualan atau Mengirimkan Tiket untuk meminta bantuan.
masukan