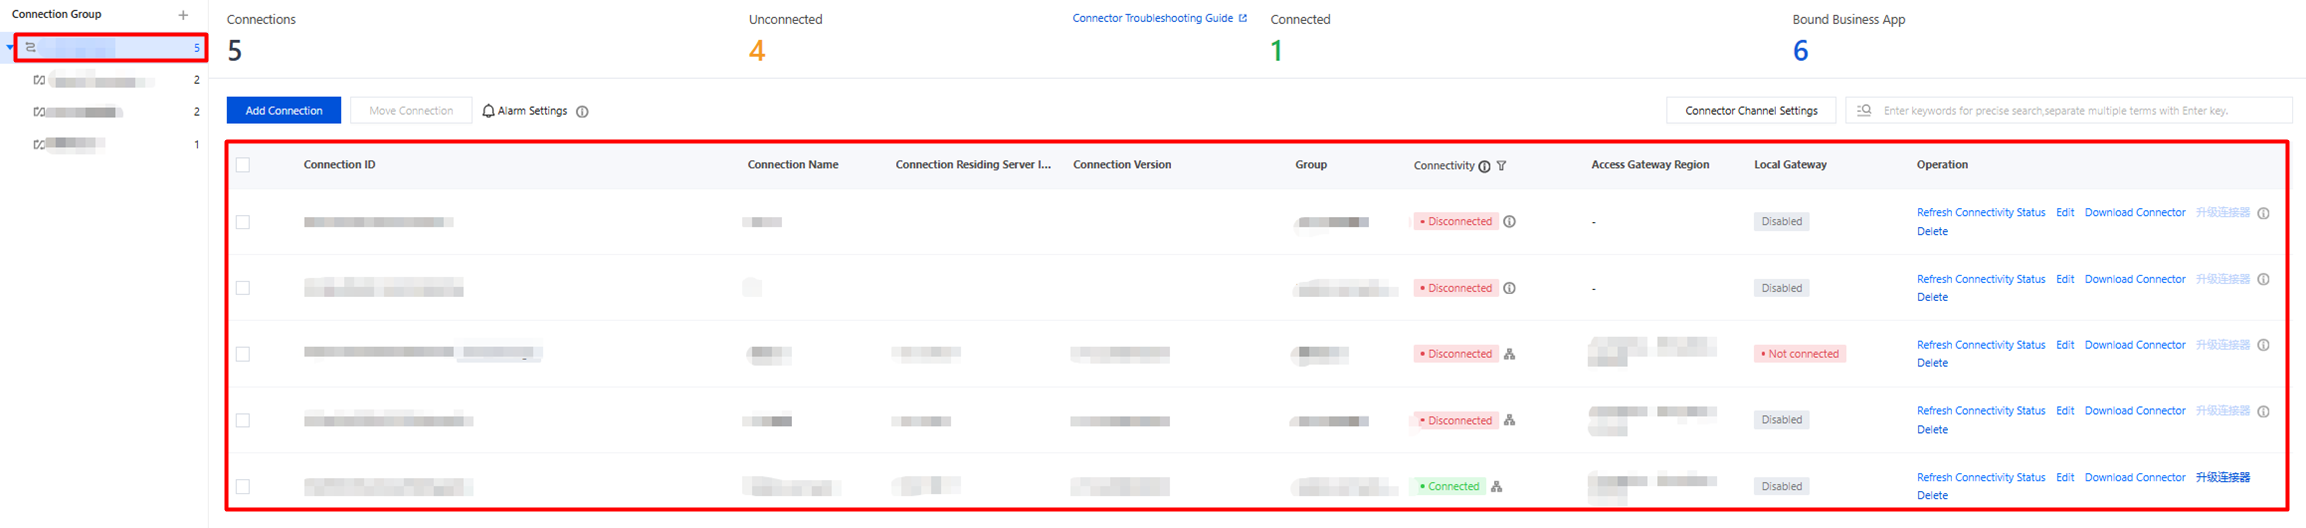
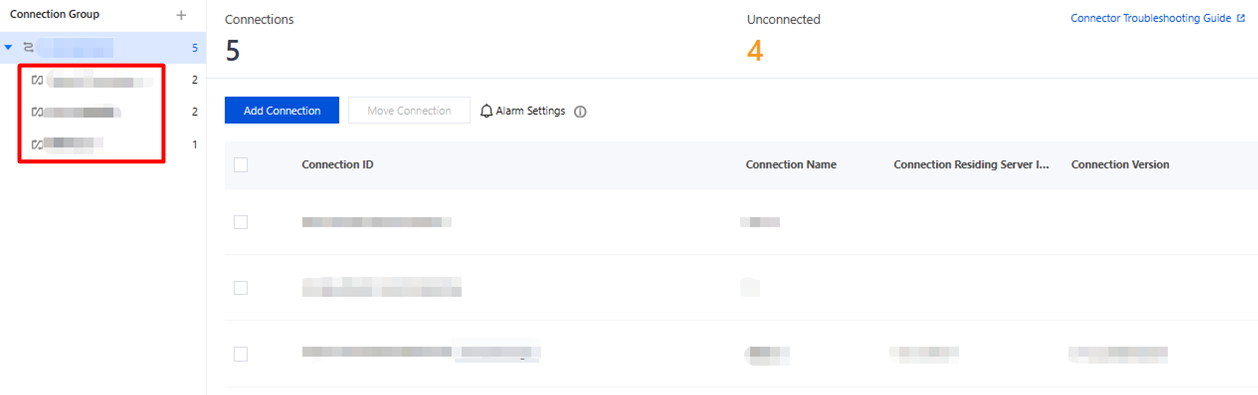
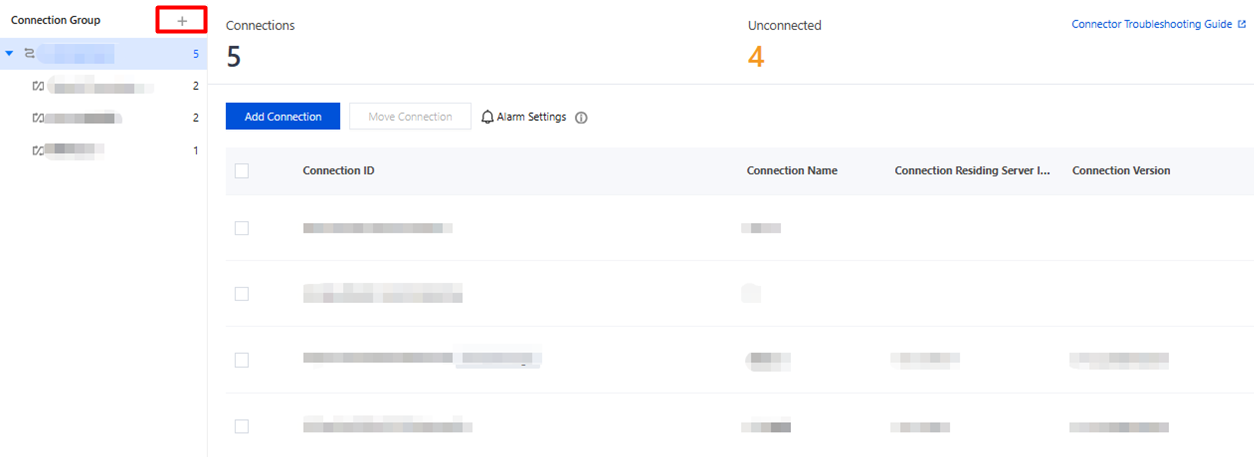
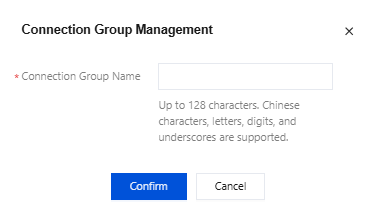
The connector (connection) uses a reverse connection solution to establish one-way connectivity between the Tencent Cloud gateway and your private network resources, SaaS resources, and others. This enables business systems to avoid exposing ports to the public network, requiring only outbound access to the following addresses:
Type
Description
Networking
Allow required addresses in the outbound direction, preferably in domain name mode. The addresses to be allowed are as follows:
Connection management service address: ch1.channel.gateway.tencentwsd.cn:30226 TCP
(Example) Connection reverse connection service address: ch2-(Tenant ID).channel.gateway.tencentwsd.cn:(Port number) TCP
Control plane data reporting address (central control address): scs.gateway.tencent.com:443 TCP
WireGuard tunnel service address: wg1.channel.gateway.tencentwsd.cn:13303 UDP
Recommended operating system
CentOS 7.6 or later, TencentOS 3.1 or later, Ubuntu 20 or later, Debian 11 or later; CPU: 2-4 cores, memory: 4-8 GB, disk: 100 GB or more.
Windows 11 Pro / Windows 10 Pro; CPU: 4-8 cores, memory: 8-16 GB, disk: 100 GB or more.
Egress bandwidth
Not lower than the current iOA bandwidth (10 Mbps).
On the Global Overview page, click Authorization Information in the upper-right corner to obtain information such as egress bandwidth.
Number of connections
Deploy two connections for the same resource to achieve disaster recovery.
Deployment region
Deployment in the DMZ is supported.
A DMZ is a buffer zone between an untrusted system and a trusted system, established to address the issue where external network users cannot access internal network servers after a firewall is installed.
Scenarios for Connector Deployment
Scenario 1: Deploying Multiple Connections for the Same Business Resource to Achieve High Availability
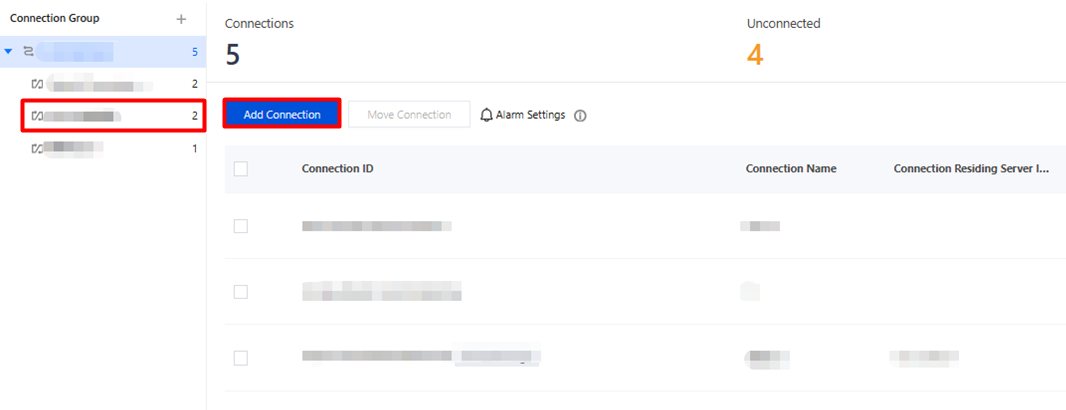
Add multiple connections to the same connection group and deploy the connectors for these connections on different machines. When a business access request is initiated, the system randomly uses a connector with the Connected status in the same connection group to establish the connection.
Scenario 2: Business Resources Distributed Across Different Networks, Regions, and Data Centers
When business resources are distributed across different networks, regions, or data centers (public cloud, private cloud, on-premises IDC, and so on), you can configure multiple connection groups, add connections to different connection groups, and deploy the connectors for these connections on the relevant machines. Deployment in Scenario 1 is also supported.
Scenario 3: Connector Migration
Each connector has a unique ID for registration with the iOA SaaS gateway, so each connector can run on only one machine at a time. To migrate a connector without interrupting business, add a new connection to the connection group of the original connector, deploy the new connector on the new machine, stop the connector process service on the original machine as needed, and then delete the old connection in the iOA SaaS console.
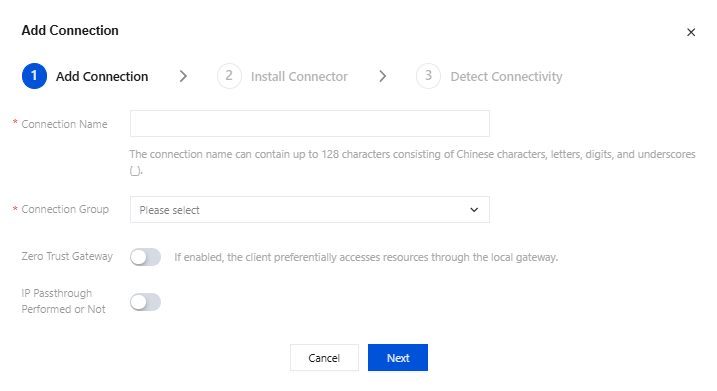
2. In the Add Connection window, enter the connection name and click Next.
Note:
Zero Trust Gateway: The zero trust security gateway is an access solution that deploys the gateway locally. If you need nearby access or want to obtain the terminal's private IP address, we recommend that you purchase the Zero Trust Gateway. After purchase, you can configure Third-Party Cloud Services and enable the Zero Trust Gateway (if available) under . During resource access, the terminal preferentially connects to the Zero Trust Gateway. If the Zero Trust Gateway is not enabled or unreachable, the terminal switches to the Tencent Cloud Gateway.
Whether to pass through the IP: After you enable this feature, the source IP address is replaced with the virtual IP address assigned by iOA.
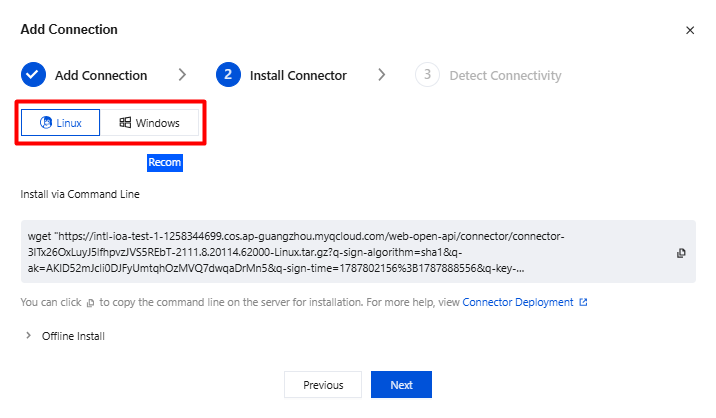
3. Based on your actual requirements, click Windows or Linux and copy the command to download the connector.
4. Upload the downloaded connection connector installation package to the target machine for installation.
Note:
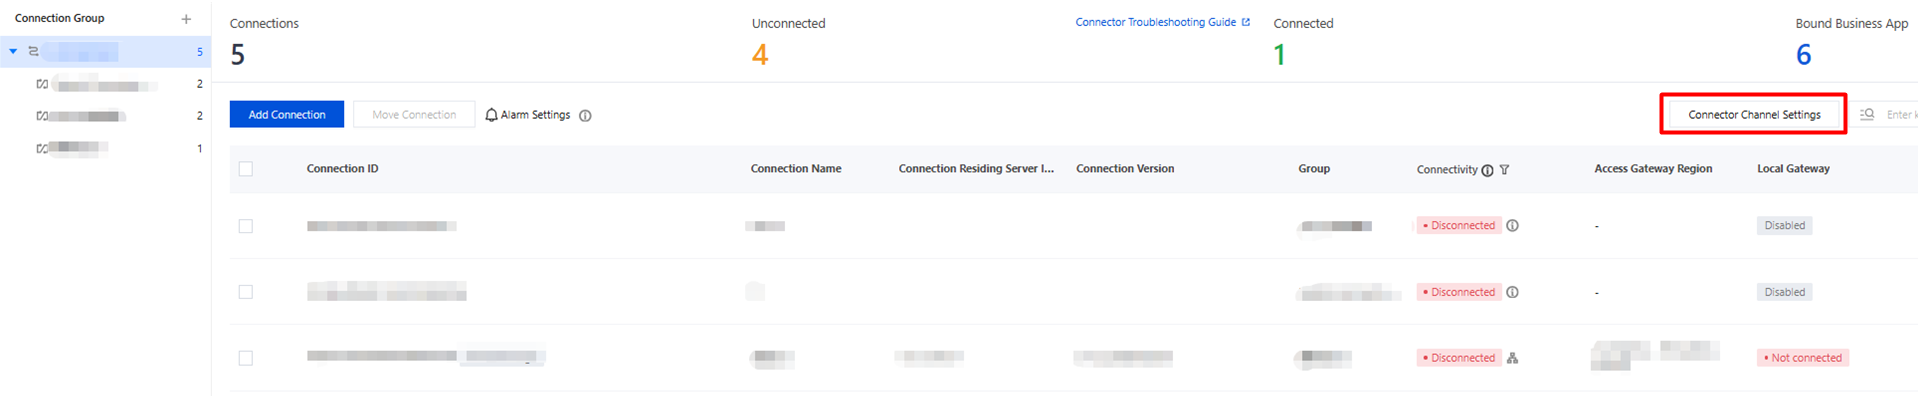
The connector connects to the Guangzhou gateway by default. If you need other regions, select the desired regions in Non-Tencent Cloud Services > Connector Channel settings and contact iOA Technical Support for activation.
Step 3: Uninstall the Currently Installed Connector (Skip to Step 4 If No Connector Is Installed)
Uninstalling the Windows Connector
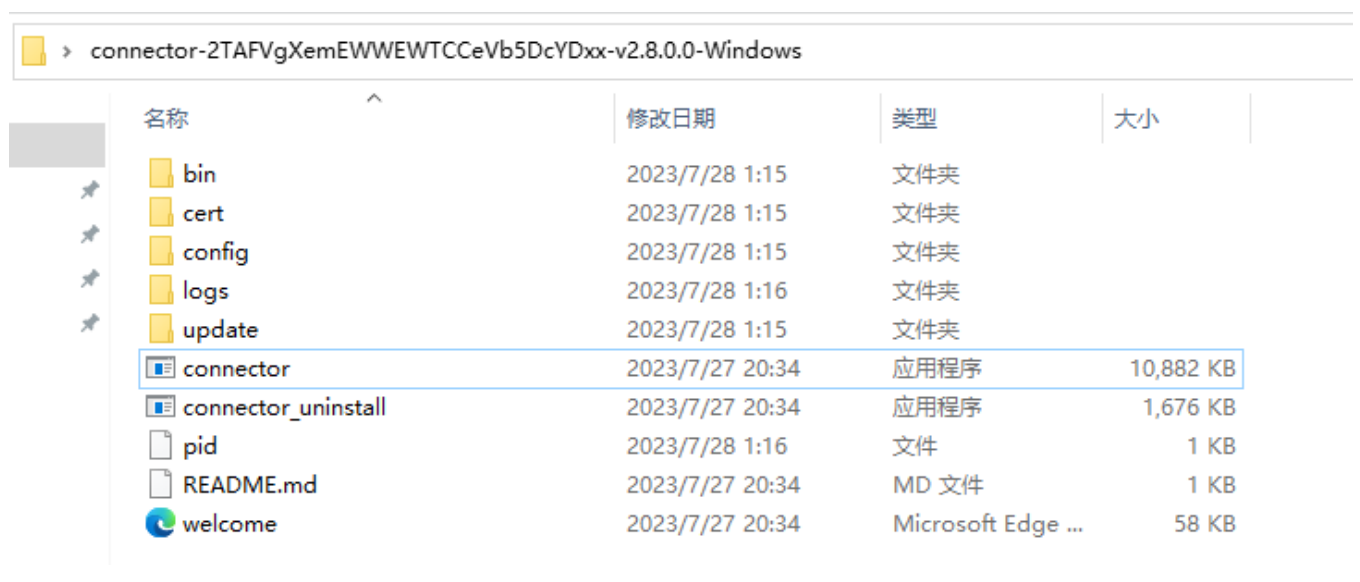
1. Locate the installation directory of the old Windows connector.
2. Drag connector.exe into the CMD window.
3. Enter the parameter uninstall and press Enter to perform the uninstallation.
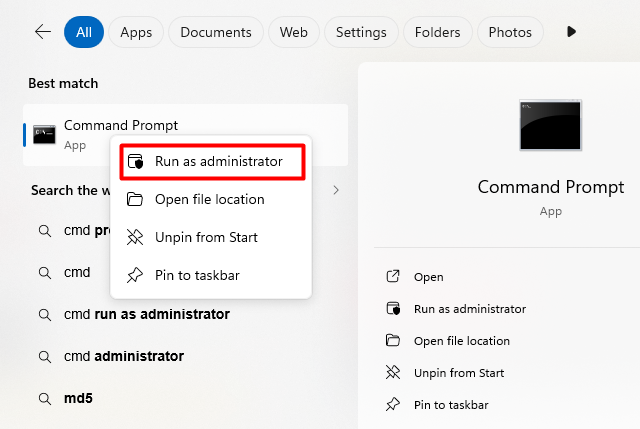
4. If you encounter an error as shown in the following figure:
Open Command Prompt as an administrator and run the above command again.
Uninstalling the Linux Connector
1. Enter the following command to modify the connector autostart file.
2. Enter the following command to terminate the old connector process.
ps -aux|grep connector.
kill -9 <process_id>.
Note:
The position marked ① is the process id.
Step 4: Install a New Connector
Installing a New Connector on Windows
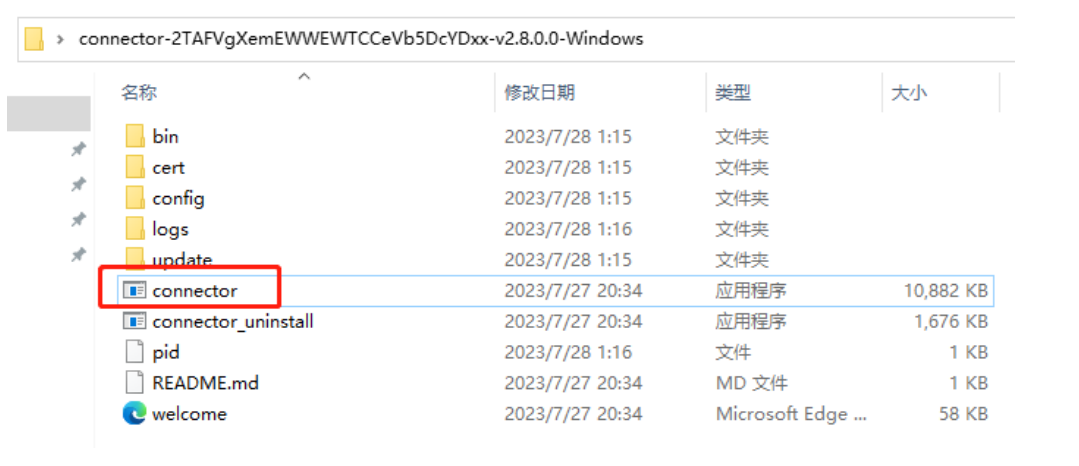
1. Copy the compressed package to the prepared private network server and decompress it, then double-click connector.exe to run it.
Note:
This operation automatically enables the connector to start on system startup.
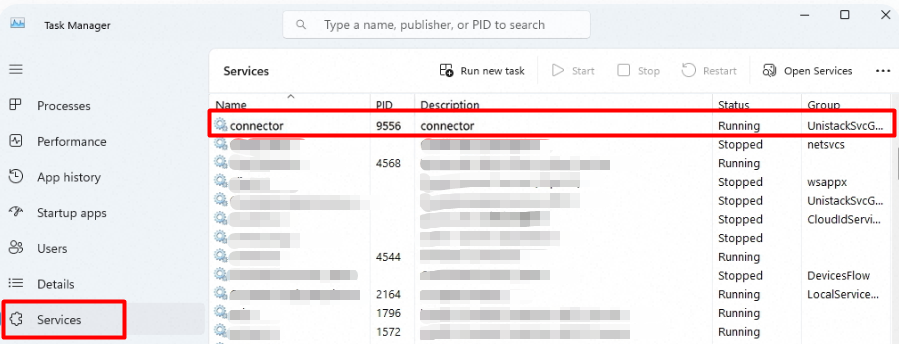
2. On the Services tab of Task Manager, verify that the running status of the connector process is Running.
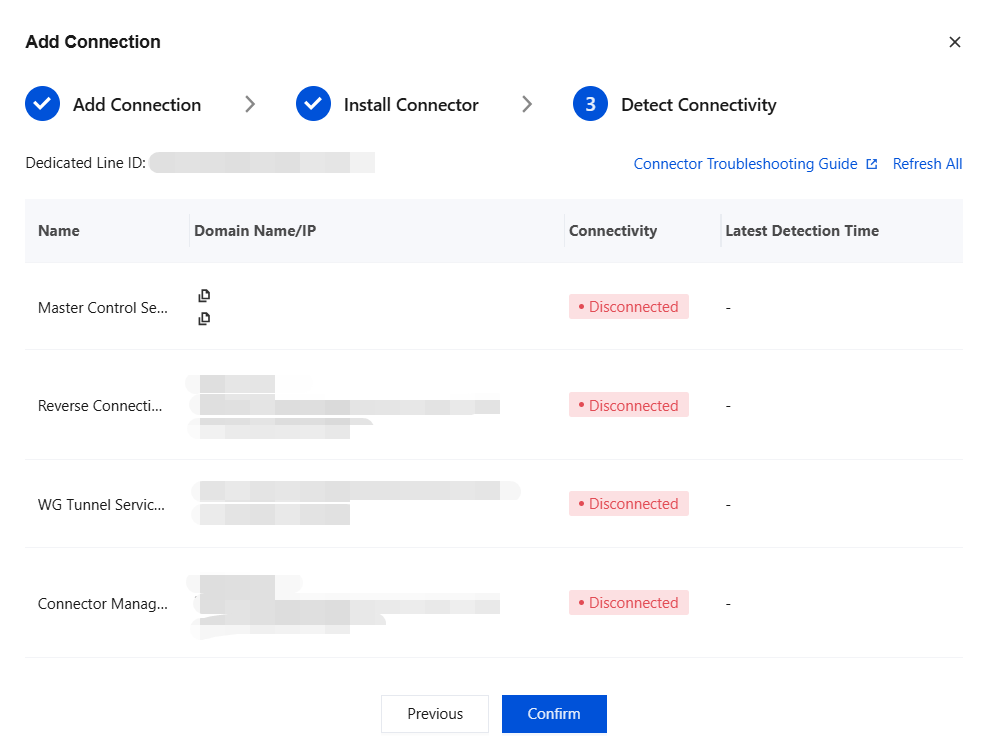
3. On the Add Connection page, check the connector connectivity status.
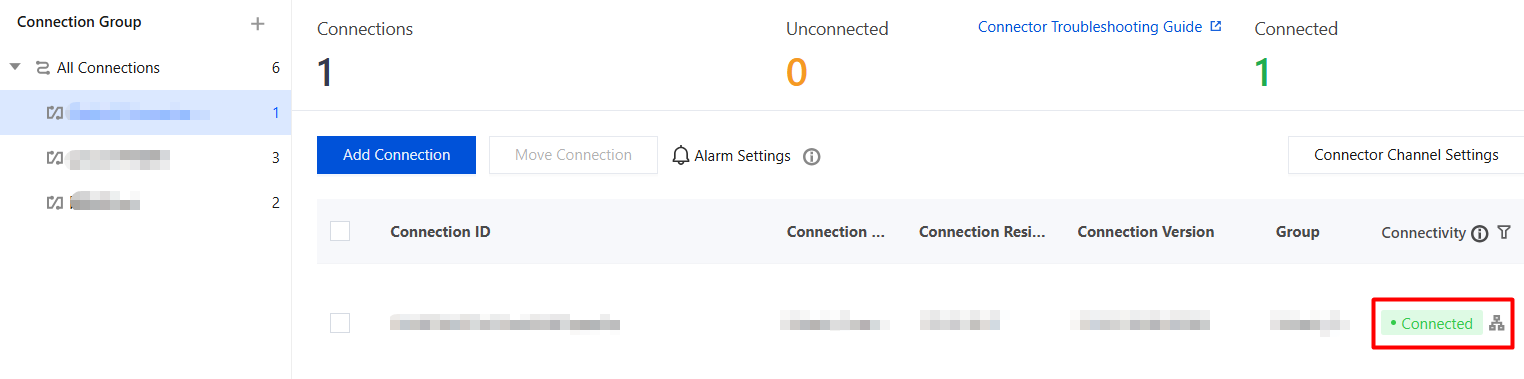
4. On the connection list page, check the connection status.
Installing a New Connector on Linux
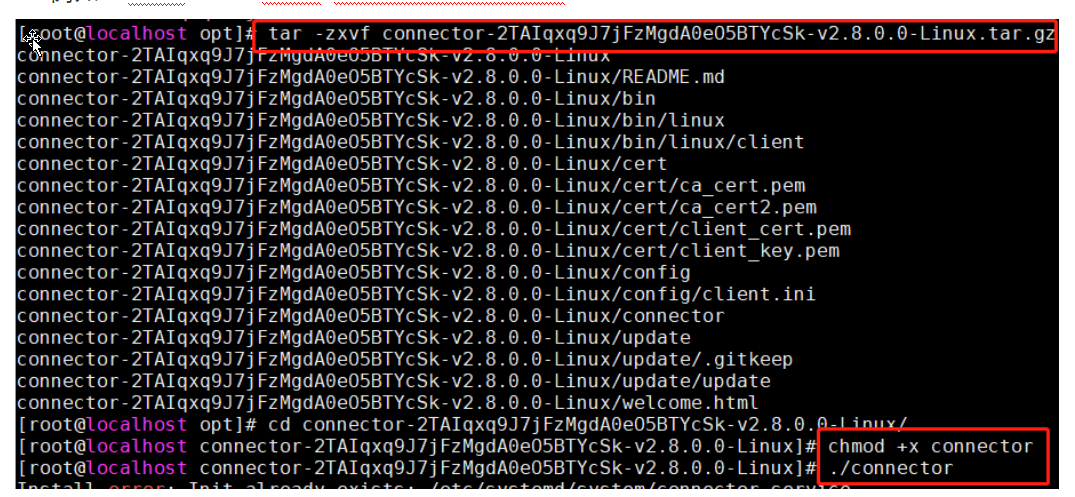
1. Copy the compressed package to the prepared private network server, and then run the following commands in order:
tar -zxvf connector-xxxxxx.tar.gz // Decompress the package
cd connector-xxxxxx // Go to the extracted directory.
chmod +x connector // Grant execute permission to the connector program.
./connector // Run the connector. Note: The connector will be automatically configured to start on system startup.
Note:
If you have root permissions, you can run the preceding commands directly. If you do not have root permissions, add sudo before the commands. For example: sudo tar -zxvf connector-xxxxxx.tar.
2. Run ps -aux | grep connector to check whether the process is running normally.
Checking Whether SELinux Is Disabled
If the process does not start after connector deployment or the service starts abnormally, check the SELinux status. SELinux must be disabled for connector deployment.
Impact of SELinux on Connectors
Enabling SELinux affects the registration of the connector service with systemd.
When you run ps to check the connector process, it is not started.
Run systemctl status to view the error reported during service startup.
Introduction to the Three SELinux Modes
Enforcing: Enforcing mode. It indicates that SELinux is running and has started to restrict the validation between domain/type.
Permissive: Permissive mode. It indicates that SELinux is running, but it does not restrict the validation between domain/type. Even if the validation is incorrect, processes can still operate on files. However, a warning is issued if the validation is incorrect.
Disabled: Disabled mode. SELinux is not actually running.
Checking the SELinux Status
Run the getenforce command to check the SELinux status.
[root@localhost]# getenforce
Disabled
Disabling SELinux
Temporarily Disabling SELinux (Without Rebooting the Machine)
Use the setenforce command to temporarily disable SELinux. This takes effect without restarting the machine, but the command becomes invalid after a restart.
setenforce 0 #Switch to Permissive mode
Note:
The setenforce command cannot set SELinux to Disabled mode.
Enable SELinux: setenforce 1 #Switch to Enforcing mode.
Modifying the Configuration File (Requires Rebooting the Machine to Take Effect)
vim /etc/selinux/config #Modify the /etc/selinux/config file
SELINUX=disabled #Change SELINUX=enforcing to SELINUX=disabled