- Release Notes and Announcements
- Product Introduction
- Purchase Guide
- Demos
- SDK Download
- Free Trial License
- Licenses
- SDK Integration Guide
- API Documentation
- Feature Guide
- Reducing SDK Size
- Effect Parameters
- Recommended Parameters in Beautification Scenarios
- UGSV Enterprise Edition Migration Guide
- Integrating Tencent Effect for Third-Party Publishers (Flutter)
- Integrating Beauty AR Web into Mini Programs
- Tencent Effect Studio Utilize
- Beauty AR Web
- FAQs
- Legacy Documentation
- TE SDK Policy
- Contact Us
Avatars are a capability of the Tencent Effect SDK. When integrating it, please refer to the Integrating Tencent Effect SDK to integrate the SDK into your project. Then, follow the method below to add Avatar UI and load Avatar materials.
1. Integrate the SDK. For detailed directions, see Integrating Tencent Effect SDK.
2. Follow the steps below to load the avatar materials.
Directions
Step 1. Copy demo files
1. Download the demo project from our website and decompress it.
2. Add Avatar resources: Contact us to obtain the Avatar resource authorization, and then copy the authorized resources to your project (in the same location as the Demo: demo/app/assets/MotionRes/avatarRes). As the Avatar resources in demo/app/assets/MotionRes/avatarRes of the Demo are encrypted and authorized, customers cannot use them directly.
3. Copy all the classes in the
com.tencent.demo.avatar folder of the demo to your project.Step 2. Add code
Add the following code (you can refer to the
com.tencent.demo.avatar.AvatarEditActivity class of the demo):1. Configure panel information in the XML file of your UI.
<com.tencent.demo.avatar.view.AvatarPanelandroid:id="@+id/avatar_panel"android:layout_width="match_parent"android:layout_height="300dp"app:layout_constraintBottom_toBottomOf="parent" />
2. Get the panel object on your UI and configure the callbacks:
avatarPanel.setAvatarPanelCallBack(new AvatarPanelCallBack() {@Overridepublic void onReceiverBindData(List<AvatarData> avatarData) {mXMagicApi.updateAvatar(avatarData, AvatarEditActivity.this);}@Overridepublic void onItemChecked(MainTab mainTab, AvatarItem avatarItem) {if (avatarItem.avatarData == null && URLUtil.isNetworkUrl(avatarItem.downloadUrl)) { // Resources are downloaded dynamically.downloadAvatarData(avatarItem, () -> updateConfig(avatarItem));} else {updateConfig(avatarItem);List<AvatarData> bindAvatarData = AvatarResManager.getAvatarDataByBindData(avatarItem.bindData);mXmagicApi.updateAvatar(bindAvatarData, AvatarActivity.this);}}@Overridepublic void onItemValueChange(AvatarItem avatarItem) {updateConfig(avatarItem);}@Overridepublic boolean onShowPage(AvatarPageInf avatarPageInf, SubTab subTab) {if (subTab != null && subTab.items != null && subTab.items.size() > 0) {AvatarItem avatarItem = subTab.items.get(0);if (avatarItem.type == AvatarData.TYPE_SLIDER && avatarItem.avatarData == null && URLUtil.isNetworkUrl(avatarItem.downloadUrl)) { //Resources are downloaded dynamically.downloadAvatarData(avatarItem, () -> {if (avatarPageInf != null) {avatarPageInf.refresh();}});return false;}}return true;}private void updateConfig(AvatarItem avatarItem) {if (mXmagicApi != null && avatarItem != null) {List<AvatarData> avatarConfigList = new ArrayList<>();avatarConfigList.add(avatarItem.avatarData);mXmagicApi.updateAvatar(avatarConfigList, AvatarActivity.this);}}});
3. Get and configure the panel data.
AvatarResManager.getInstance().getAvatarData(avatarResName, getAvatarConfig(), allData -> {avatarPanel.initView(allData);});
4. Create an
xmagicApi object and load the avatar resources:protected void initXMagicAndLoadAvatar(String avatarConfig, UpdatePropertyListener updatePropertyListener) {if (mXMagicApi == null && !isFinishing() && !isDestroyed()) {WorkThread.getInstance().run(() - > {synchronized(lock) {if (isXMagicApiDestroyed) {return;}mXMagicApi = XmagicApiUtils.createXMagicApi(getApplicationContext(), null);AvatarResManager.getInstance().loadAvatarRes(mXMagicApi, avatarResName, avatarConfig == null ? getAvatarConfig() : avatarConfig, updatePropertyListener);setAvatarPlaneType();}}, this.hashCode());}}
5. Save the avatar properties (you can refer to
saveAvatarConfigs in the demo):/*** Save the property values set by the user or the default property values.*/public void onSaveBtnClick() {//Get the user-configured properties through getUsedAvatarData of AvatarResManagerList < AvatarData > avatarDataList = AvatarResManager.getUsedAvatarData(avatarPanel.getMainTabList());//Convert the configured properties to a string through the XmagicApi.exportAvatar method.String content = XmagicApi.exportAvatar(avatarDataList);//Save this string, and when downloading and using it, set this string to the loadAvatarRes method of the SDK to restore this avatar.if (mXMagicApi != null) {mXMagicApi.exportCurrentTexture(bitmap - > saveAvatarModes(bitmap, content));}}
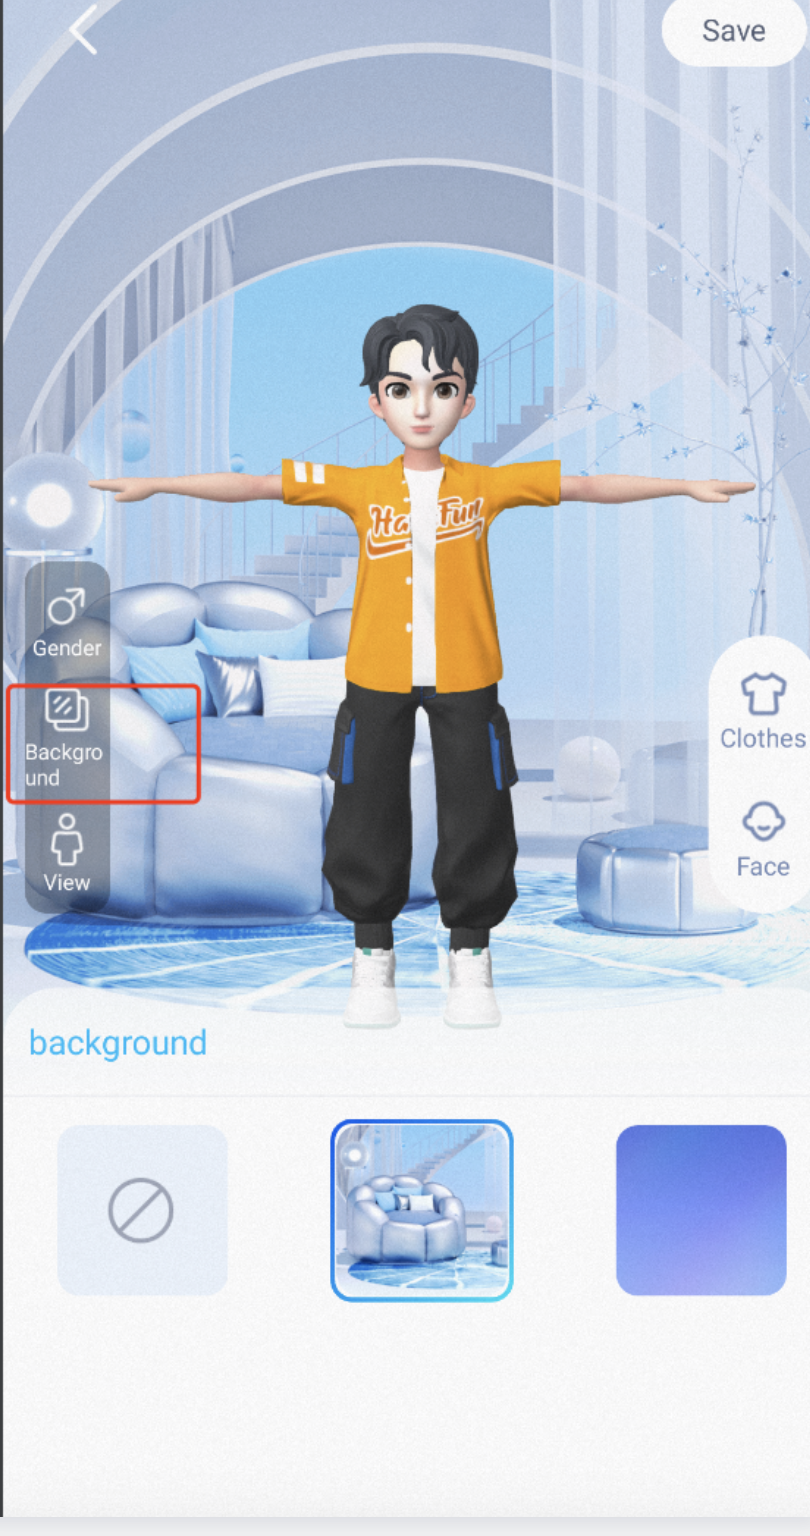
6. Change the background (you can refer to demo):


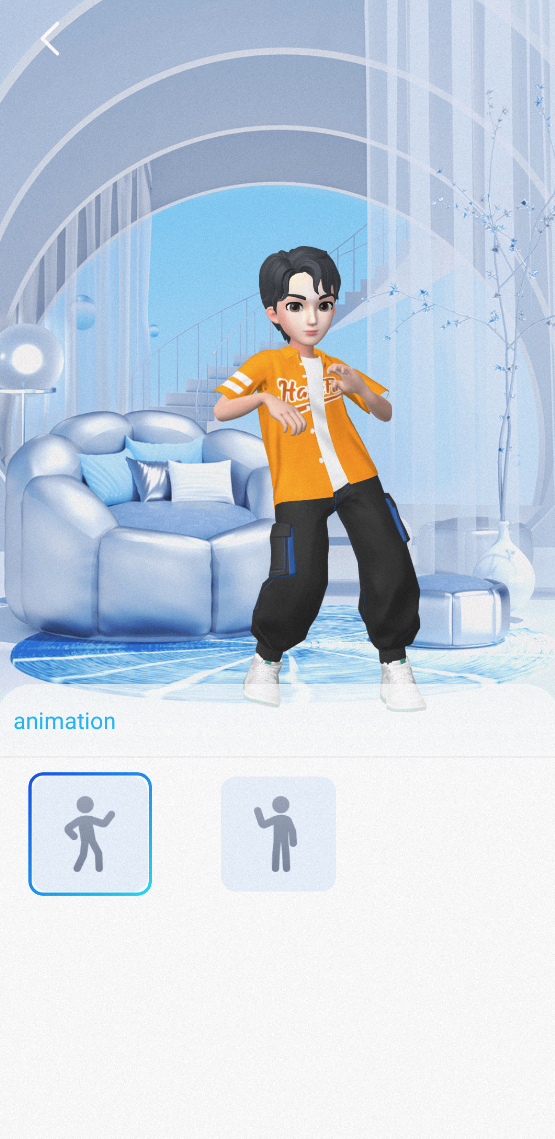
7. Refer to the interactive page in the Demo to set the model animation


 Yes
Yes
 No
No
Was this page helpful?