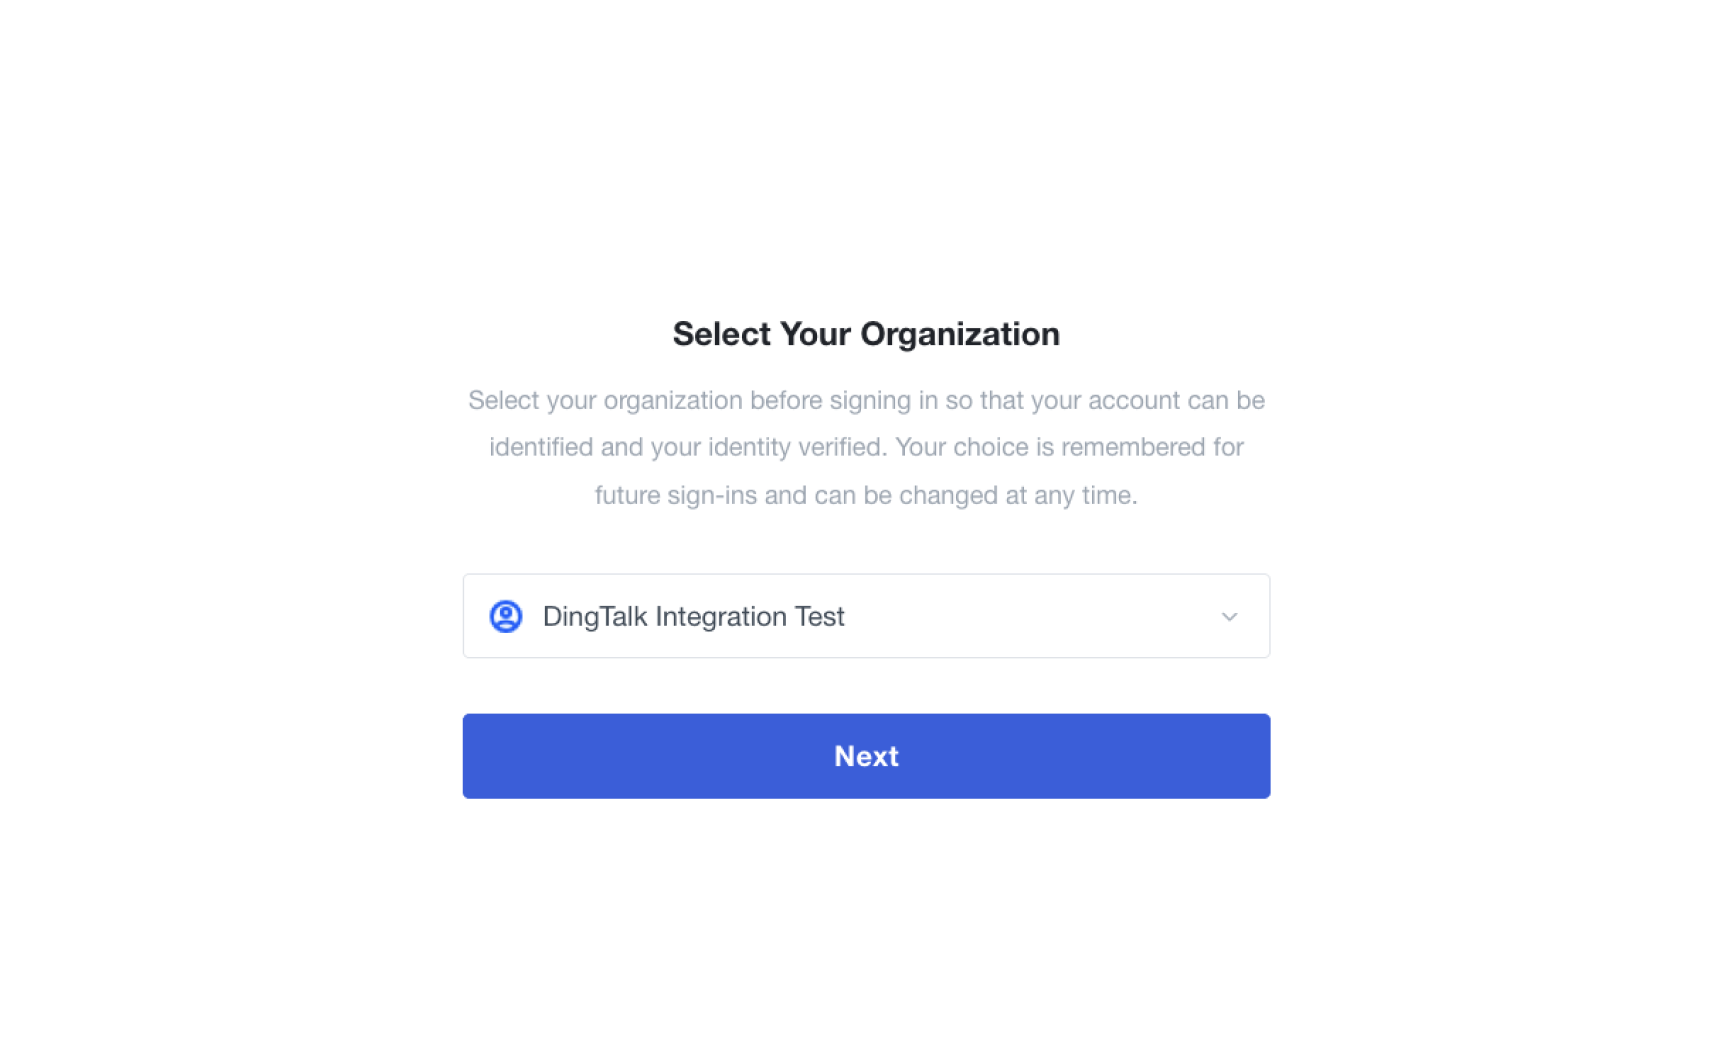
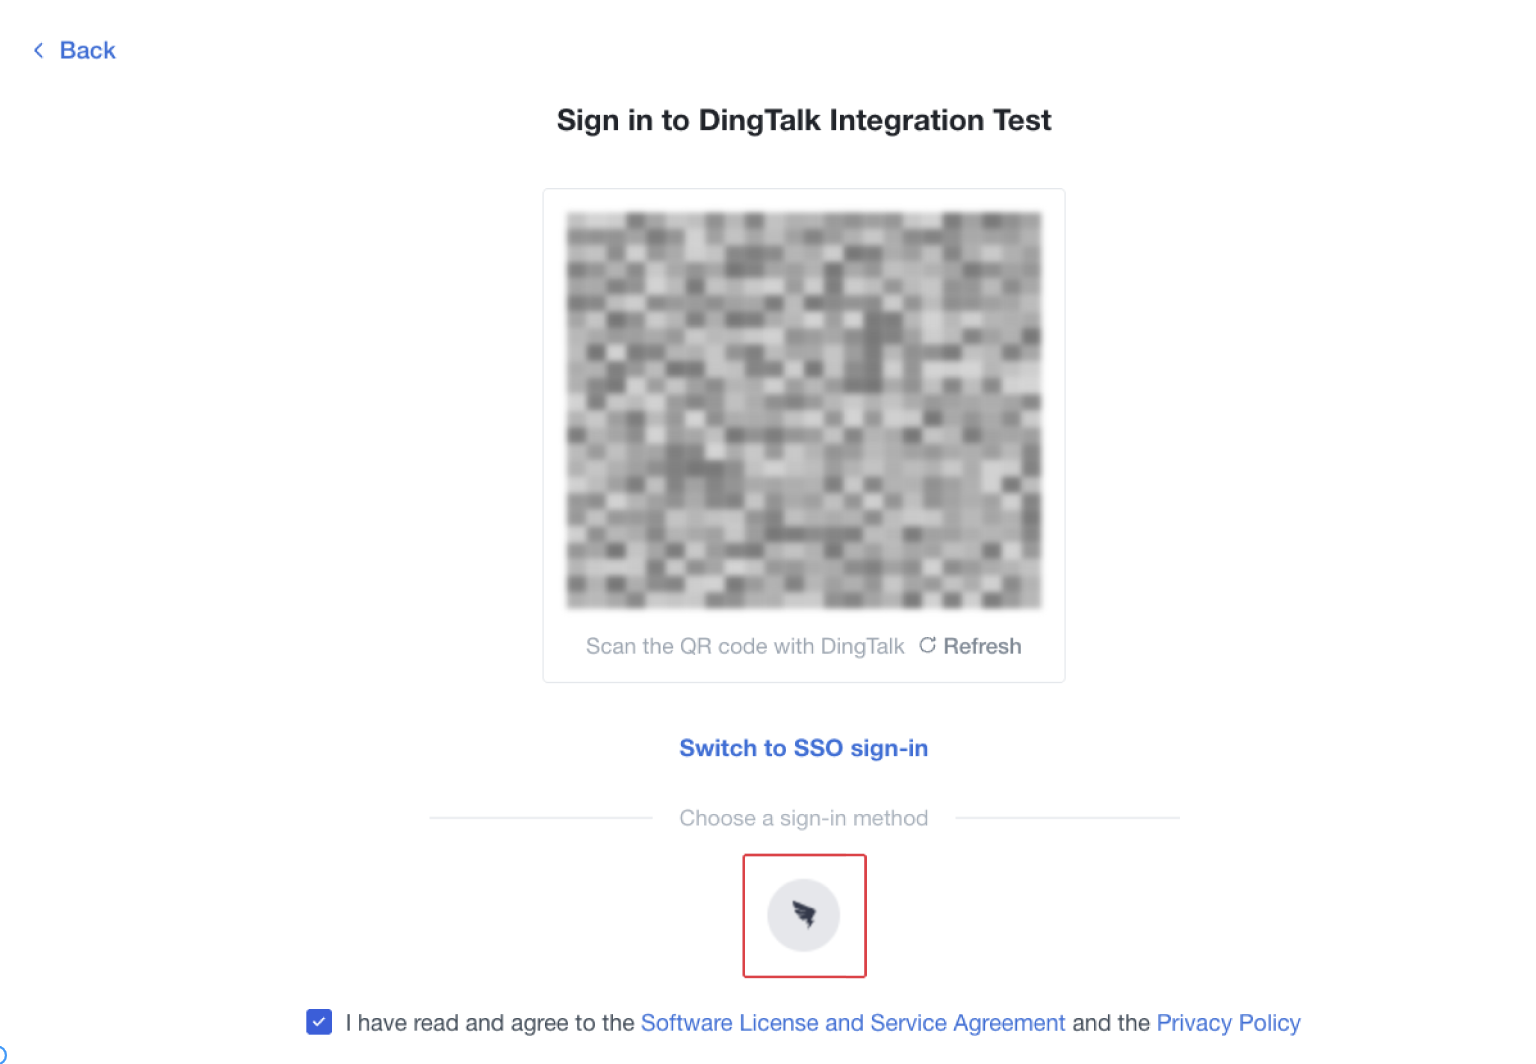
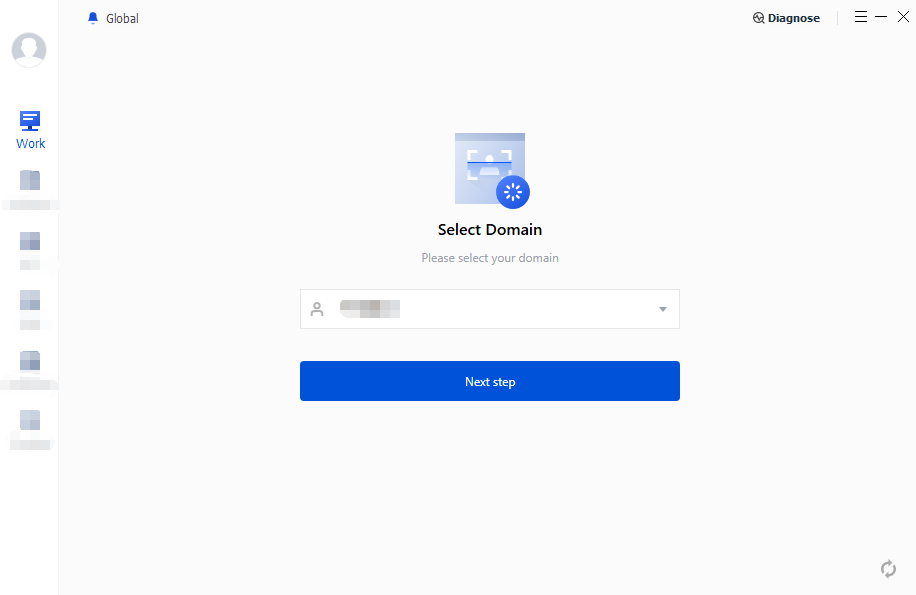
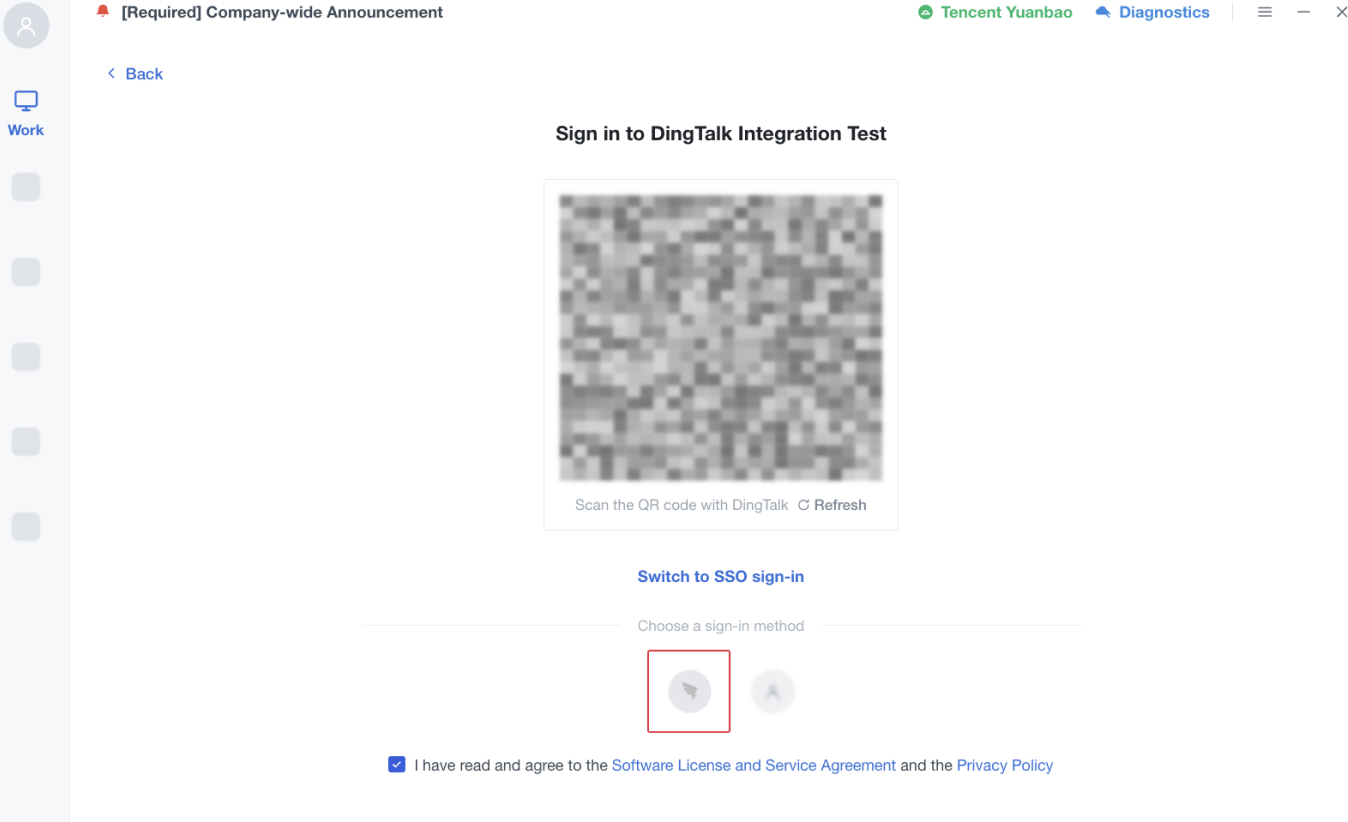
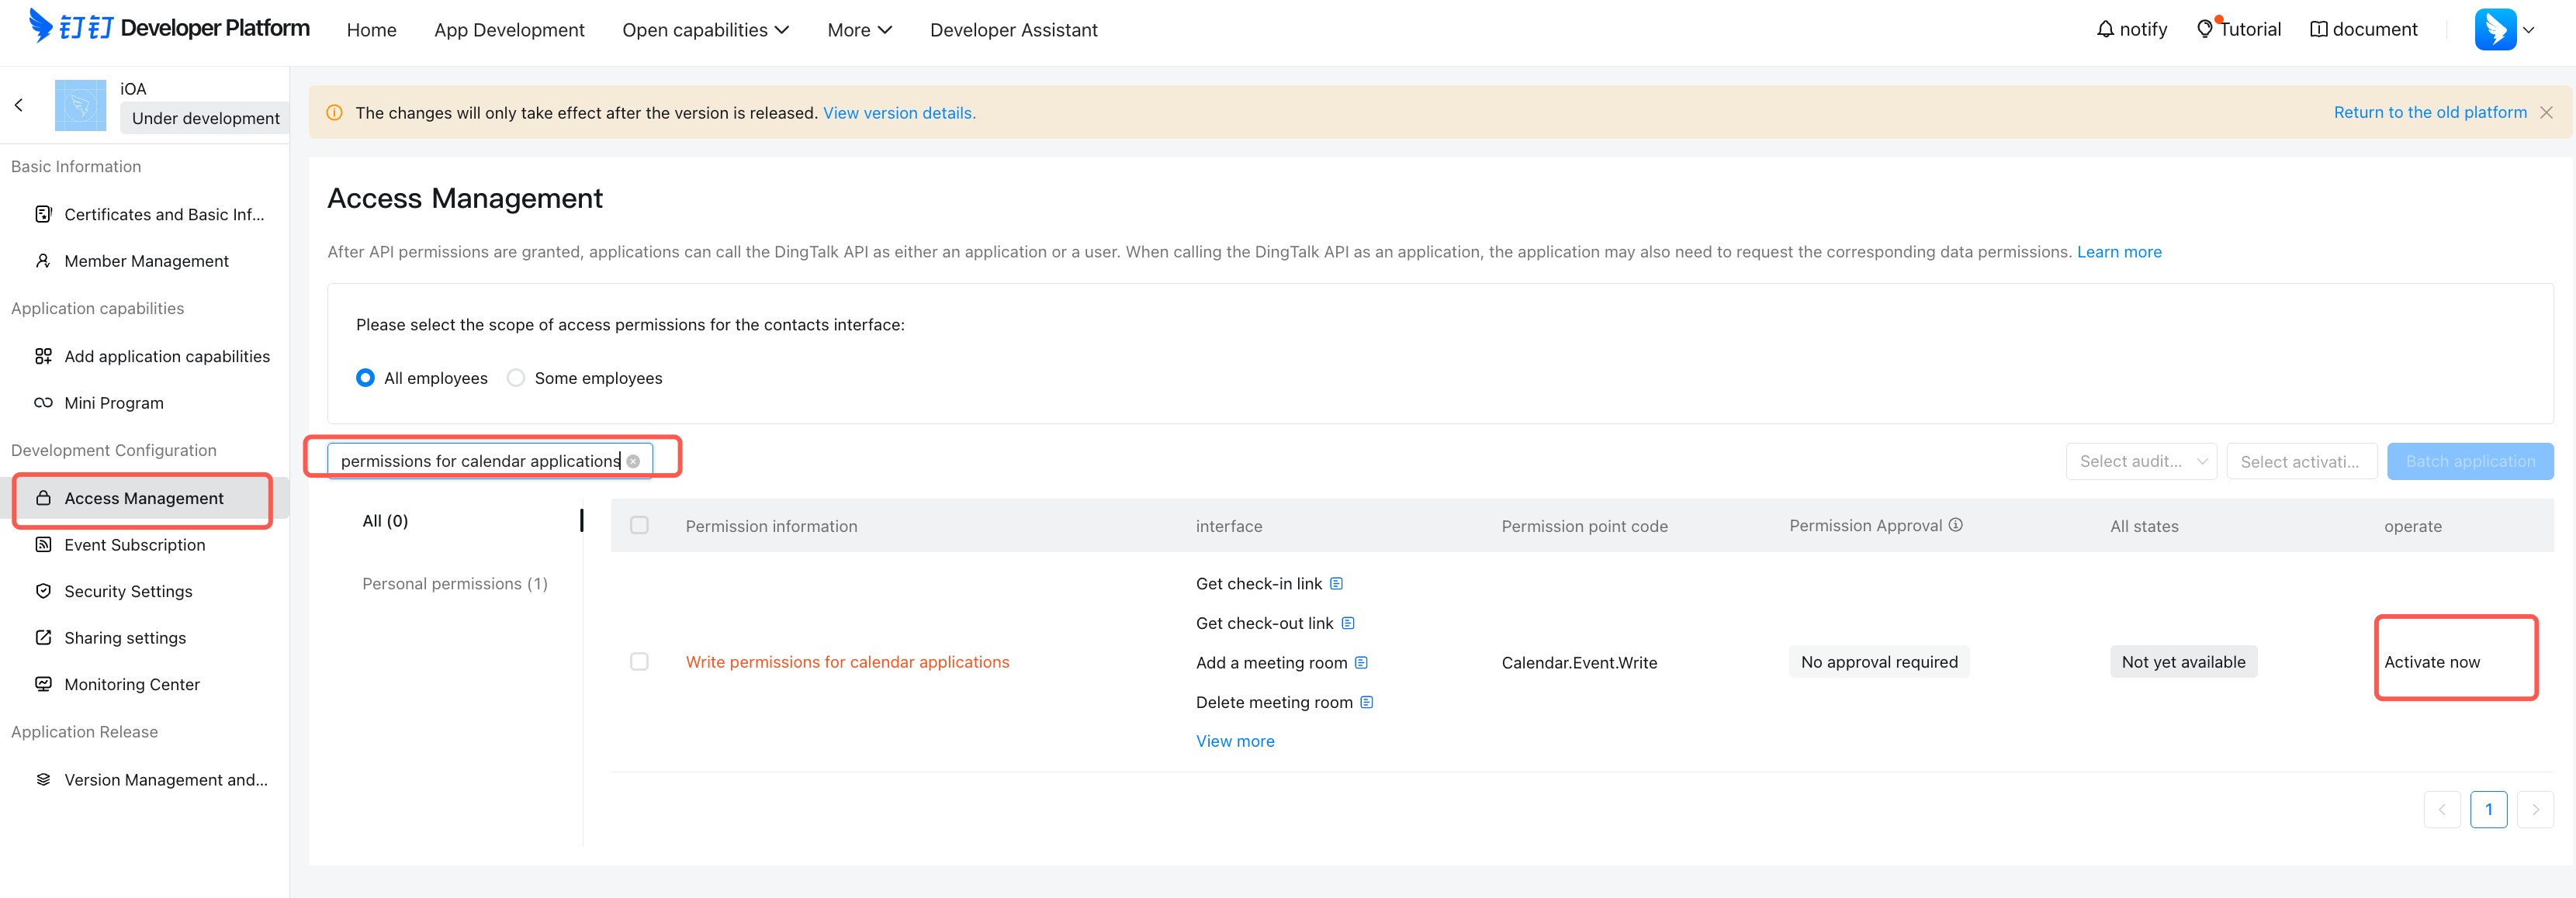
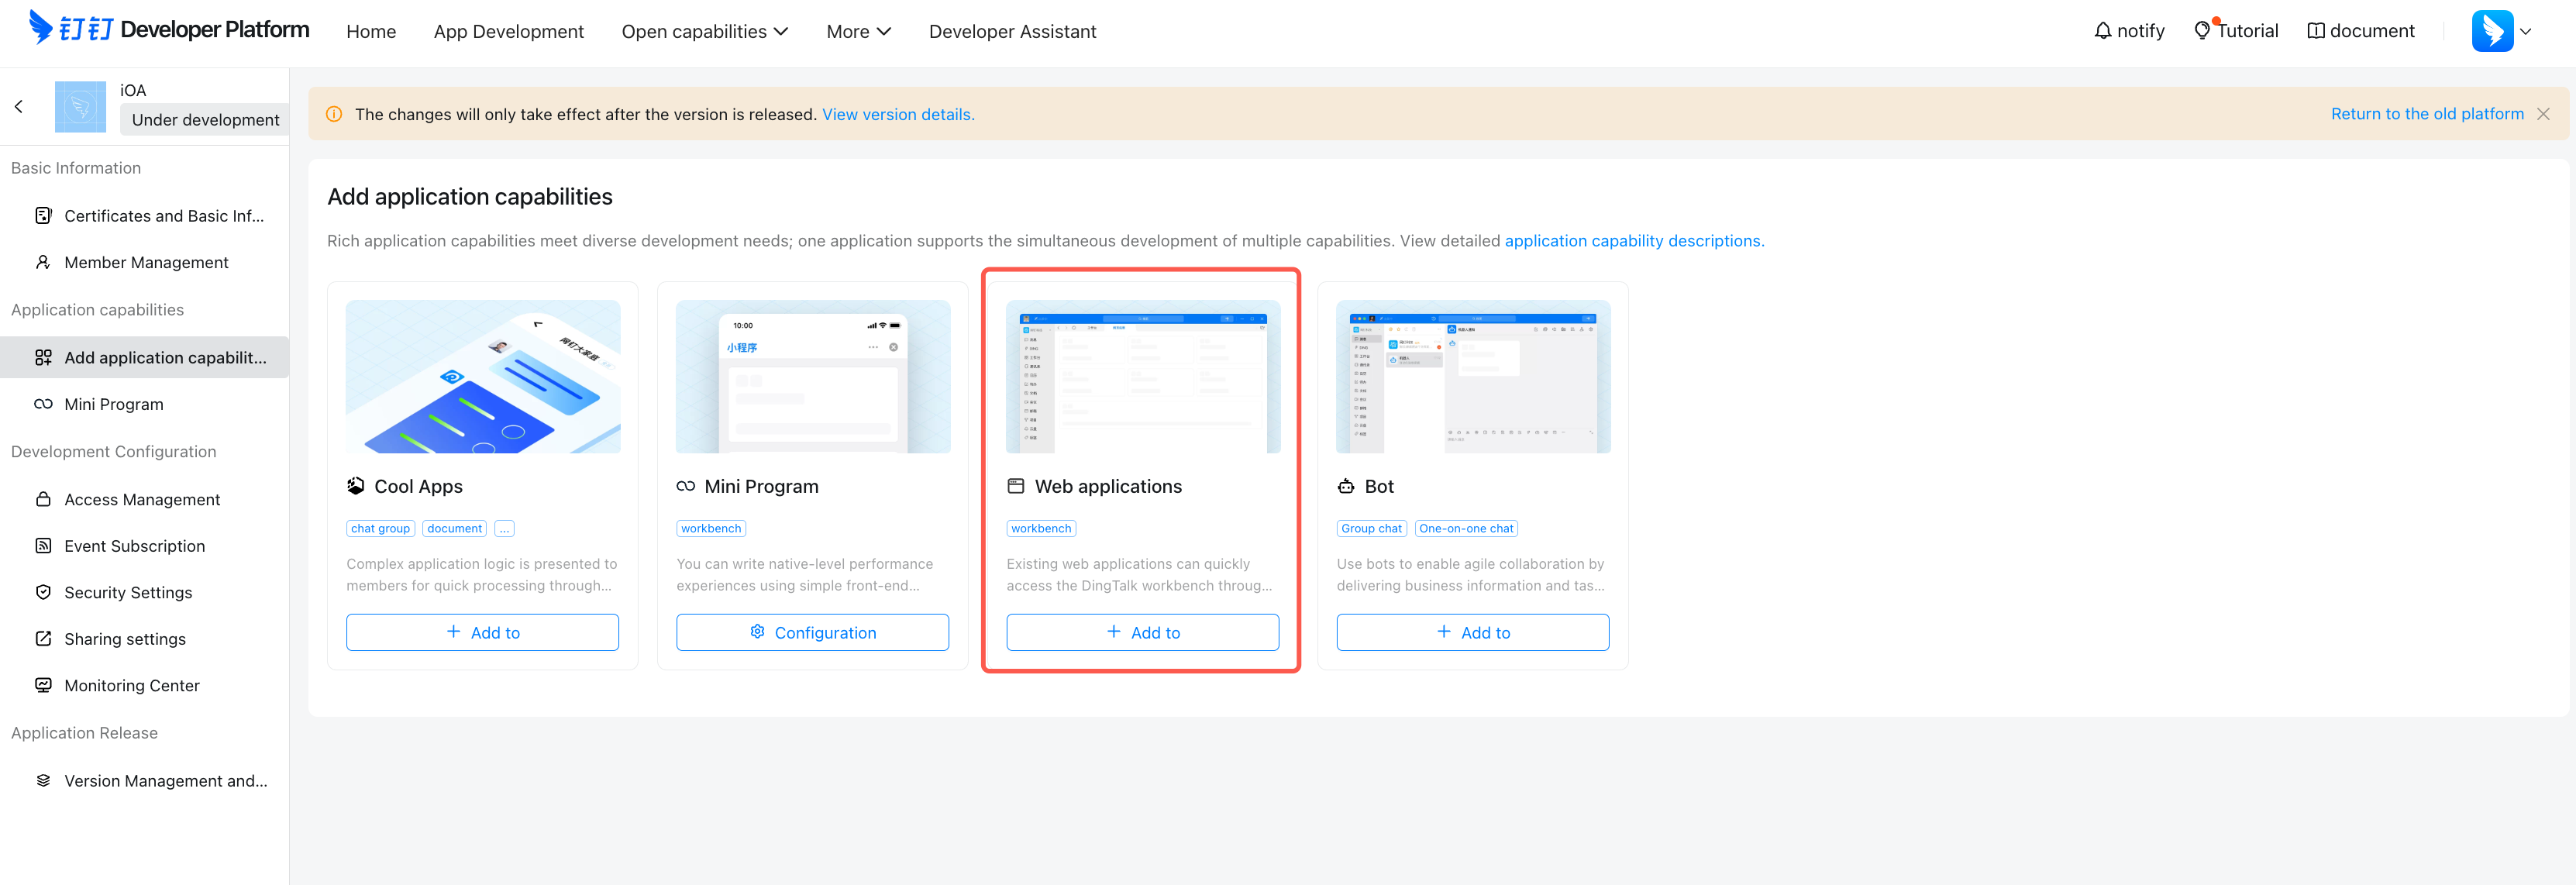
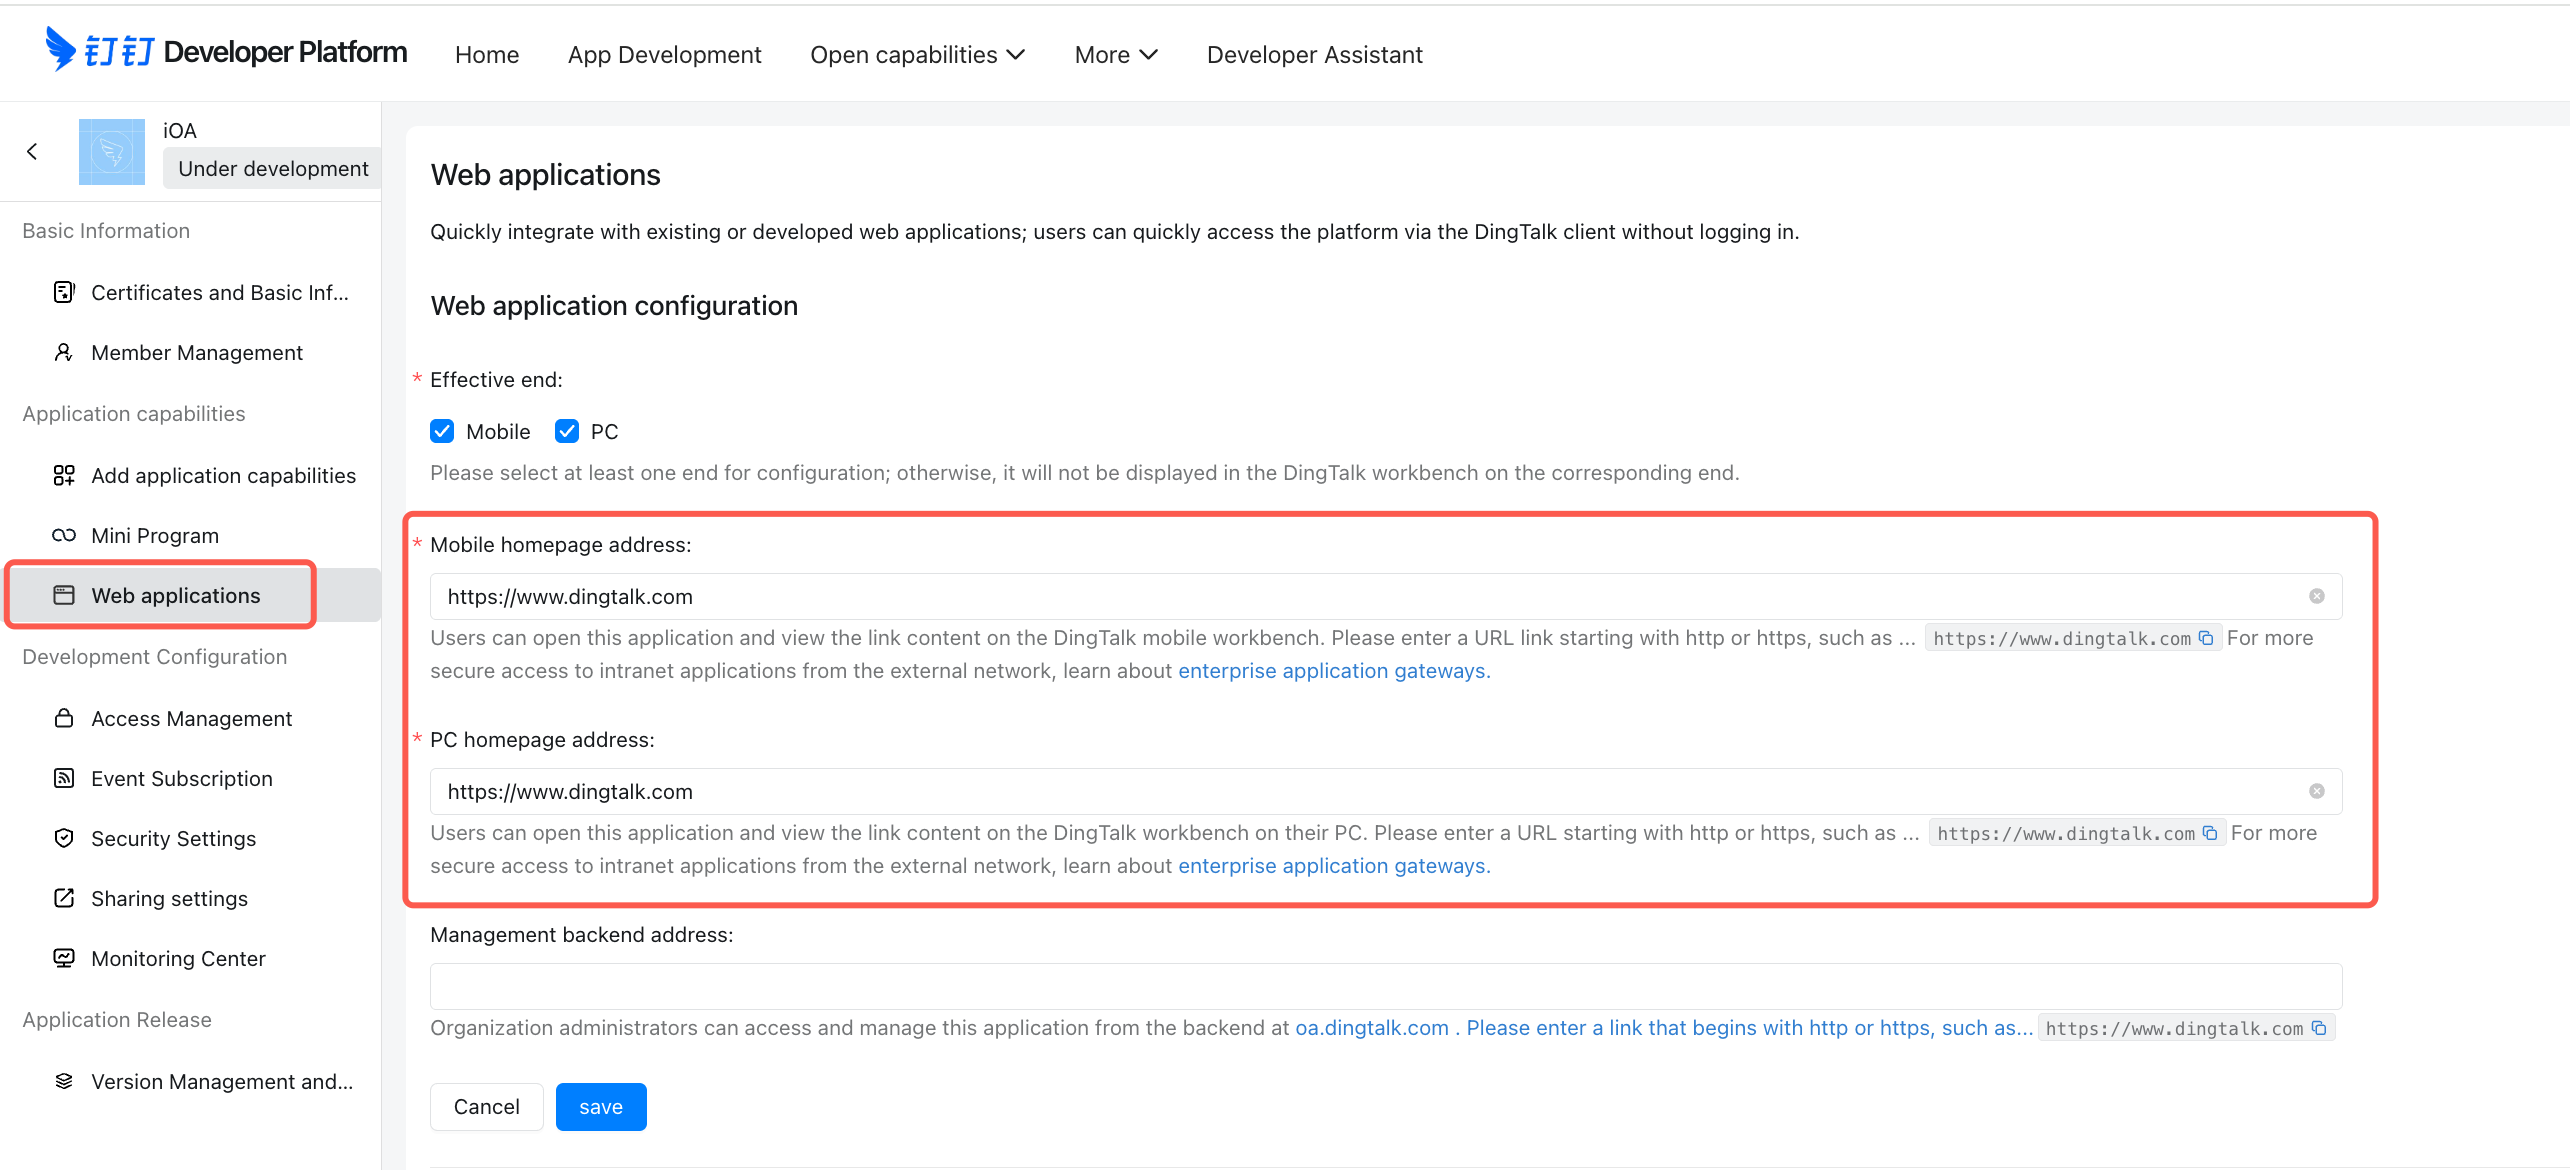
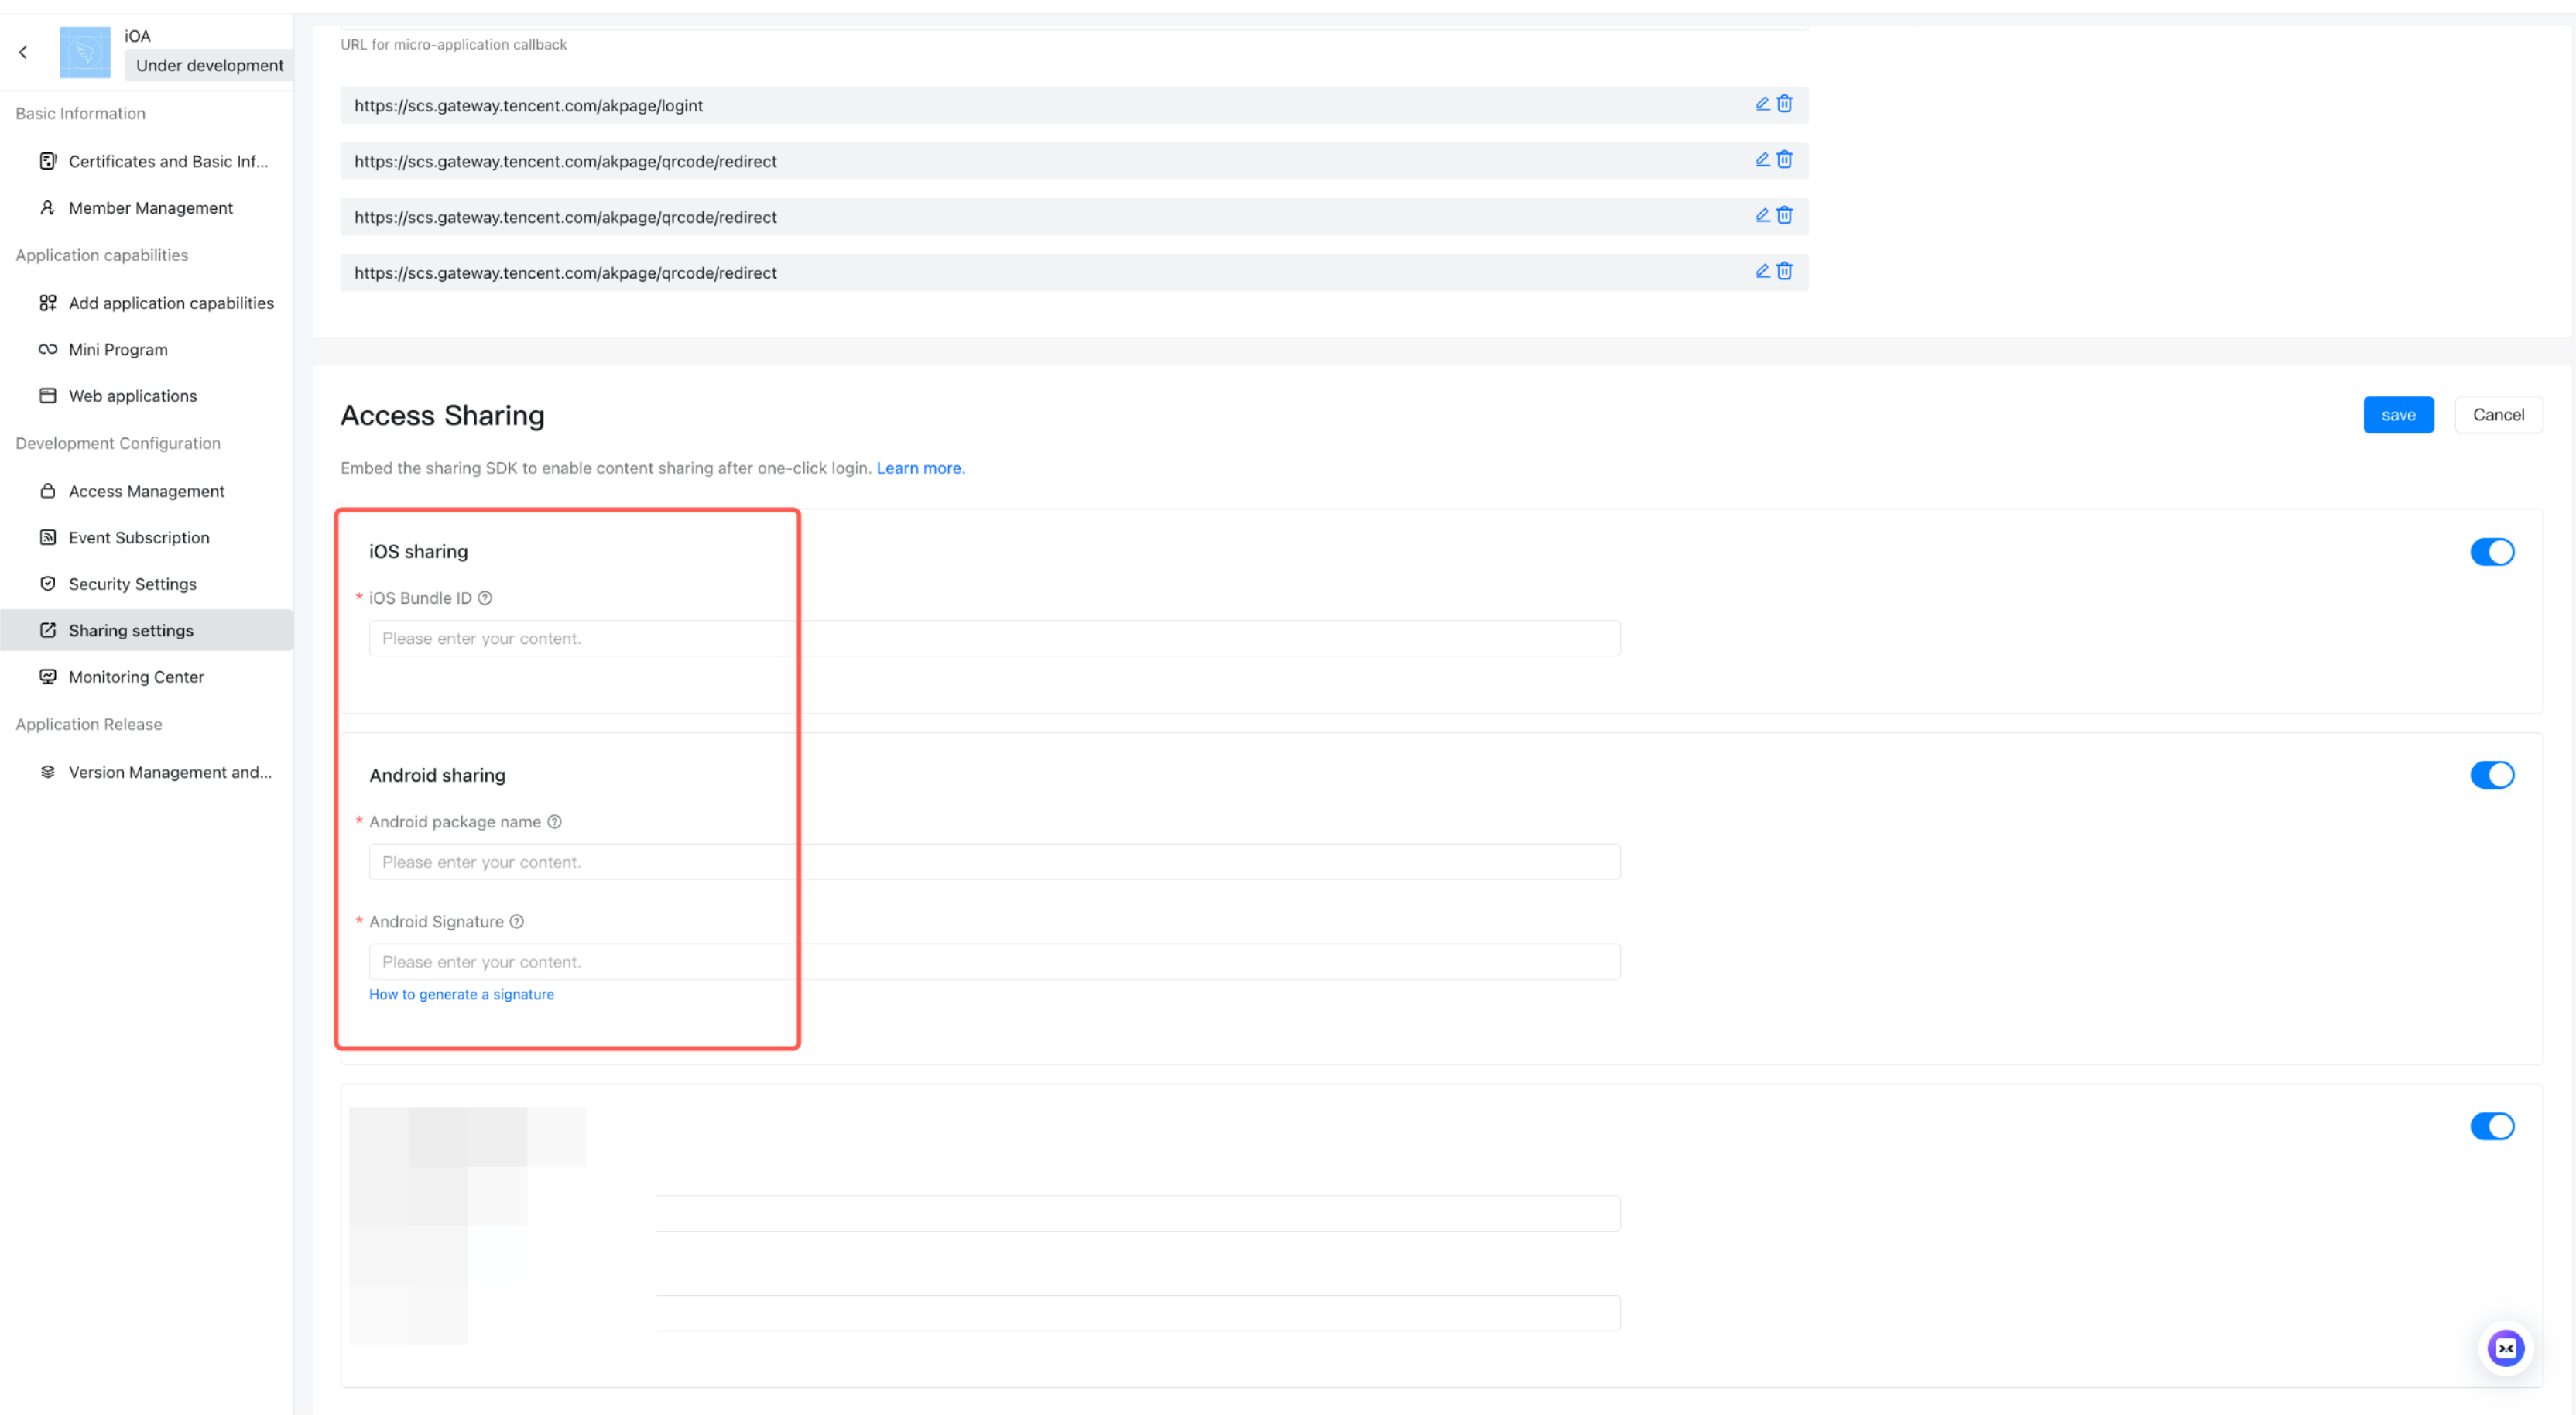
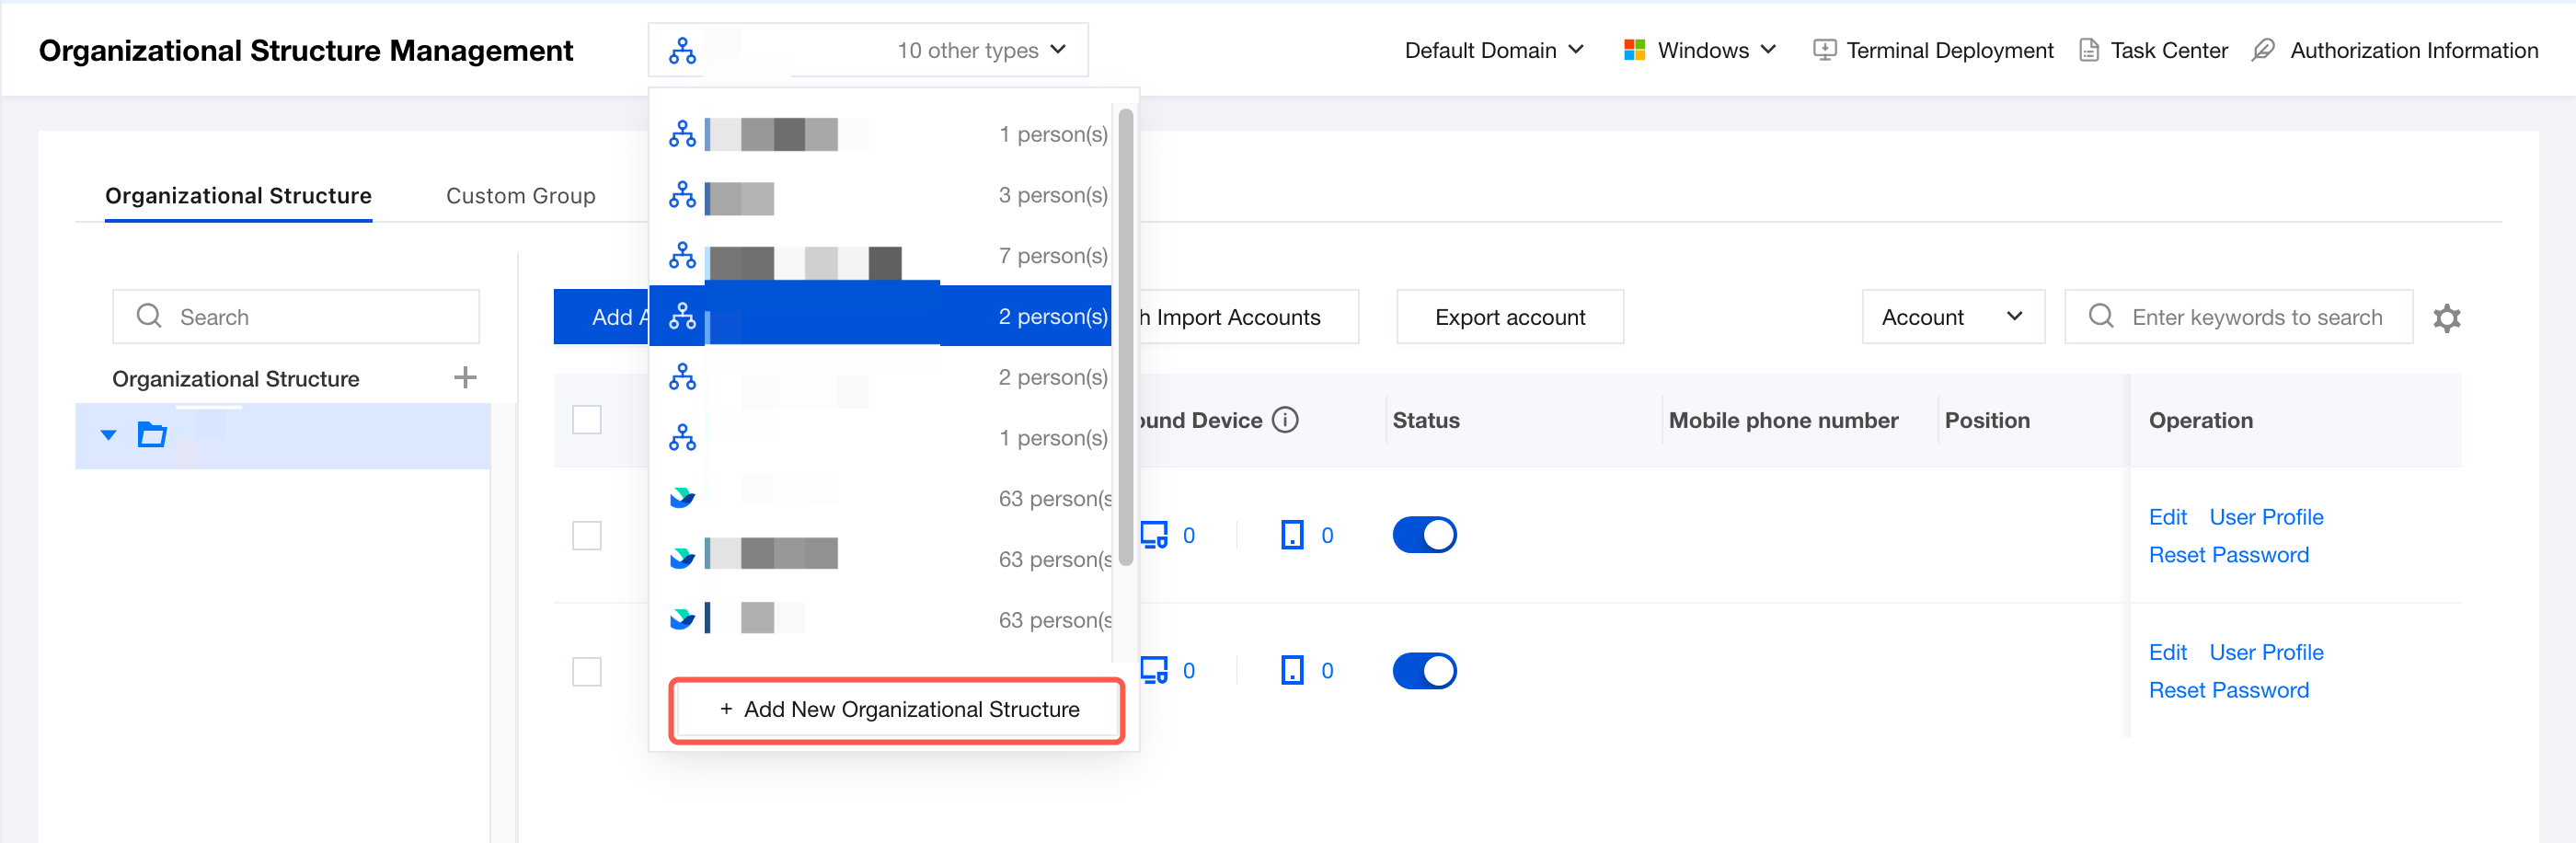
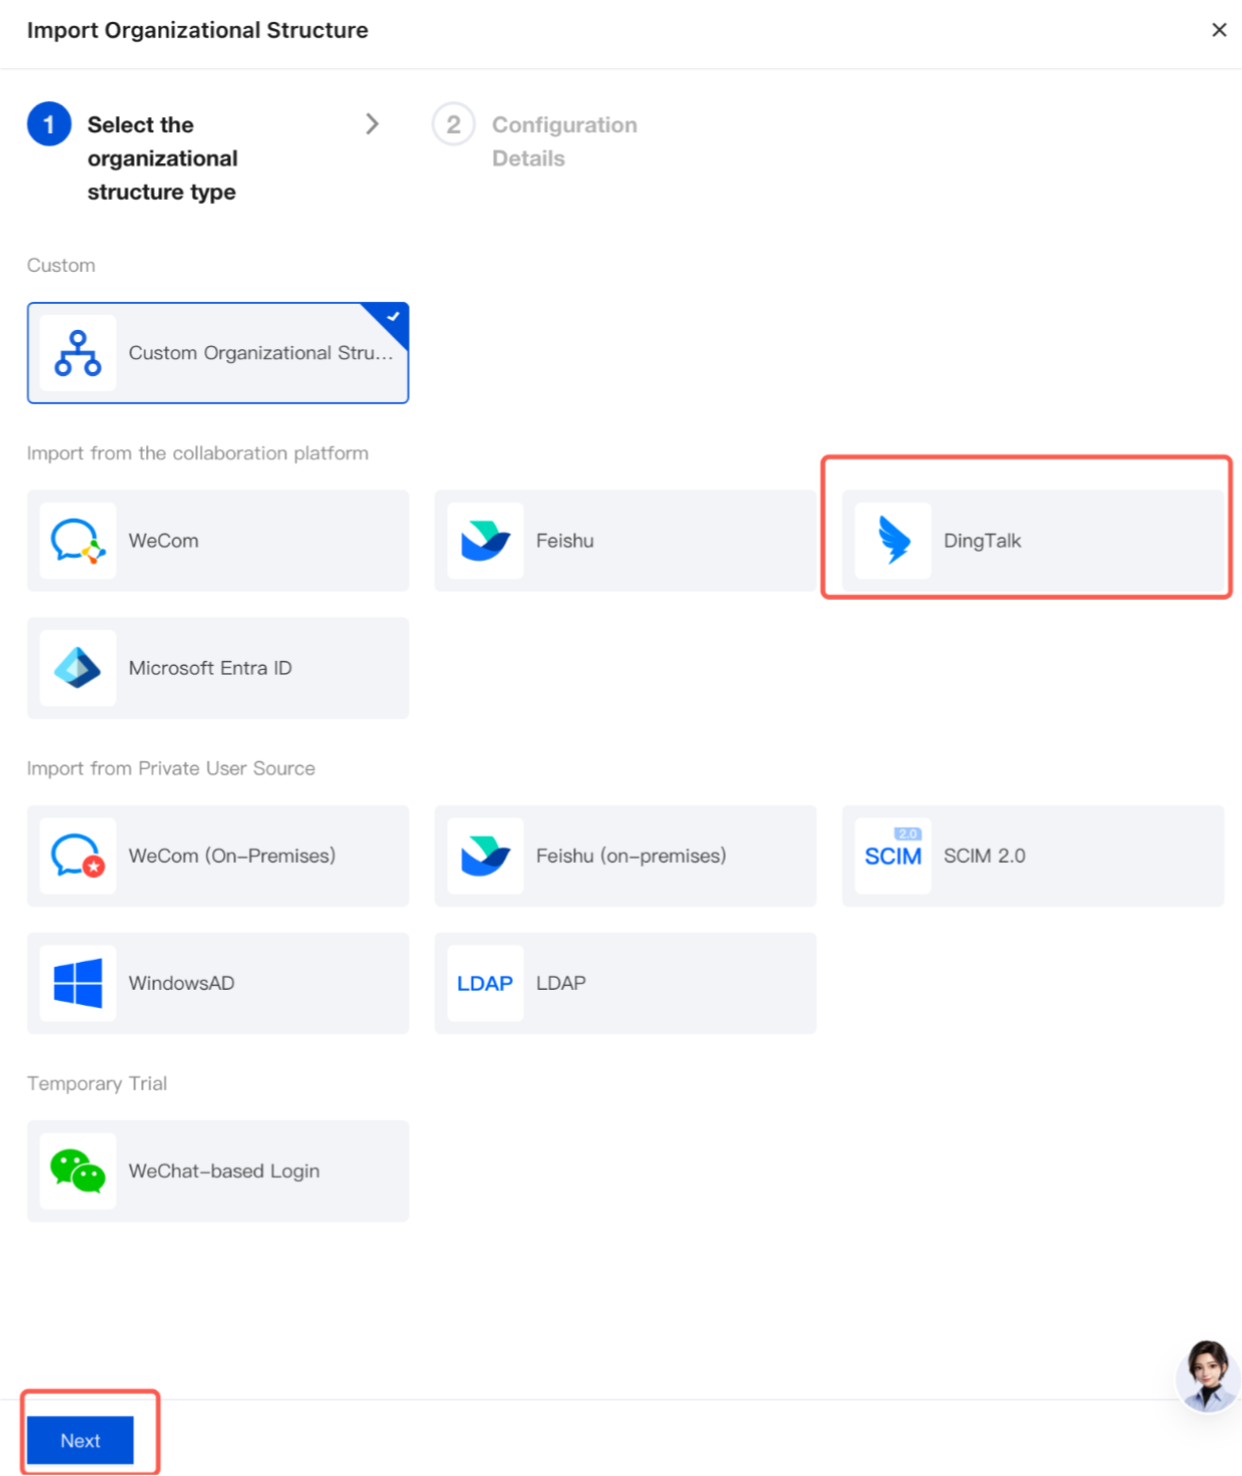
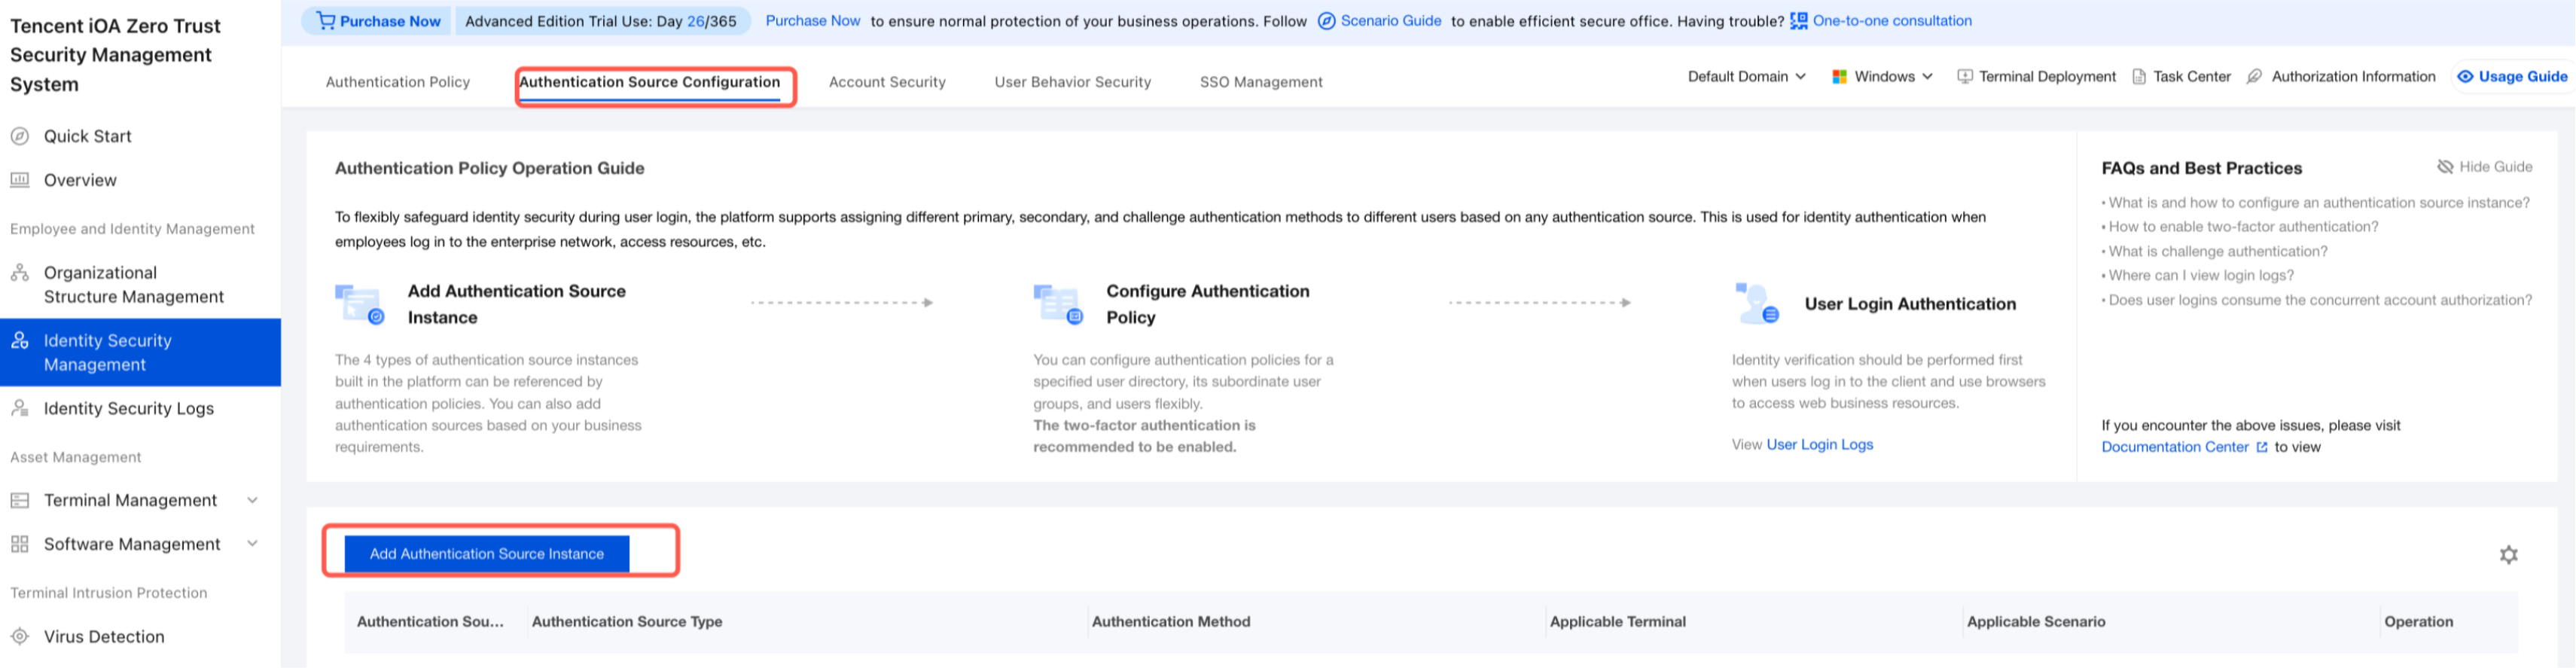
To use DingTalk integration on iOS, contact the iOA projecttechnical supportteam. We need to configure the login parameters in the backend and can provide an iOS login Demo.
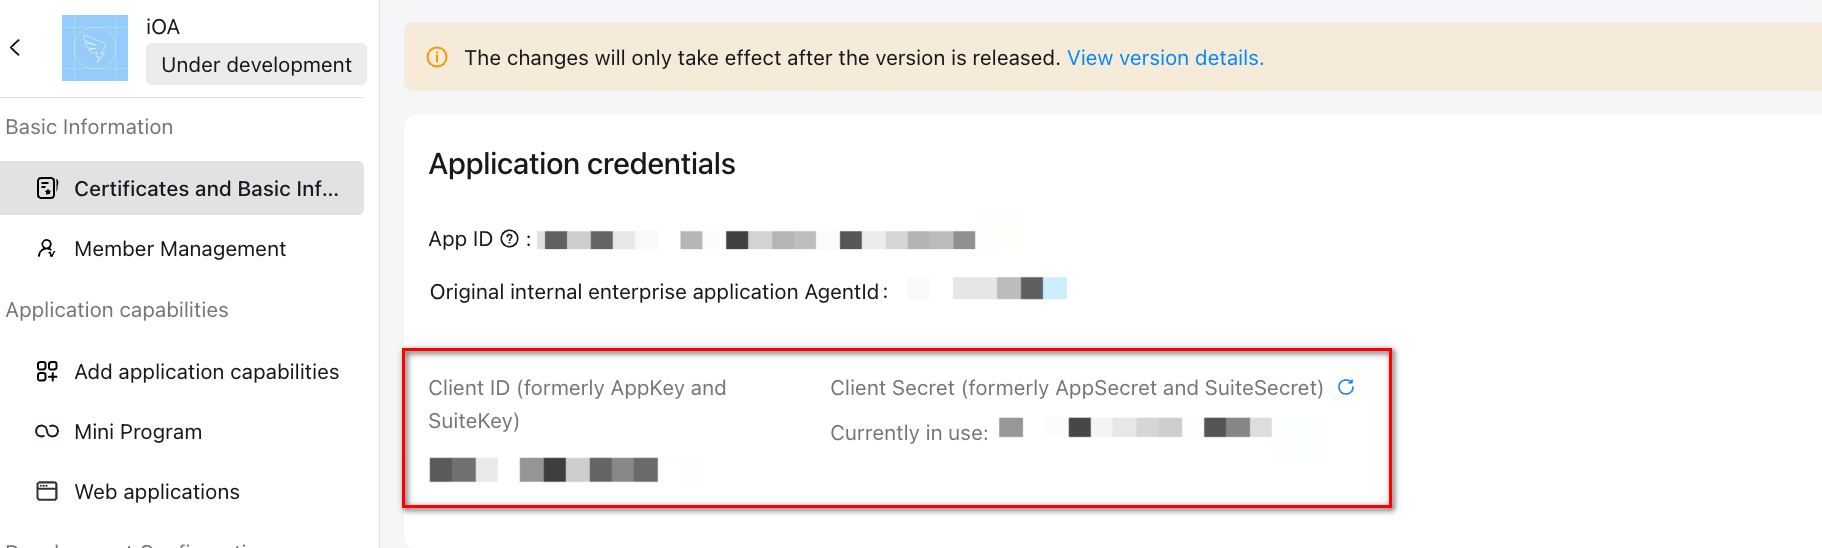
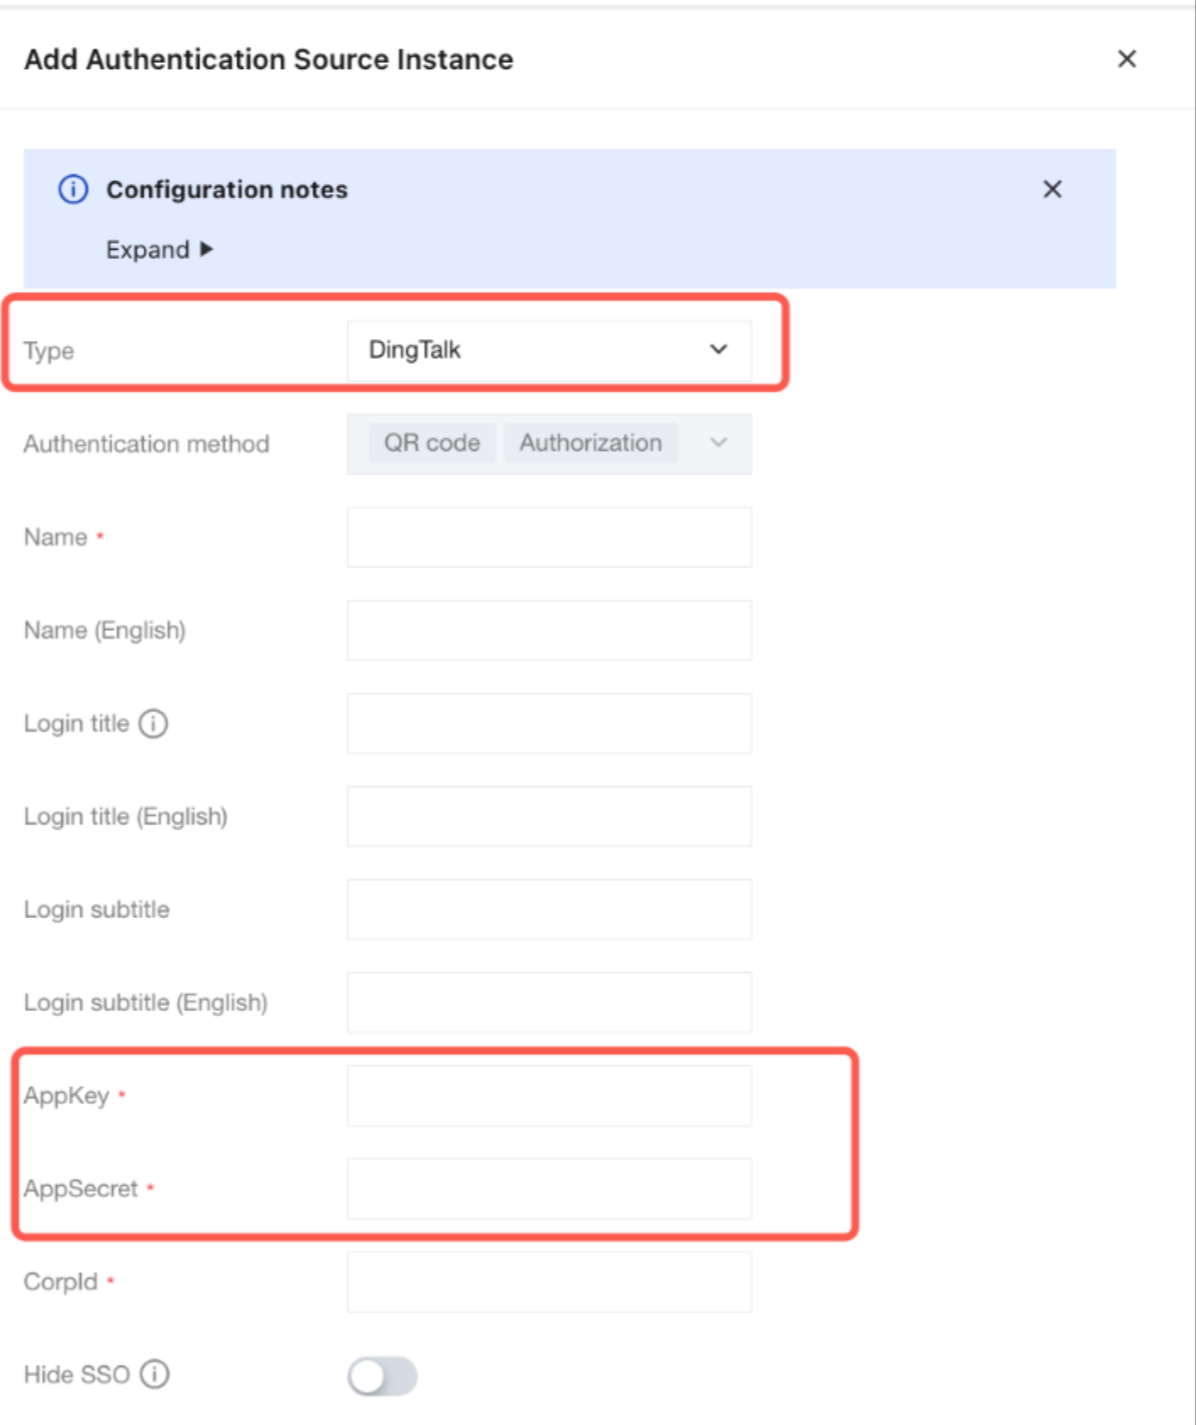
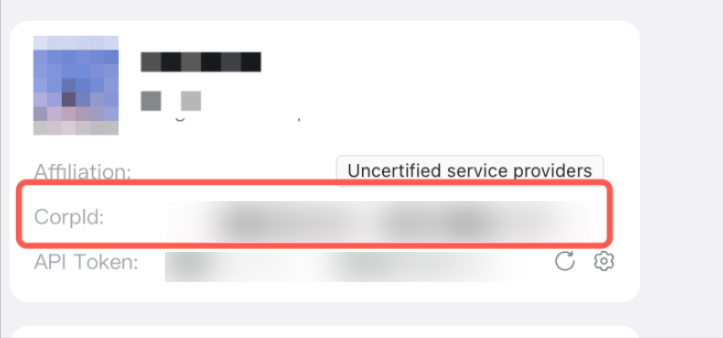
2. On the Credentials and Basic Information page, copy the AppKey and AppSecret. The DingTalk Client ID (formerly AppKey and SuiteKey) corresponds to the AppKey on the iOA console, and the DingTalk Client Secret (formerly AppSecret and SuiteSecret) corresponds to the AppSecret on the iOA console. Keep them safe because they will be used in the subsequent iOA console general configuration.
2.3 Obtaining the Callback Domain
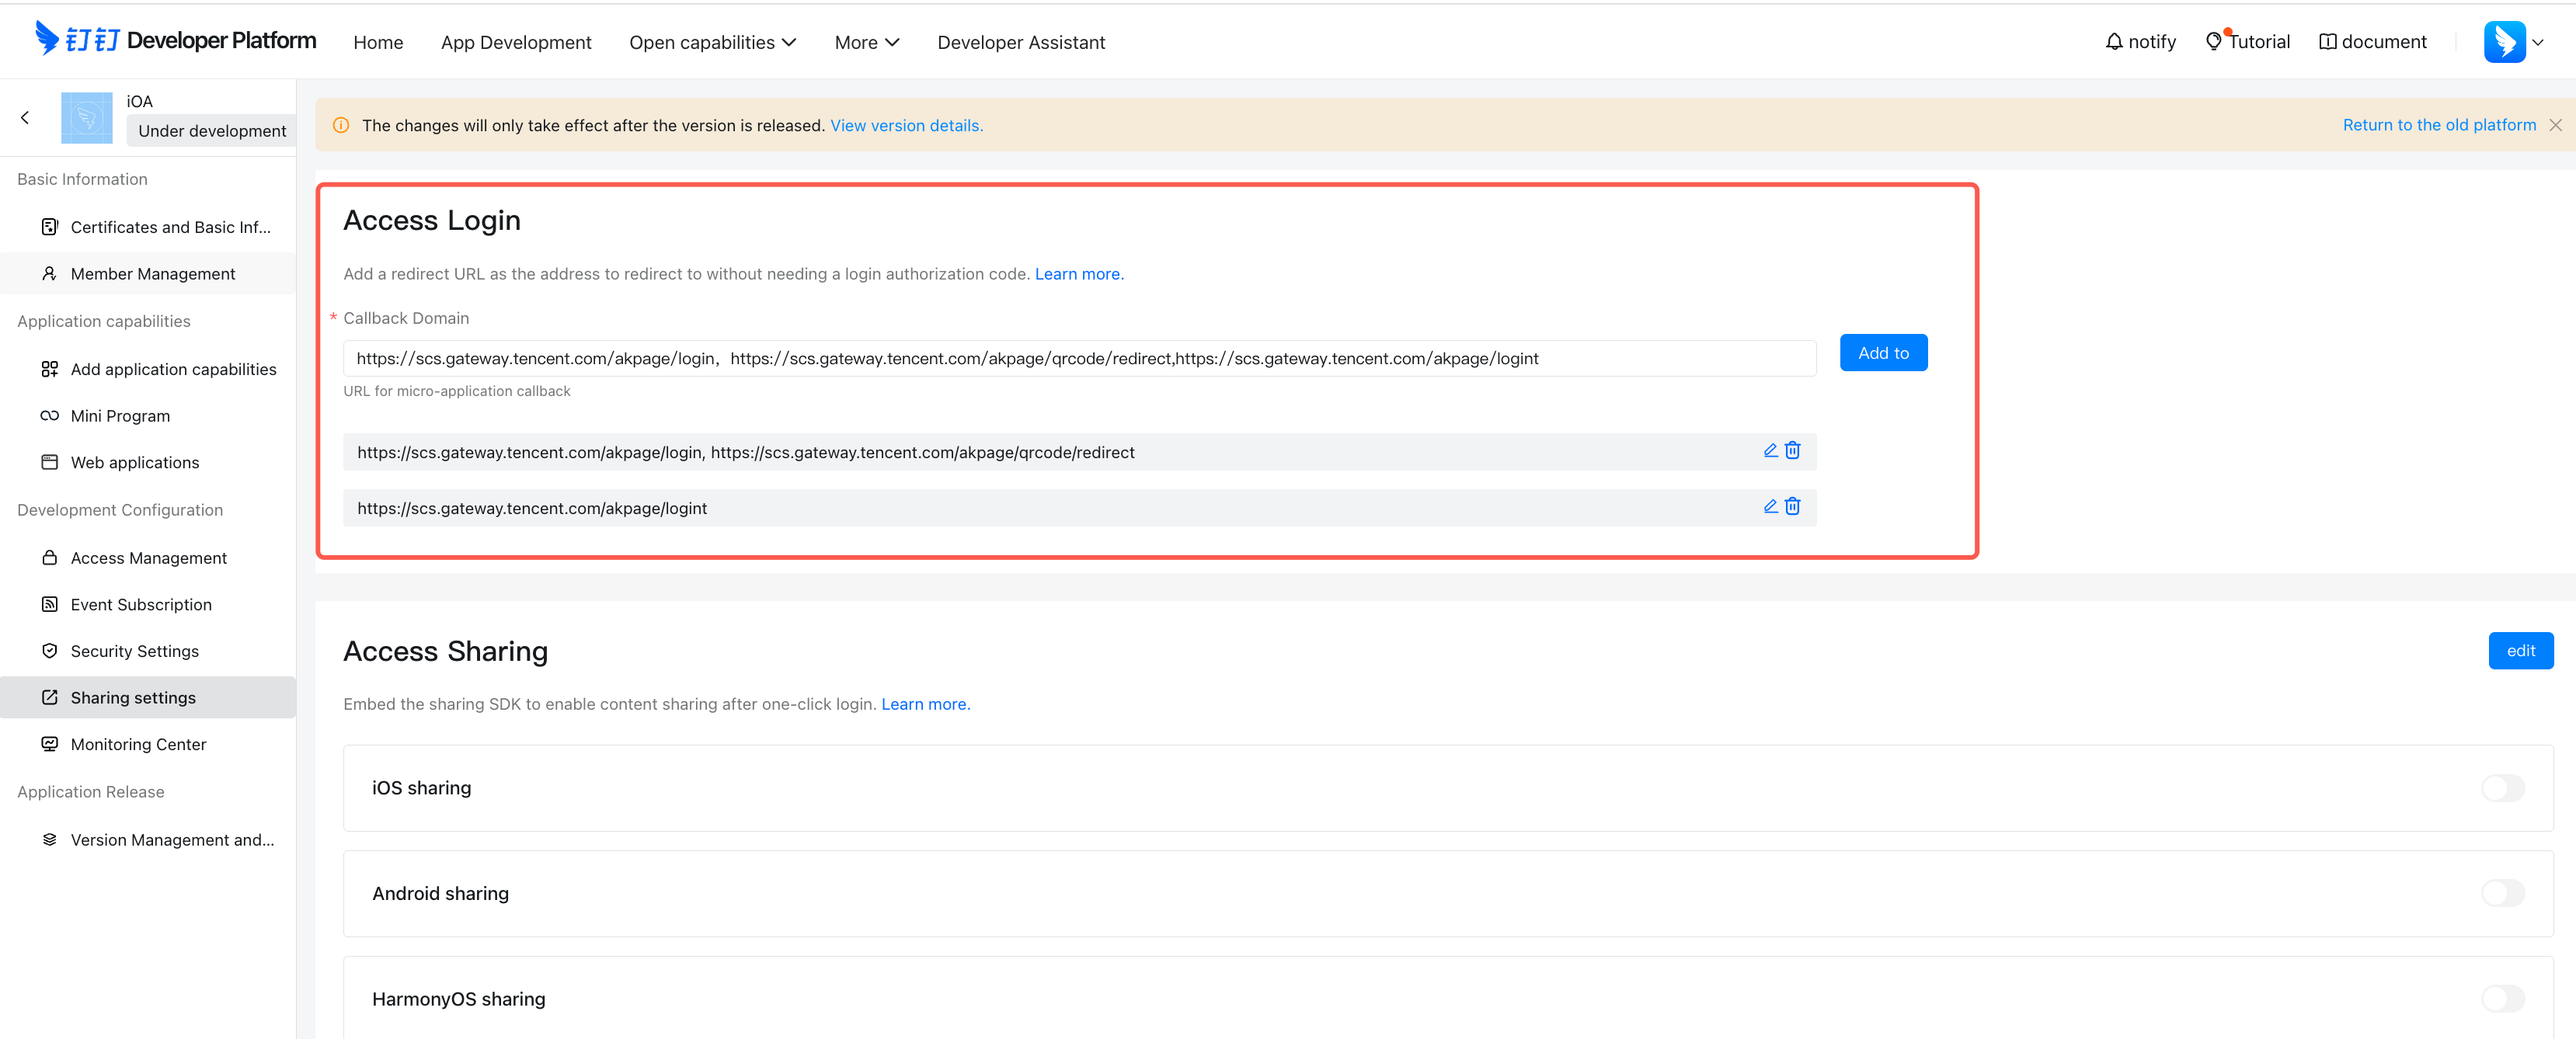
1. On the Sharing Settings page, you can add the following iOA gateway callback domain links to the Callback Domain list.
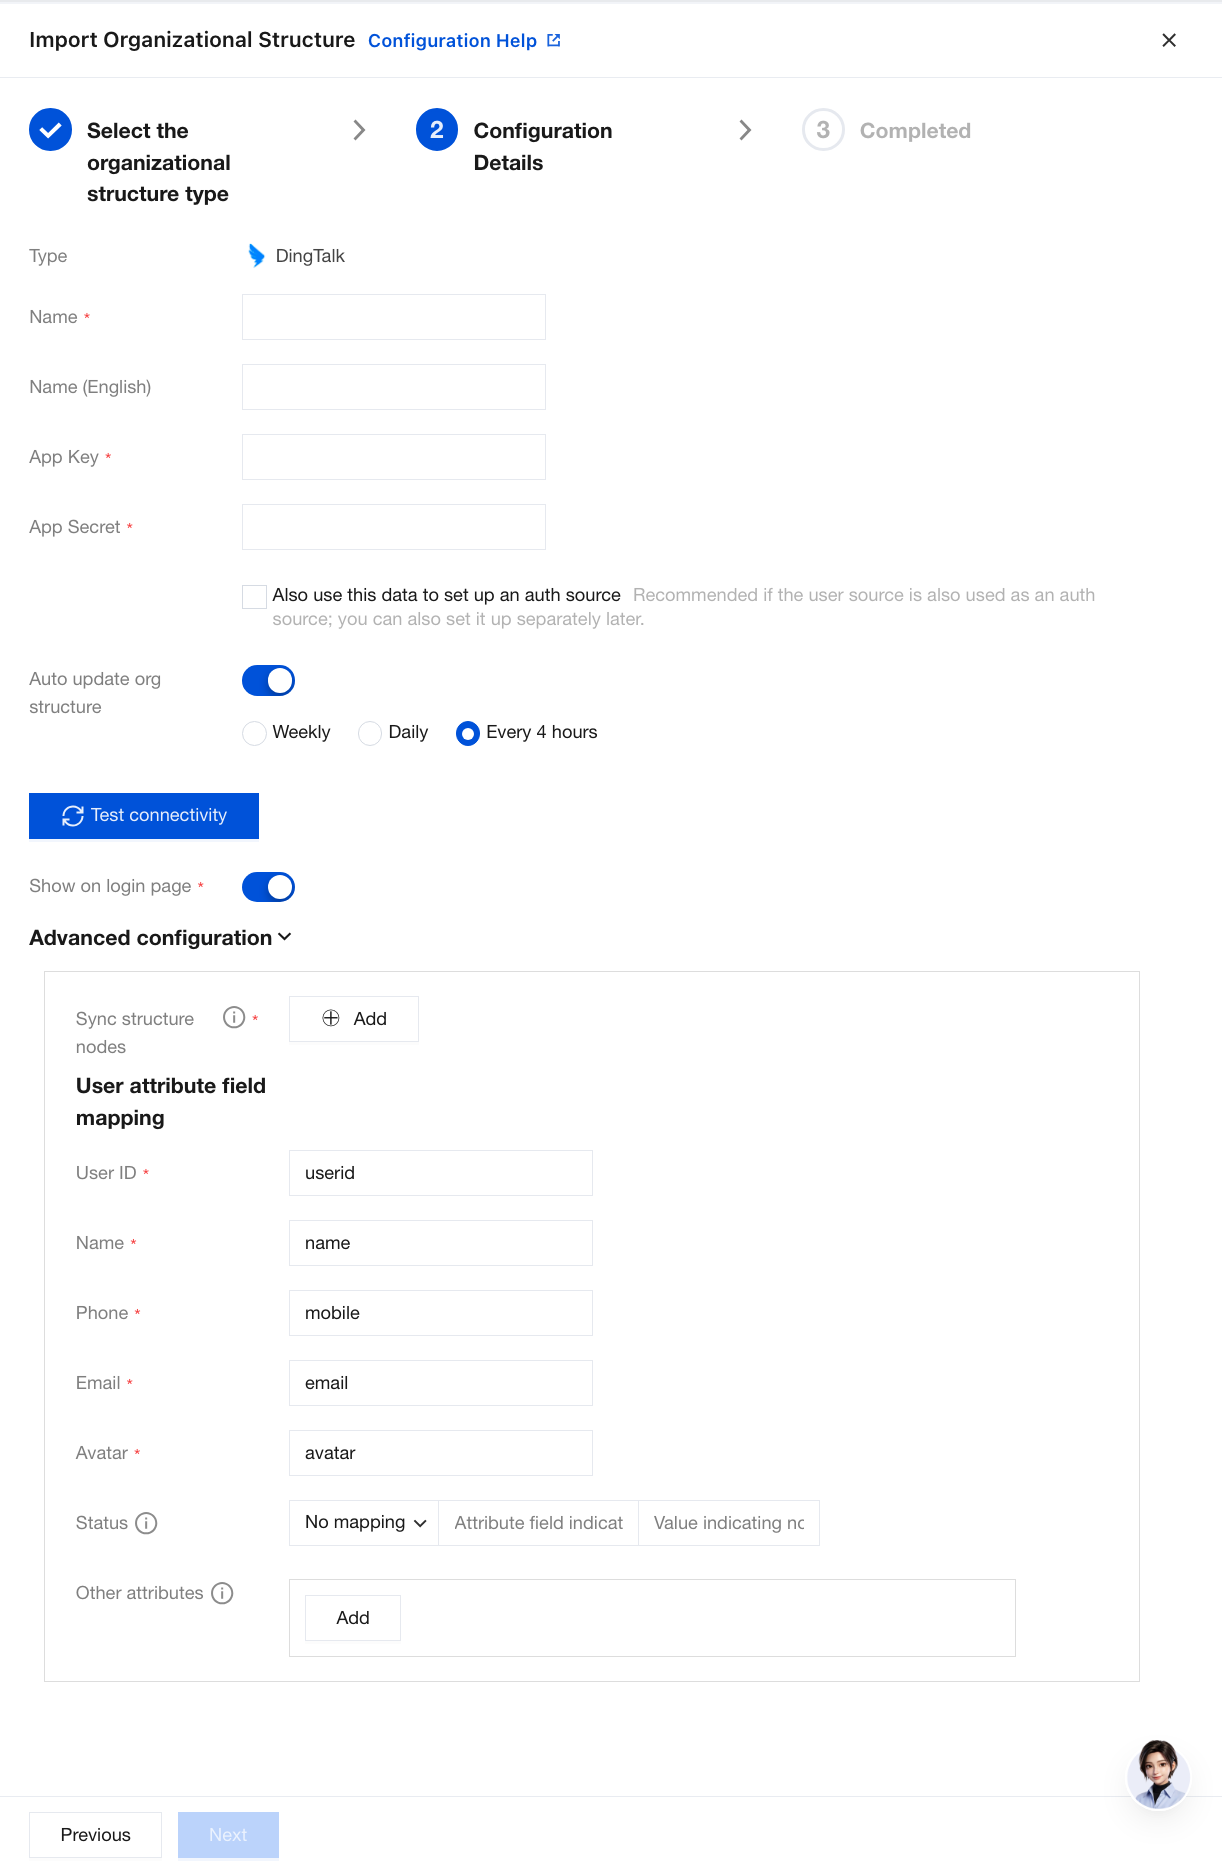
Customize the interval for pulling the latest organizational structure.
Performing a Connectivity Test
After entering the App Key and App Secret, you can perform a connectivity test, which also checks whether the basic configuration is valid.
Client login display
Whether to display the DingTalk organizational structure entry on the iOA client login page.
Enable: The iOA client login page displays the DingTalk login option, allowing users to log in with DingTalk.
Disable: The iOA client login page does not display the DingTalk login option, and users cannot log in with DingTalk.
Synchronize architecture nodes
Supports on-demand synchronization of the organizational structure based on department IDs. Click Add to select the departments to synchronize, and query and expand level by level in real time without synchronizing the entire organizational structure.
Root department ID: If only a specific department is needed, enter the correct department ID. Do not change it unless necessary, because arbitrary changes may cause data exceptions when data is already being synchronized normally.
Department hierarchy completion: Click
to enable this feature. When this feature is enabled, the system automatically completes all parent department hierarchies for the selected department. When this feature is disabled, only synchronized departments are mounted under the root node.
User Attribute Field Mapping
Do not modify unless necessary.
If a field is not mapped, the system-defined status will be used, where 0 indicates an abnormal user status and 1 indicates a normal user status.
Mapping supports three data types, and the value for the normal status must be specified:
1. For Bool and String types, identical values are mapped to status 1, and different values are uniformly mapped to 0.
2. For the Int type, identical values are mapped to status 1, and other values are retained by default.
In attribute mapping, if a mapped field does not exist or you do not want to synchronize the corresponding field, enter any non-existent attribute name, and the corresponding attribute will be set to null during synchronization.
5. Click Test Connectivity. After the test is successful, click completed.
4. After completing the configuration, click Save.
3.3 Setting an Authentication Policy
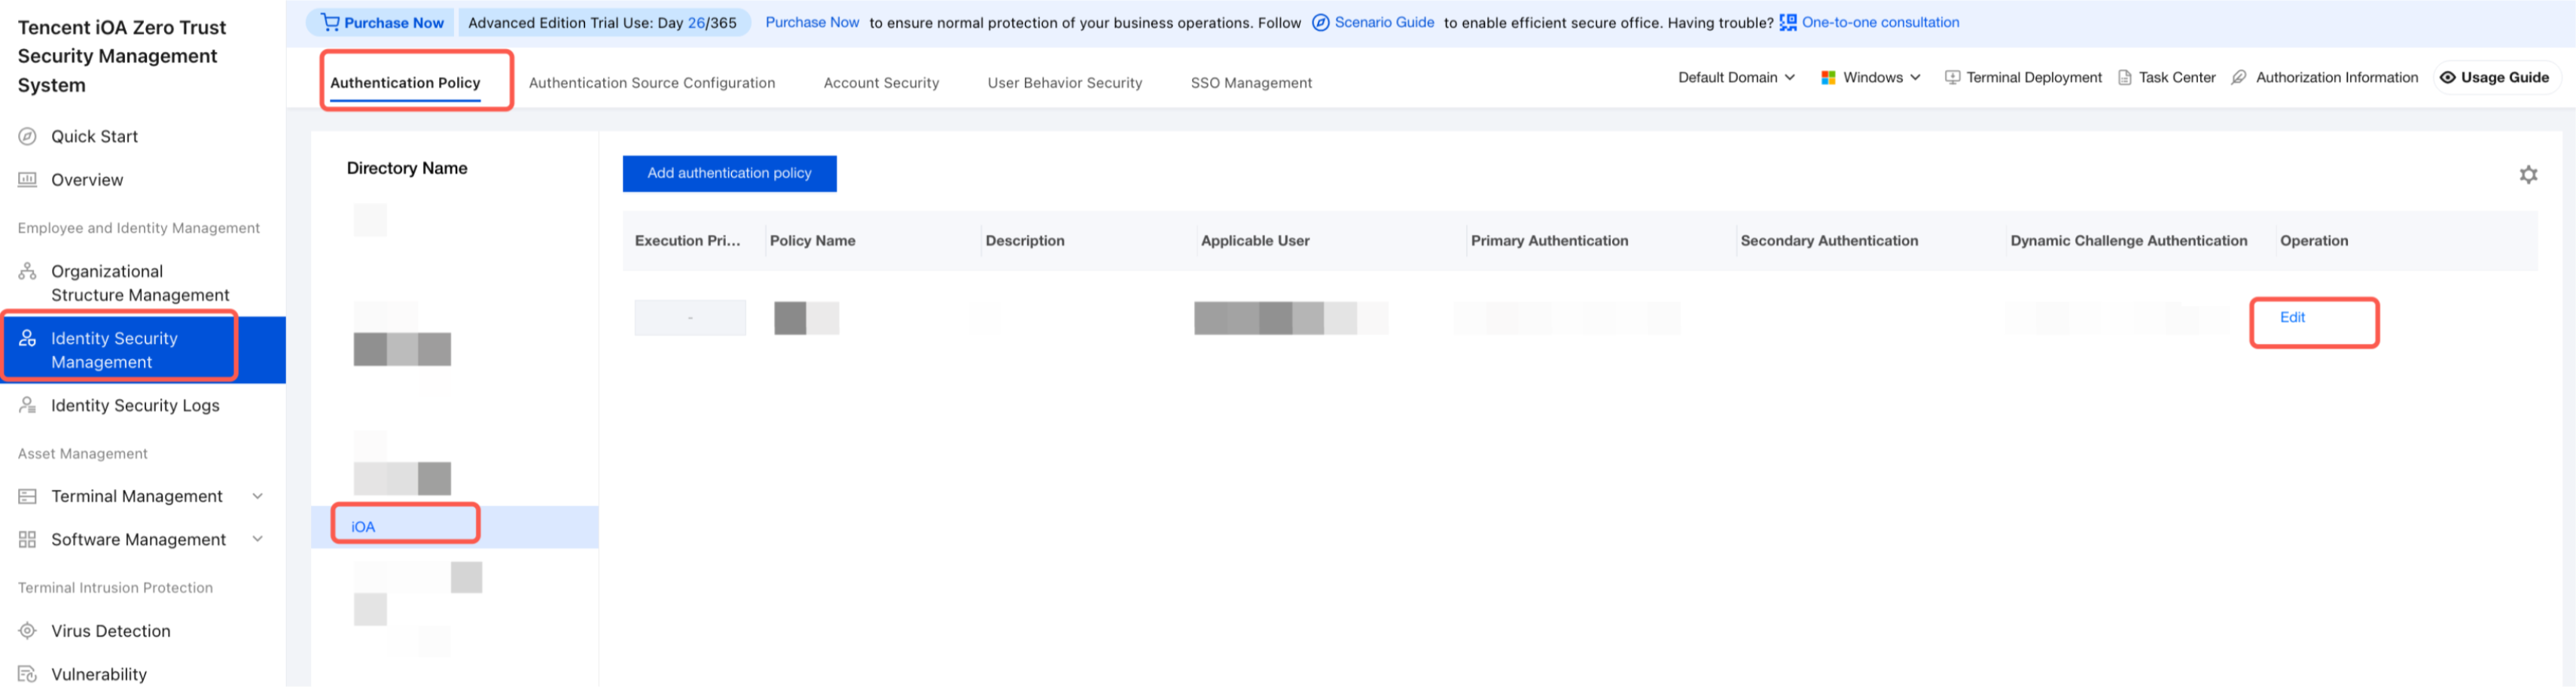
1. On the Identity Security Management > Authentication Policy page, select the target directory and click Edit.
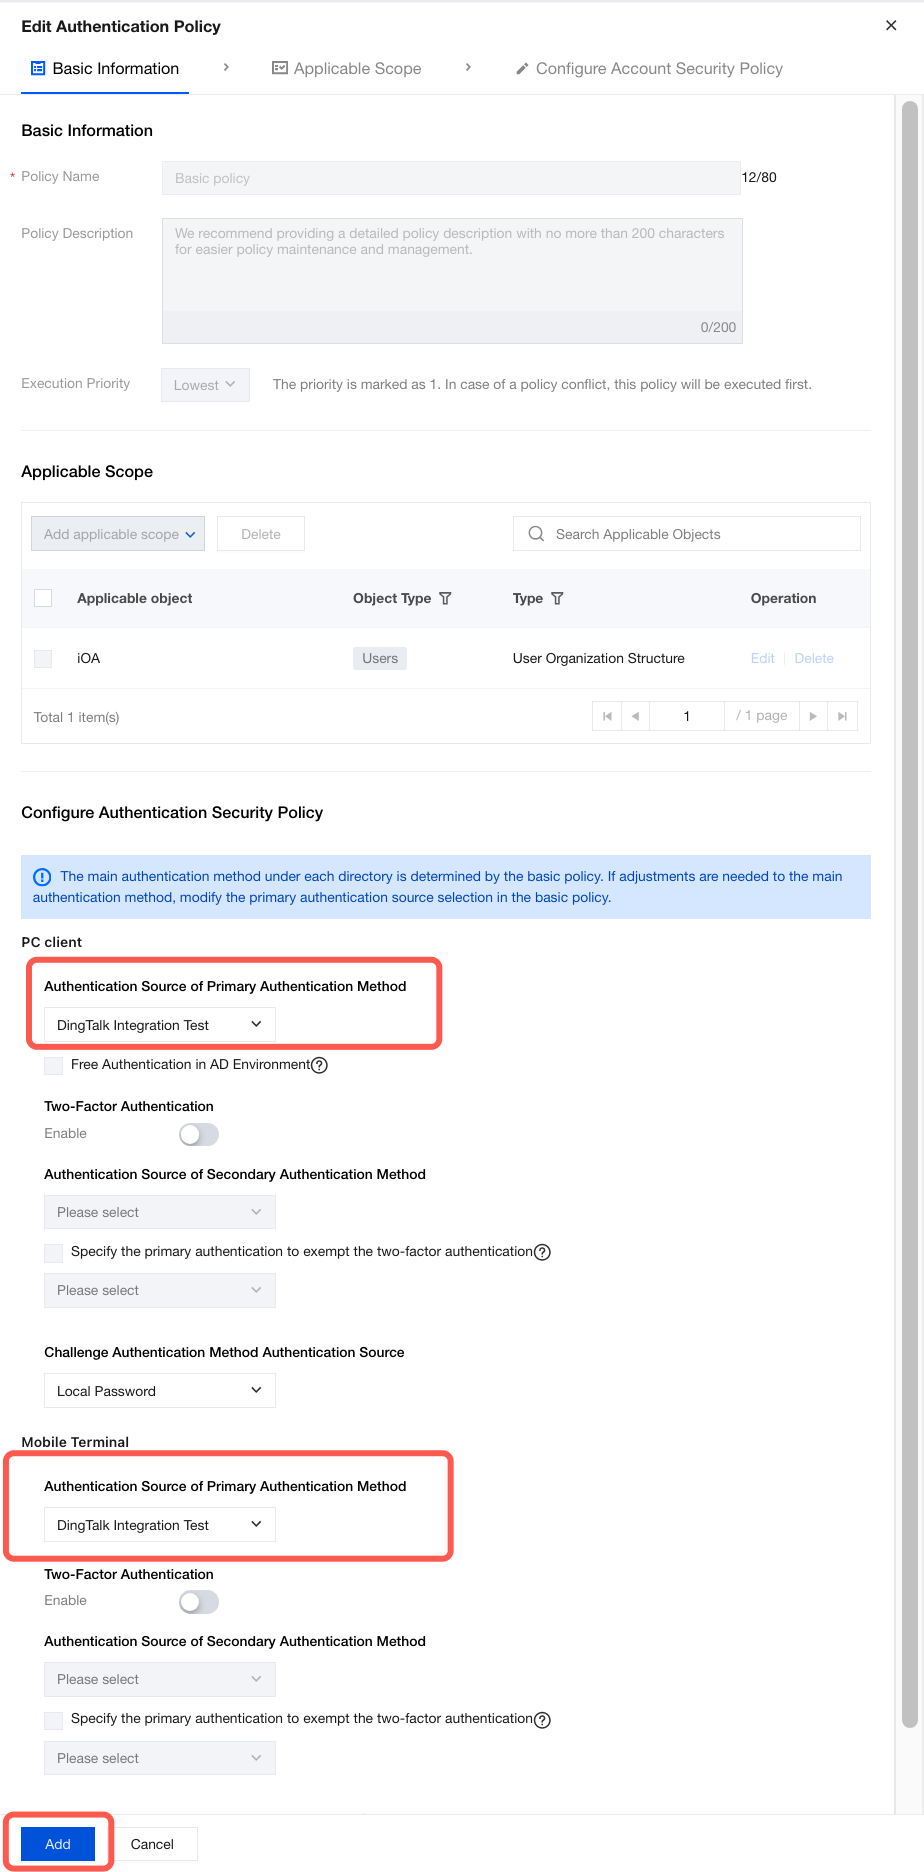
2. On the Edit Authentication Policy page, you can set the primary and challenge authentication sources for the PC client as needed. Multiple authentication sources can be configured, as shown in the following figure, where the authentication source instance is named "DingTalk Integration Test".
Attention:
If you want to use password-free login for apps within DingTalk, you also need to configure the primary and challenge authentication sources for the mobile client. The configuration method is the same as that for the PC client.
3. Click Add to complete the authentication policy configuration.