创建 JAR 作业
Download
聚焦模式
字号
前提条件
步骤1:JAR 包开发
创建 JAR 作业需要上传已开发好的 JAR 包,您可以单击 GitHub 链接,下载我们提供的 WordCount 示例 JAR 包(文件名为 flink-hello-world-1.0.0.jar)来完成。
步骤2:上传 JAR 包
登录 流计算 Oceanus 控制台,选择依赖管理 > 新建依赖。在新建程序包中选择地域,该地域需与独享集群所在地域一致,默认使用本地上传的方式。单击选择依赖将打开本地文件选择窗口,选择步骤1中下载的 JAR 包并上传。填写程序包名称、程序包描述、版本说明后,单击确定完成新建程序包。完成新建后程序包列表将出现刚新建的程序包。
步骤3:创建 JAR 作业
登录 流计算 Oceanus 控制台,进入某一工作空间后,单击左侧导航作业管理,进入作业管理页面,单击新建作业,作业类型选中 JAR 作业,输入作业名称,并选择一个运行中的集群,新建的 JAR 作业将运行于此集群,单击确定后即成功创建作业。
步骤4:流计算服务委托授权
选择作业管理中刚新建的作业,单击开发调试。在未授权时,弹出访问授权对话框如下,单击前往授权,授权流计算作业访问您的 CKafka、TencentDB 等资源。此授权的详细说明参见 流计算服务委托授权。
步骤5:配置 JAR 作业
在开发调试中,在主程序包的下拉框中选择刚才新建的程序包名称,在主类输入
com.tencent.cloud.oceanus.wordcount.WordCount。您可以在作业参数设置中调整作业的算子默认并行度、添加外部依赖。步骤6:发布运行 JAR 作业
1. 单击发布草稿,将进行作业运行检查,检查通过后将进入发布确认。发布将生成新的作业版本,版本号由系统自动生成。
2. 发布草稿后,单击版本管理,可以查看并切换当前作业的不同版本。
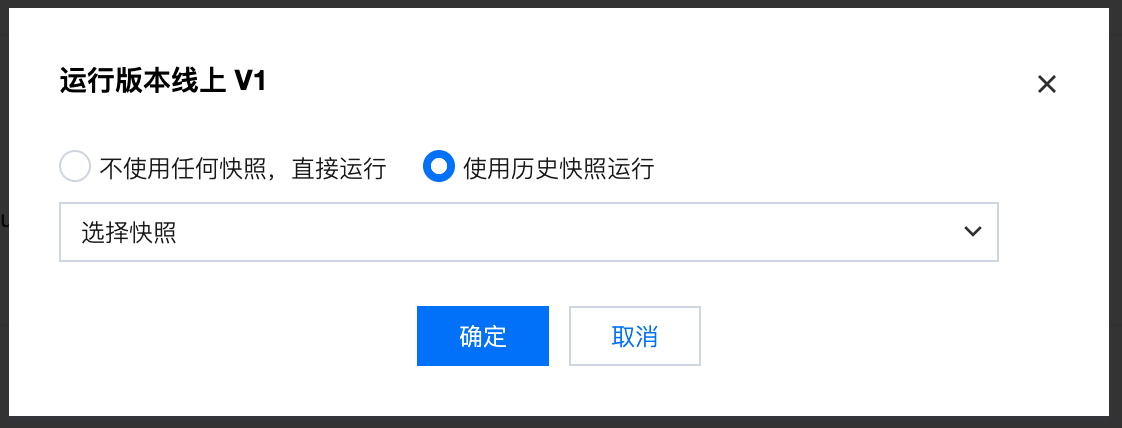
3. 切换到期望运行的作业版本后,单击运行版本,再单击确认即可启动作业。
步骤7:查看作业运行情况
作业发布并启动运行后,将变为操作中的状态,成功启动后将变为运行中的状态。作业运行中时,可以通过监控、日志、Flink UI 等功能查看作业运行的情况。
文档反馈