Configuring Data Access Policy
Download
Focus Mode
Font Size
Data Access Policy (CAM role ARN) Overview
A data access policy (CAM role ARN) allows you to configure permissions in CAM for accessing data in data sources and COS during data job execution.
When configuring a data job in Data Lake Compute, you need to specify the data access policy to protect data security.
Directions
Step 1. Create a policy in CAM
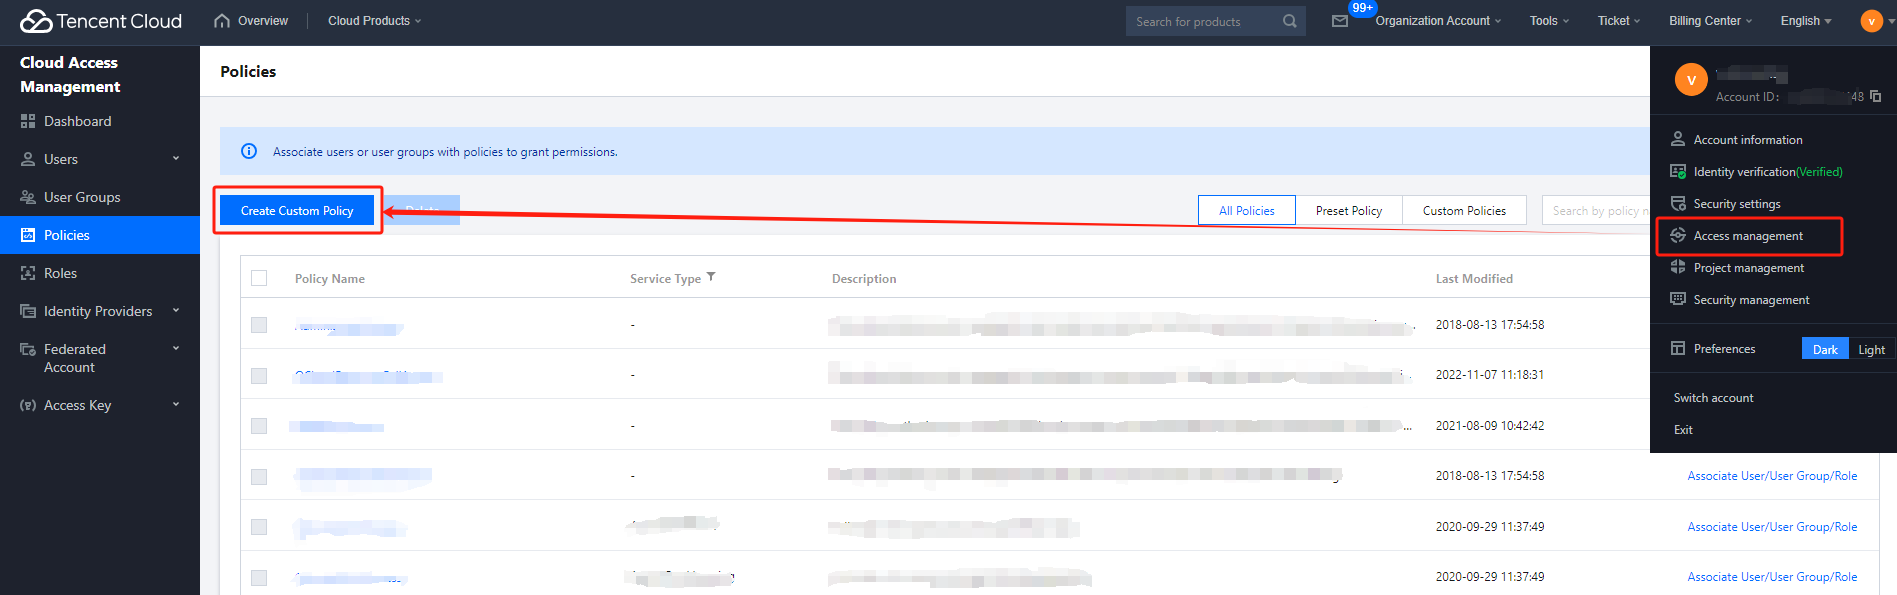
1. Log in to the Tencent Cloud console and select Cloud Access Management. The logged-in account needs to have permissions to configure CAM; therefore, we recommend you use a root account or admin account.
2. Select Policies on the left sidebar to enter the policy management page. Click Create Custom Policy and select Create by Policy Syntax.
3. Search for COS in the policy template and select COS permission templates.
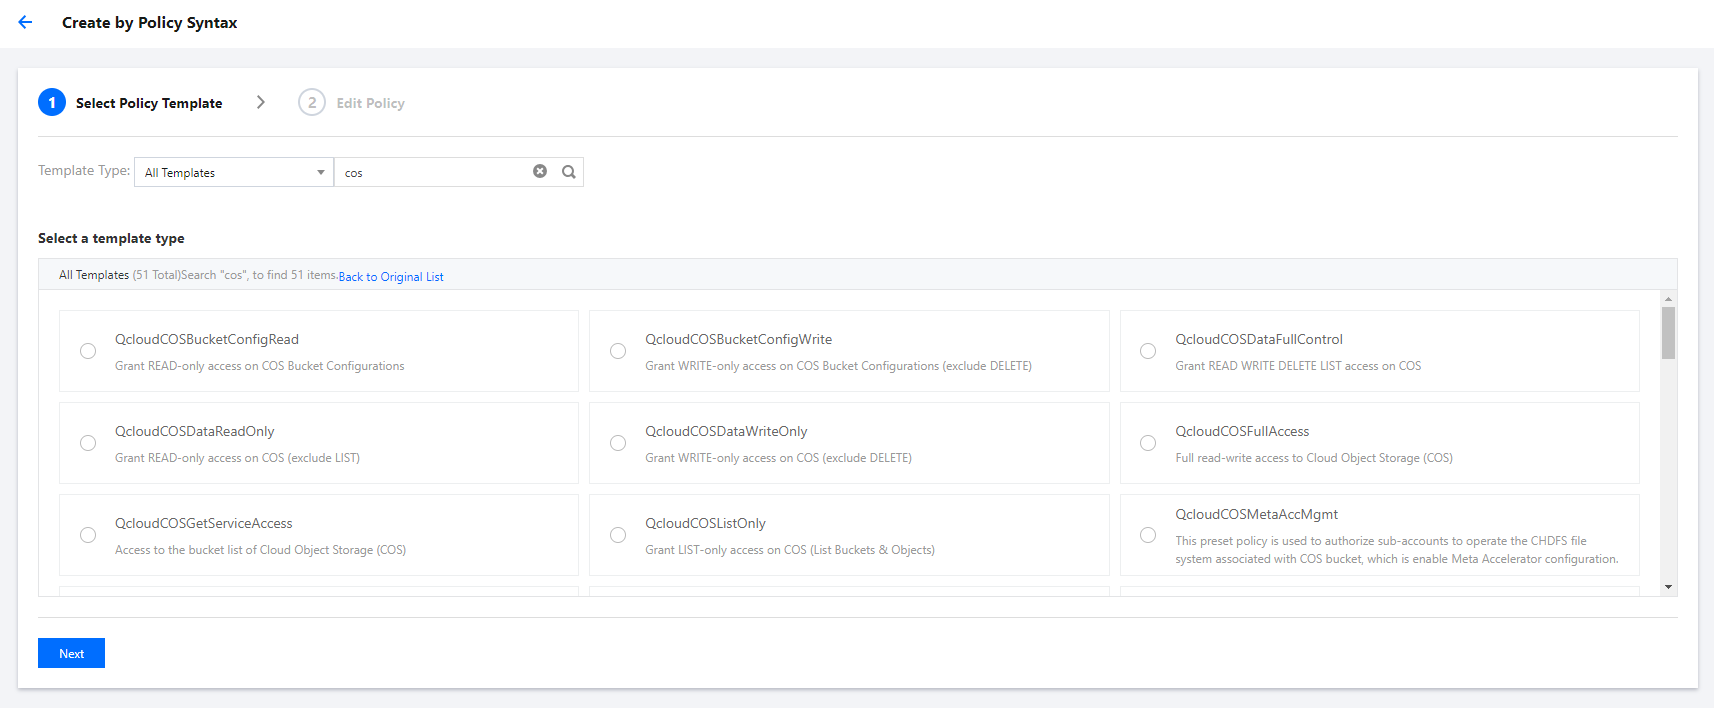
4. The preset templates define read-only and read/write permission policies. If they don't meet your needs, create a custom policy template as instructed in Appendix.
5. Select the template, set a name for the policy, and click Save.
Step 2. Create a service role
1. Log in to the Tencent Cloud console and select Cloud Access Management. The logged-in account needs to have permissions to configure CAM; therefore, we recommend you use a root account or admin account.
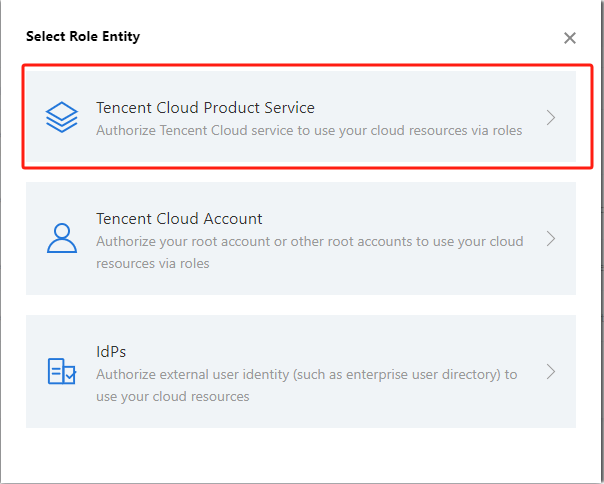
2. Select Role on the left sidebar to enter the role management page. Click Create Role and select Tencent Cloud Product Service.
3. In the Role Entity service list, find and select Data Lake Compute and click Next.
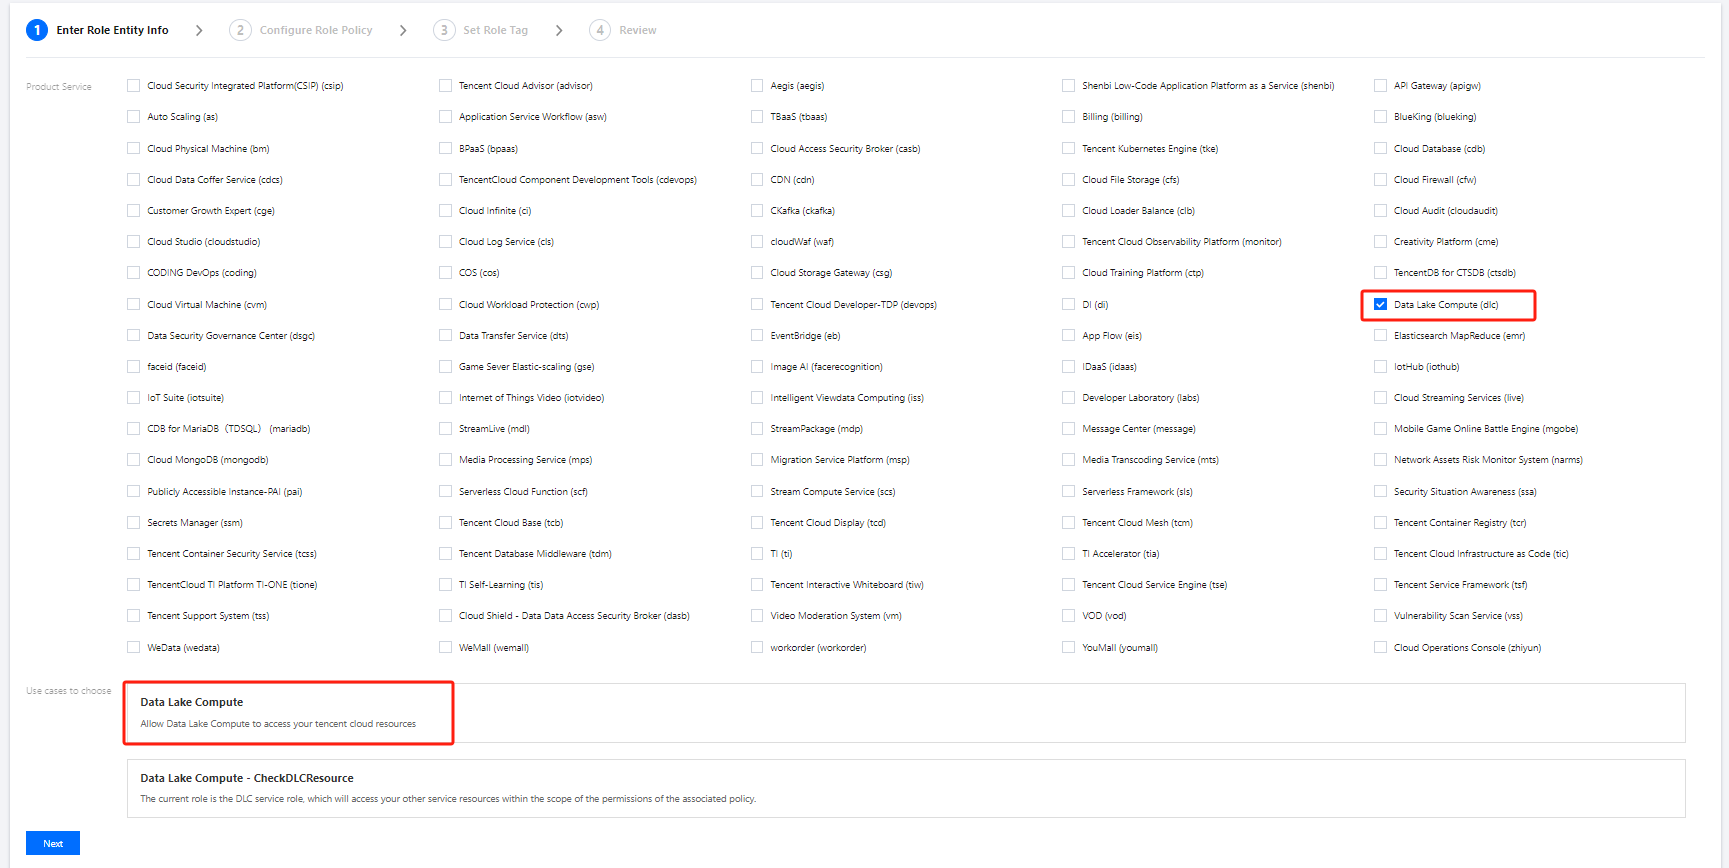
4. In the policy configuration, find and select the policy created in Step 1 and click Next.
5. Set a name for the role and click Save.
Step 3. Get the role ARN information
1. After creating the role in Step 2, return to the role list and find the created role.
2. Click Role Name to enter the role details page.

3. Find and copy the role ARN information.

Step 4. Configure the role ARN in Data Lake Compute
1. Log in to the Data Lake Compute console with an admin account.
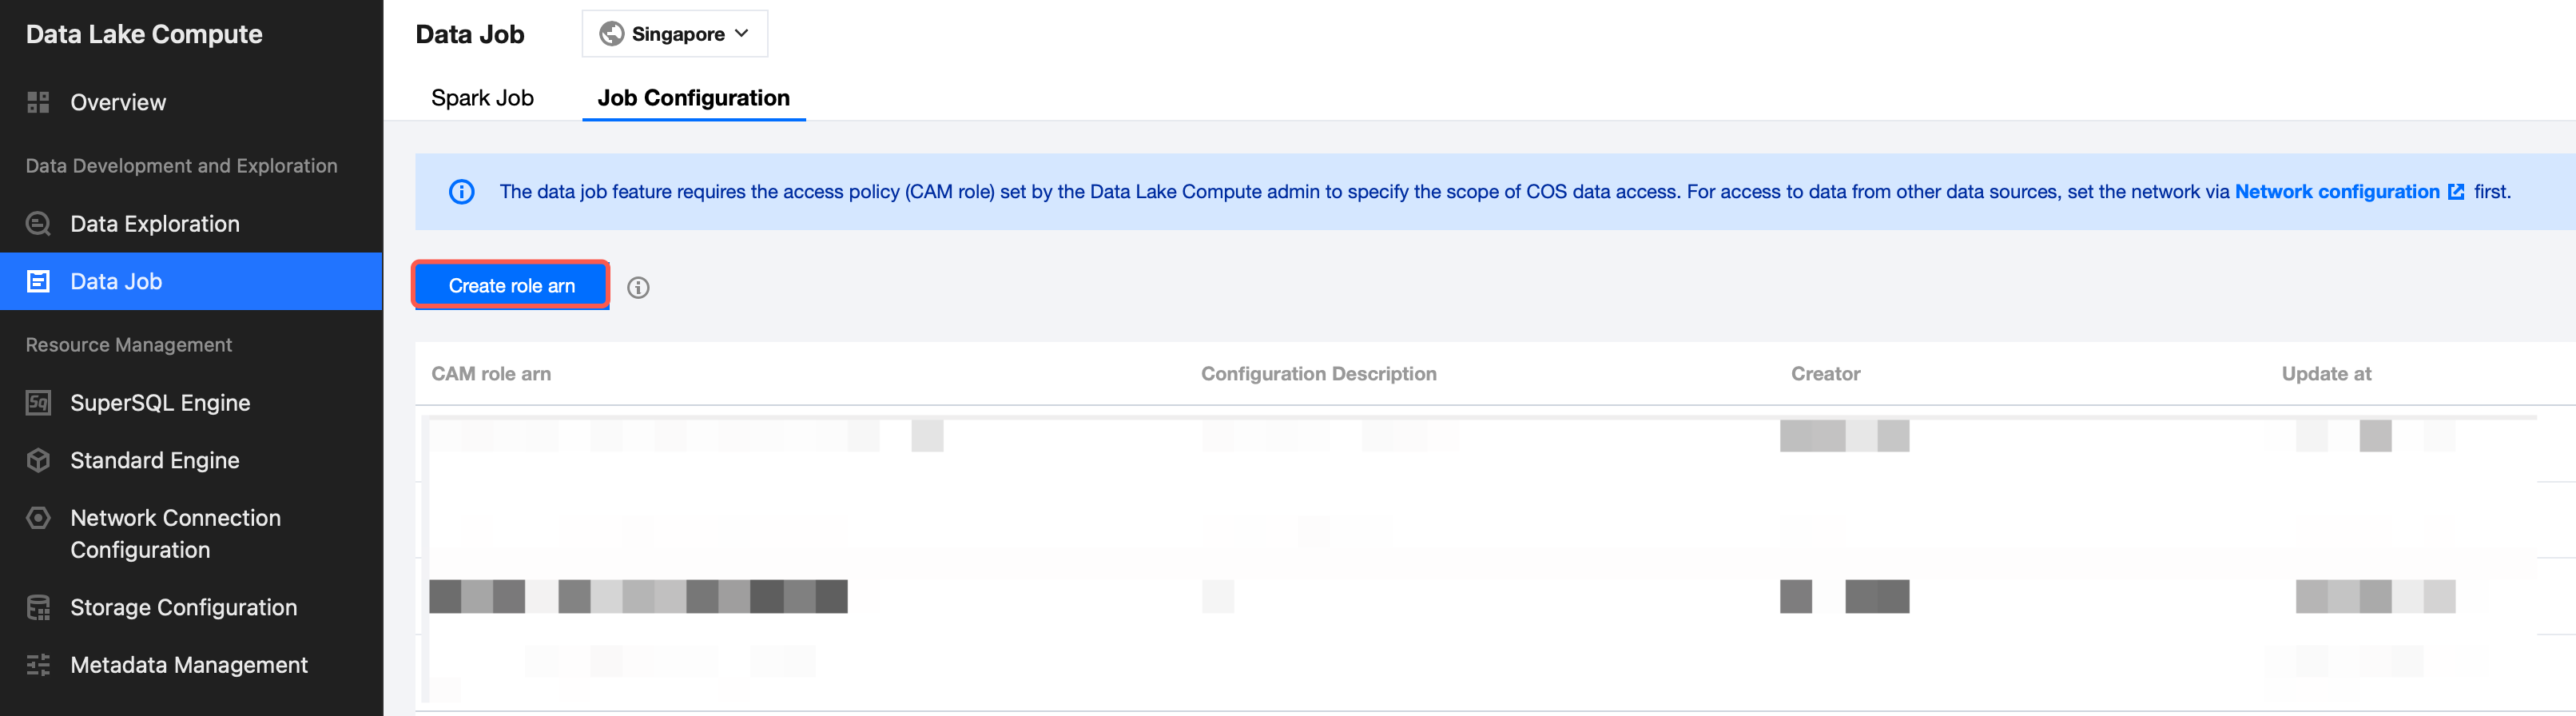
2. Select Data job on the left sidebar to enter the data job management page. Click Job configuration and select CAM role ARN.
3. Click Create role ARN.
4. Paste the role ARN information obtained in Step 3 in the input box and click Save.
Appendix: Custom Policy Template
If the preset templates cannot meet your data management needs, you can configure a custom template in the following steps.
1. Log in to the Tencent Cloud console and select Cloud Access Management. The logged-in account needs to have permissions to configure CAM; therefore, we recommend you use a root account or admin account.
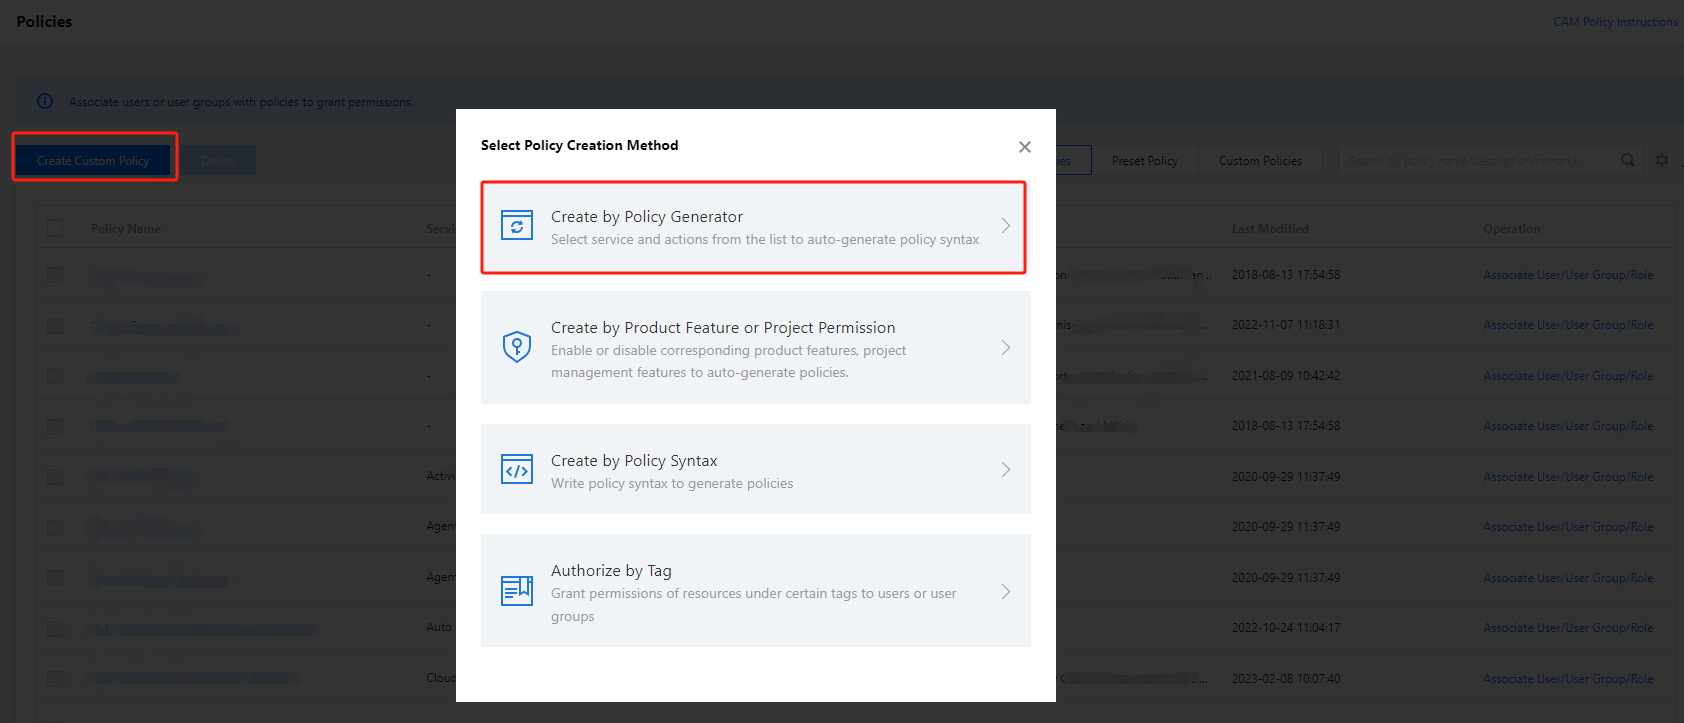
2. Select Policies on the left sidebar to enter the policy management page. Click Create Custom Policy and select Create by Policy Generator.
3. Select Allow as Effect and COS as Service. Select the resource scope as needed.
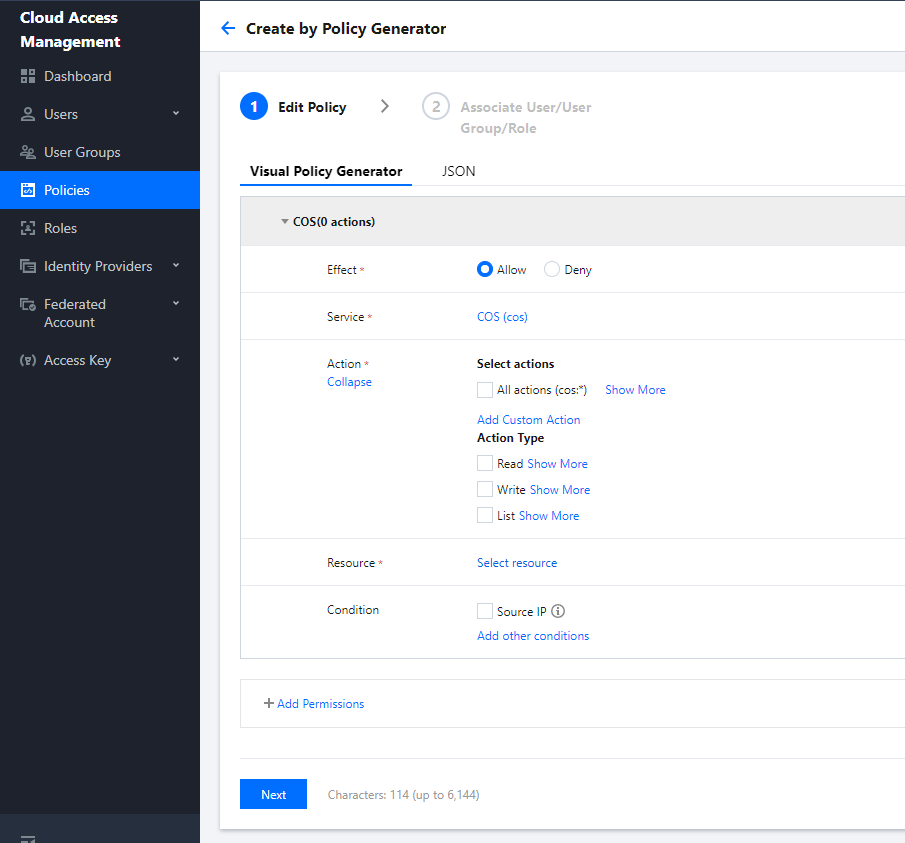
If you need to manage specific resources, click Add a six-segment resource description to add resources. You can use
* to indicate all the resources. For more information, see Resource Description Method.4. After completing the configuration, set a name for the policy and click Save. You can also select Authorized Users to authorize the policy to existing users.
Help and Support
Was this page helpful?
You can also Contact sales or Submit a Ticket for help.
Help us improve! Rate your documentation experience in 5 mins.
Feedback