Azure Active Directory シングルサインオン Tencent Cloud ガイド
ダウンロード
フォーカスモード
フォントサイズ
操作シナリオ
Azure Active Directory (Azure AD) は、Microsoft が提供するクラウドベースのアイデンティティおよびアクセス管理サービスであり、従業員が内部および外部リソースを管理するのを支援します。Tencent Cloud は、SAML 2.0 (セキュリティアサーションマークアップ言語 2.0) に基づくフェデレーション認証をサポートしており、SAML 2.0 は多くの認証プロバイダー (Identity Provider, IdP) が使用するオープン標準です。お客様は、SAML 2.0 フェデレーション認証に基づいて Azure Active Directory と Tencent Cloud を統合することで、Azure AD アカウントによる自動ログイン (シングルサインオン) を実現し、Tencent Cloudコンソールを通じて Tencent Cloud のリソースを管理でき、企業または組織の各メンバーごとに Cloud Access Management (CAM) サブユーザーを作成する必要がありません。
操作手順
Azure AD エンタープライズアプリケーションの作成
説明:
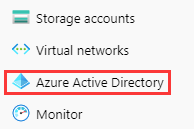
1. Azure ADポータルページにアクセスし、左側ナビゲーションバーのAzure Active Directoryをクリックします。以下の図の通りです:
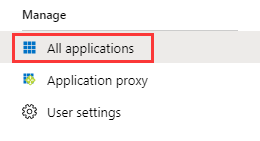
2. エンタープライズアプリケーションをクリックし、すべてのアプリケーションを選択します。以下の図の通りです:
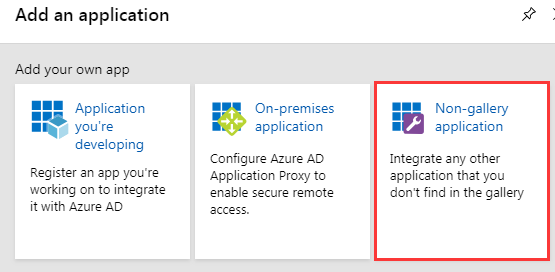
3. 新規アプリケーションをクリックして「アプリケーションの追加」ウィンドウを開き、ギャラリー以外のアプリケーションを選択します。以下の図の通りです:
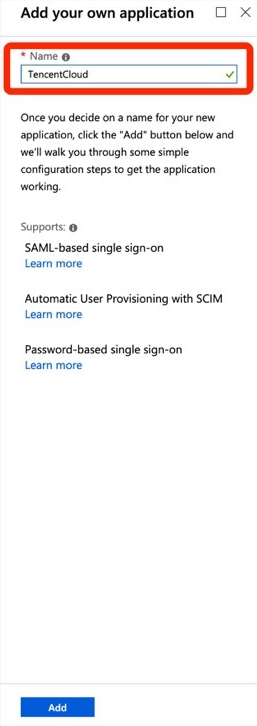
4. 名称を入力し、追加をクリックすると、Azure ADアプリケーションの作成が完了します。以下の図の通りです:
CAMの設定
説明:
本手順で、Azure ADとTencent Cloudの間の信頼関係を設定し、相互信頼を確立することができます。
1. 左側のナビゲーションバーで、Azure Active Directory>企業アプリケーション> 作成したアプリケーション を選択し、アプリケーション概要ページに入ります。
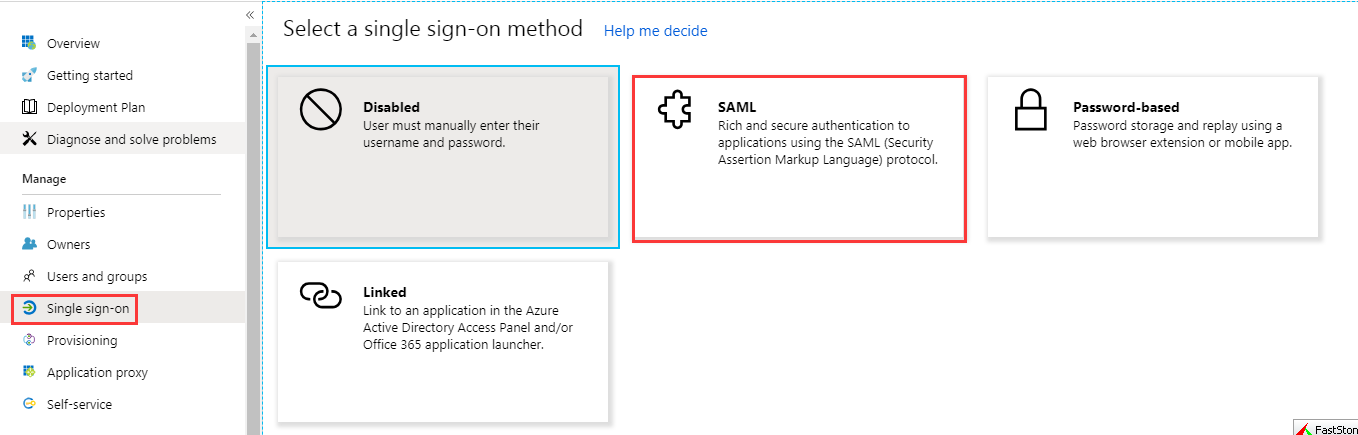
2. シングルサインオンをクリックすると、「シングルサインオンの方法を選択」ページが開きます。
3. 開いた「シングルサインオンの方法を選択」ページで、SAMLを選択します。以下の図の通りです:
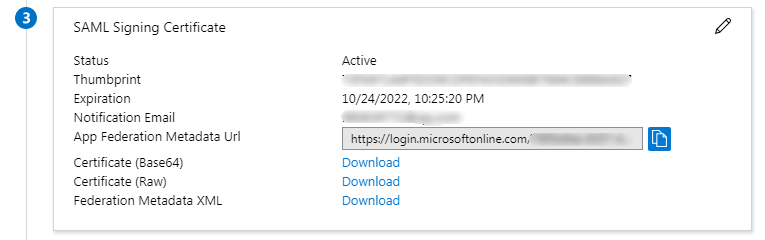
4. 「SAML シングルサインオン」のプレビューページで、SAML署名証明書のフェデレーションメタデータ XMLファイルをダウンロードします。以下の図の通りです:
5. Tencent CloudでSAML身分プロバイダおよびロールを作成します。詳細な操作については、身分プロバイダの作成、ロールの作成-身分プロバイダのためのロール作成を参照してください。
Azure ADのシングルサインオンの設定
説明:
本手順で、Azure ADアプリケーション属性をTencent Cloudの属性にマッピングし、Azure ADアプリケーションとTencent Cloudの相互信頼関係を確立することができます。
1. 「SAML シングルサインオン」の概要インターフェースで、「基本SAML設定」の右上にある
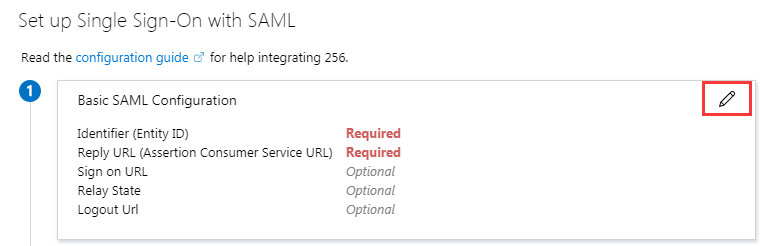
2. 「基本SAML設定」編集ページで以下の情報を入力し、保存をクリックします。以下の図の通りです:

サイト所在地 | 識別子(エンティティID) | 返信URL(アサーションコンシューマサービスURL) |
中国サイト | cloud.tencent.com | https://cloud.tencent.com/login/saml |
国際サイト | www.tencentcloud.com | https://www.tencentcloud.com/login/saml |
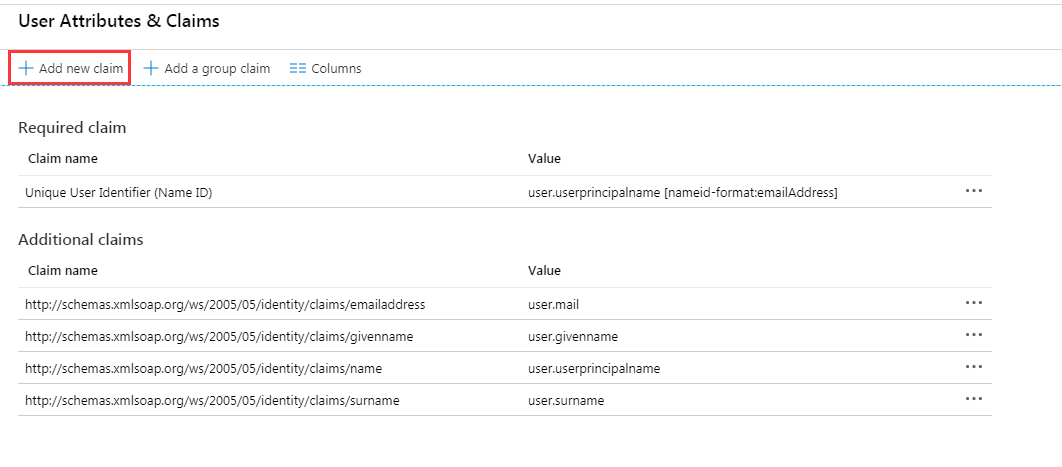
3. 「SAML シングルサインオン」の概要ページで、「ユーザー属性と声明」の右上にある
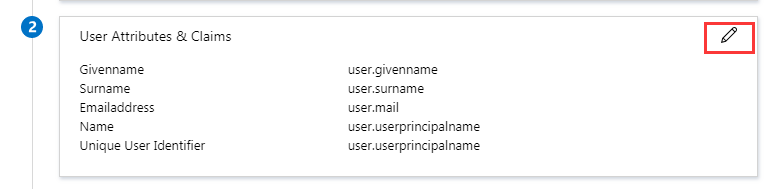
4. 「ユーザー属性と声明」編集ページで、新しい声明の追加をクリックし、「ユーザー声明の管理」ページに移動します。以下の図の通りです:
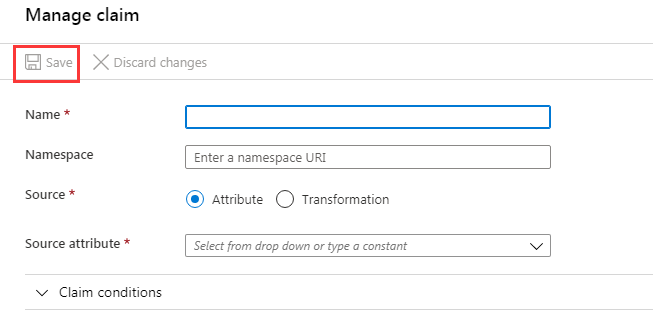
5. 「ユーザー声明の管理」ページで、以下の2つの声明を追加し、保存をクリックします。以下の図の通りです:
名称 | ネームスペース | 源 | ソース属性 |
Role | https://cloud.tencent.com/SAML/Attributes | 属性 | qcs::cam::uin/{AccountID}:roleName/{RoleName},qcs::cam::uin/{AccountID}:saml-provider/{ProviderName} |
RoleSessionName | https://cloud.tencent.com/SAML/Attributes | 属性 | Azure |
説明:
Roleのソース属性において、{AccountID}、{RoleName}、{ProviderName}をそれぞれ以下の内容に置き換えてください:
{AccountID} をご利用のTencent CloudアカウントIDに置き換えます。アカウント情報 - コンソールで閲覧できます。
{RoleName} を、Tencent Cloudで身分プロバイダのために作成したロール名に置き換えます(クリックして、Tencent Cloudで身分プロバイダのロールを作成する方法を閲覧)。ロール名はロール - コンソールで閲覧でき、追加が必要な場合は次の形式で追加できます:qcs::cam::uin/{AccountID}:roleName/{RoleName}、複数ある場合はセミコロン(;)で区切ります。
{ProviderName} を、Tencent Cloudで作成したSAML身分プロバイダの名称に置き換えます。身分プロバイダ - コンソールに移動して閲覧できます。
Azure ADユーザーの設定
説明:
この手順では、Azure AD ユーザーに Tencent Cloud の SSO アクセス権限を割り当てることができます。
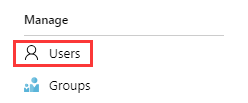
1. 左側のナビゲーションバーでAzure Active Directoryをクリックし、ユーザー > すべてのユーザーをクリックします。
2. 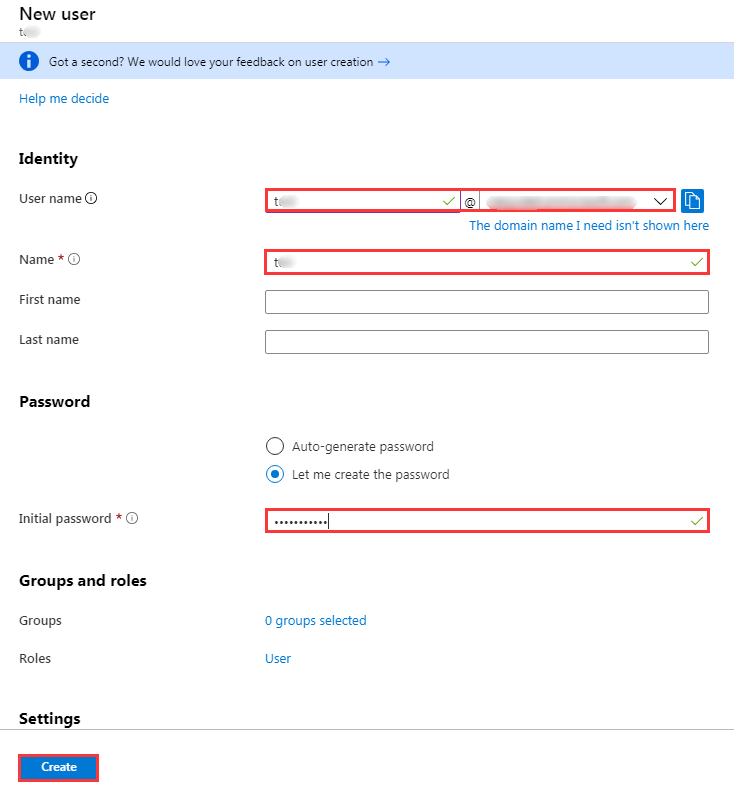
左上隅の
新規ユーザーをクリックし、「ユーザー」ページで氏名とユーザー名を入力、パスワードを表示にチェックを入れます。情報に誤りがなければ、下部の作成をクリックして作成を完了します。以下の図の通りです:
説明:
ユーザー名の形式は:ユーザー名@ドメイン名。ユーザー名はカスタマイズできます。ドメイン名を確認するには、左側のナビゲーションバーでAzure Active Directoryをクリックし、概要ページで以前に設定した初期ドメイン名を閲覧できます。ユーザー名とパスワードをコピーして保存し、後で使用することができます。
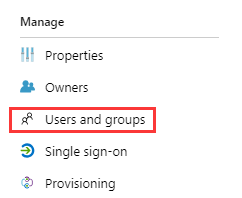
3. 左側のナビゲーションバーで、Azure Active Directory >エンタープライズアプリケーション >作成したアプリケーションを選択し、アプリケーション概要ページに入り、ユーザーとグループをクリックします。以下の図の通りです:
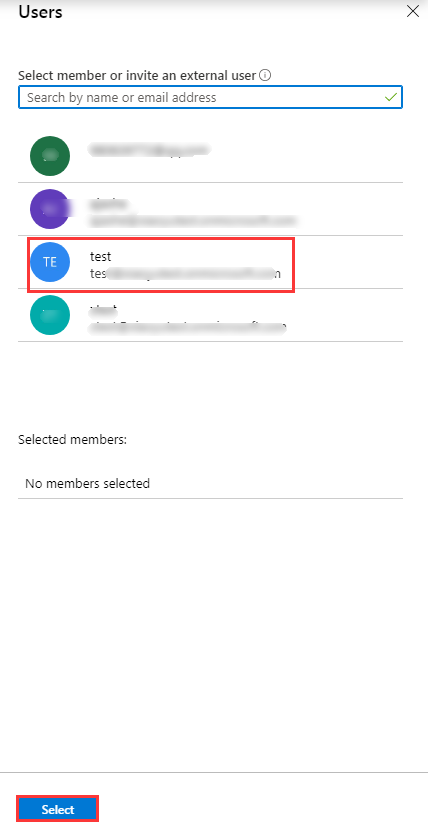
4. ユーザー追加をクリックし、ユーザーとグループを開き、手順2で作成したユーザーを選択し、選択をクリックします。以下の図の通りです:
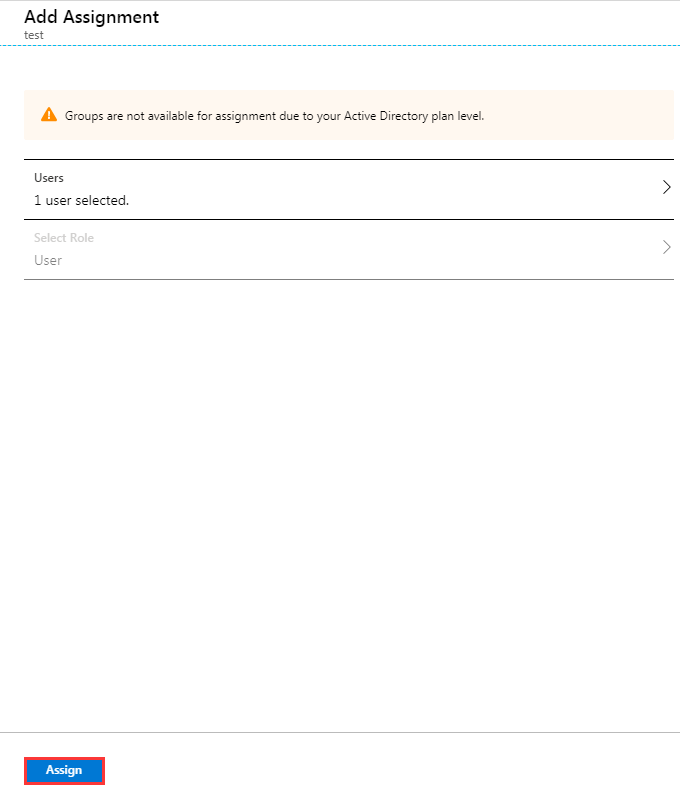
5. 「追加割り当て」ページに移動し、確認後割り当てをクリックします。以下の図のように:
6. 左側のナビゲーションバーで、Azure Active Directory>エンタープライズアプリケーション> 作成したアプリケーション を選択し、アプリケーション概要ページに入ります。
7. シングルサインオンをクリックし、「SAML シングルサインオン」の概要インターフェースを開き、テストをクリックします。以下の図の通りです:

8. テスト シングルサインオン画面で、他のユーザーとしてログインするを選択します。
9. 手順2で保存したユーザー名とパスワードを入力し、Tencent Cloudコンソールにログインします。
フィードバック