Topic is a central concept in the TDMQ for RocketMQ. It is typically used for the organization and centralized management of various messages generated by the system. For instance, messages associated with transactions can be congregated within a Topic titled "trade", available for subscription by other consumers.
In practical application scenarios, a Topic often corresponds to a business aggregation. Developers determine to design different Topics based on the design of their own system and data architecture.
This guide provides instructions on how to use Topics for the categorization and management of messages when using TDMQ for RocketMQ.
2. Select the Topic Management tab on the left sidebar, choose the region and cluster, then click Create to go to the Topic creation page.
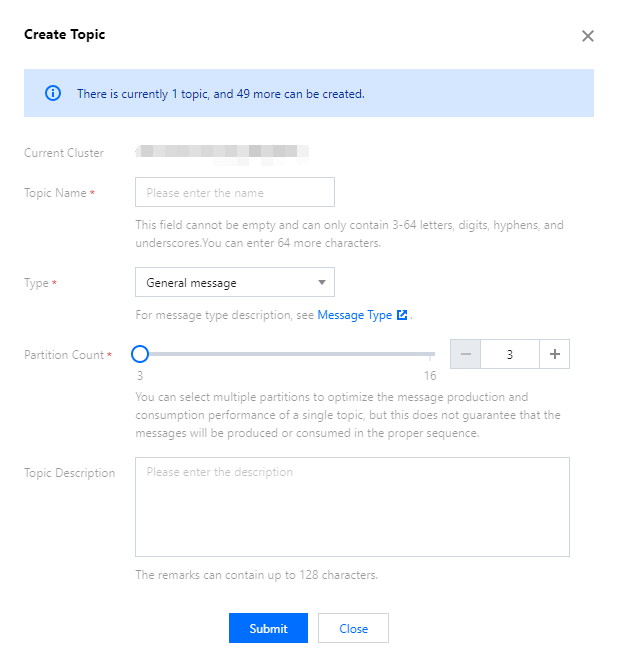
3. In the Create Topic dialog box, please complete the following details.
Topic Name: Input the name of the topic (cannot be modified after creation), containing 3-64 characters including only letters, numbers, "-" and "_".
Type: Select the message type, including general, sequential, delayed, and transaction messages. (For more information, see Message Type).
Partition Count: Select the number of partitions, supporting up to 16 partitions. Using numerous partitions can enhance the production and consumption performance of a single topic, while the sequentiality cannot be assured.
Topic Description: Provide a description for the Topic, limited to a maximum of 128 characters.
4. Click Submit and the newly created topic can be viewed in the topic list.
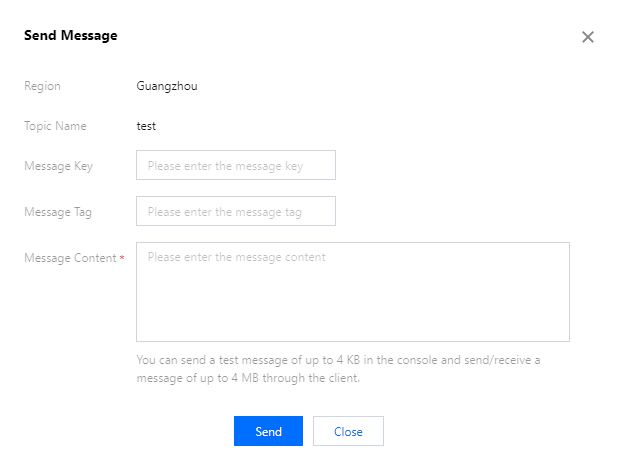
Send test messages
Messages can be manually transmitted to specific topics through actions performed in the RocketMQ console.
1. In Topic Management list, click SendMessage in the action bar of the intended topic.
2. In the pop-up window, enter the message key, message tag, and message content, then click Send.
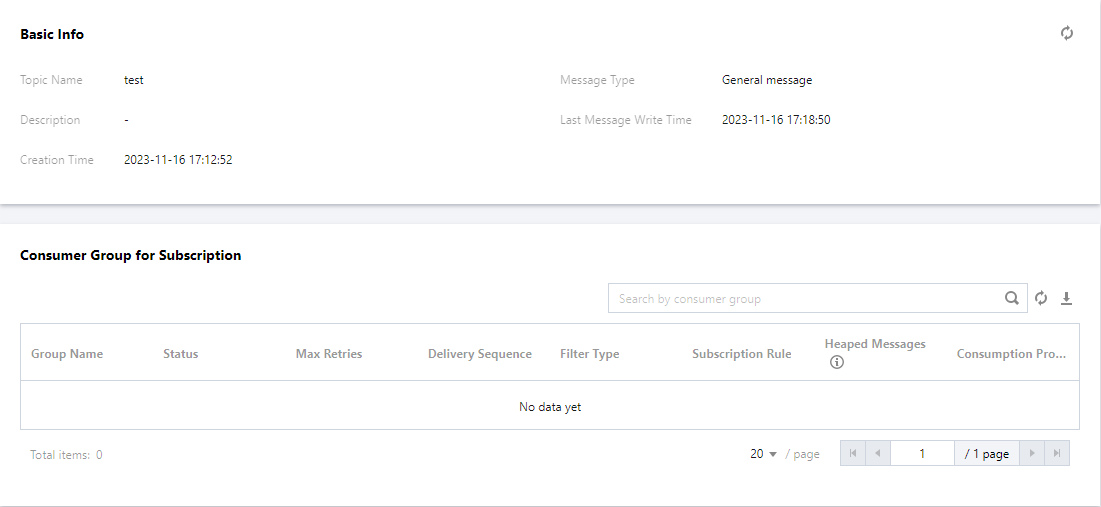
View subscribed groups
1. In Topic Management list, click the "ID" of the desired topic.
2. You will be redirected to the Group list page, which displays the information of Groups subscribed to that specific Topic.
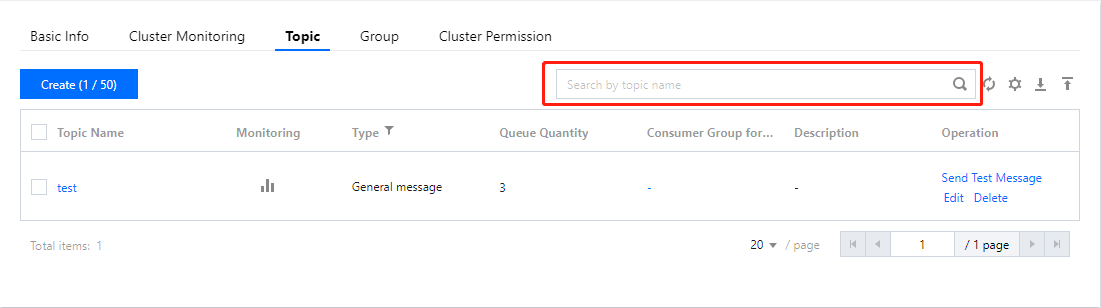
Query a topic
You can search by a Topic name in the search box located at the top-right corner of the Topic Management list page. TDMQ for RocketMQ will perform a fuzzy match and present the corresponding search results.
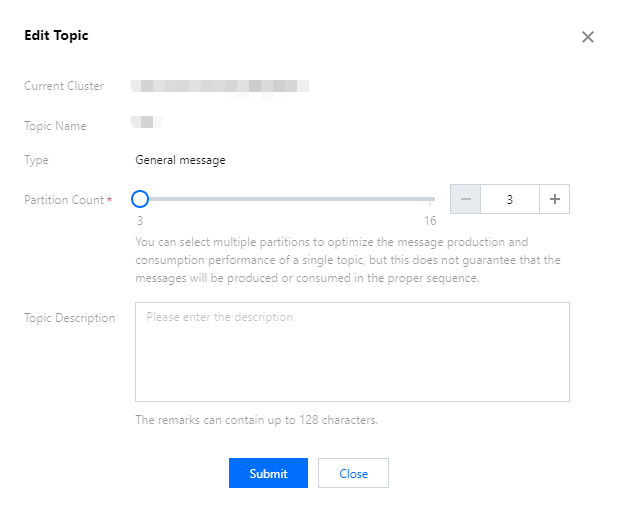
Edit a topic
1. In Topic Management list, locate the Topic that requires editing, and click Edit in the action bar.
2. In the pop-up dialog box, you can modify the Topic Description.
3. Click Submit to complete the editing of the Topic.
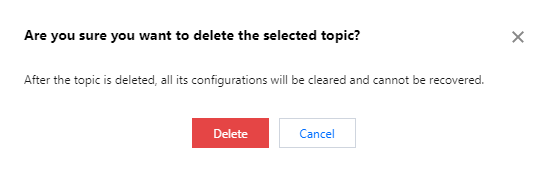
Delete a topic
Batch Deletion: In Topic Management list, choose all the topics that need to be deleted. Click Batch Delete on the top left, and in the prompt box, press Delete to conclude the deletion.
Individual Deletion: In Topic Management list, locate the Topic that requires removal. Click Delete in the action bar, and in the prompt box, press Delete to conclude the deletion.
Note:
After the topic is deleted, all its configurations will be cleared and cannot be recovered. Please proceed with caution.
Metadata Import/Export
Metadata Export
You can directly export metadata through the
button located at the upper-right corner of the topic list page. The exported metadata will be formatted as an .xlsx spreadsheet file.
Metadata Import
If you need to load topic information from one cluster into another, after metadata is exported, click the
button located in the upper-right corner of the Topic list page to import topic data into the specified namespace.


 Yes
Yes
 No
No
Was this page helpful?