You can use scaling policies to increase or decrease the number of CVM instances in your scaling group:
Create a scheduled action to perform scheduled scaling, which can be set to run periodically.
Create an alarm-triggered policy to perform scaling based on Cloud Monitor metrics (such as CPU utilization and memory usage).
Directions
Creating a scheduled action
If your load changes are predictable, you can set scheduled actions to plan your scaling activities. This feature can automatically increase or decrease CVM instances according to a schedule. This allows you to flexibly cope with traffic load changes and improve device utilization while reducing deployment and instance costs.
1. Go to the Scaling group page and select the ID of the target scaling group to enter its details page.
2. Select the Scheduled action tab, and click Create.
3. In the Create scheduled action window that pops up, specify the action name, scaling group activities, repeat cycle, and other information.
4. After completing the configuration, click OK to view the scheduled action.
Creating an alarm policy
If you want to perform scaling based on CVM metrics, you can create an alarm policy to plan device scaling. This policy helps you automatically increase or decrease the number of instances in your scaling group to flexibly handle business load changes, increase device utilization, and reduce deployment and instance costs.
Note:
When a scaling group is created, a ping unreachable alarm-triggered policy is created by default, which is used to replace unhealthy CVMs.
Before using an alarm policy, you need to install the latest version of Cloud Monitor Agent in the CVM image. For more information, see Installing Monitor Components.
1. Go to the Scaling group page and select the ID of the target scaling group to enter its details page.
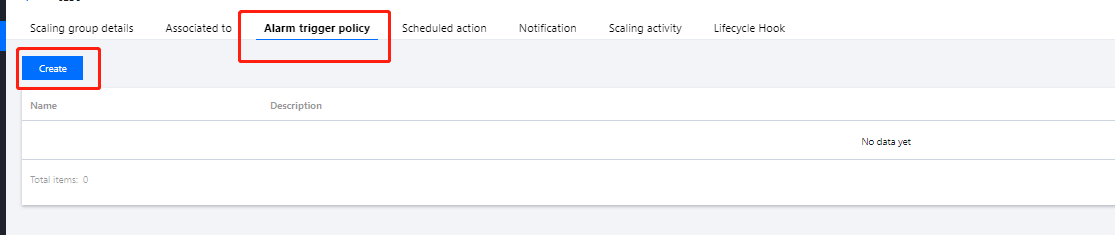
2. Select the Alarm-triggered policy tab, and click Create.
3. In the Create alarm policy window that pops up, configure the Cloud Monitor metrics (such as CPU utilization, memory usage, and bandwidth), which will be used as the basis of adding or removing CVM instances by a specified number or percentage.
You can also choose Use existing policy (optional) to copy an existing policy from an existing scaling group to the current scaling group.
4. After completing the configuration, click OK to view the alarm-triggered policy.