Creating a Launch Configuration
Download
Modo Foco
Tamanho da Fonte
Overview
AS needs to know in advance the configurations used to create CVM instances during scale-out. Therefore, you should specify resources such as images, data on data disks, instance configurations, key pairs, security groups, and block storage devices.
It is worth noting that a launch configuration is just a template based on which instances will be produced during automatic scale-out. Creating a launch configuration itself will not produce any instances, so it is completely free to use.
Directions
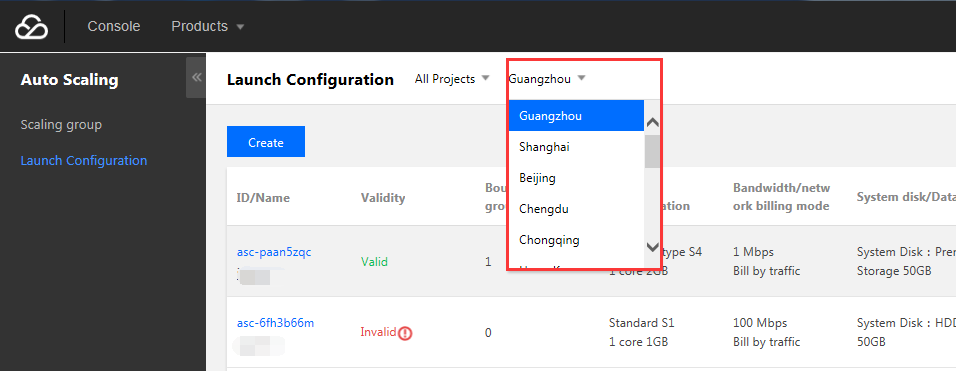
Selecting a region
On the topbar, select the target region.
Note:
You should select the region of the target CVM instance, as both the launch configuration and scaling group are region-specific. For example, if Guangzhou region is specified for the launch configuration, instances can be bound only to the scaling group in Guangzhou region, and only instances in Guangzhou region can be automatically added.
Specifying parameters
1. On the Launch Configuration page, click Create.
2. Enter the Launch configuration name, such as "Configuration A of the frontend server cluster".
3. Select a model, such as 2-core 2 GB MEM, which indicates two CPU cores and 2 GB memory.
4. Select an image. You can select a clean "public image" or a "custom image" where your application has already been deployed.
To make an instance available directly after creation, it is highly recommended that you deploy your business application in a custom image. In addition, the application in the image should be set to run at system launch, so that the instances produced by AS can be automated.
5. Select the capacities of system disk and data disks.
If you want the data disk of the produced instance to have your own data, you can specify a data disk snapshot, so that the instance comes with the data in the snapshot upon production.
Note:
As instances in a scaling group are generally stateless, we recommend you put your own data into a custom image for convenience. If the system disk is not large enough, you can apply for a larger one by submitting a ticket.
If you want to use the data disk to store data, you need to set it to be automatically mounted, so that scale-out can be left unattended. For detailed directions, see FAQs.
6. Select the bandwidth just like when you purchase a CVM instance.
7. Set the username, password, and security group.
8. Click Completed.
9. Create a scaling group based on the launch configuration. The launch configuration determines the instances to be created during scale-out, while the scaling group determines when to scale out.
Ajuda e Suporte
Esta página foi útil?
Você também pode entrar em contato com a Equipe de vendas ou Enviar um tíquete em caso de ajuda.
comentários