Intelligent Summary
Download
Focus Mode
Font Size
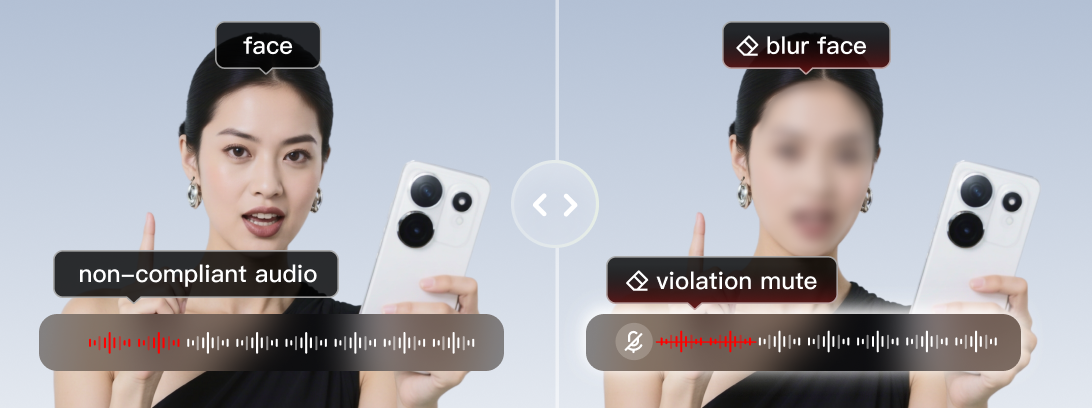
Audio-video content erasing—Live stream moderation 2.0 can precisely identify non-compliant audio content and privacy-related images, such as faces and license plates, during live streaming and then automatically execute real-time erasing. This achieves full-process automated content risk control and management and guarantees content security and compliance of live streaming platforms.
This document describes how to create, modify, and delete Audio-video content erasing templates through the console.
Notes
After a template is created, it can be bound with a push domain. For more information, see Audio-Video Content Erasing Configuration. The association of the template is usually effective within 5-10 minutes.
Binding, modifying, or unbinding a template only affects new live streams and not ongoing ones. To apply new rules to ongoing live streams, you need to stop them and push them again.
The Audio-video content erasing feature is a paid value-added service. Using this feature during live streaming will incur value-added fees and intelligent identification fees for MPS. For billing rules, see Live Stream Moderation.
When Smart Erasing and the subtitle function are used simultaneously, they cannot both be active at the same time (only audio erasing can be synchronized with subtitles). If the user template is configured with both image erasing and audio erasing, and the subtitle function is enabled, only subtitles and audio erasing will be effective.
Prerequisites for Use
The CSS service has been activated.
Creating Audio-Video Content Erasing Template
1. Log in to the CSS console. Choose AI Features > Audio-Video Content Erasing.
Note:
To use Audio-Video Content Erasing in the AI Features, you need to create a service role and authorize the current account role to use the Media Processing Service (MPS) and Cloud Object Storage (COS) products on first creation.
2. Click Authorize to enter the CAM role management page.

3. On the role management page, click Authorize. After completing identity verification, you can authorize Media Processing Service and Cloud Object Storage (COS) and use the Media Processing Service and Cloud Object Storage services normally.

4. After successful authorization, select the service agreement and click Start. The system will automatically activate the Media Processing Service product and Cloud Object Storage (COS), and will redirect you to the Intelligent Summary management page.
5. Click Create template to enter the Audio-video content erasing template creation page and configure the template as follows:
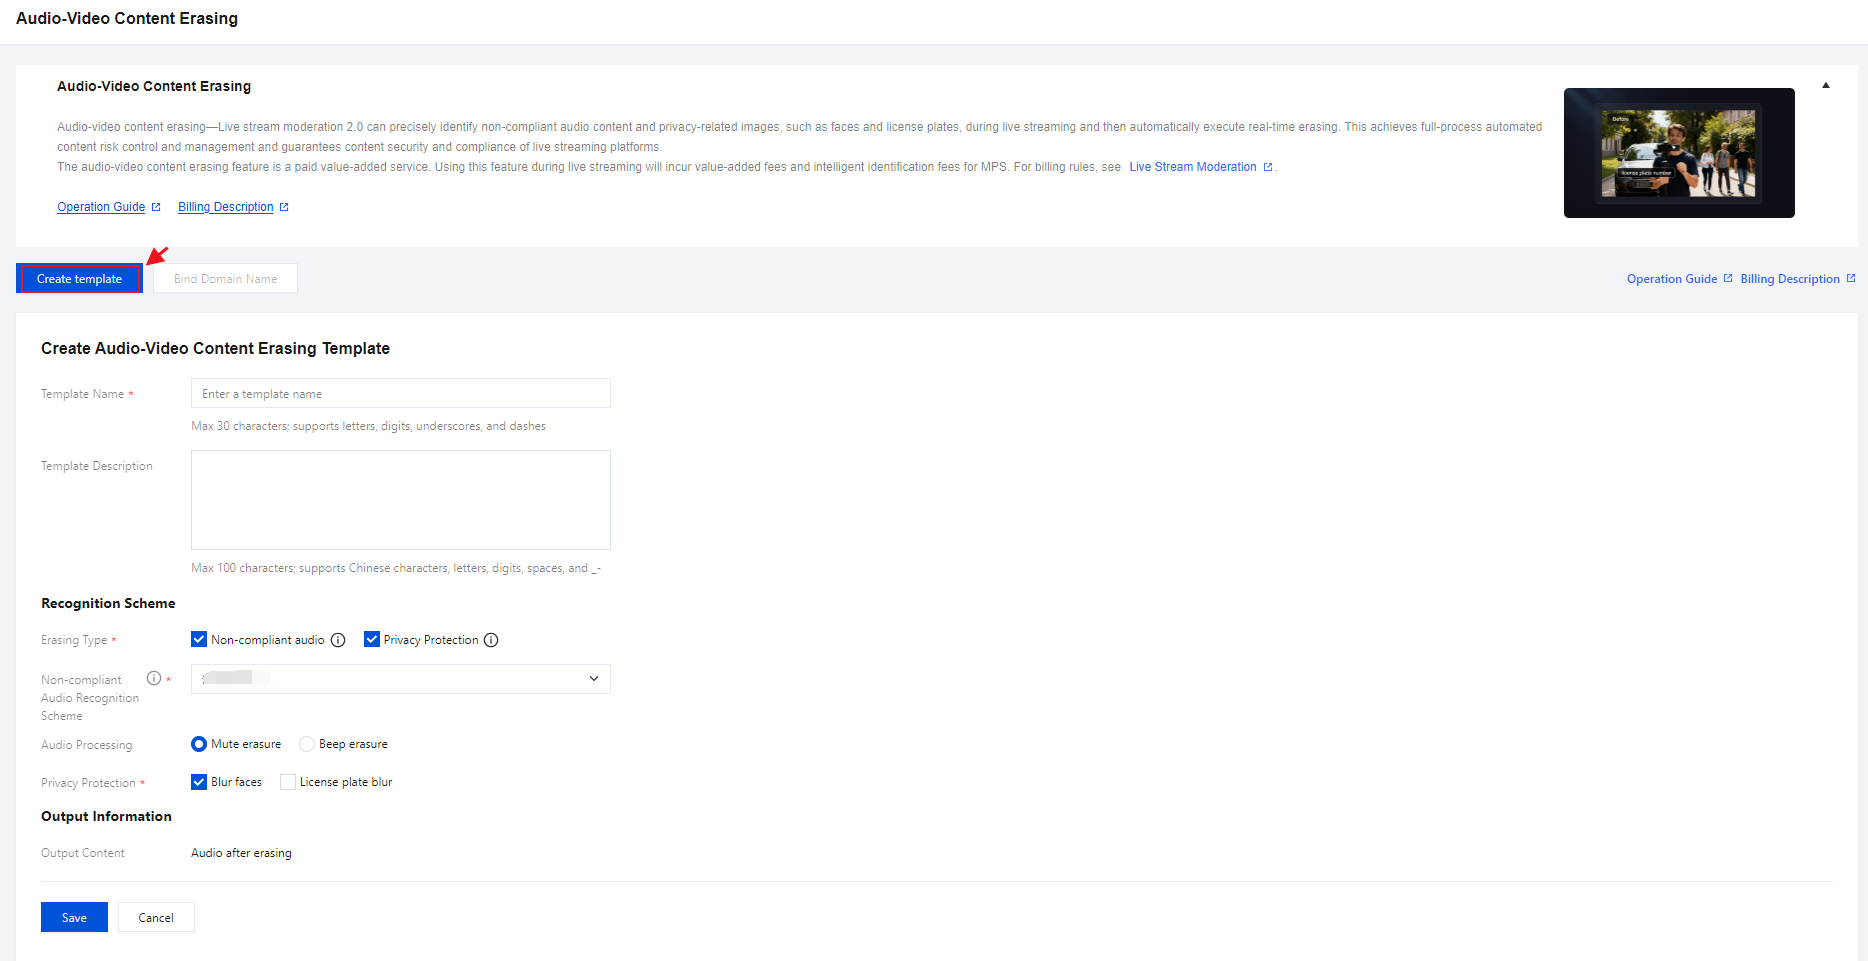
Configuration Item | | Description |
Template Name | | Max 30 characters; supports letters, digits, underscores, and dashes. |
Template Description | | Max 100 characters; supports Chinese characters, letters, digits, spaces, _ and -. |
Recognition Scheme | Erasing Type | Erasing Type supports Non-compliant audio and Privacy Protection, which can be selected individually or in combination. Non-compliant audio, Recognize non-compliant text content in the live streaming audio and mute the corresponding audio segments to effectively guarantee live streaming content security. Non-compliant Audio Recognition Scheme:Bind a template in the live stream moderation module with Audio text recognition selected for Moderation Content Configuration. Audio Processing: A single-select option supporting either "Mute erasure" or "Beep erasure," with "Mute erasure" being the default selection. Privacy Protection:Recognizes faces, license plates, and flags in live streams and blurs them to ensure live content privacy. Privacy Protection: Required field. You can select either Blur faces or License plate blur by choosing one or multiple options. |
| Non-compliant Audio Recognition Scheme | Bind a template in the live stream moderation module with Audio text recognition selected for Moderation Content Configuration.You can configure the inappropriate text content you wish to erase in the form of a custom vocabulary within the Audio Text Recognition policy. |
Output Information | | Output Content is Audio after erasing |
Binding Domain Names
1. Log in to the CSS console. Choose AI Features > Audio-Video Content Erasing .
2. You can bind the moderation template to a push domain with the following methods:
Directly bind a domain: Click Bind Domain Name in the top left.

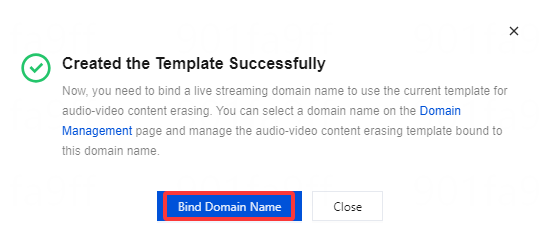
Bind a domain after creating a new Audio-video content erasing template: After successfully creating a Audio-video content erasin template, click Bind Domain Name in the pop-up window.
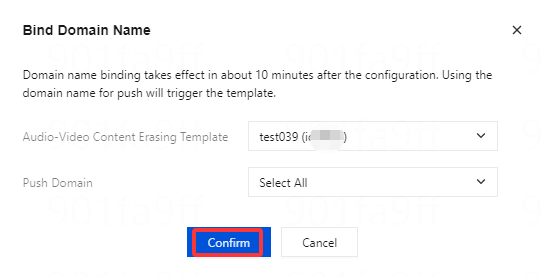
3. In the Bind Domain Name window, select the Audio-video content erasing template and push domain name(Multiple push domain names can be bound simultaneously) you want to bind together, and click Confirm to bind them.
Unbinding
1. Log in to the CSS console. Choose AI Features > Audio-Video Content Erasing .
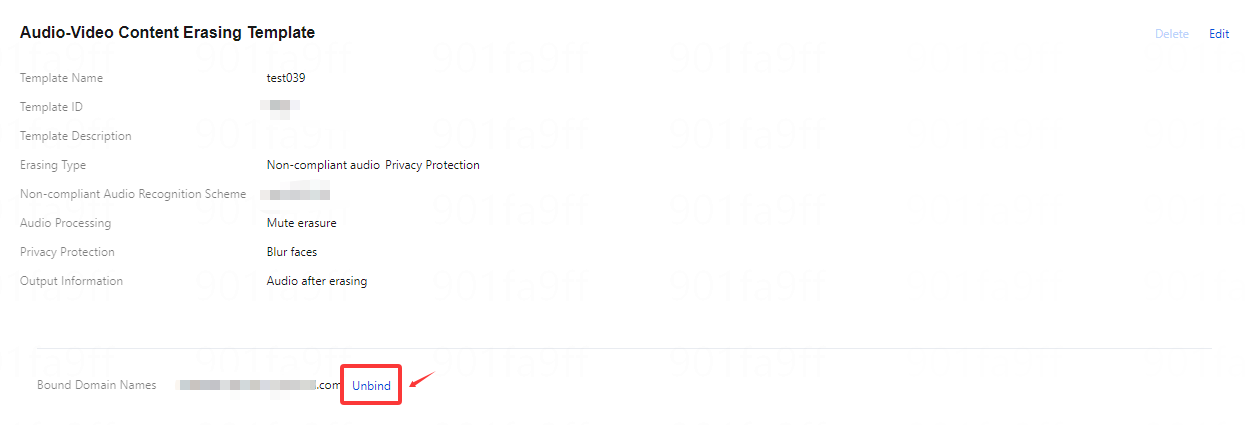
2. Select the Audio-video content erasing template from which you want to unbind the push domain and click Unbind.
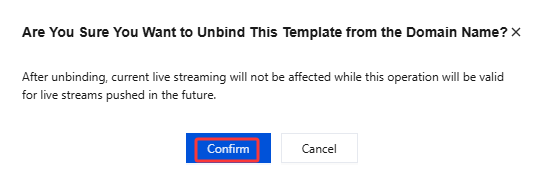
3. In the pop-up window, click Confirm.
Modifying a Template
1. From the left navigation bar, Choose AI Features > Audio-Video Content Erasing.
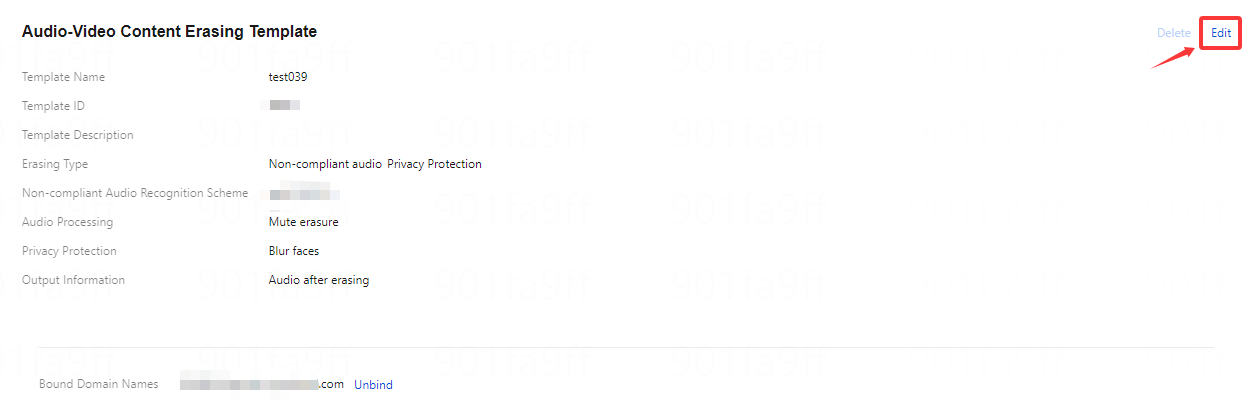
2. Select the successfully created Audio-video content erasing template, click Edit on the right to go to modify the template information.
Deleting a Template
Note:
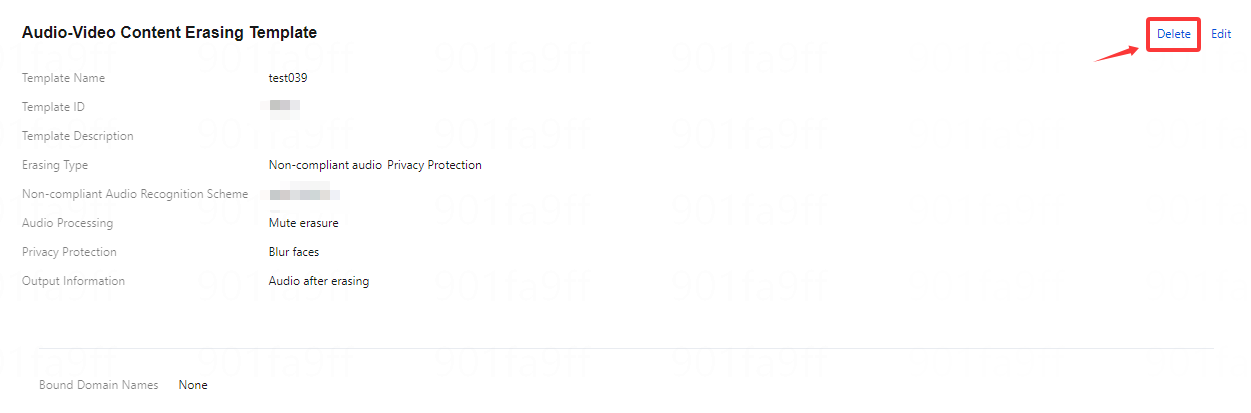
If the template is already bound to a push domain, you must first unbind it before the template can be deleted.
A deleted template cannot be recovered. Proceed with caution when deleting templates.
1. From the left navigation bar, Choose AI Features > Audio-Video Content Erasing .
2. Select a previously created Audio-video content erasing template and click Delete.
3. Click Confirm to permanently delete the template.
Related Operations
For detailed instructions and additional information on binding and unbinding Audio-Video Content Erasing templates at the domain level, please refer to Audio-Video Content Erasing Configuration.
Help and Support
Was this page helpful?
You can also Contact sales or Submit a Ticket for help.
Help us improve! Rate your documentation experience in 5 mins.
Feedback