tencent cloud

Virtual Private Cloud

Release Notes and Announcements
Release Notes
Announcements
Tencent Cloud Network Overview
Product Introduction
Overview
Strengths
Use Cases
Concepts
Quota Limit
Service Regions and Service Providers
Purchase Guide
Billing Overview
Payment Overdue
Quick Start
Network Planning
VPC Connections
Building Up an IPv4 VPC
Operation Guide
Network Topology
Network performance dashboard
Virtual Private Cloud (VPC)
Subnets
Route Tables
Elastic IP
HAVIPs
Elastic Network Interface
Bandwidth Package
Network Connection
Security Management
Diagnostic Tools
Alarming and Monitoring
Practical Tutorial
View the Total Bandwidth for Single-Region Traffic-Based Billing
Migrating from the Classic Network to VPC
Best Practices of Security Group Change
Configuring CVM Instance as Public Gateway
Building HA Primary/Secondary Cluster with HAVIP + Keepalived
Hybrid Cloud Primary/Secondary Communication (DC and VPN)
Hybrid Cloud Primary/Secondary Communication (CCN and VPN)
CVM Access to Internet Through EIP
Troubleshooting
VPCs or Subnets Cannot Be Deleted
Network Disconnection After Connecting Two VPCs over CCN
Failed to Ping CVMs in the Same VPC
API Documentation
History
Introduction
API Category
Making API Requests
VPC APIs
Route Table APIs
Elastic Public IP APIs
Elastic IPv6 APIs
Highly Available Virtual IP APIs
ENI APIs
Bandwidth Package APIs
NAT Gateway APIs
Direct Connect Gateway APIs
Cloud Connect Network APIs
Network ACL APIs
Network Parameter Template APIs
Network Detection-Related APIs
Flow Log APIs
Gateway Traffic Monitor APIs
Private Link APIs
Traffic Mirroring APIs
Other APIs
Subnet APIs
VPN Gateway APIs
Security Group APIs
Snapshot Policy APIs
Error Codes
Data Types
FAQs
General
Connection
Security
Contact Us
Glossary

Building Up an IPv4 VPC

PDF
Focus Mode
Font Size
Last updated: 2024-10-22 15:32:21
This tutorial describes how to quickly build up a Virtual Private Cloud (VPC) with IPv4 CIDR blocks.

Scenarios

This document guides through whole process of setting up an IPv4-based VPC.


Prerequisites

Before using Tencent Cloud products, create a Tencent Cloud account and complete identity verification.

Directions

Step 1: create a VPC and subnet

Note:
Once created, the CIDR blocks (IP ranges) of VPCs and subnets cannot be modified. Therefore, complete network planning in advance.
1. Log in to the VPC console.
2. Select a region at the top of the page and click + New.
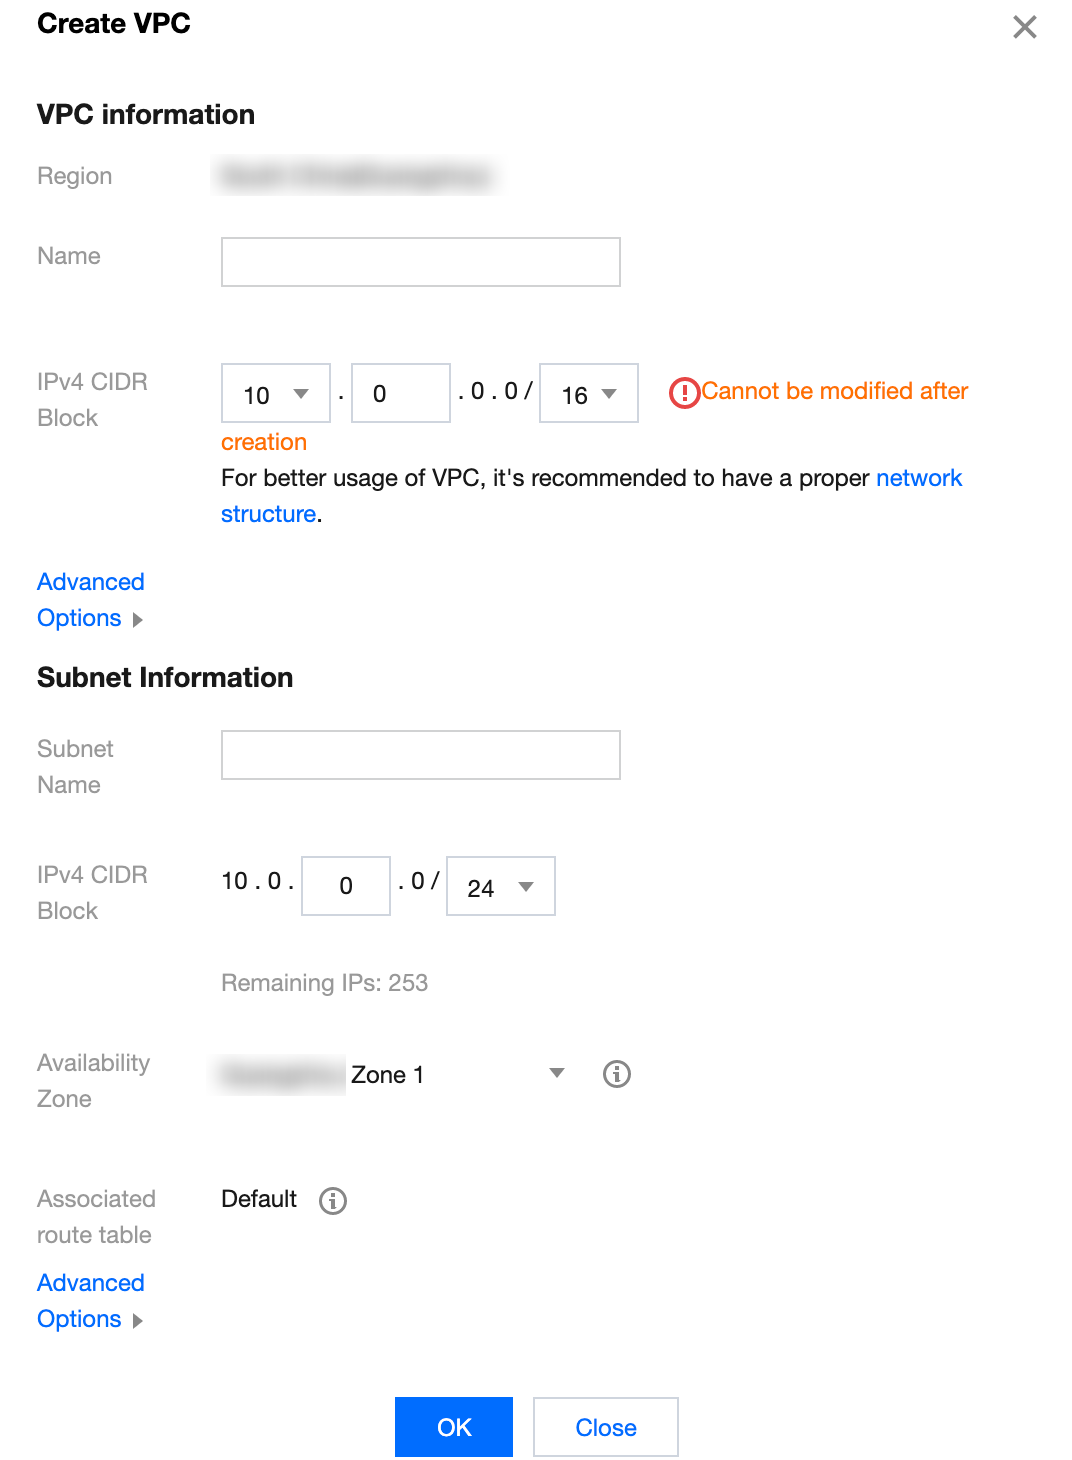
3. In the Create VPC pop-up window, configure the VPC and subnet information as instructed below.

VPC information
Name: the name of the VPC.
IPV4 CIDR Block: You can choose any one of the IP ranges as the VPC IP range, such as 10.0.0.0/16.
10.0.0.0 - 10.255.255.255 (mask range: 12 to 28)
172.16.0.0 - 172.31.255.255 (mask range: 12 to 28)
192.168.0.0 - 192.168.255.255 (mask range: 16 to 28)
Tags: You can optionally add tags to help you better manage resource permissions of sub-users and collaborators.
Subnet information
IPv4 CIDR Block:
You can choose an IP range within or the same as the VPC IP range. For example, if the VPC IP range is 10.0.0.0/16, you can choose an IP range between 10.0.0.0/16 and 10.0.0.248/29 as the subnet IP range.
If the VPC in which subnets are located needs to communicate with other VPCs or IDCs, make sure that the subnet IP range does not overlap with the peer IP range. Otherwise, the interconnection over a private network may fail.
Availability Zone: select an availability zone in which the subnet resides. A VPC allows subnets in different availability zones, and these subnets can communicate with each other via a private network by default.
Tags: You can optionally add tags to help you better manage resource permissions of sub-users and collaborators.

Step 2: purchase a CVM instance

1. Log in to the CVM console to create a CVM instance in the VPC created in the previous step.
2. Click Create in the top-left corner of the list page to go to the CVM purchase page.
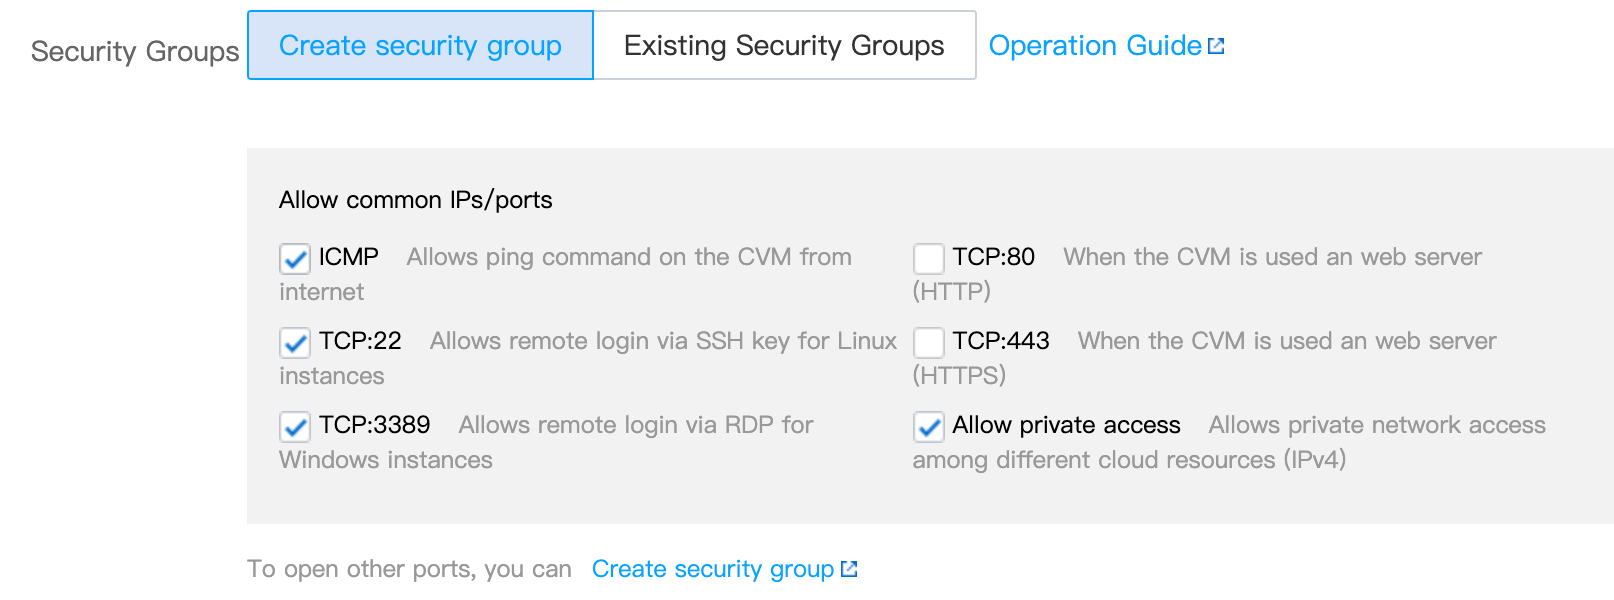
3. On the custom configuration page, configure the CVM instance and then click Buy Now. The CVM network configurations are as follows:
Network: select the created VPC and subnet.

Public network IP: do not check

.

Security Group: select New security group and configure it as instructed in Configuring Security Groups.


Step 3: apply for an EIP and bind it to the CVM instance

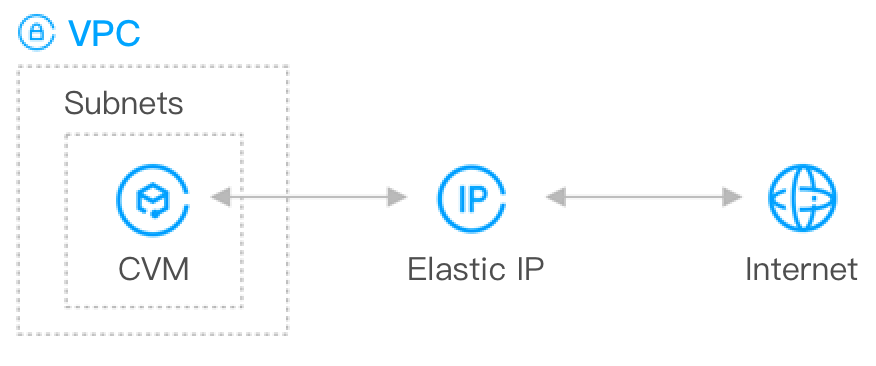
An EIP is a public IP address that can be applied for and purchased independently. You can bind an EIP to a CVM instance to enable public network access.
1. Log in to the EIP console.
2. On the EIP page, select the region where the CVM instance is located. Click Apply in the top-left corner.
3. In the Apply for EIP pop-up window, configure relevant parameters and click OK.
4. On the EIP page, locate the EIP you applied for, and click More > Bind in the Operation column.
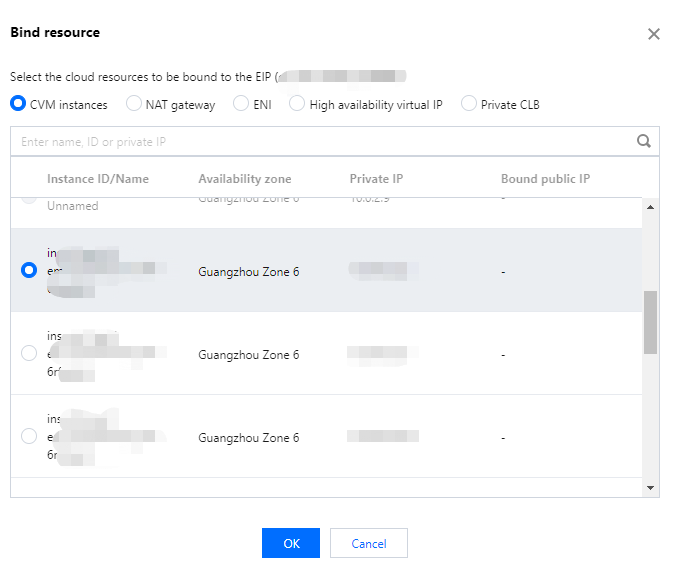
5. In the Bind resources window, select CVM Instances as the resource type to be bound, select the CVM instance, and click OK.


6. In the pop-up confirmation window, click OK.

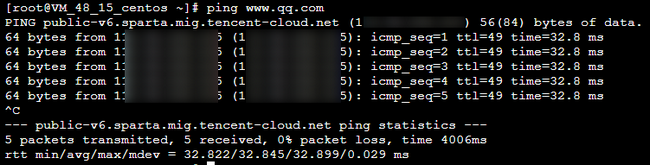
Step 4: test public network connectivity

Perform the following operations to test the public network connectivity of the CVM instance.
Note:
Before performing the test, make sure that the security group allows access to the corresponding IP address and port. For example, the ICMP protocol is opened, and the server can be pinged over the public network. For more information, see Viewing a Security Group Rule.
1. Log in to the CVM instance with an EIP bound. For more information, see Login and Connect to Instances.
2. Run the ping Another public IP command, such as ping www.qq.com, to test public network connectivity.


Help and Support

Was this page helpful?

Help us improve! Rate your documentation experience in 5 mins.

Feedback